
Get more details about this project
What you need
Materials
1. Fabric – 3 to 4 different colors or patterns
2. Needle and Thread
3. Stuffing – Scrap Fabric, Scrap Felt or Wool
4. Fabric Paint – Black
5. Paint Brush – Size ‘3’
6. Unicorn Pattern Template
7. Tailoring Chalk or Pencil
Instructions
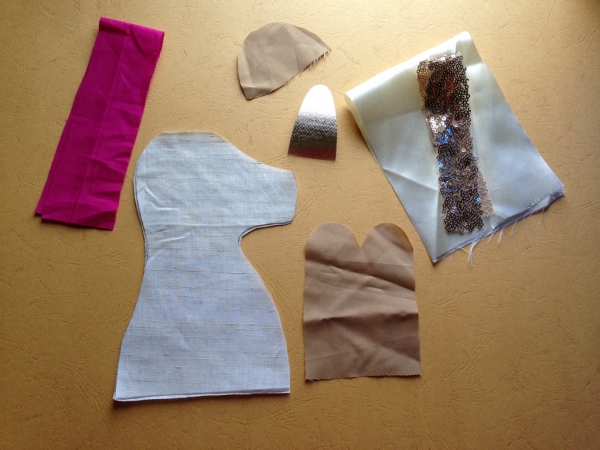
Step-1: First you’ll need to select a template for the unicorn plushie. You can do a free a hand drawing like I did. Draw each part of the unicorn from different fabrics. I drew and cut out the 4 legs from brown fabric, the head and body from off-white fabric, horn from golden fabric, ears from brown, the hair from hot pink fabric and the skirt from white satin fabric with a golden confetti border.
You’ll need 2 pieces of fabrics for each of these parts- 4 legs, head and body and the horn. For the ears you can use 2 pieces if you want to make them look fluffy. Use one layer of fabric for the hair; it’ll be easier to create small folds on the fabric if you use only 1 layer. You can also cut a double size fabric pieces for the legs and fold them into half; and stitch 1 side only.
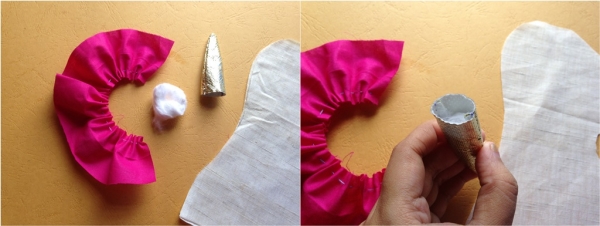
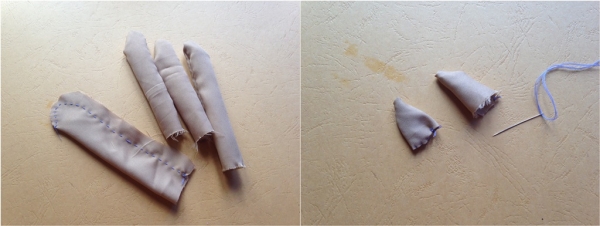
Step-2: Take the fabric cut out for the hair, do a running stitch along any one side. Pull the thread once you’ve reached the other side doing running stitch, this will create small folds along the side of the fabric. You can stop pulling the thread once you’re satisfied with the length of the fabric you can stop pulling the thread and tie a knot to secure the folds. Also stitch the 2 parts of the horn with their wrong sides facing out, after stitching turn the right side out and fill the horn pattern, but keep a cm or 2 gap along the open edge.
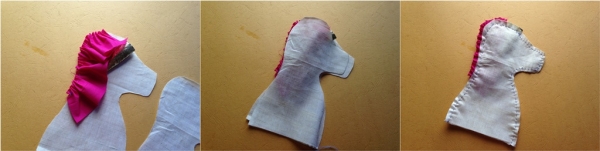
Step-3: Place a main body and head part of the unicorn on a flat surface. Place the horn and the hair piece on the main part as shown in the picture of this step. Place the other main piece on the top and carefully stitch along the sides, making sure to join the hair and the horn with the body. Keep a opening for stuffing the body.
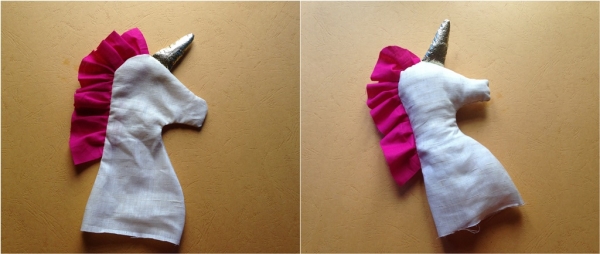
Step-4: Once you’re done stitching the body turn the right side out and stuff the body with scrap fabric or felt or wool. Stitch the open end to secure the stuffing.
Step-5: Stitch and stuff the legs and the ears as well. Stitch the open ends of each of the parts to secure the stuffing.
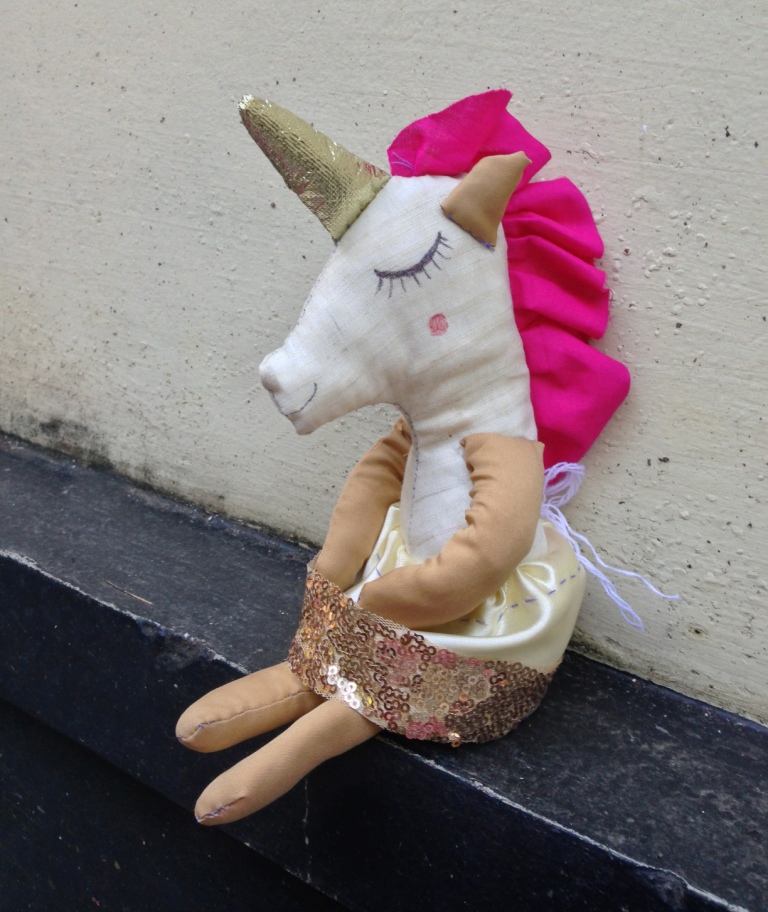
Step-6: Now attach these parts one by one using hotglue gun or by stitching. Using hot glue is easier. Finally make the skirt and put it on the unicorn plushie. Use black fabric paint and a size ‘3’ or ‘2’ paint brush to draw the eyes of the unicorn.
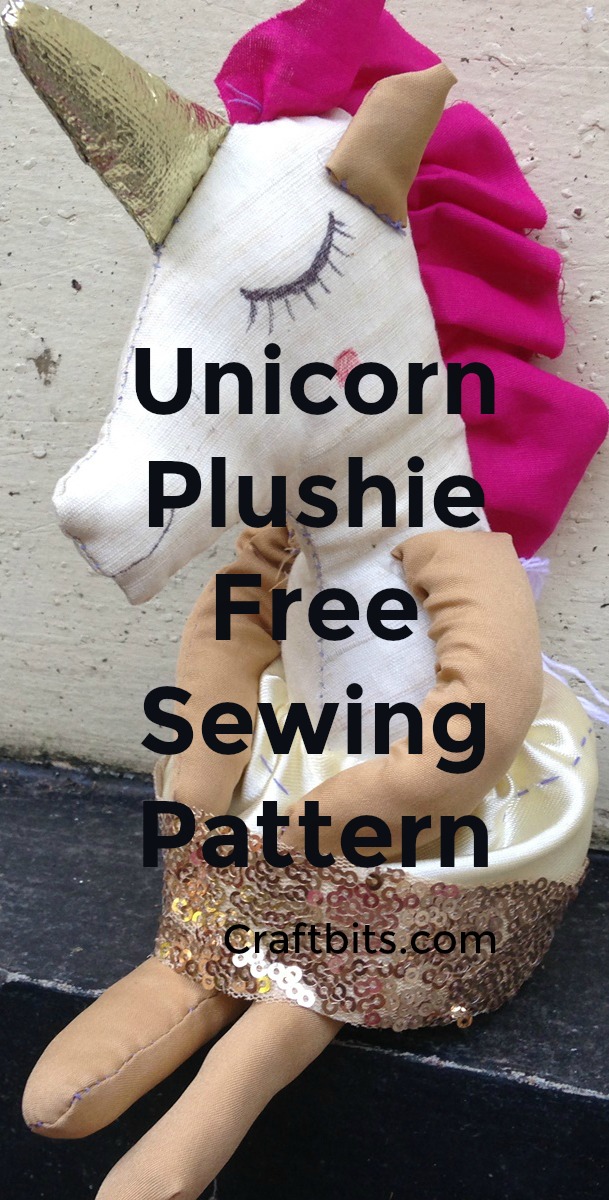
Happy Unicorn Craft!


This would be great to do with my little granddaughter who love unicorns.
Where is the pattern? I don’t see a link for it. Could you please email it to me? Thank you Monica
I see now that we are supposed to select a template or do a free hand drawing like she did.