
Get more details about this project
What you need
1 juice lid
l chenille stem
6″ square red felt
6″ X 1 1/2″ strip plaid fabric
3/4″ X 6″ fun fur
sprig of greenery
Paint: white, red, black
Hot glue gun and glue stick
glitter glue
fine line black marker
pink marker or crayon
Instructions
Step 1. Paint the juice lid white (or for very young children cut out a circle of white card stock and glue to the juice lid)
Step 2. Place one side of the red felt square centered over the forehead area of the juice lid, and glue in place. Turn over and bring the sides together, and glue to the back of the juice lid. Repeat the same procedure with the fun fur. Then, glue the scarf around, but starting from the back this time, and bring the two ends to the front, tie a loose knot, and glue to secure, gluing the scarf snugly in place all around the front area of the cheeks.
Step 3. Cut a 2 inch piece of the chenille stem, gather the top of the hat together, and twist the chenille stem around to secure the top of the hat. Bring the top of the hat down, and glue it to one side of the hatband.
Step 4. To form a hanger, pass the remaining chenille stem through the loop in the hat which was formed when gluing the top to the side of the hatband, and form a loop, or twist it into a swirl.
Step 5. Dot on eyes with black paint, dot on a nose with red paint. When dry, use a fine black liner to add eyelashes, eyebrows, and mouth. Use a pink marker or crayon to circle on the cheeks.


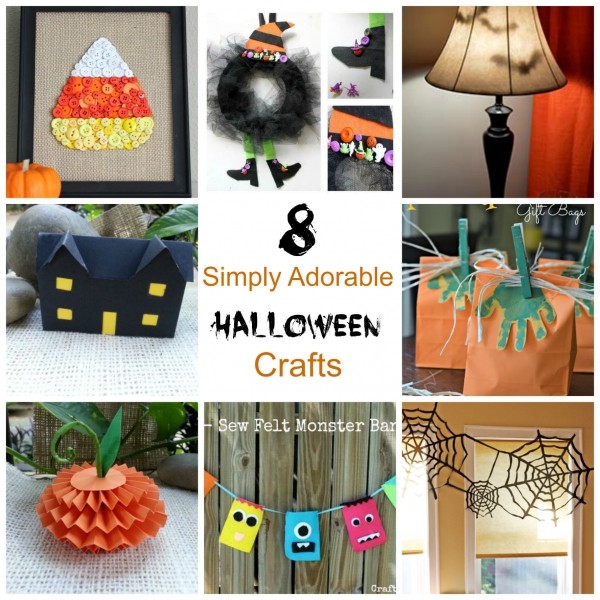

This is too cute. I love snowmen