
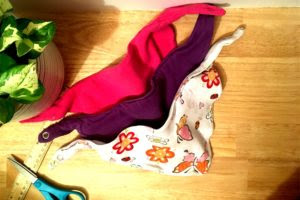
What makes this bandana bib different from others? The bib is larger than a baby bandana bib, and it's the perfect size for kids age 4-10.
Get more details about this project
What you need
Craft paper or a large brown paper bag
Yardstick or ruler
1 piece of 9-inch heavy string or yarn
1 piece of 14.5-inch heavy string or yarn
Sharpened pencil
Sharpie
Scissors
Scotch tape
Large table surface with a 90-degree angle at the corner
Instructions
[Helpful Tip #1] The bib has four soft layers that make it functional but not hot or heavy. Easy to sew even for beginners, the finished bib is stylish and super absorbent.
[Helpful Tip #2] After making the pattern, you will use knit fabric for the front and back layers. The top inside layer should be cut with your finished pattern from a dry-fit material (use an old dry-fit shirt or buy one from a thrift store).
[Helpful Tip #3] The bottom inside layer should be cut with your finished pattern from fleece. When you’re ready to sew, just be sure to add the inside layers before you sew the bib together.
Once you make this DIY pattern, look for “how to make a bandana bib” instructions from Pinterest or Youtube to learn how to sew it together. But first things first, let’s make the pattern.
Instructions
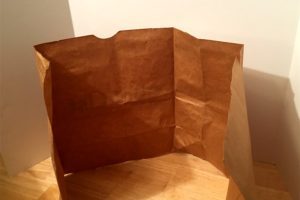
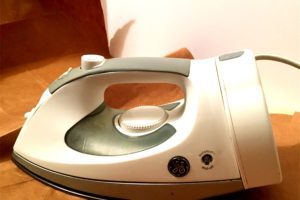
- Cut top to bottom down one side of the bag. Next, cut out the rectangle bottom. You will have one large piece of brown paper. Iron the paper bag on a low, dry setting until smooth. Skip this step if you are using craft paper.
Cut paper bag
Low-heat ironing
- If you are using craft paper, measure a section of the paper into a rectangle that is 20 inches long by 12 inches wide.
To make sure the rectangle is straight, line up the paper at the corner edge of your table. cut out the rectangle. Skip this step if you are using a brown paper bag.
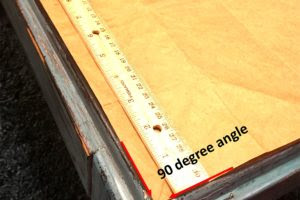
Perfect straight edge
2a. Fold the paper in half lengthwise.
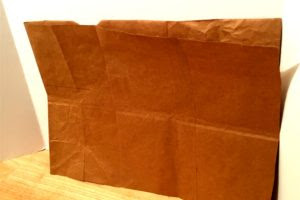
Lengthwise folded, cut paper bag
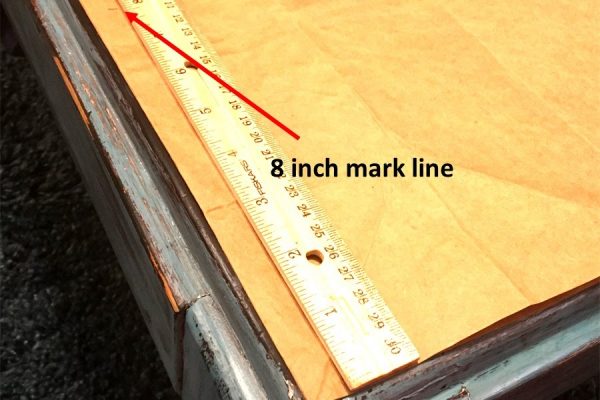
- From the bottom edge of the paper, use your ruler to measure up to 8 inches. Mark the spot with a small short mark.
8 inch marking from bottom
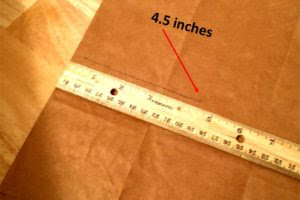
- From the small short mark, make a line 4.5 inches long.
4.5 inch line
- Lay down the 9-inch string under the line. Position the string to go straight across 4.5 inches. Tape the string in place.
Be sure to tape over the top down to the inside. After taping the 4.5 inches of string, make a wide-angle that points up. The rest of the string curves out to the edge to make a rounded point.
Top string shaping
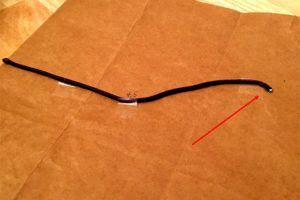
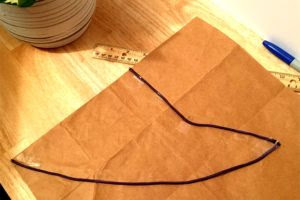
- From the bottom of the rectangle, use the 14.5-inch string to make a half oval. Tape the string in place. Join this piece to the top of the first string.
Bottom string shaping
Joined strings
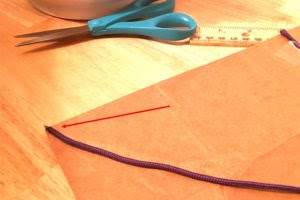
- Using your pencil, start from the bottom left corner and carefully trace around the bottom string, and then the top string.
Start from the bottom corner
- Remove the strings and tape from the paper and slowly trace over the pencil lines with the Sharpie.
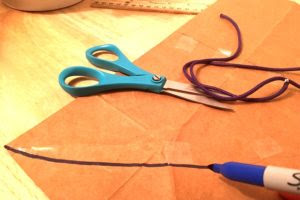
Outline with Sharpie
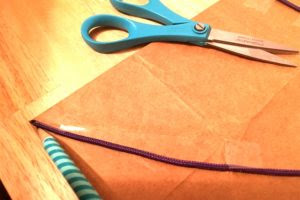
- With the paper still folded in half, cut just outside the sharpie lines. DO NOT cut the folded part of the paper.

All cut out
- Open the paper to admire your symmetrical bib pattern.
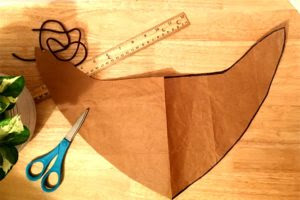
Completed pattern
Congrats, you’ve made a special needs bandana bib pattern that is ready to use! Find a tutorial you like to guide you to assemble and sew your bib.
Since you are crafting this bib from scratch, you can choose a knit print of your choice. Don’t forget the inserts if you want to make it super absorbent.
Now that you have a great pattern, the possibility of colors and prints are endless.
Pat yourself on the back from all the money and clean-ups you will save with your custom bibs.

Assorted completed bibs


What do you think of this project? Let us know!