
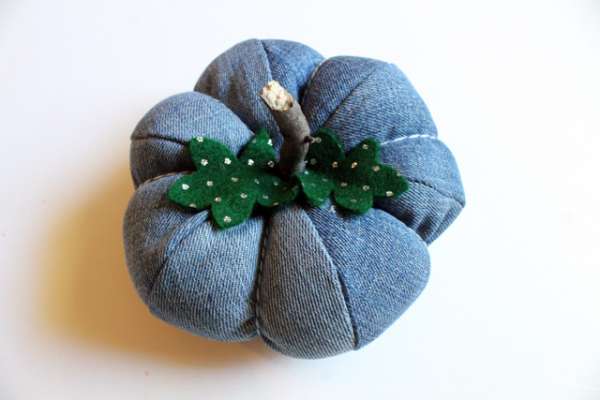
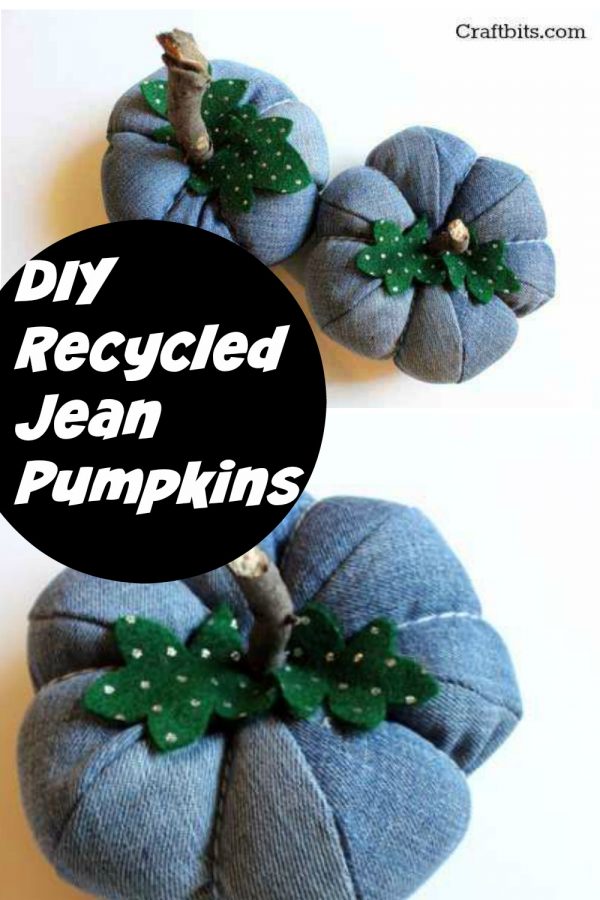
Each pumpkin is made from six curved denim pieces. The panels are sewn together, turned right side out and filled with stuffing. Strong thread is then wrapped around the pumpkin to emphasise its six plump sections.
Make several pumpkins in different shades and sizes for an autumn table, mantel, Halloween display or Thanksgiving centrepiece.
Get more details about this project
What you need
Old blue jeans or medium-weight denim
Printable denim pumpkin pattern
Polyester fibrefill or cotton stuffing
Sewing machine
Denim sewing-machine needle
Coordinating sewing thread
Long hand-sewing or doll needle
Strong embroidery thread, baker’s twine or upholstery thread
Green felt
Small natural twig
Hot glue gun and glue sticks
Fabric scissors
Paper scissors
Pins or sewing clips
Fabric marker or tailor’s chalk
Optional thimble
Instructions
1. Download and print out the blue jeans pumpkin pattern. Cut down the hems of your jeans so that the material is laying flat. Trace your pattern on to your jeans, and cut out 6 pieces.
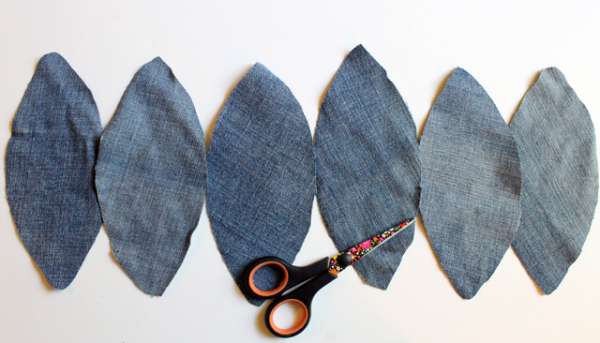
2. Pair up 2 of your jean pieces, Stitch down one side. Stitch one more piece to the pair, so you have 3 sewn together. Repeat with the other 3 pieces so that you have 2 pairs of 3.
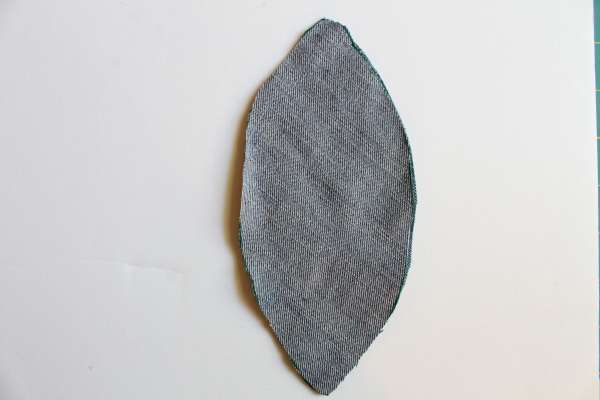
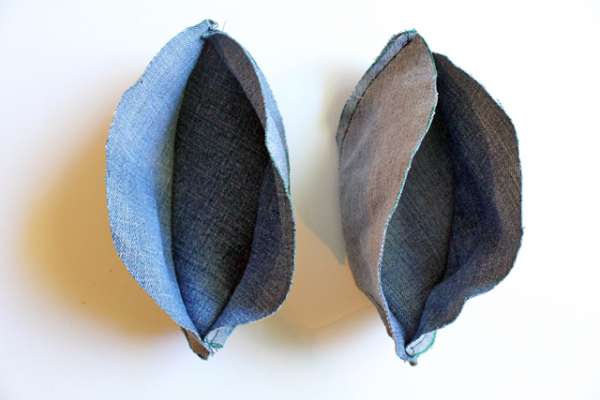
3. Lay your 2 pieces right sides together and pin them together. Don’t worry about the middle, just pin around the outside edge. Stitch around the edge, leaving about 1.5″ open at the top.

4. Remove all of the pins and flip right side out.
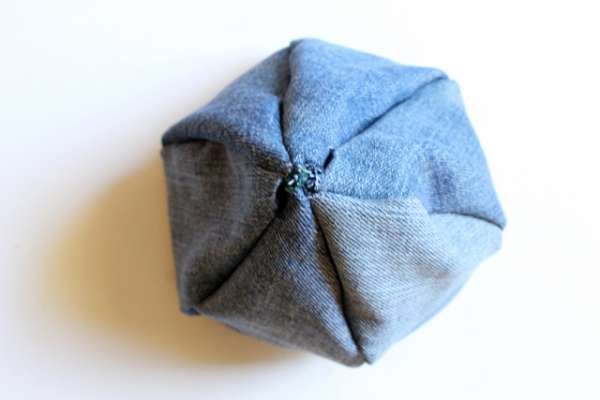
5. Using cotton stuffing, stuff your pumpkin until it’s full.
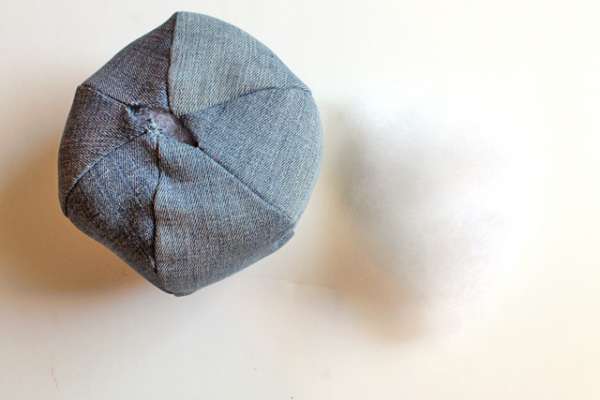
6. Cut a long piece of twine or embroidery thread and thread it through your needle. Starting at the top, going through the edge of your 1.5″ opening, Poke the needle down through the bottom of your pumpkin, close to the center, and poke the needle back up through the pumpkin and tie the two ends tightly so it squishes your pumpkin.
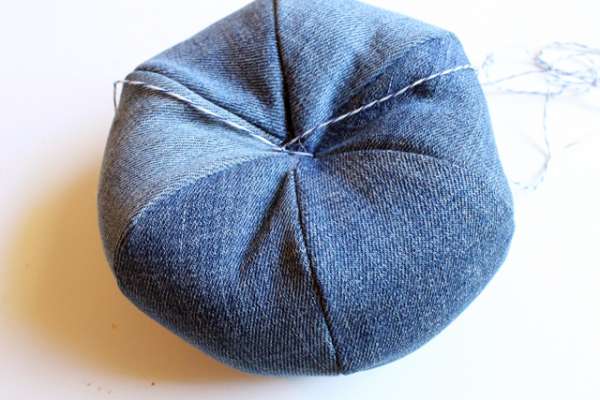
7. Bring your needle around one side of your pumpkin, starting at the top and going around to the bottom, poking the needle back up directly through the center of your pumpkin. Pull tightly to further tuft your pumpkin. Repeat this step for each of the six sections of your pumpkin.

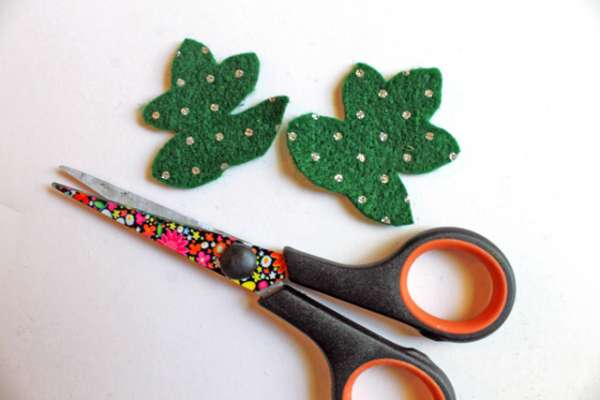
8. Cut out 2 leaves from green felt. Mine were about 2″ wide.
9. Break a stick to about 2-4″ long and hot glue one end down into the top opening of your pumpkin, like shown in photo below.
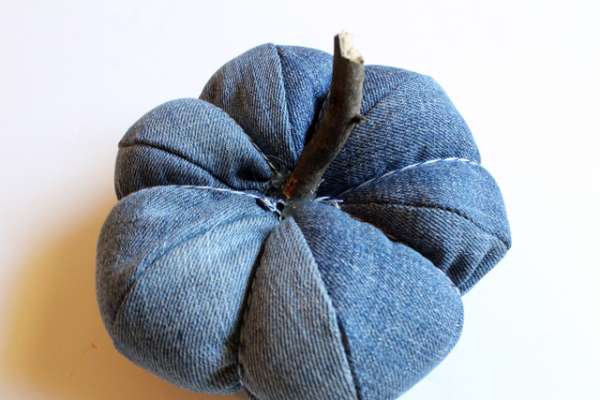
10. Glue down your 2 leaves on to the top of your pumpkin, around your stick and you’re done!



These are ADORABLE! 😀 I plan to make some of these this year. I wanted to last year but didn’t get to it for some reason. =/ Thanks for posting! ^_^
This is real cute. I will try and make one. Thank you.
I like this one. I haven’t made it yet but plan on doing it today.
I like using the stick for the stem! Very cute.