
Get more details about this project
What you need
Hot Glue Gun/ Glue sticks

Scissors
Razor blade or x-acto knife

Skewer (you could also use a popsicle stick)

Piece of cardstock or white cardboard
Wooden Bead 
Instructions
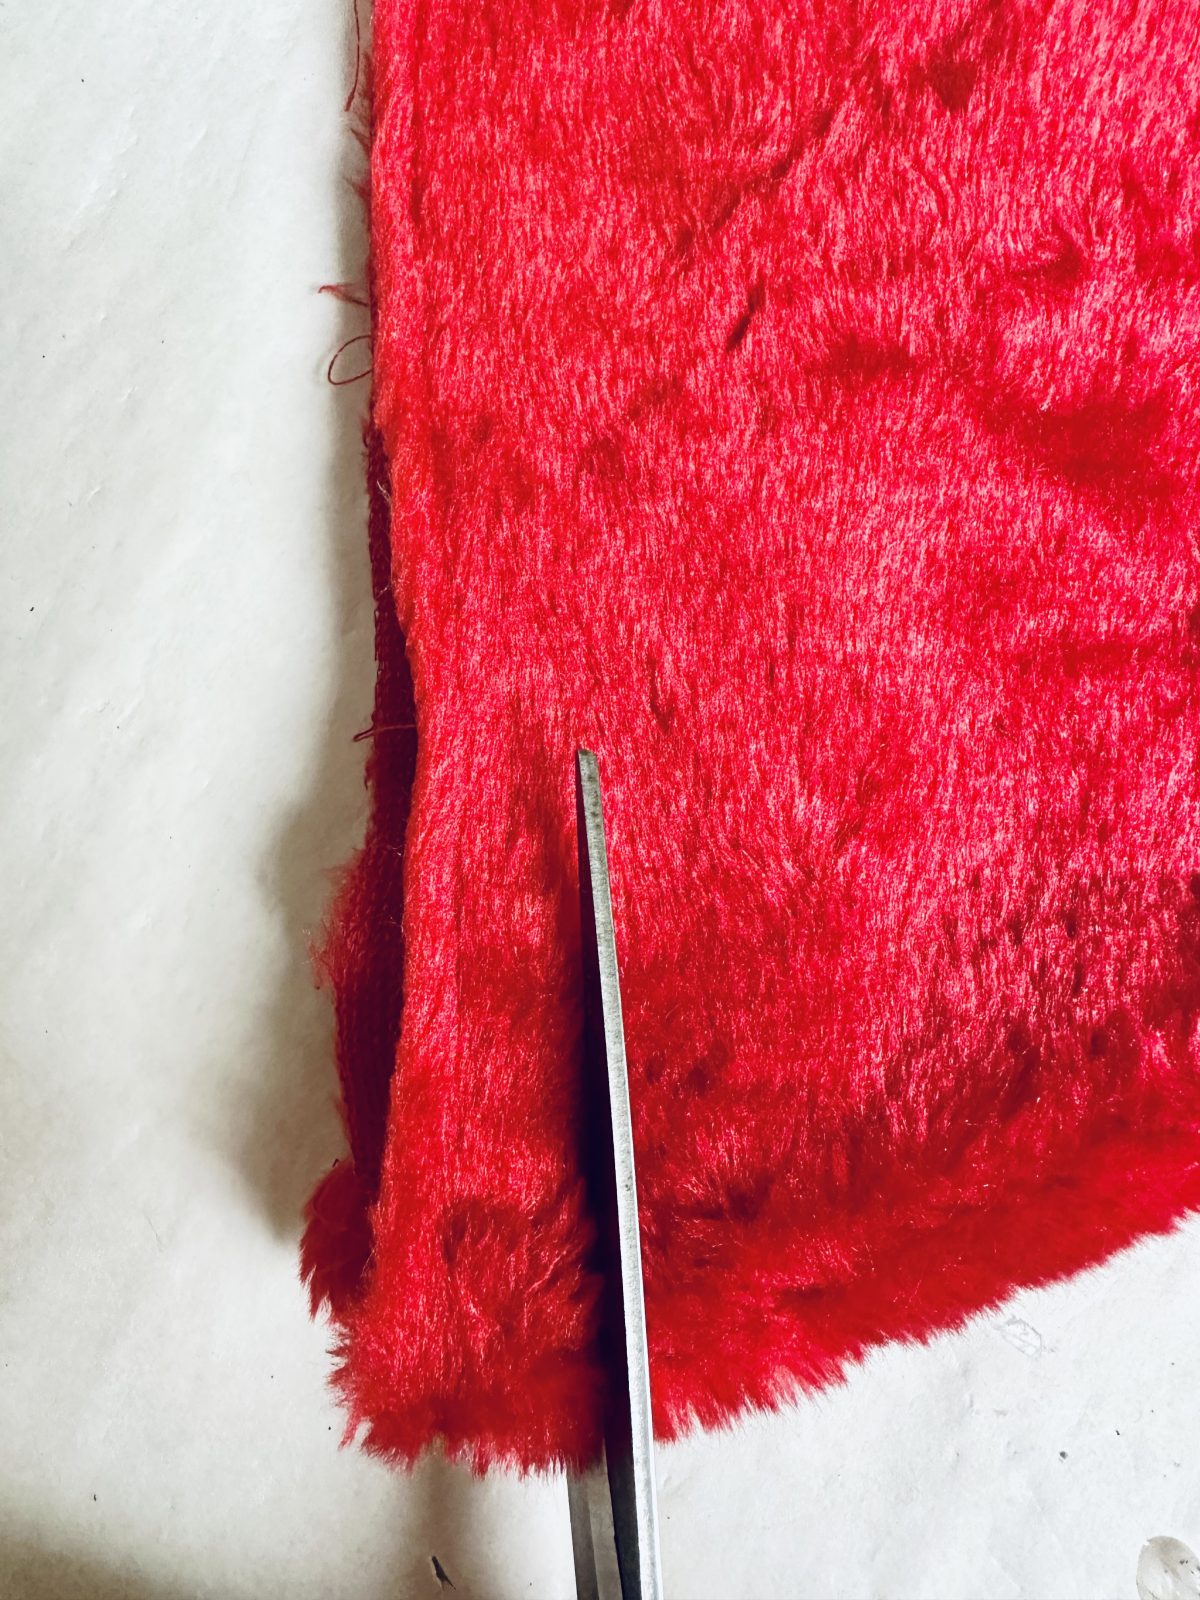
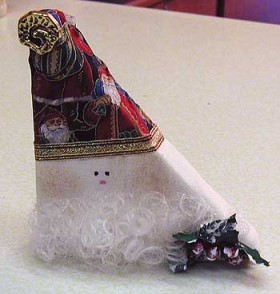
Start by removing the white fluffy section from the bottom of the hat. I moved the white section down and cut along the seam so I could use it for another project later.
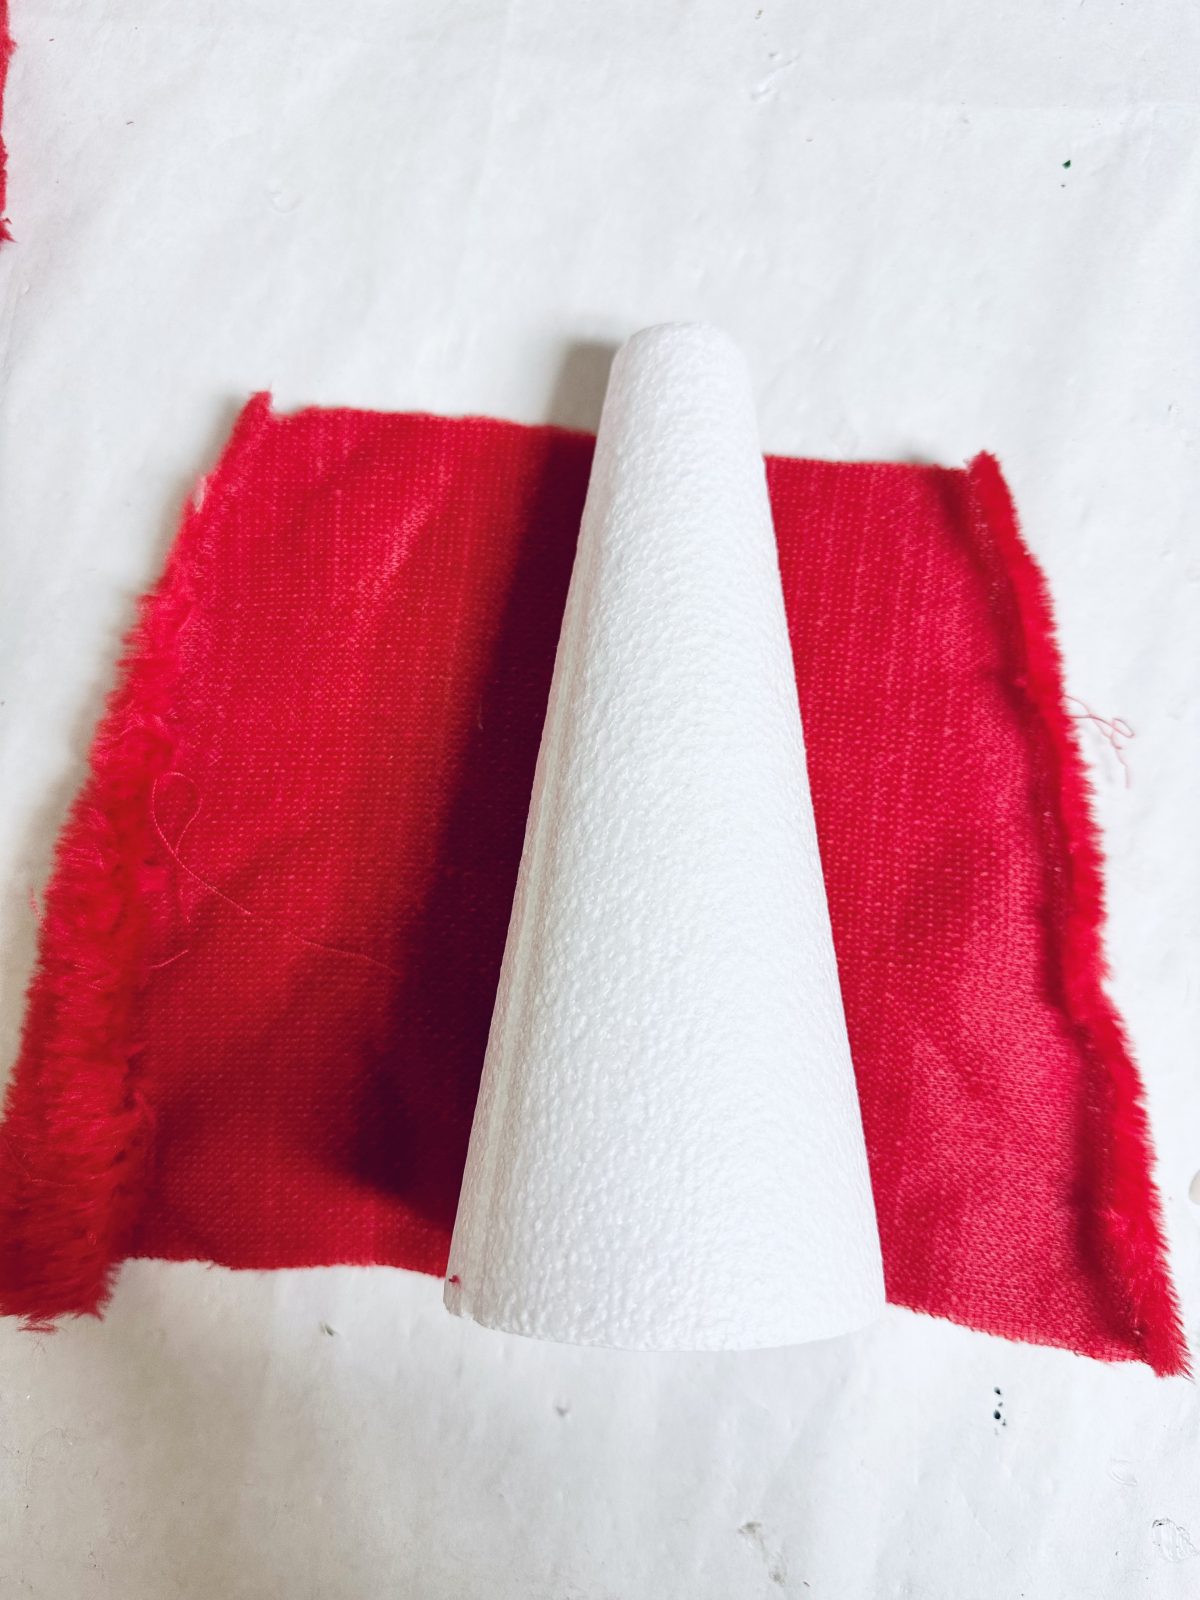
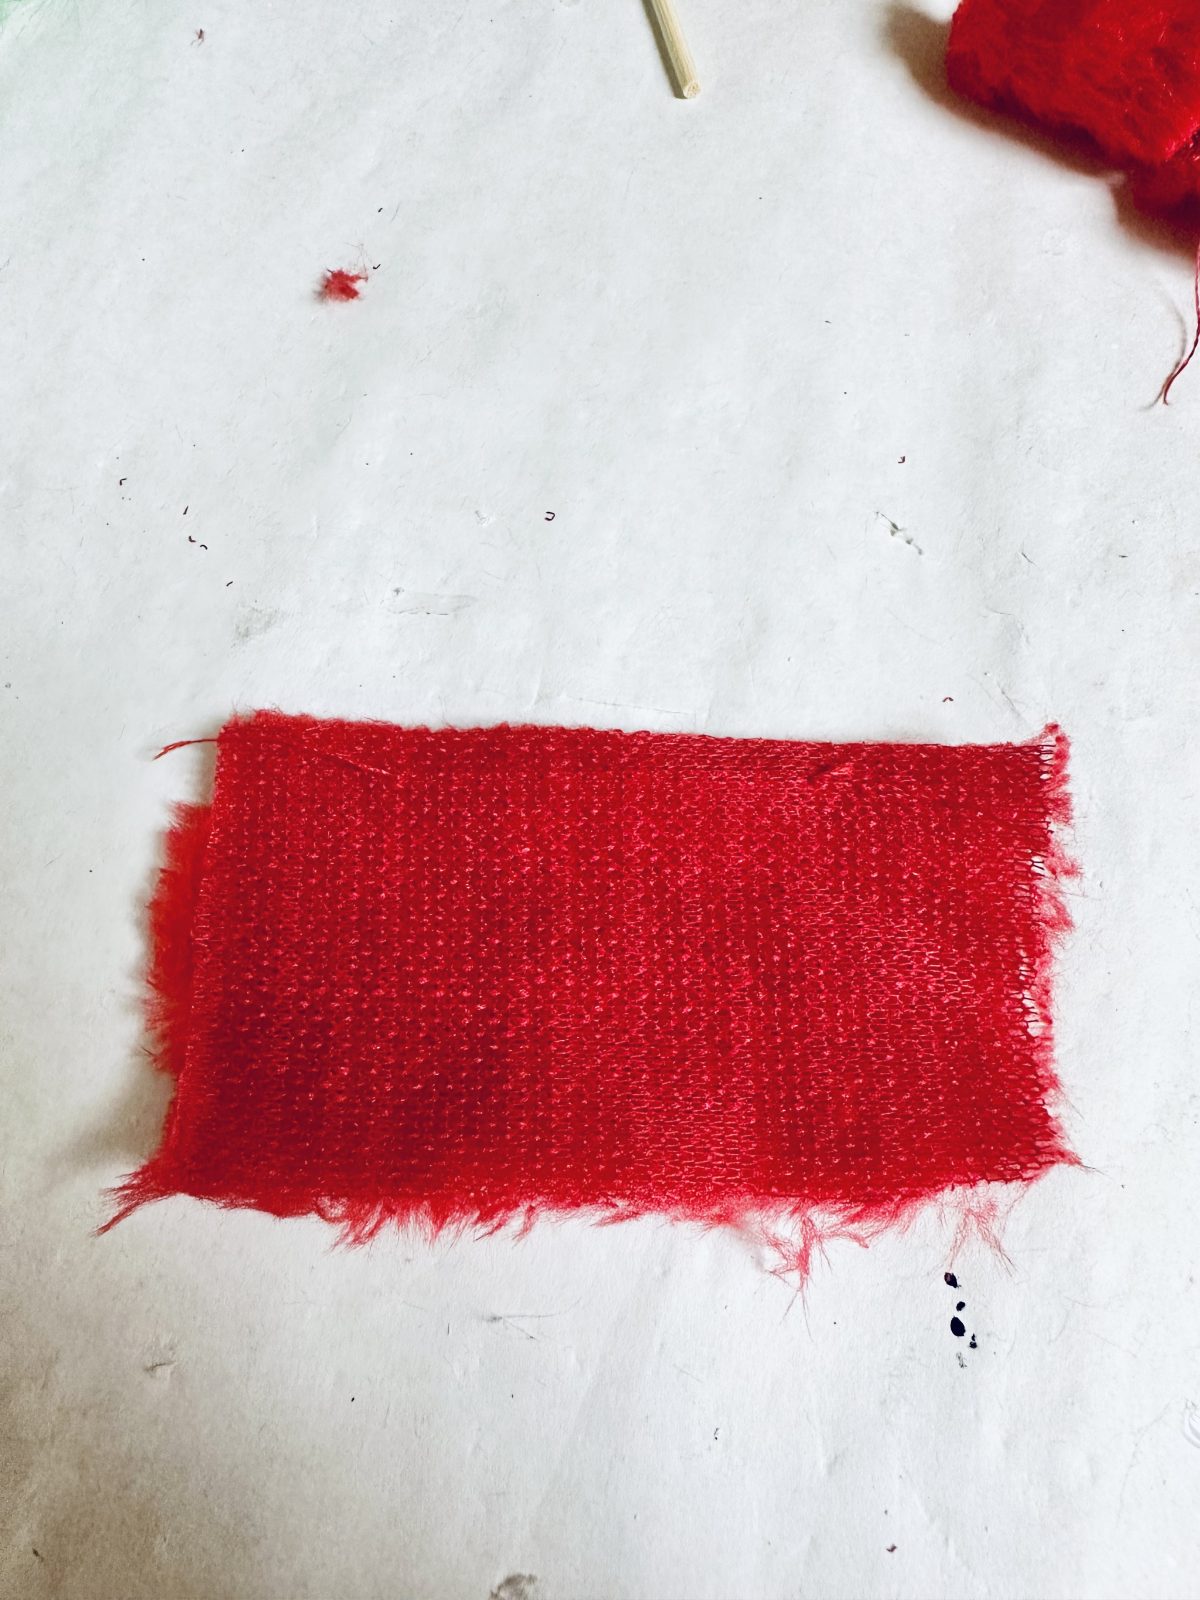
Cut the top section of the hat for your desired length of the hat for the gnome. Mine was about 6 inches long. I then took the remaining section of the hat, cut down one of the seams and then laid the foam cone on top to measure how much I wanted for the body of the gnome.
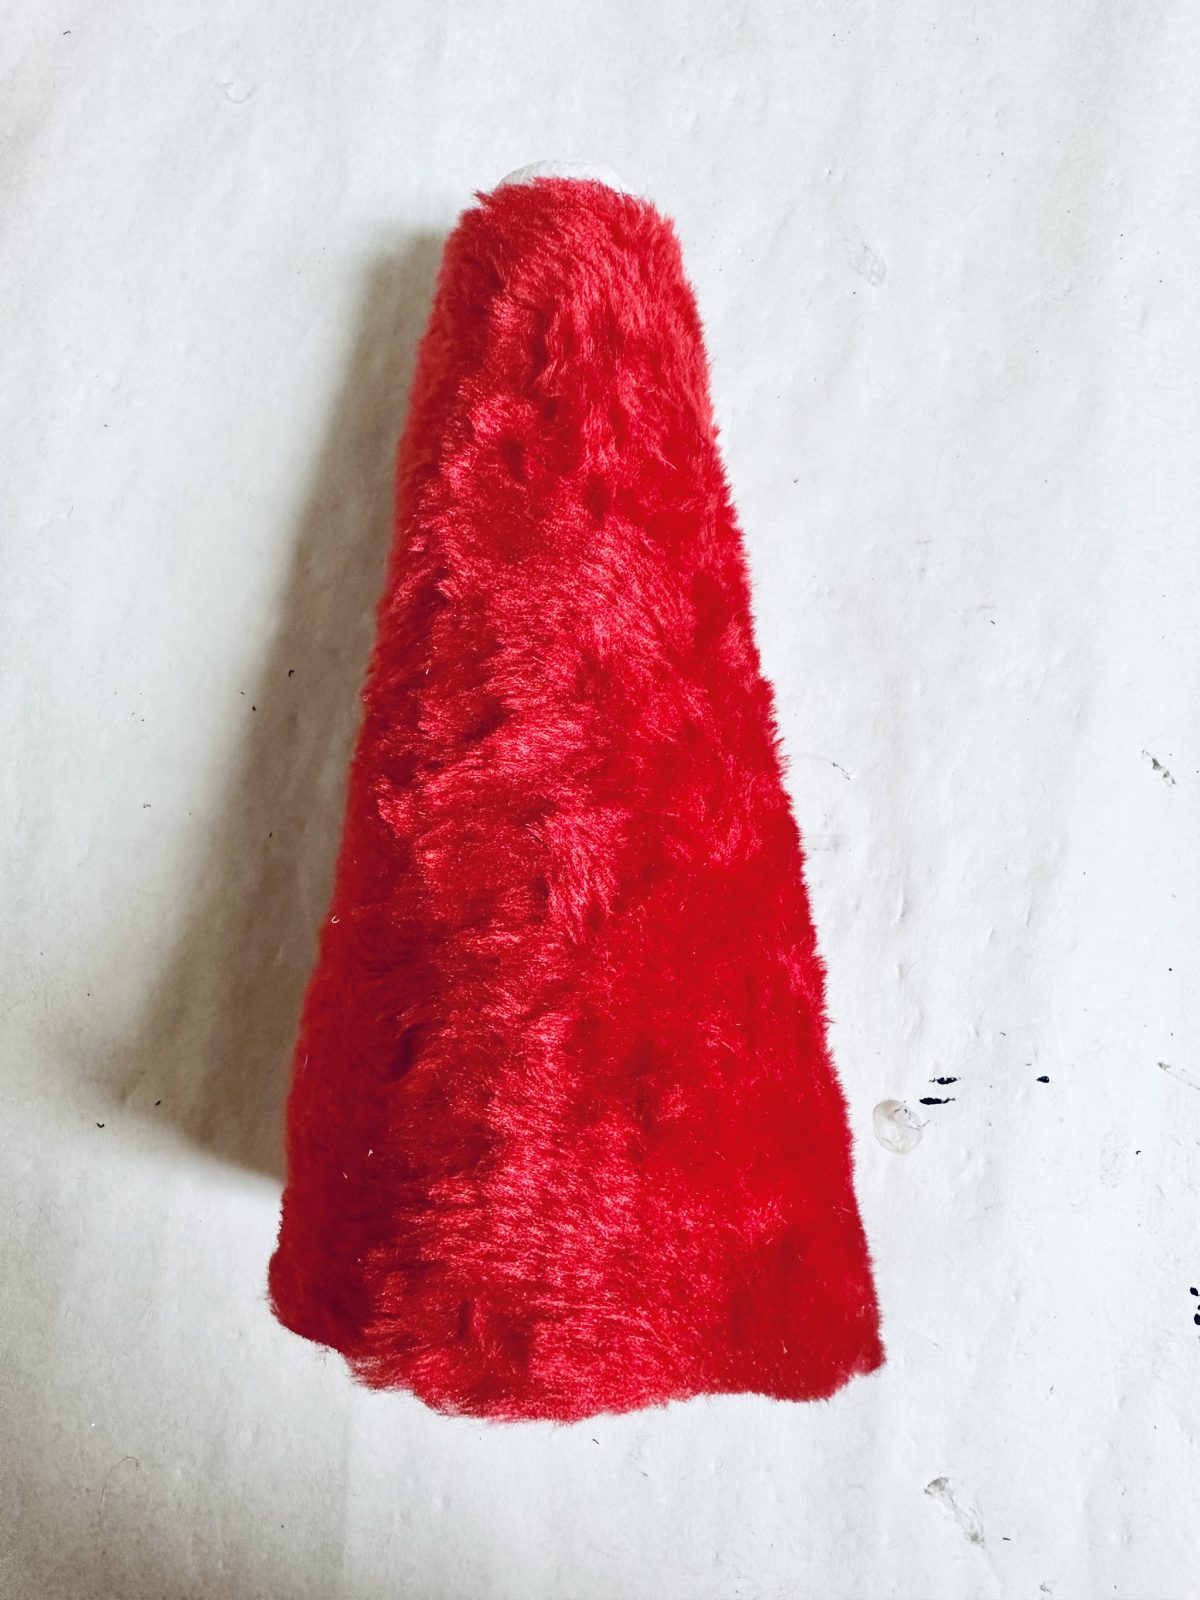
Trim the excess off and wrap around the foam cone. Add some hot glue to the ends and press firmly onto the foam cone.

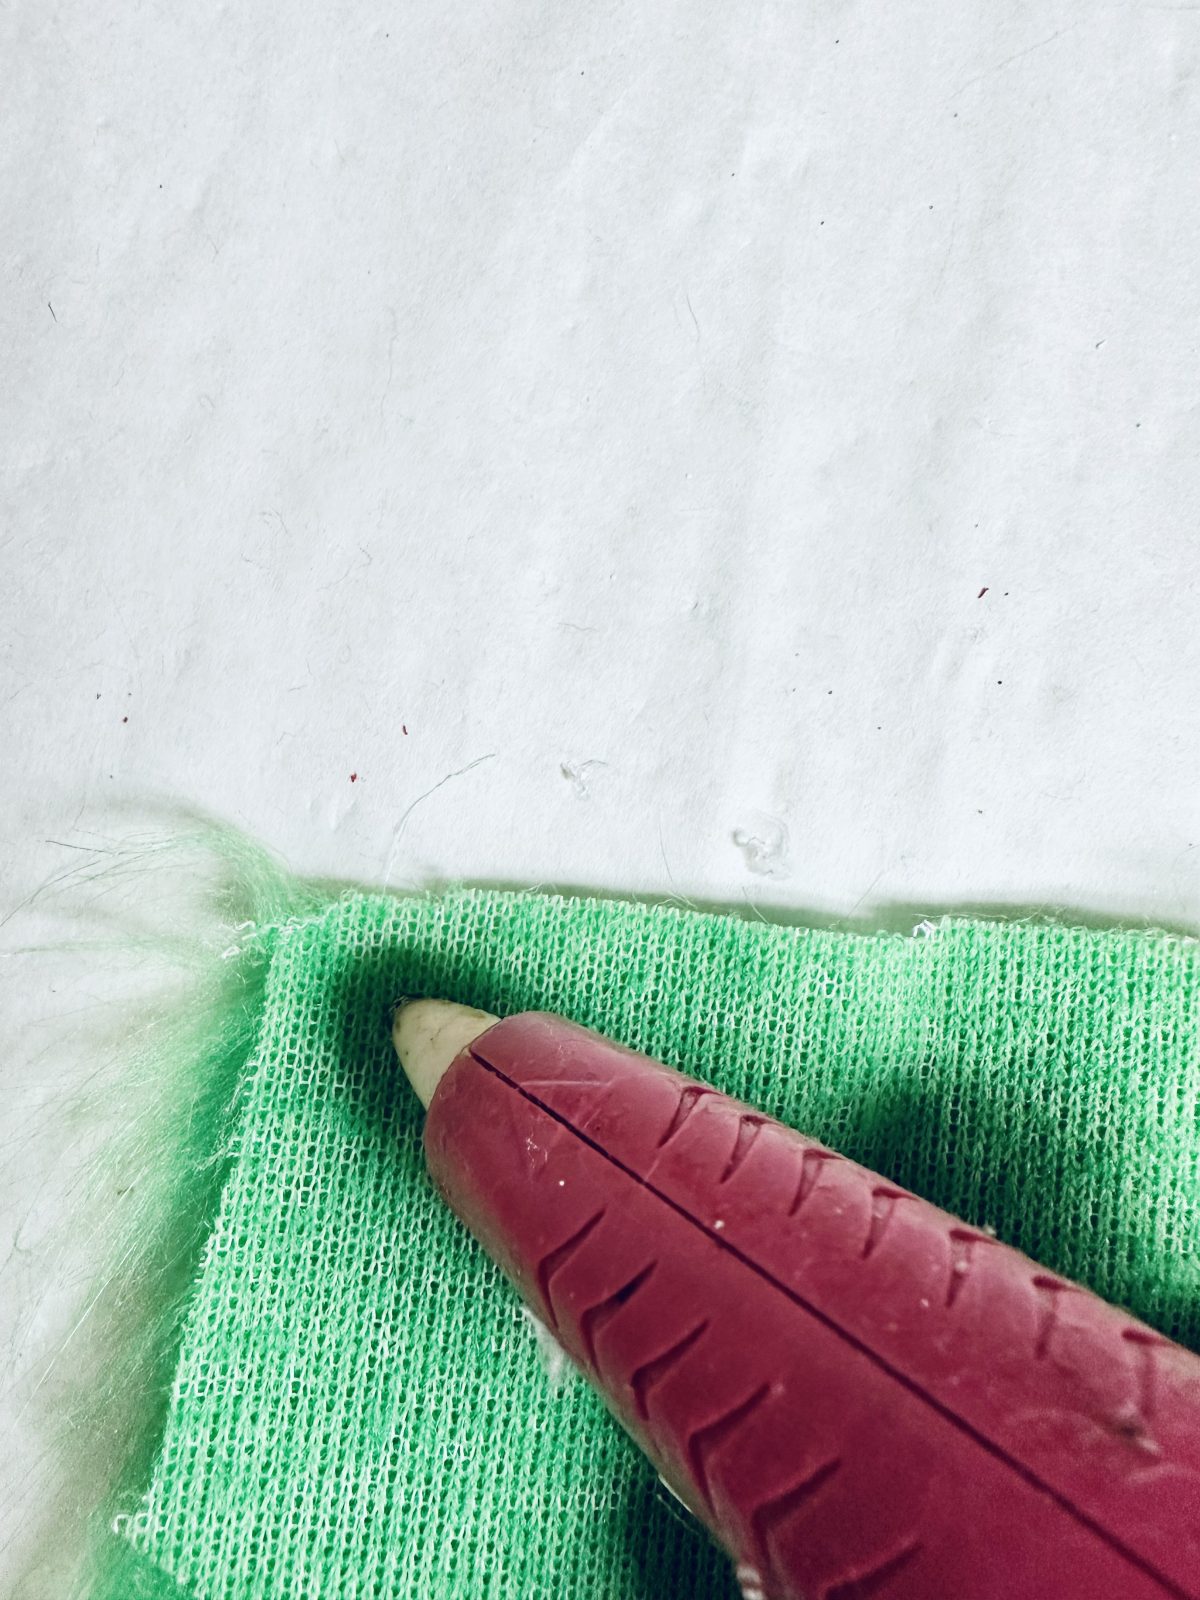
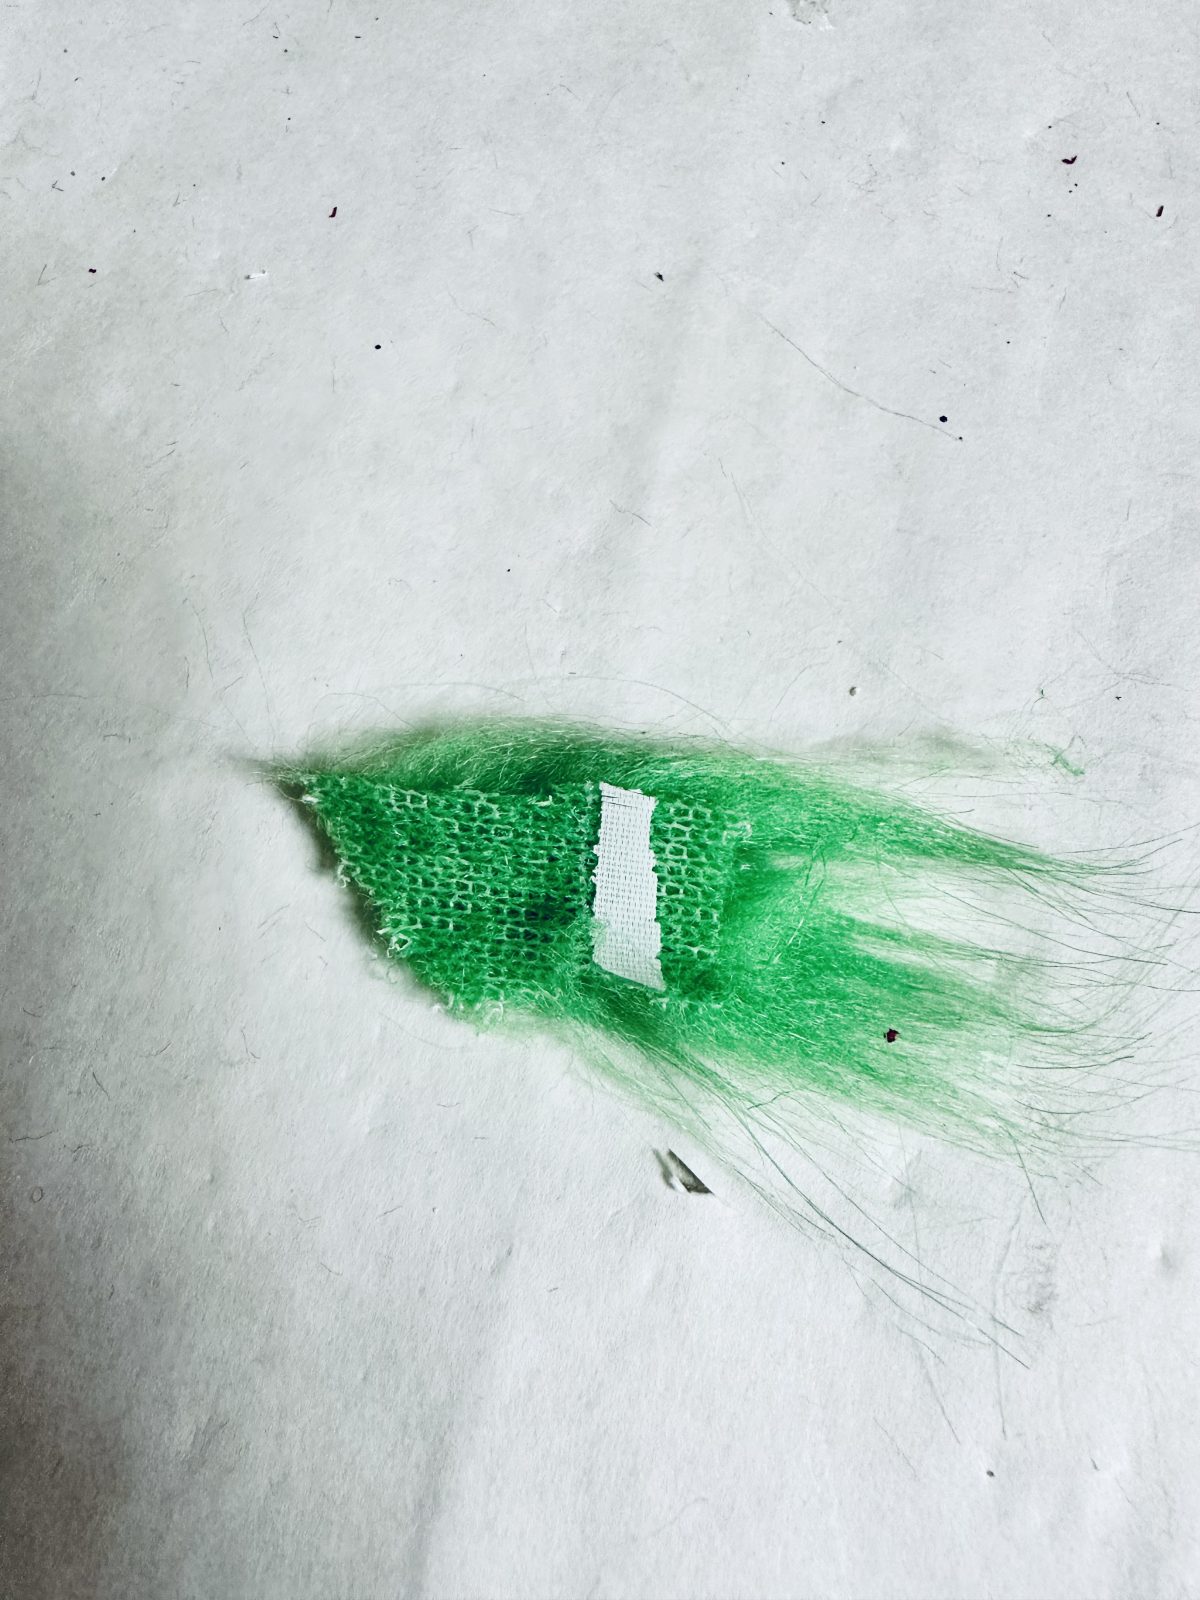
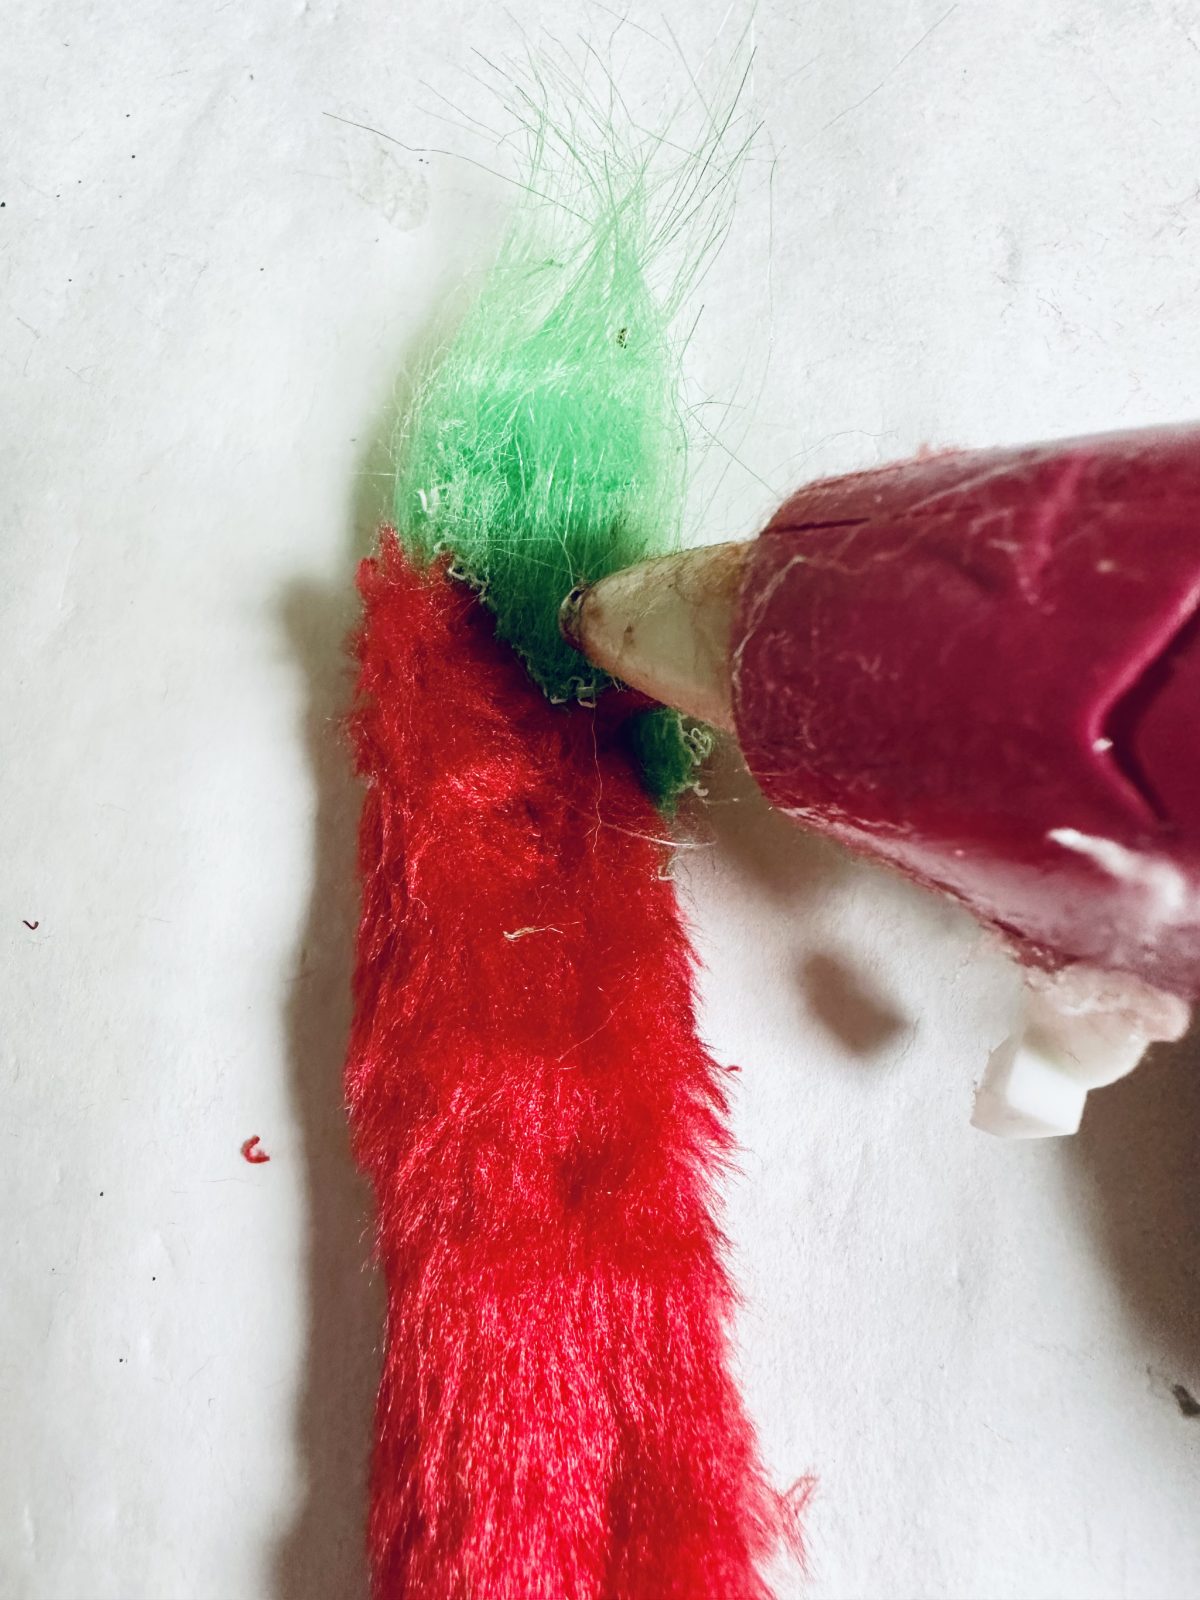
Using the razor blade or x-acto knife, lightly score the backside of the green faux fur into a triangle shape. The triangle shape should be about 3 inches wide by 3 inches to the point of the triangle.

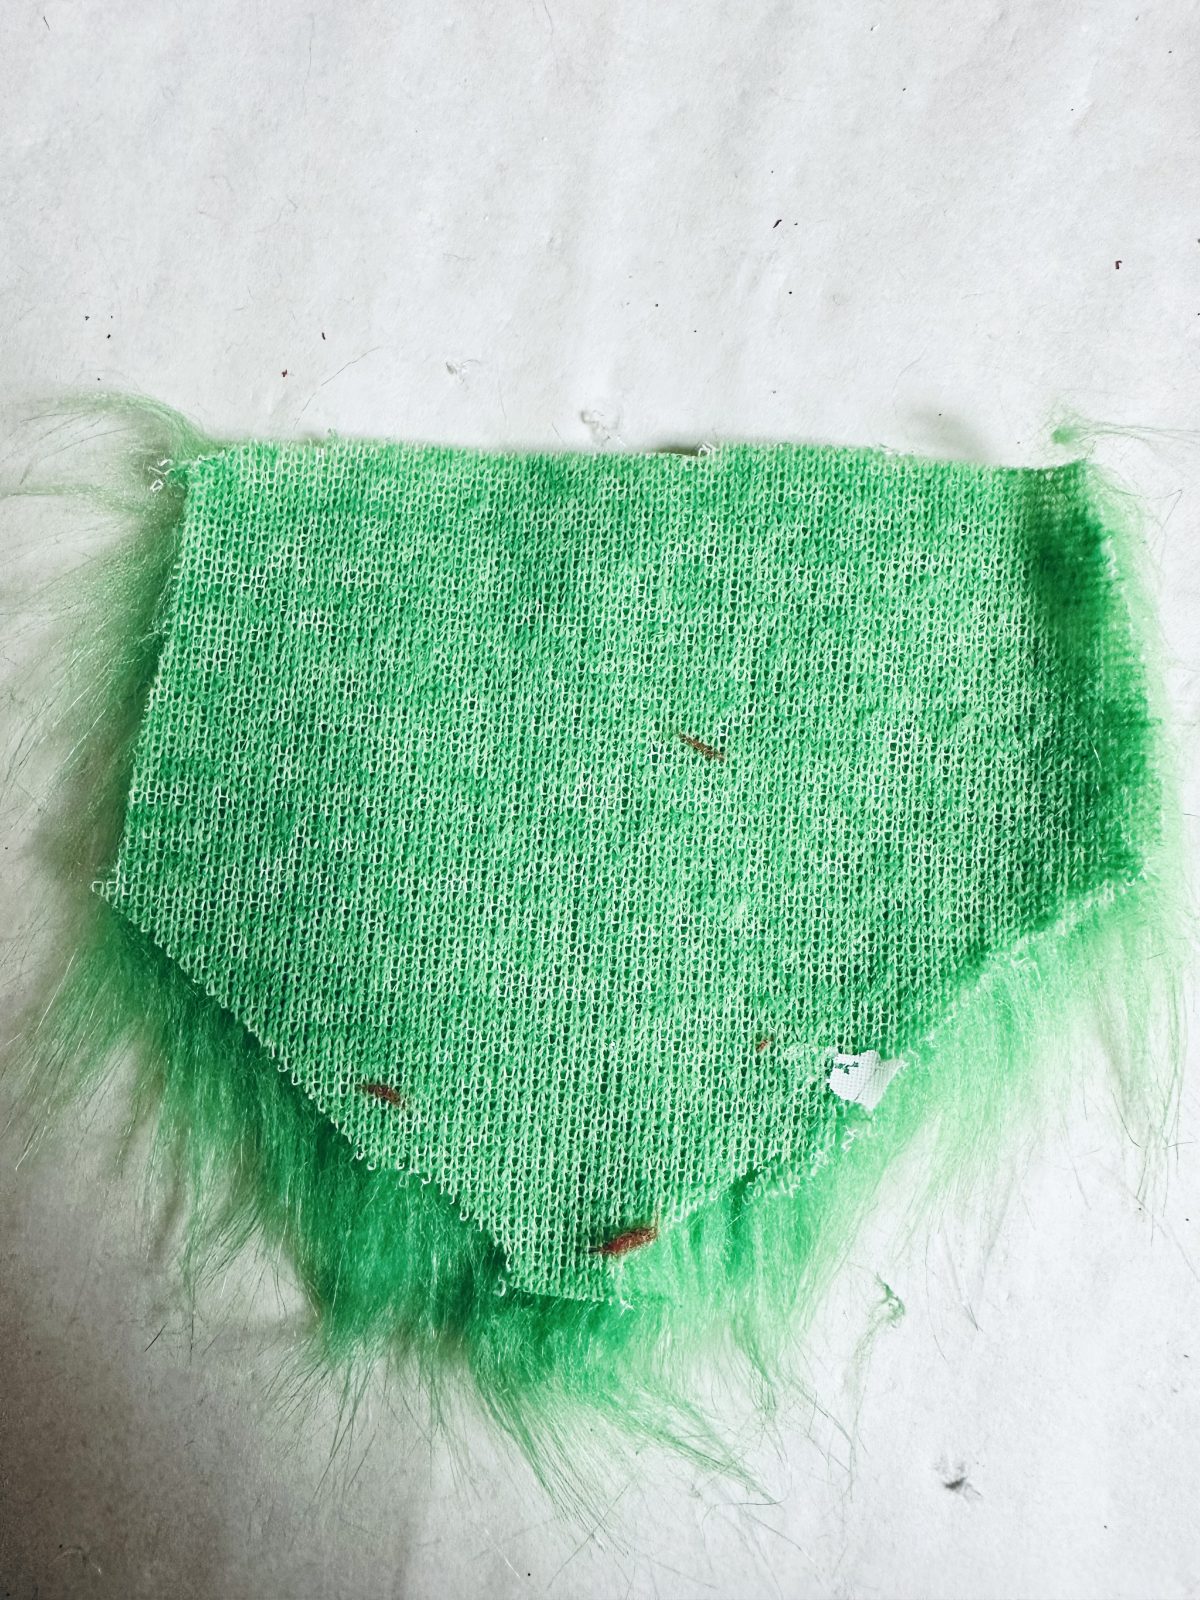
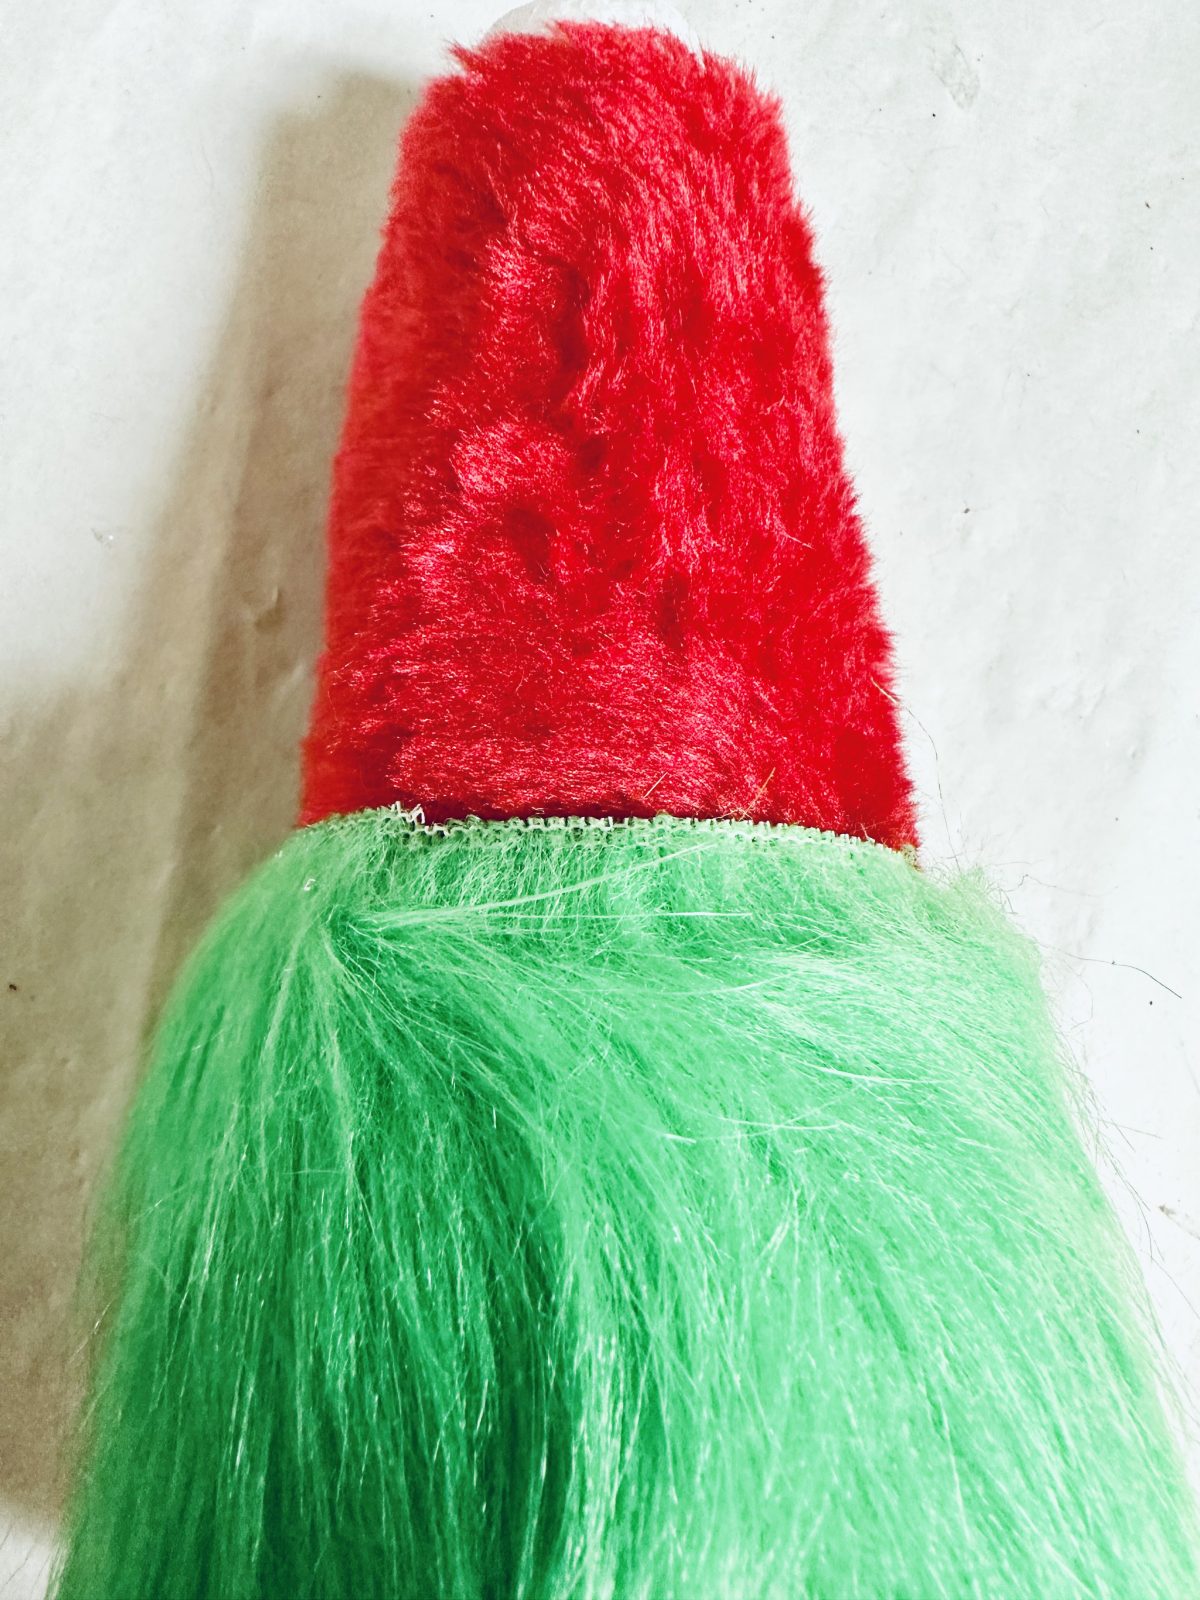
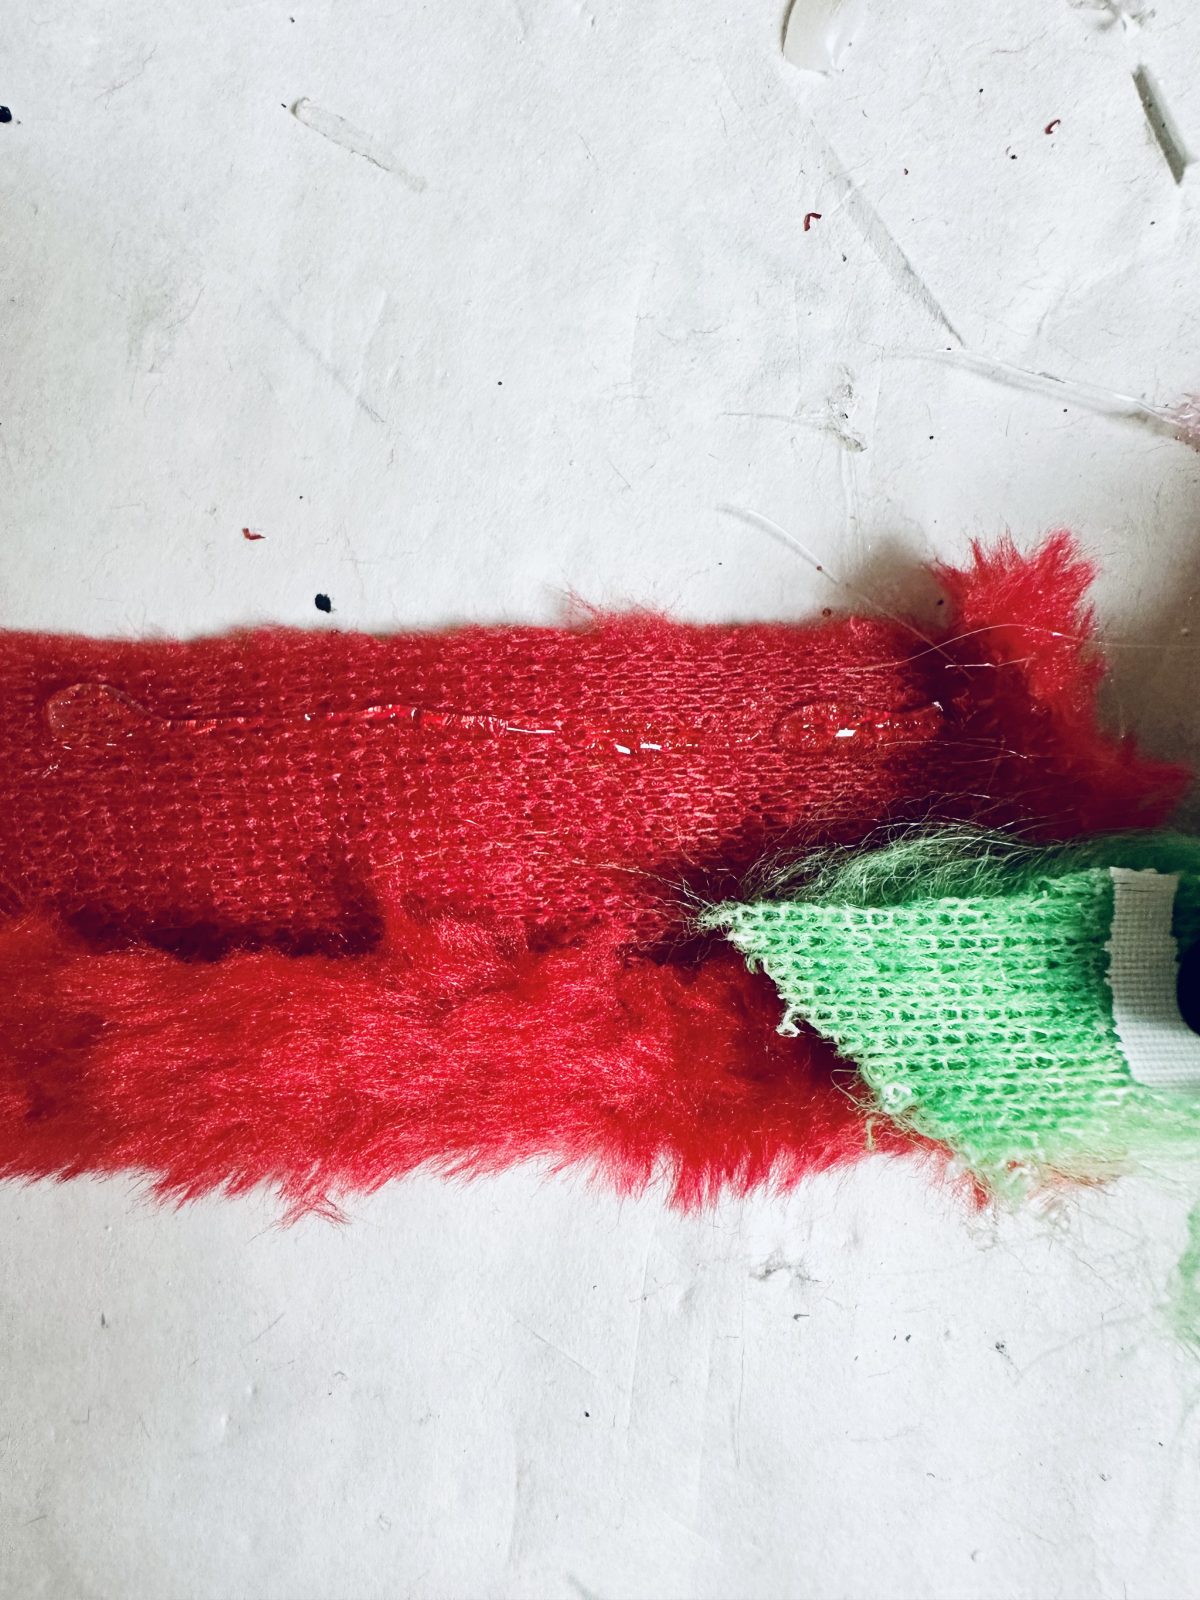
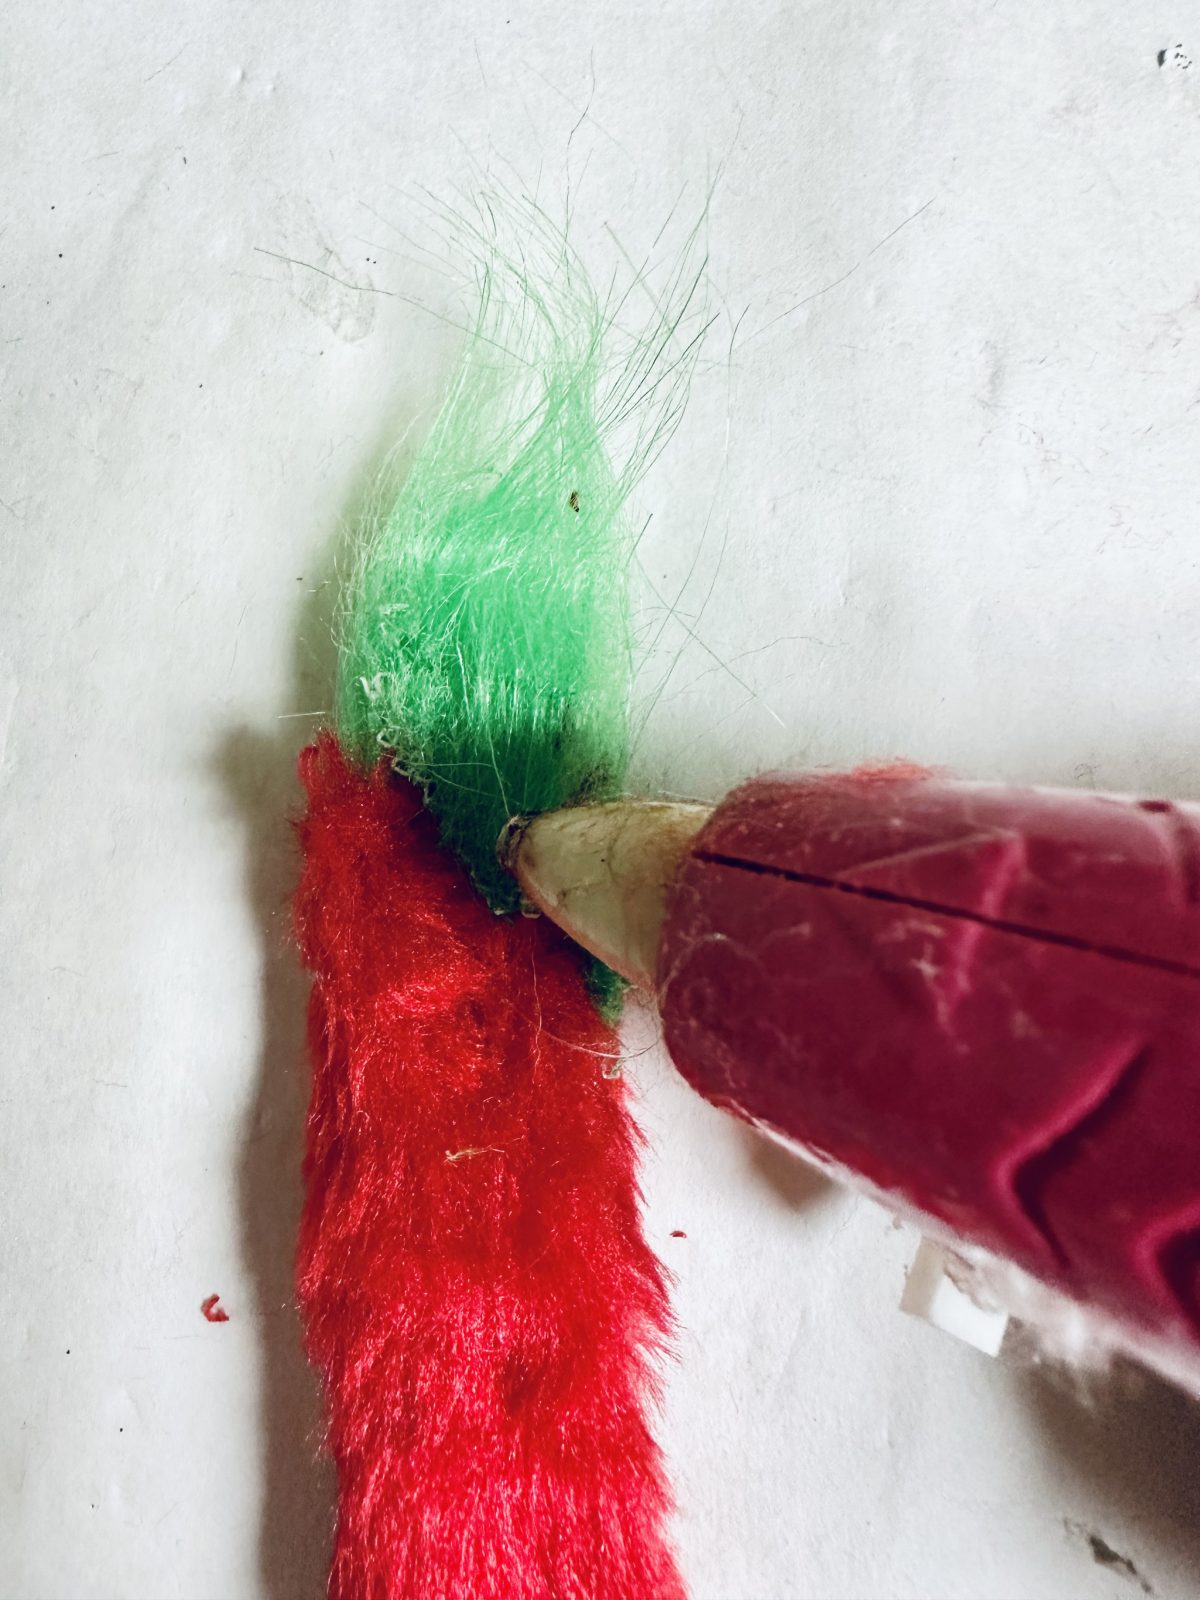
Add a line of hot glue to the backside of the faux fur along the top and press firmly to the cone.
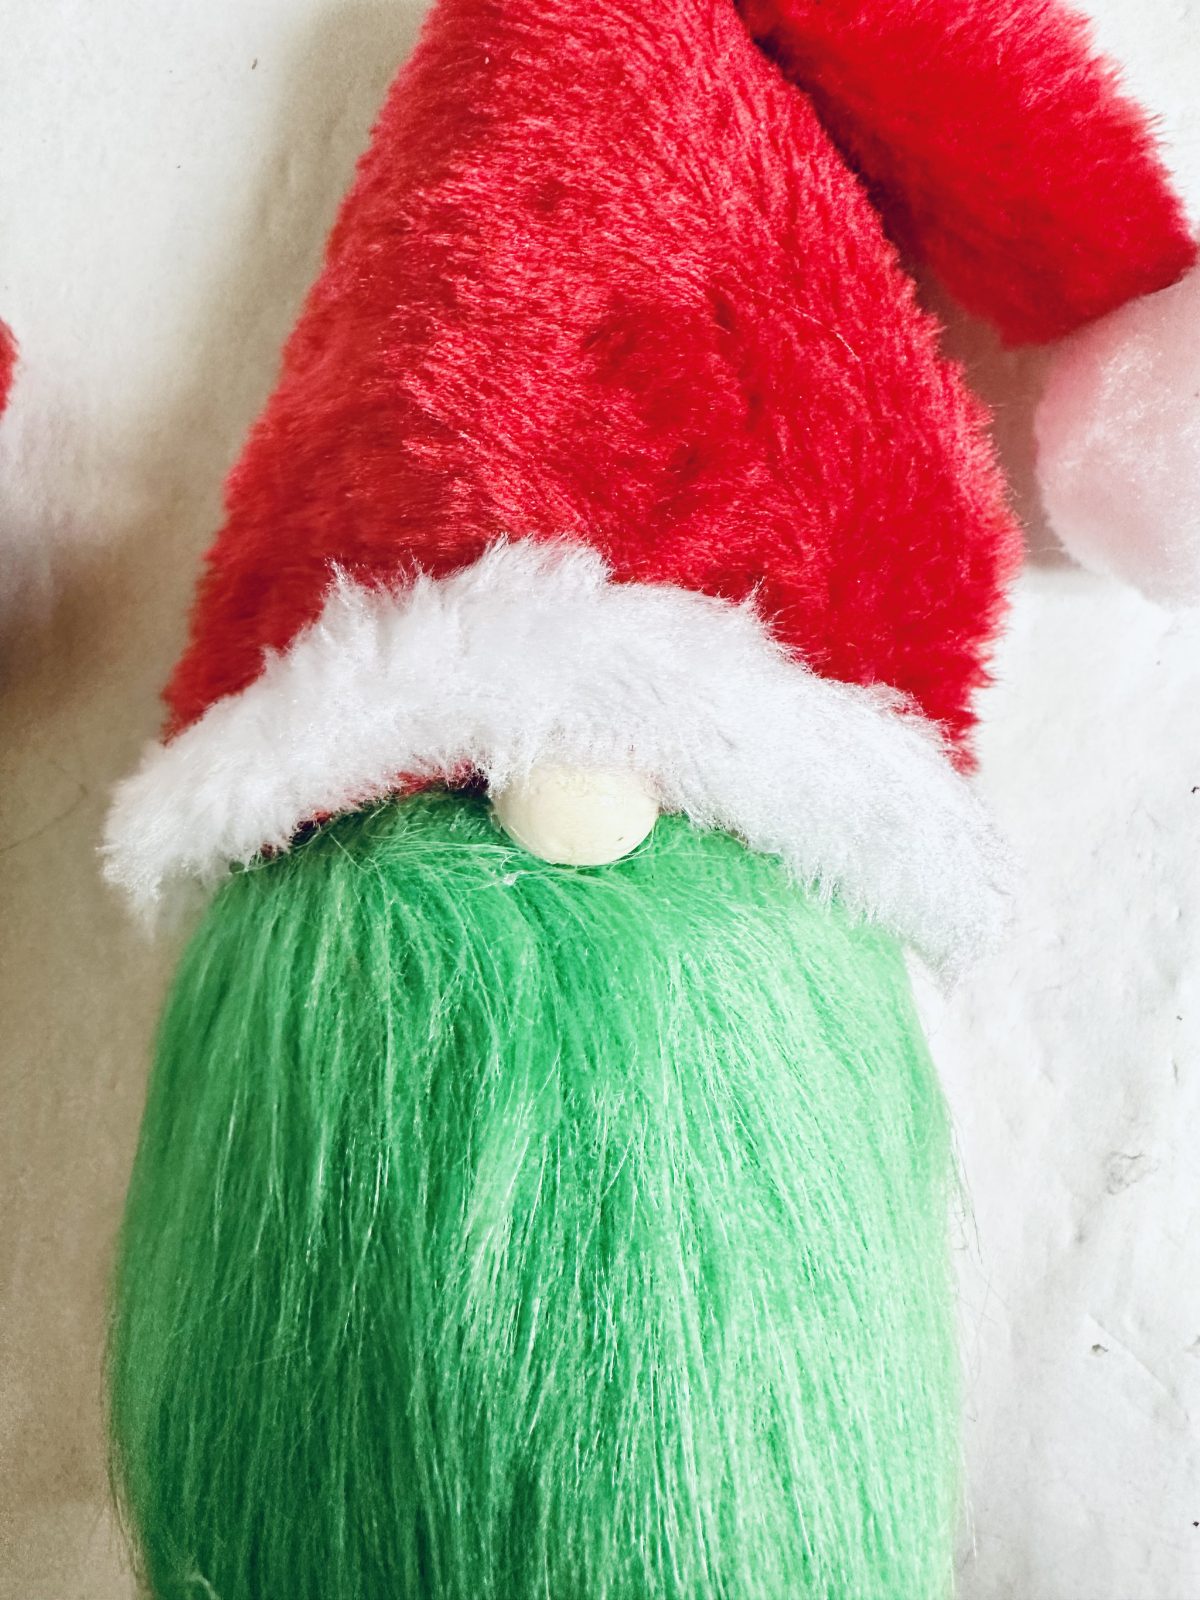
Add a dab of hot glue to the bead and press firmly to the cone.
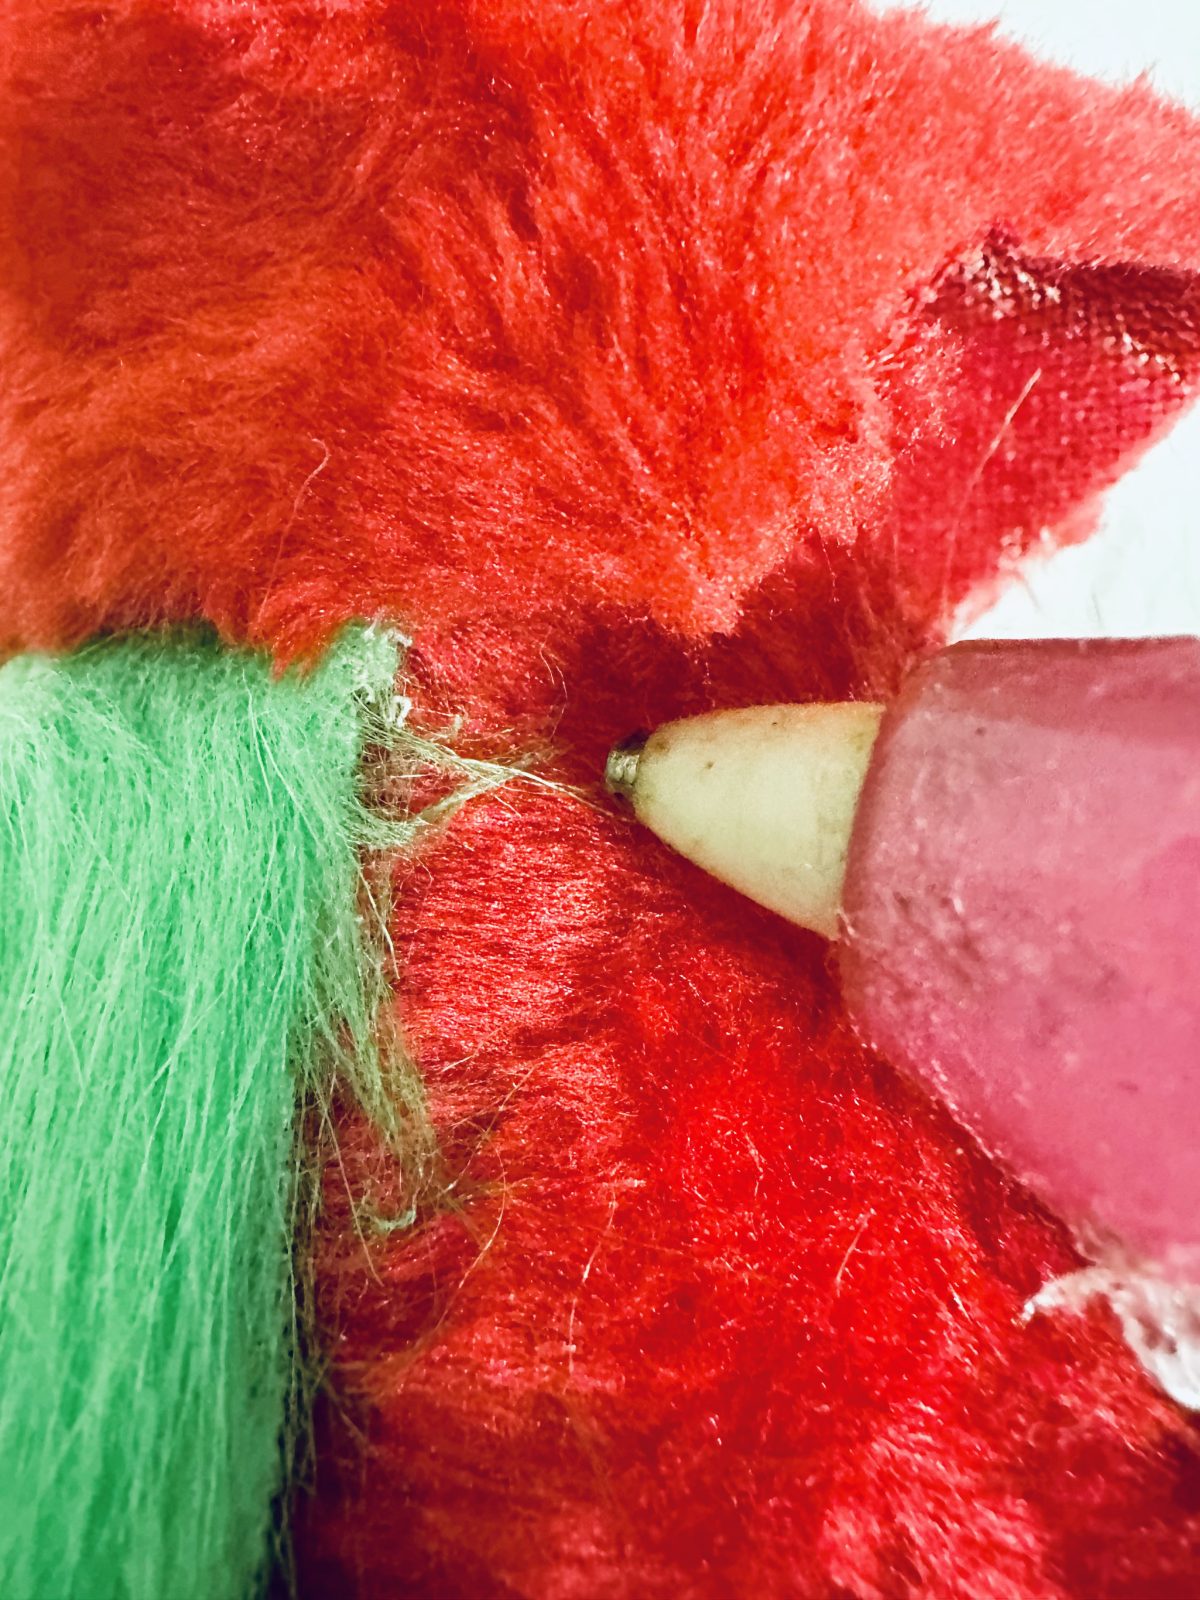
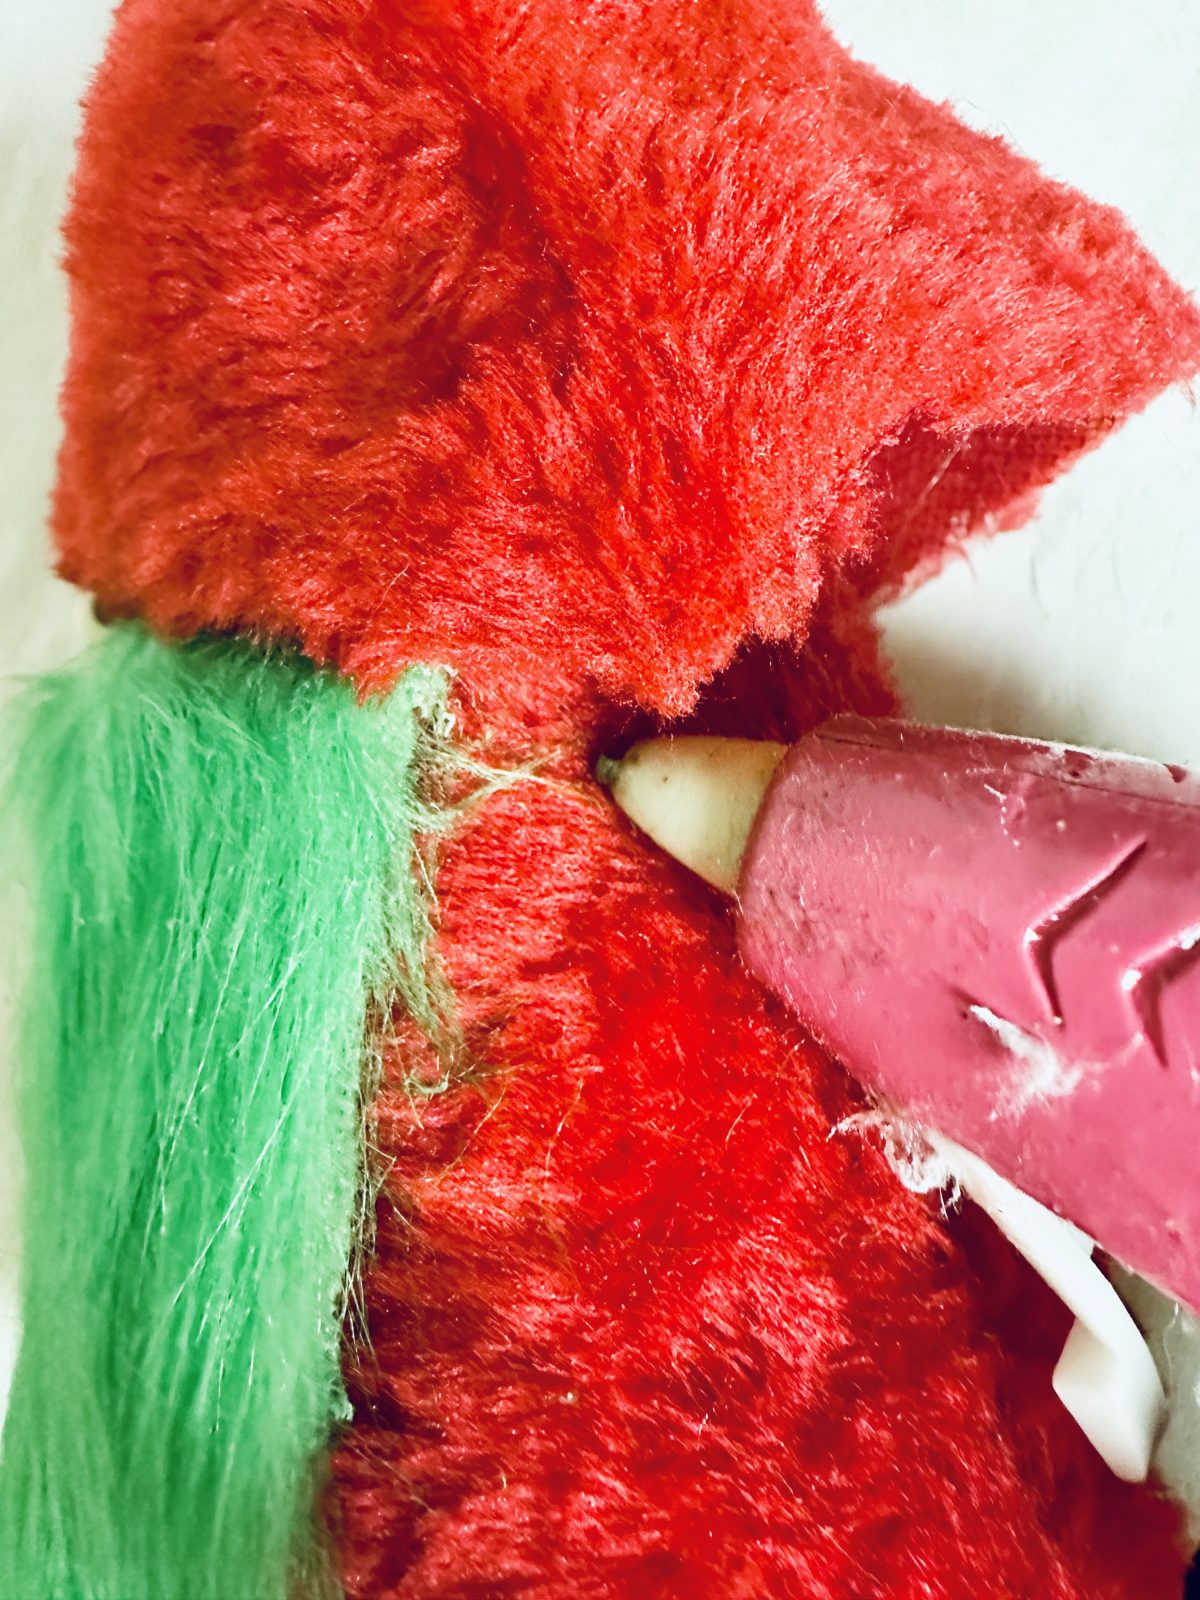
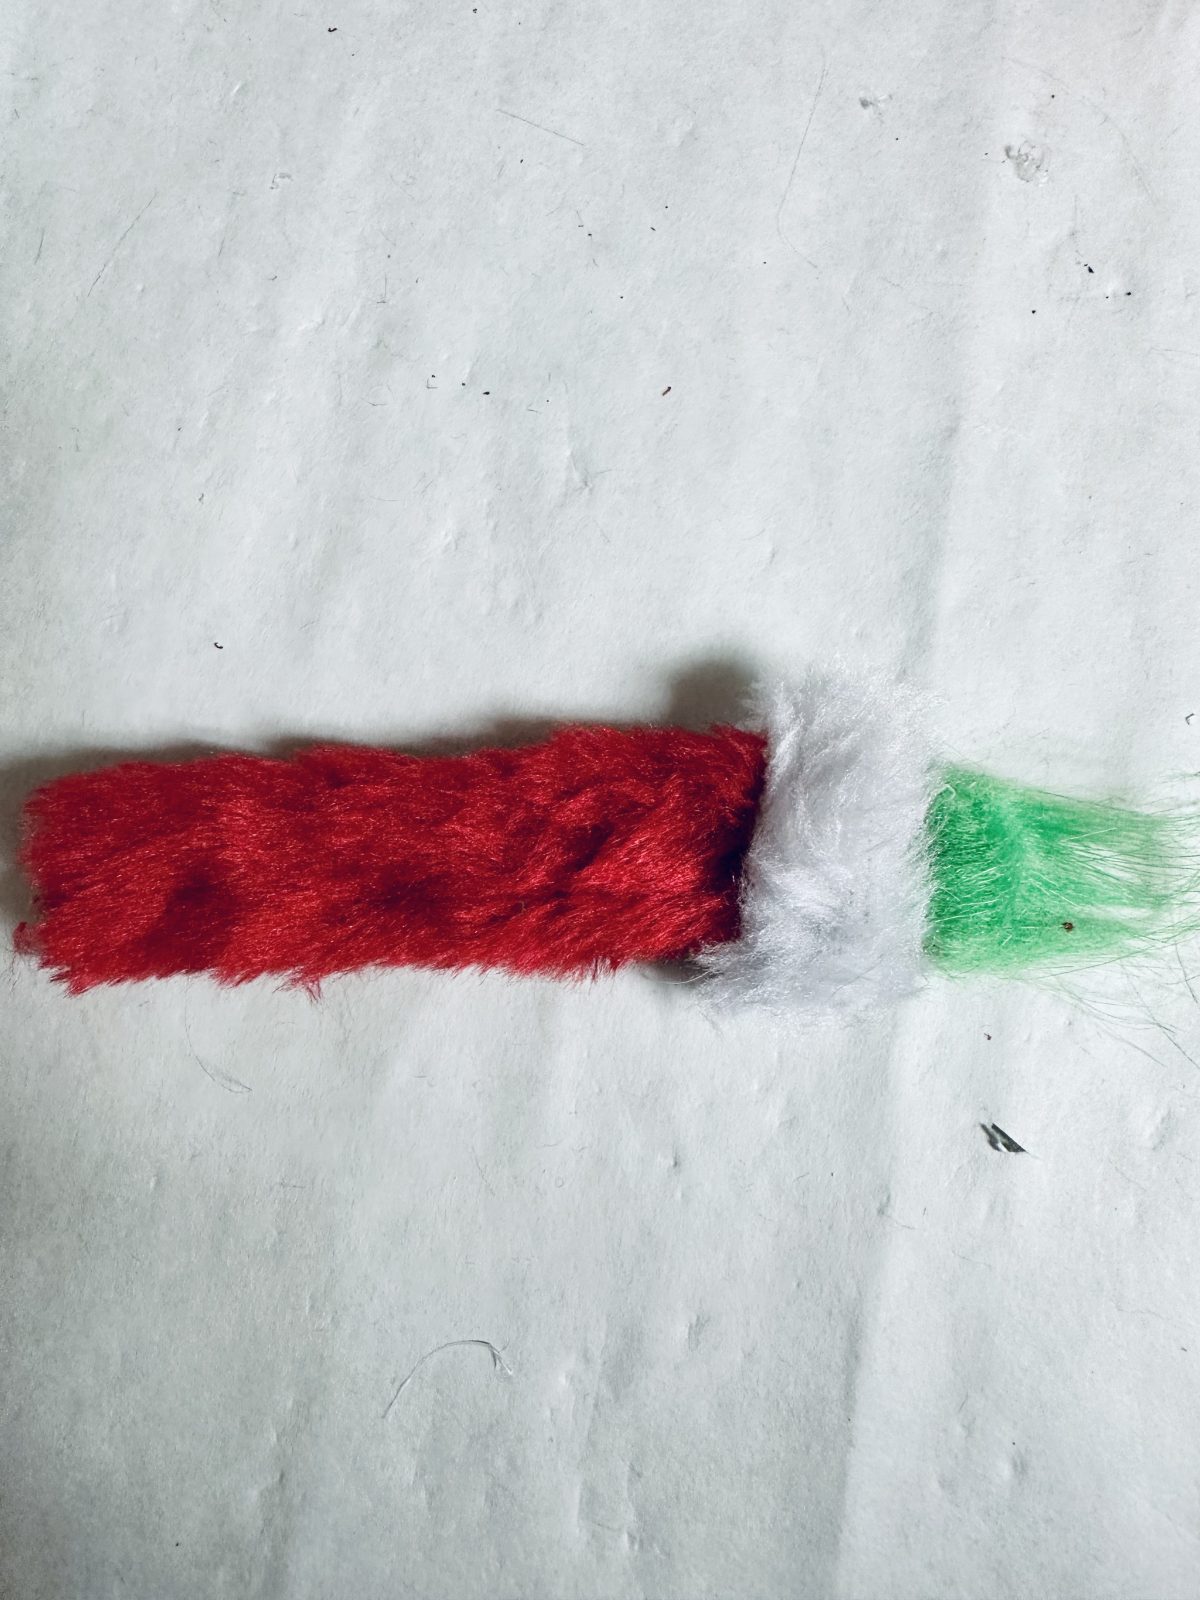
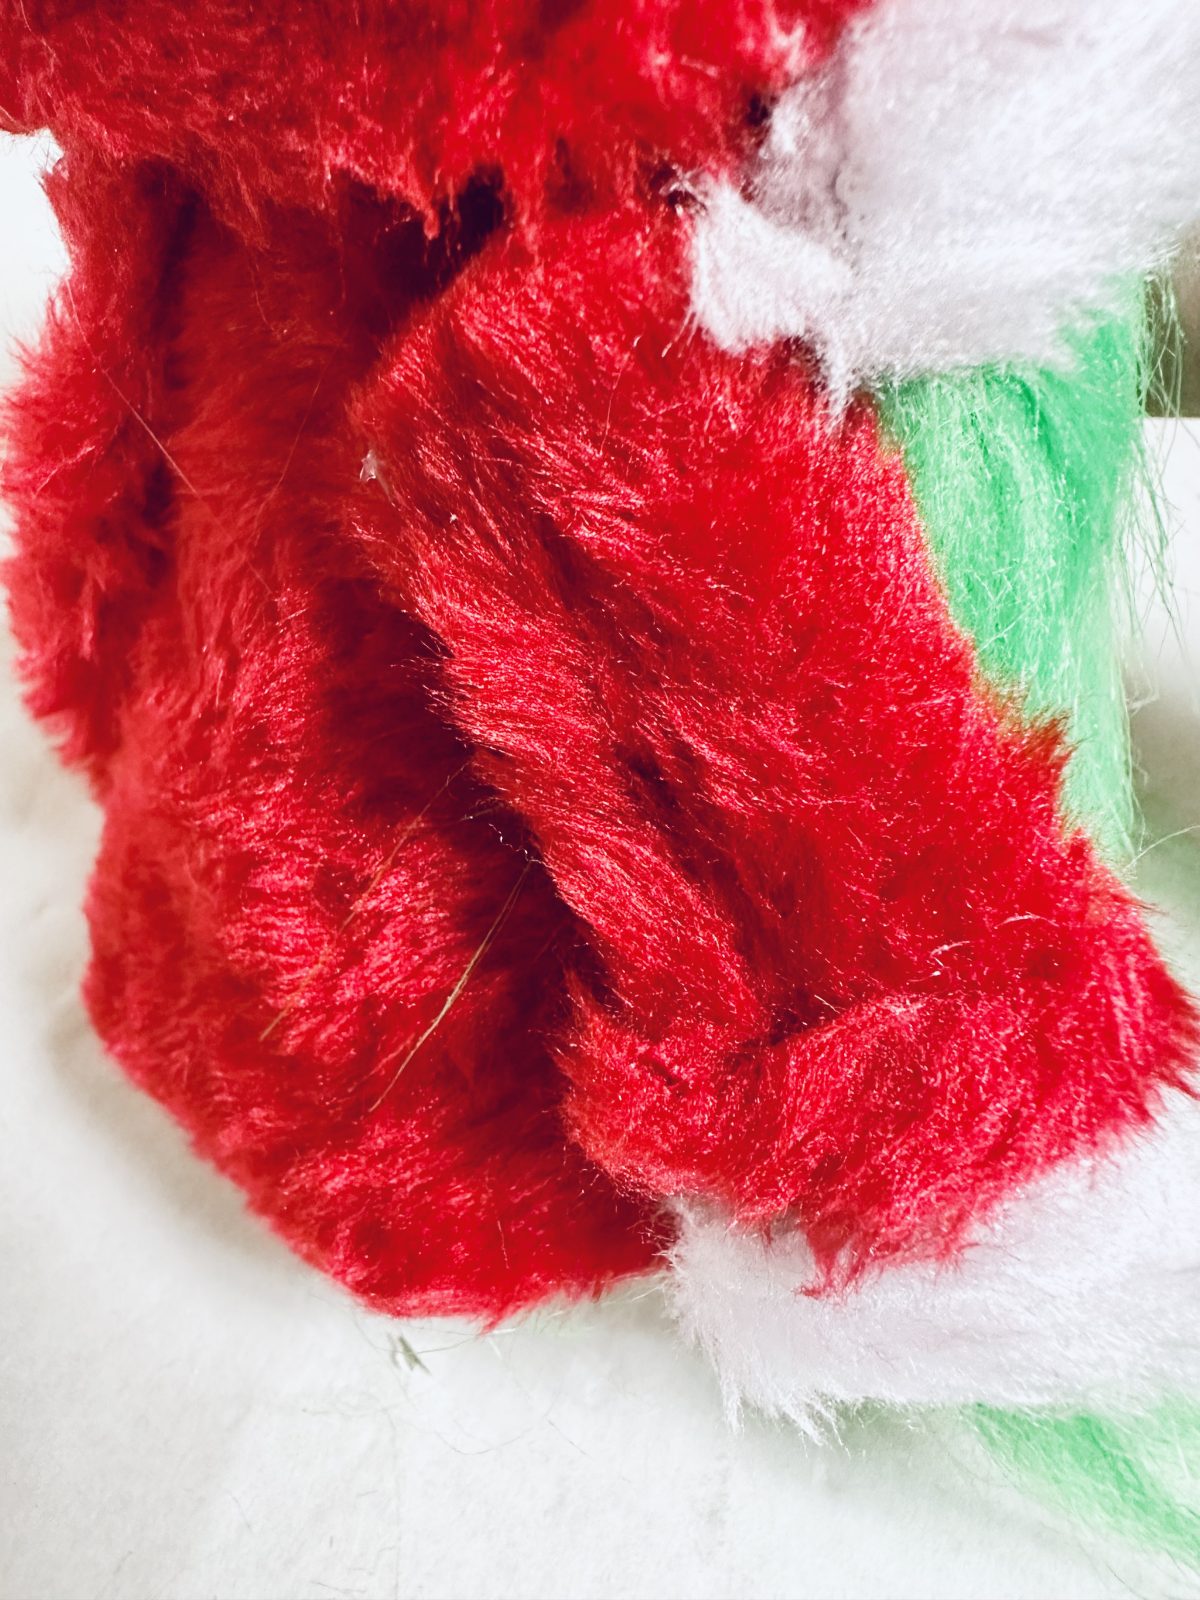
I next added the hat section, by applying some hot glue. I used the left over piece of the white fur (that we trimmed off earlier) and cut it to make the top rim of the hat.
Cut a 2.5 inch by 2 inch piece of cardstock and write Merry Christmas in Red and then write Grinch over it in the green. Add a dab of hot glue to the skewer and apply it to the backside of the cardstock to make the sign.
I then used some of the left over red fabric to make the arms. I cut 3 inches by 2 inch pieces, and used some of the left faux fur pieces to make the hands. Put a dab of hot glue on the end of the fabric and place the faux fur on top, add a thin line of hot glue and roll the fabric to make the arm shape.


What do you think of this project? Let us know!