
Get more details about this project
What you need
Supplies
1 White 5-gallon Bucket with Lid
Black Permanent Vinyl
Flashlight or lantern
The Mountains are Calling Cut File


Tools
Cricut Explore Air 2 or Cricut Maker
Light Grip Mat
Transfer Paper (I used Press-n-Seal Wrap
Weeding Tools
Spatula Tool, optional

Instructions
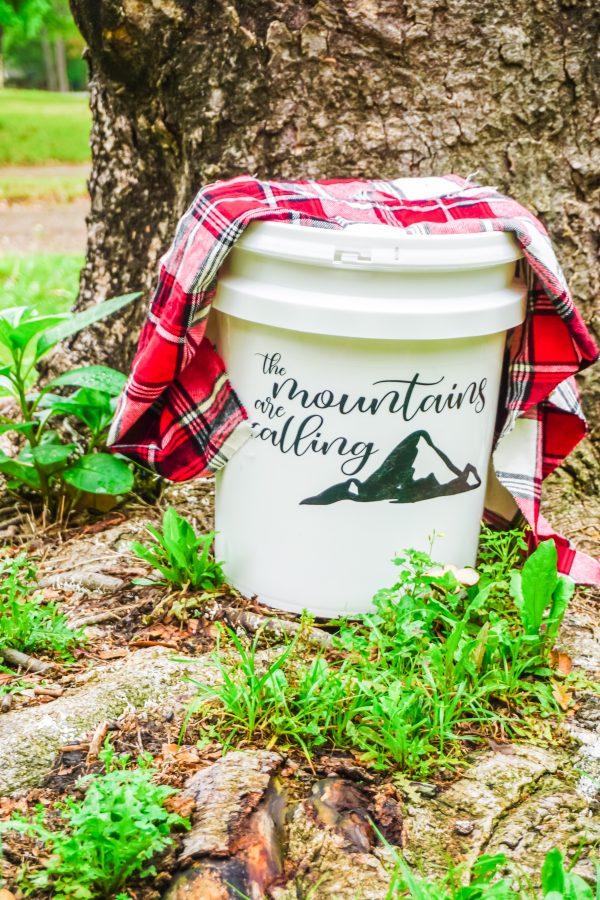
Camping is lots of fun and a great way for the family to spend time together, but camping can also feel overlwemcing and “too hard”. Projects like this light up bucket are not only fun to make but they are great practical items too. Being able to find your camp in the night is one thing less to worry about. It is also a great way for kids to find their way back when they have been of playing with their new camp neighbors’ kids.
Some other great solutions for making camping easier is making sure you are prepared .
1) Test your gear.
Make sure everything is working. Make sure you test putting up your tent, make sure you have everything you need to do so. One of the most common things to forget is either the Peg mallet


2) Research your campsite.
Check what facilities are available where you are going, even if you have been there before check everything is working, still there or if new additions have been made. This will help you to decide what you need to take with you on this trip. Make sure there is drinking water available or pack accordingly.
3) Read up on the bad stuff
Check out reviews and make sure to make adaptations, common reviews may be the site has lots of bugs, snakes or wild animals. Make sure to pack insect repellent, bear spray
5) Take extra
Take extra rope, I don’t know what you will need it for but it is always handy, as well as duct tape which can fix a hole in a tent and fix a hole in the shoe. Scissors! I always take scissors as well as knives.
6) Take great lighting.
Struggling to cook is an issue, struggling to shower is an issue, make life easier with good lighting, such as our DIY bucket. Take solar lighting
7) Remember the little things.
Bottle opener matches in a dry container, Hand brush for dirt in the tent, Baby wipes, vomit bags
So let’s get started on making this Bucket Lantern for your camping trip!
Instructions
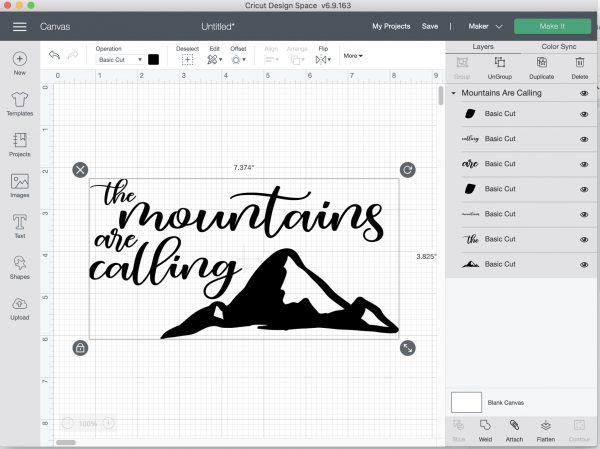
Download your cut file and upload it to Cricut Design Space. Resize the design to fit the front of the bucket (I measured my bucket front area to be about 9-inches wide).
Then, for ease, attach all of the design elements by highlighting all of them in the right tool bar and selecting the “attach” button in the lower right.
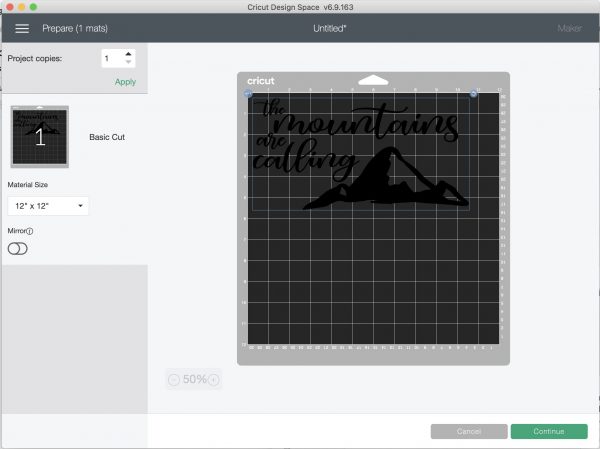
Select the “make” button in the upper right corner and connect your computer to your cutting machine.
Select the material you are cutting (vinyl) and make sure you have the correct blade in the machine.
Place the vinyl on your light grip mat and ensure it is face-up, smoothing it down so that portions of the vinyl backing sheet makes contact with the mat so that it will not lift up and mess up the cut.
Load the mat into the machine and tell Cricut Design Space to proceed with the cut.
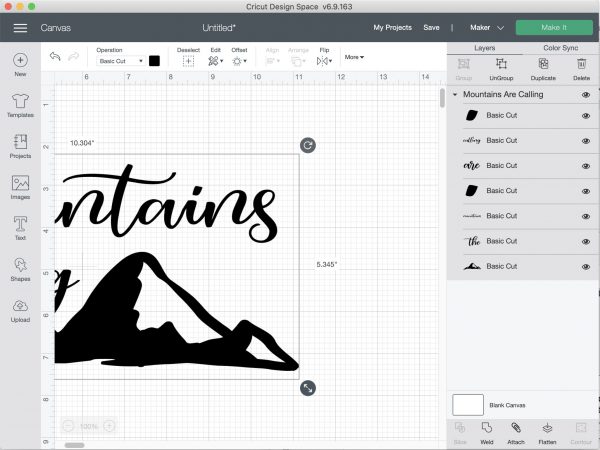
Once the cut has been made, remove the mat from the cutting machine.
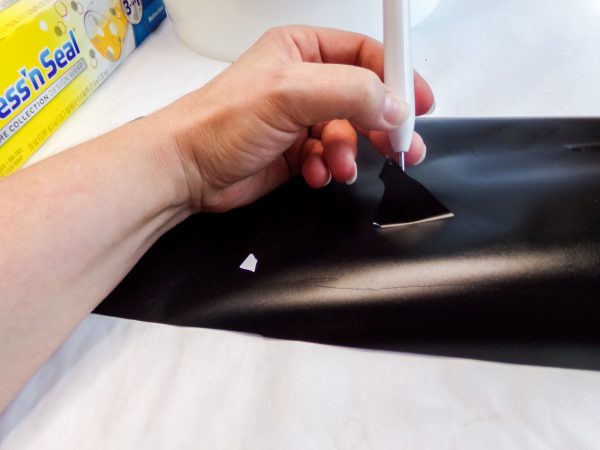
Weed the unnecessary vinyl from the design and discard.
Remove the design (still attached to the backing sheet) from the mat and place vinyl-side-up on a hard surface like a wood table.
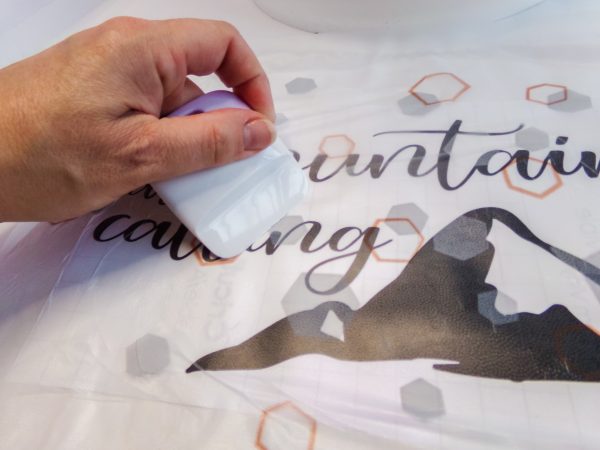
Cover the design with a sheet of transfer paper with the “sticky side” down. Rub vigorously over the design with a spatula tool or your fingernail to attach the transfer paper to the vinyl design.
Gently and carefully peel the transfer paper away from the vinyl backing sheet, pulling the vinyl away from the backing sheet with the transfer paper. If you have trouble transferring a piece of the design, just work slowly and go back over it with the spatula tool.
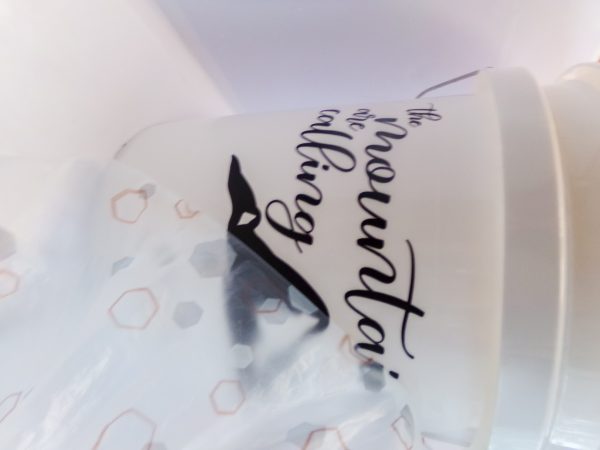
Using the outer corners of the transfer paper to control the design, position the design onto the side of the bucket where you want it, taking care not to let the vinyl touch the bucket or it will affix permanently. If you find it hard to keep the bucket steady, place the bucket on its side in the floor between your feet. You can hold the bucket steady with your feet, freeing your hands to position the design.

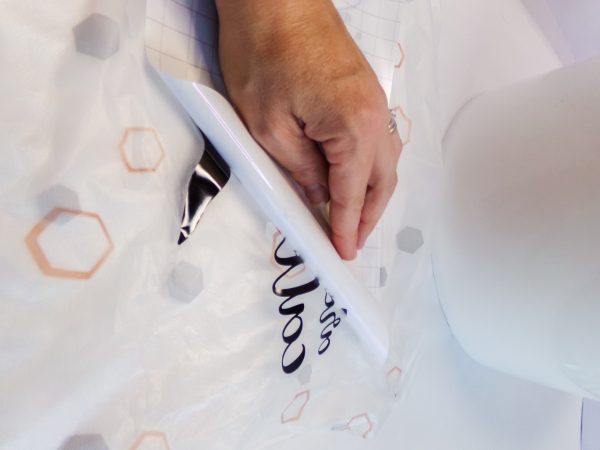
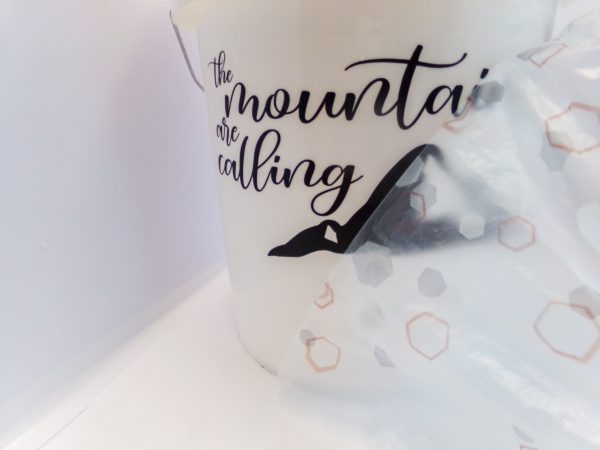
Once you have the vinyl design in place where you’d like, press the cling wrap down evenly, using the spatula tool to work out any small bubbles and smooth the design around the curve of the bucket.
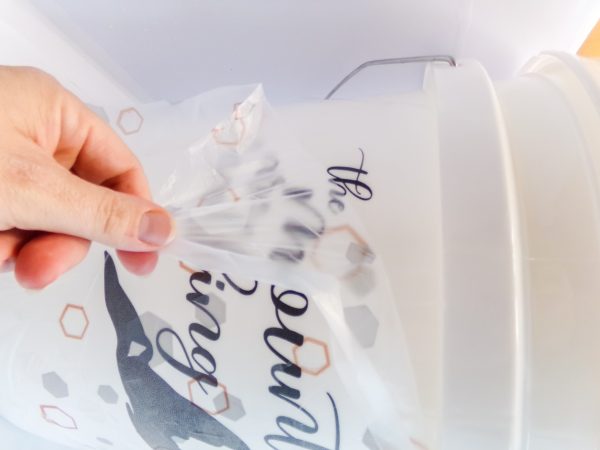
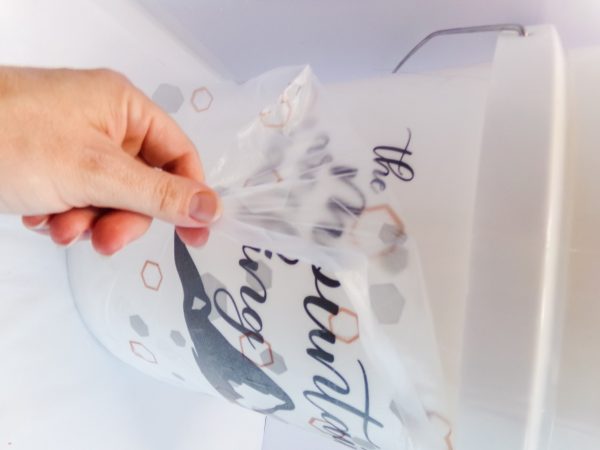
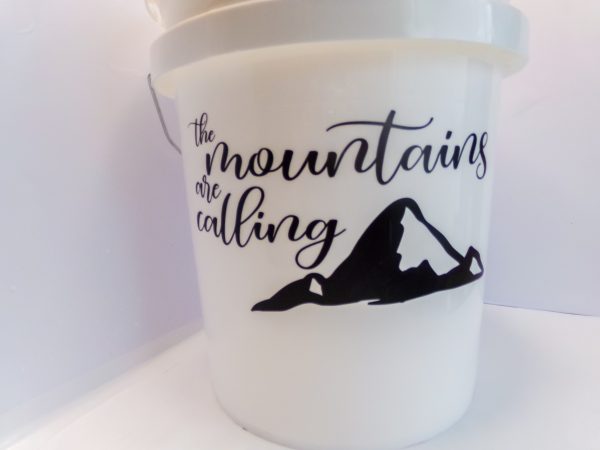
Peel away the transfer paper and discard. Your bucket is now ready for use.
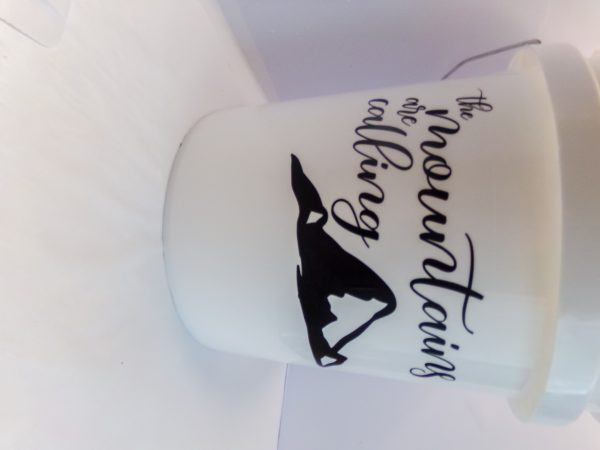
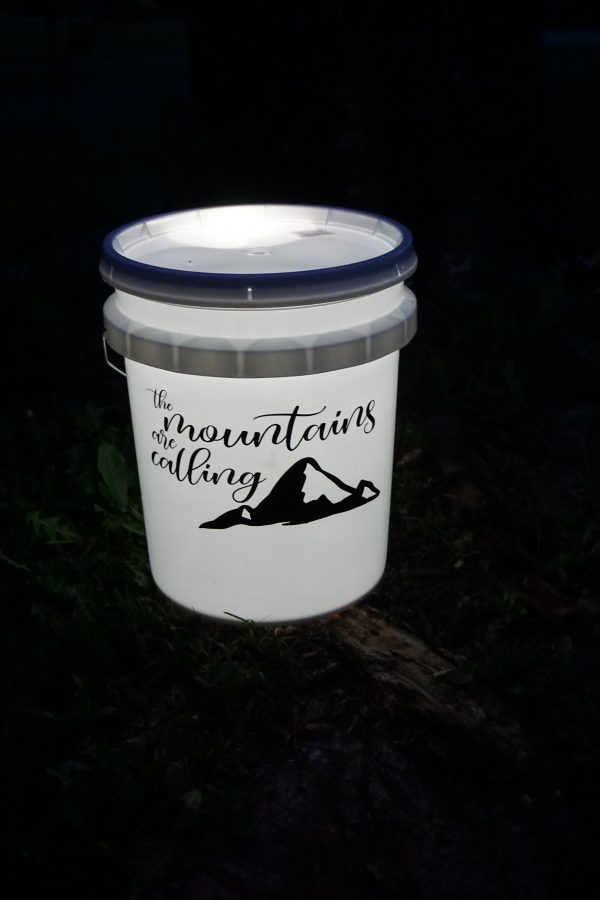
When it’s dark outside, place a flashlight inside the bucket while on, then replace the lid. The bucket will produce a nice glow.


I agee with Phyllis… It is a cool idea.. But if you dont have a Cricut… It is not about a crafting!! LOL
This tutorial was more about making & placing the Cricut transfer then making a camping light. You could have just said put a torch (yes i’m English/Australian) in a white bucket & put on the lid.