
In this easy DIY tutorial, you’ll learn how to craft your very own gnome-themed autumn wreath using simple supplies like faux leaves, rustic fabrics, and a playful gnome hat centerpiece. Whether you hang it on your front door, above the mantel, or even gift it to a fellow gnome lover, this project adds a delightful and enchanting touch wherever it goes.
If you’ve been searching for fall wreath ideas with personality, this project is the perfect blend of seasonal warmth and handmade charm. By the end, you’ll have a wreath that not only celebrates harvest season but also brings a smile to everyone who sees it.
Get more details about this project
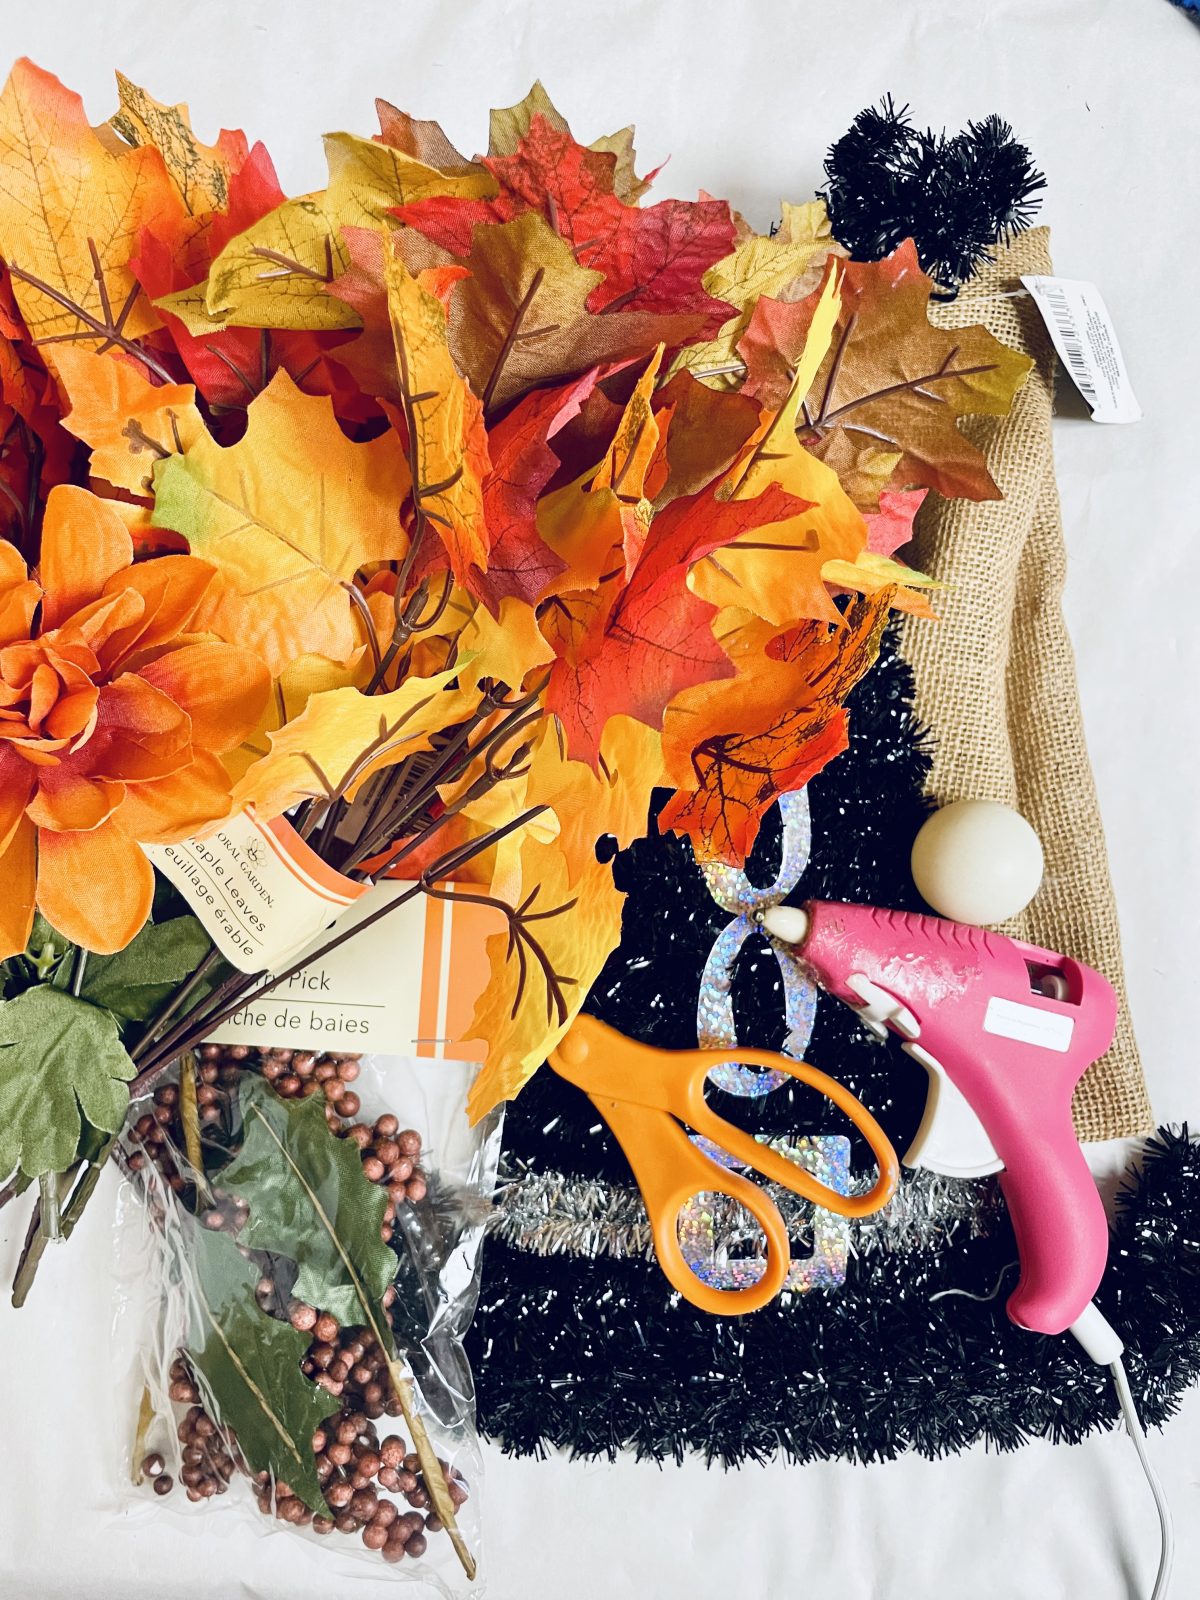
What you need
Dollar Tree Witch Hat (it has black tinsel on it and the word boo)

Scissors
6 Zip Ties

Hot Glue Gun/ glue sticks


Instructions
 Welcome to our DIY tutorial that will inspire you to infuse the enchanting spirit of fall into your home decor! As the air turns crisper and leaves transform into a symphony of colors, there’s no better time to embark on a creative journey and craft a piece of autumn artistry.
In this step-by-step guide, we’ll walk you through the process of crafting a captivating Fall Gnome Wreath that will not only evoke the cozy vibes of the season but also greet your guests with a whimsical embrace.
So, gather your crafting supplies, and let’s dive into the world of DIY magic, where imagination and nature’s beauty collide to create a charming masterpiece for your doorstep.
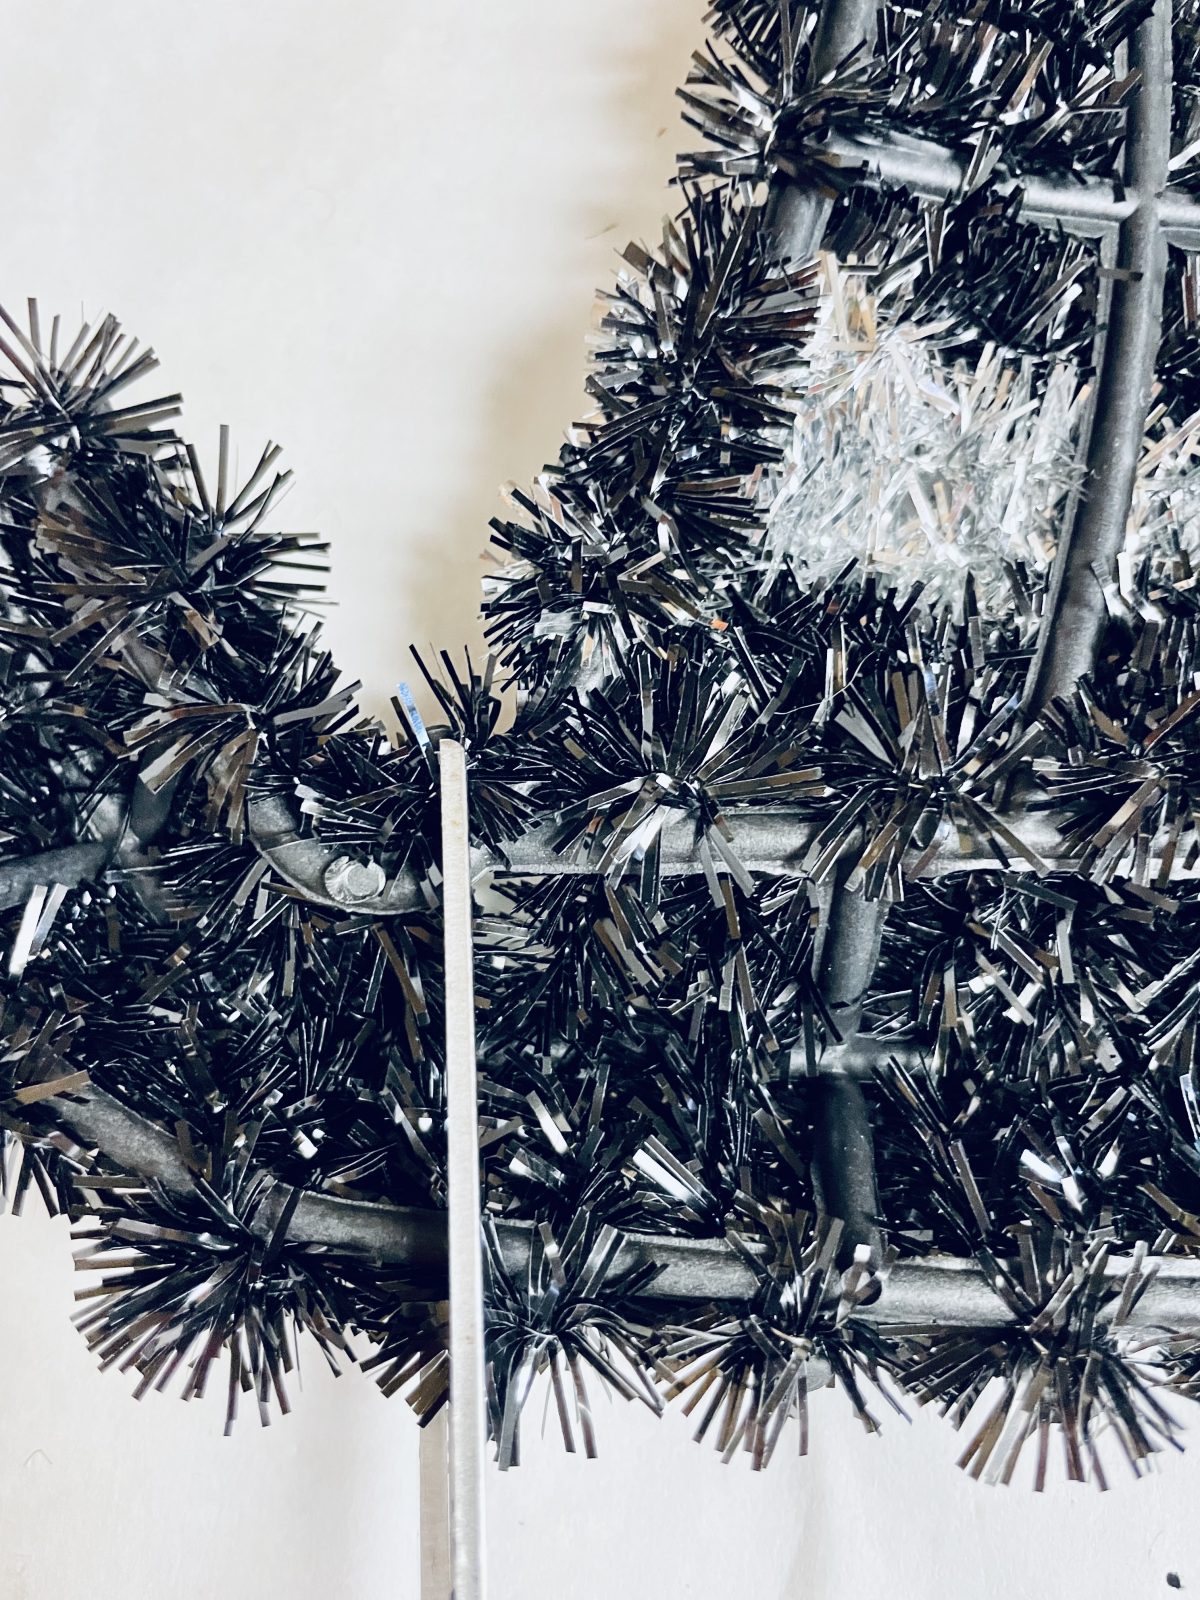
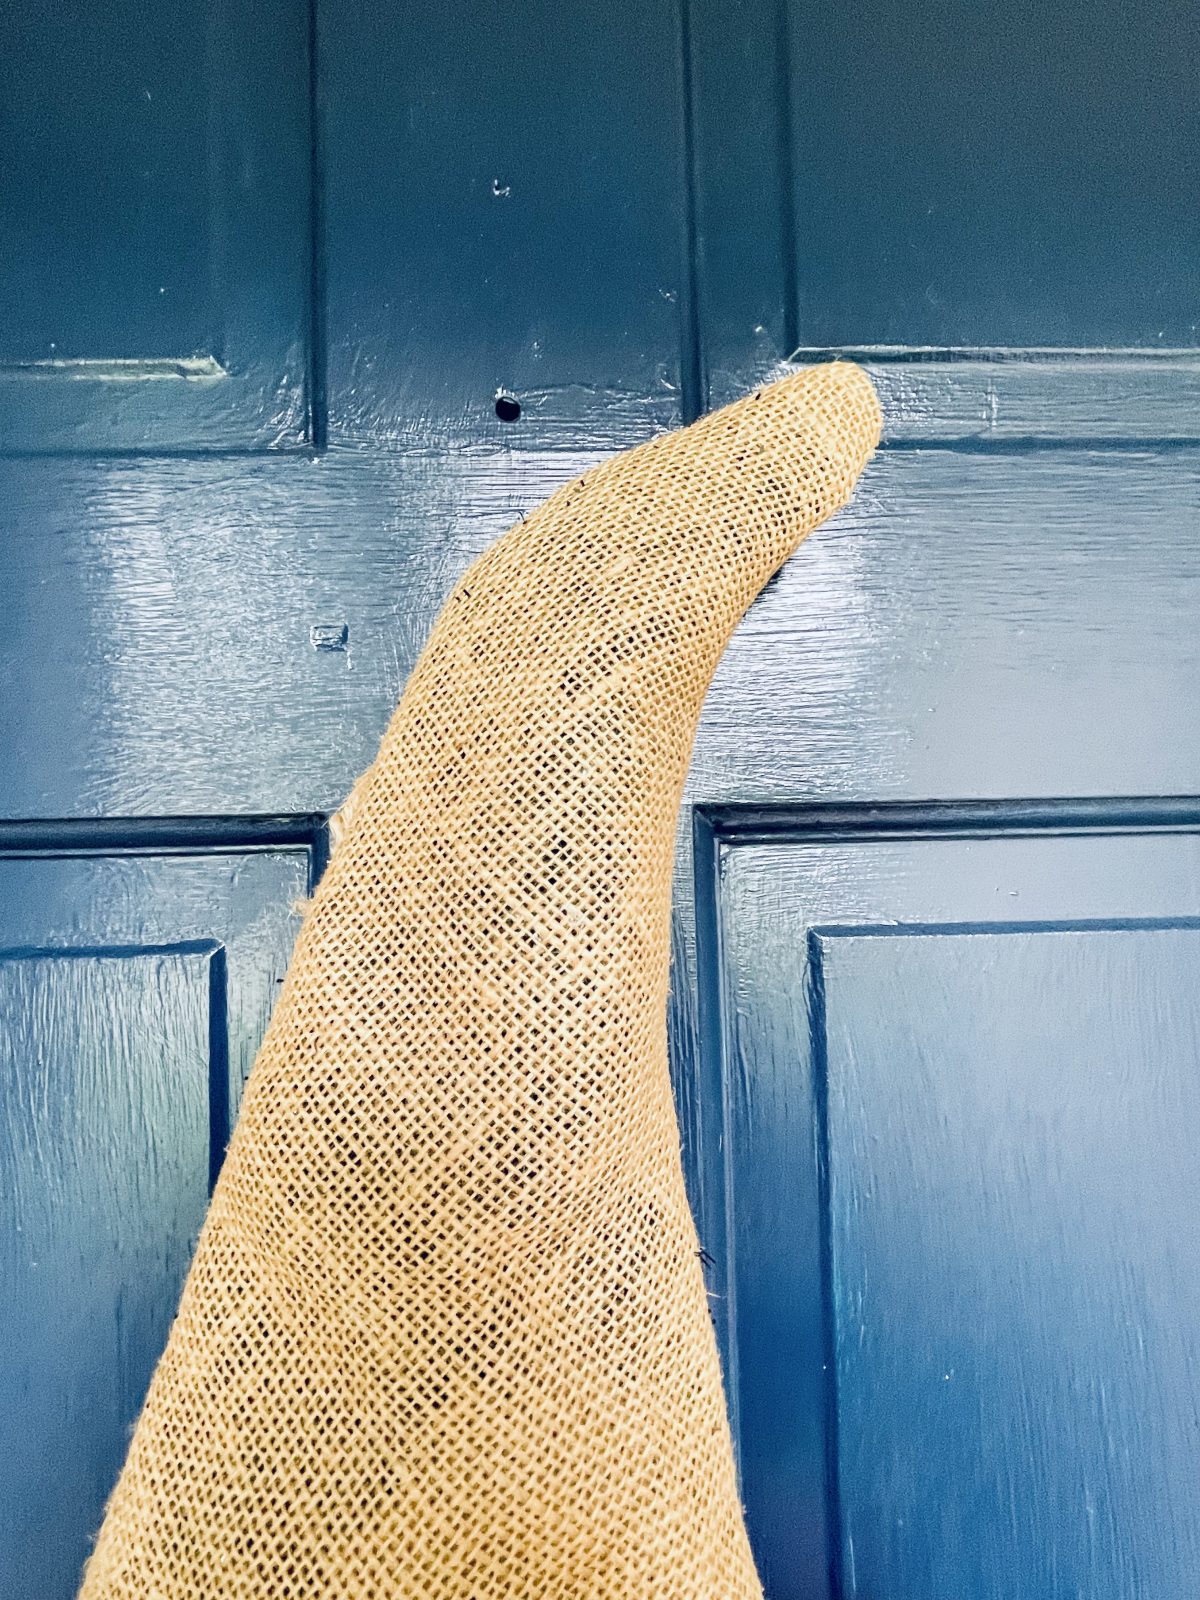
Now, onto the gnome magic-making! First, let’s shed that silver “Boo” and any pesky silver parts on the hat (we don’t want those peeking through the burlap, but black is our buddy). Flipping that wreath like a pancake, grab them scissors and snip off the hat’s extra tail ends. No need for those; they’ll just make our hat go all sideways on us.
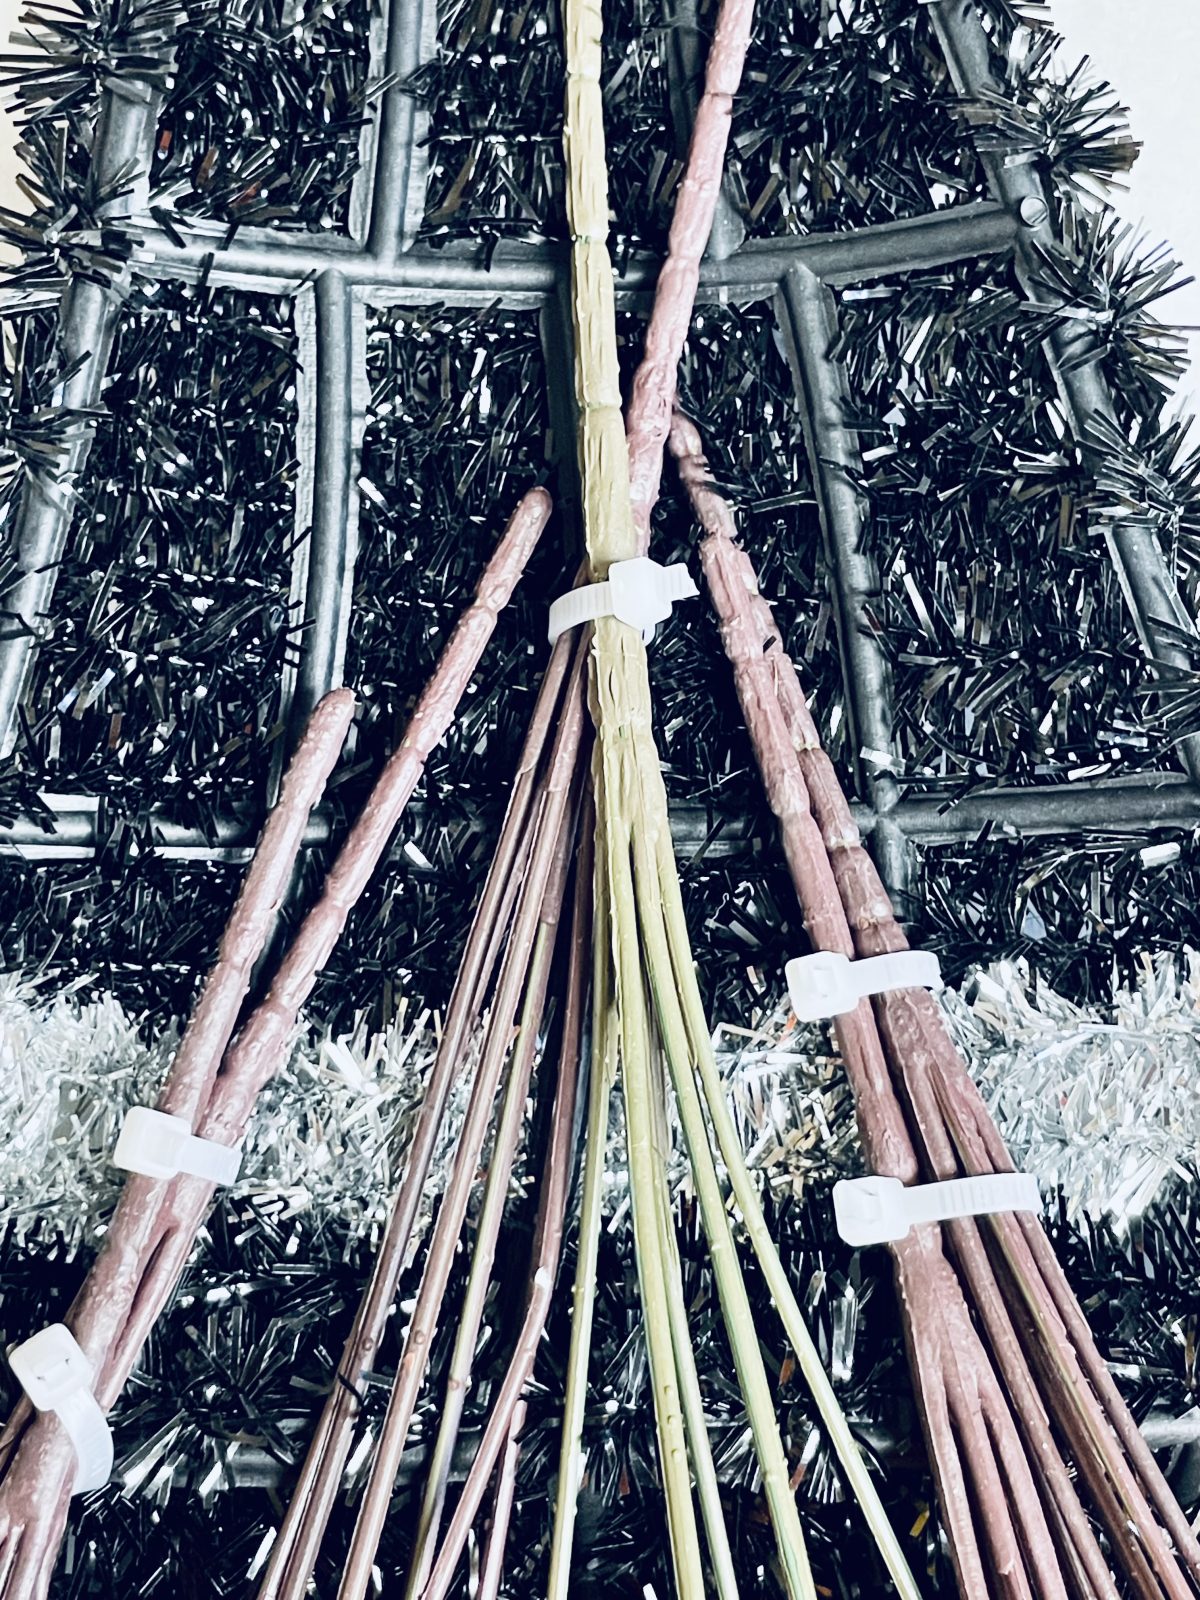
Lay ’em out like you’re setting up a flower parade. I’m all about the buddy system, so I paired ’em up in twos and gave ’em a backstage pass by zip-tying them to the hat’s backside. Now, here’s the trick – let them leaves hang low beneath the hat like a gnarly beard. Snip the zip tie’s tail for a neat finish.
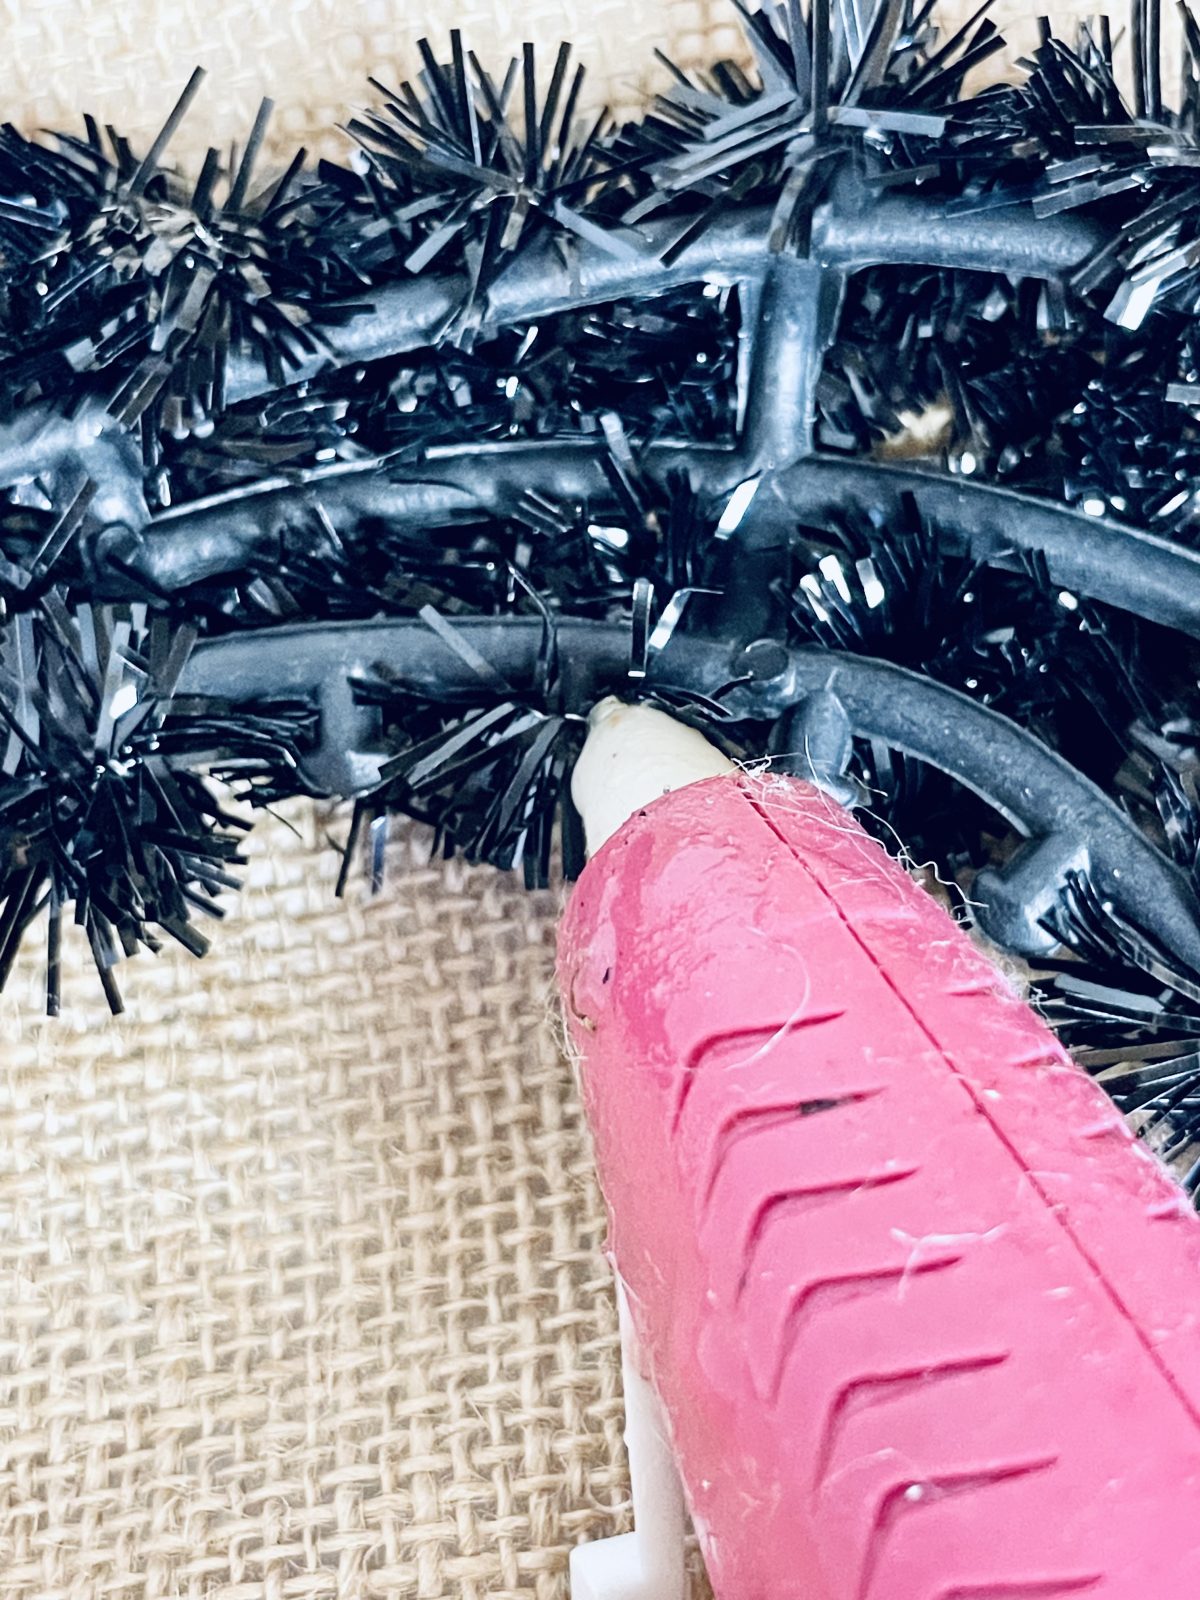
Next lay your piece of burlap underneath the hat. I trimmed around it so I wouldn’t have a lot of excess and would have some for future projects. Add hot glue to the plastic sections of the backside of the wreath and fold the burlap over it. Press that glue down real good – just remember, burlap’s got holes, so guard your fingertips with them Dollar Tree hot glue protectors (I kinda forgot and ended up with some heated fingertips, oops).
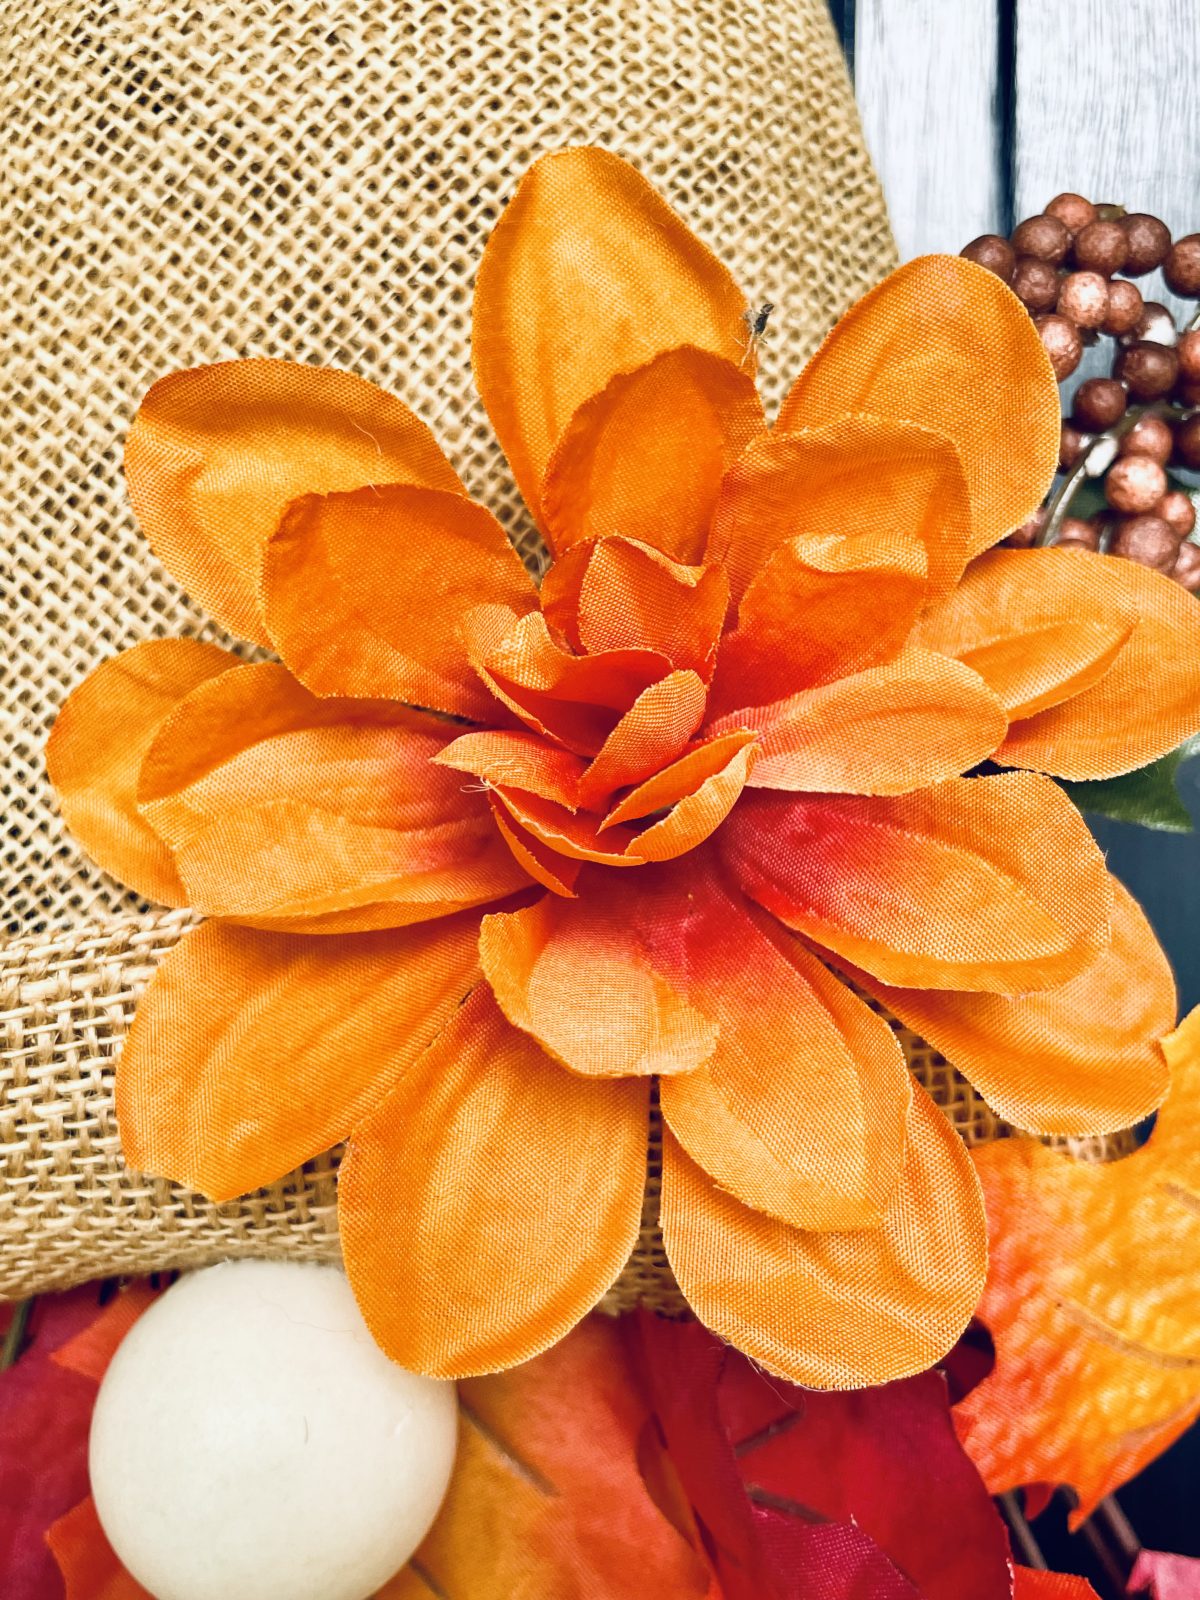
Repeat this until the entire hat is covered. I folded over the end so that I could make a lip so I could add the orange mum and one of the berry picks.
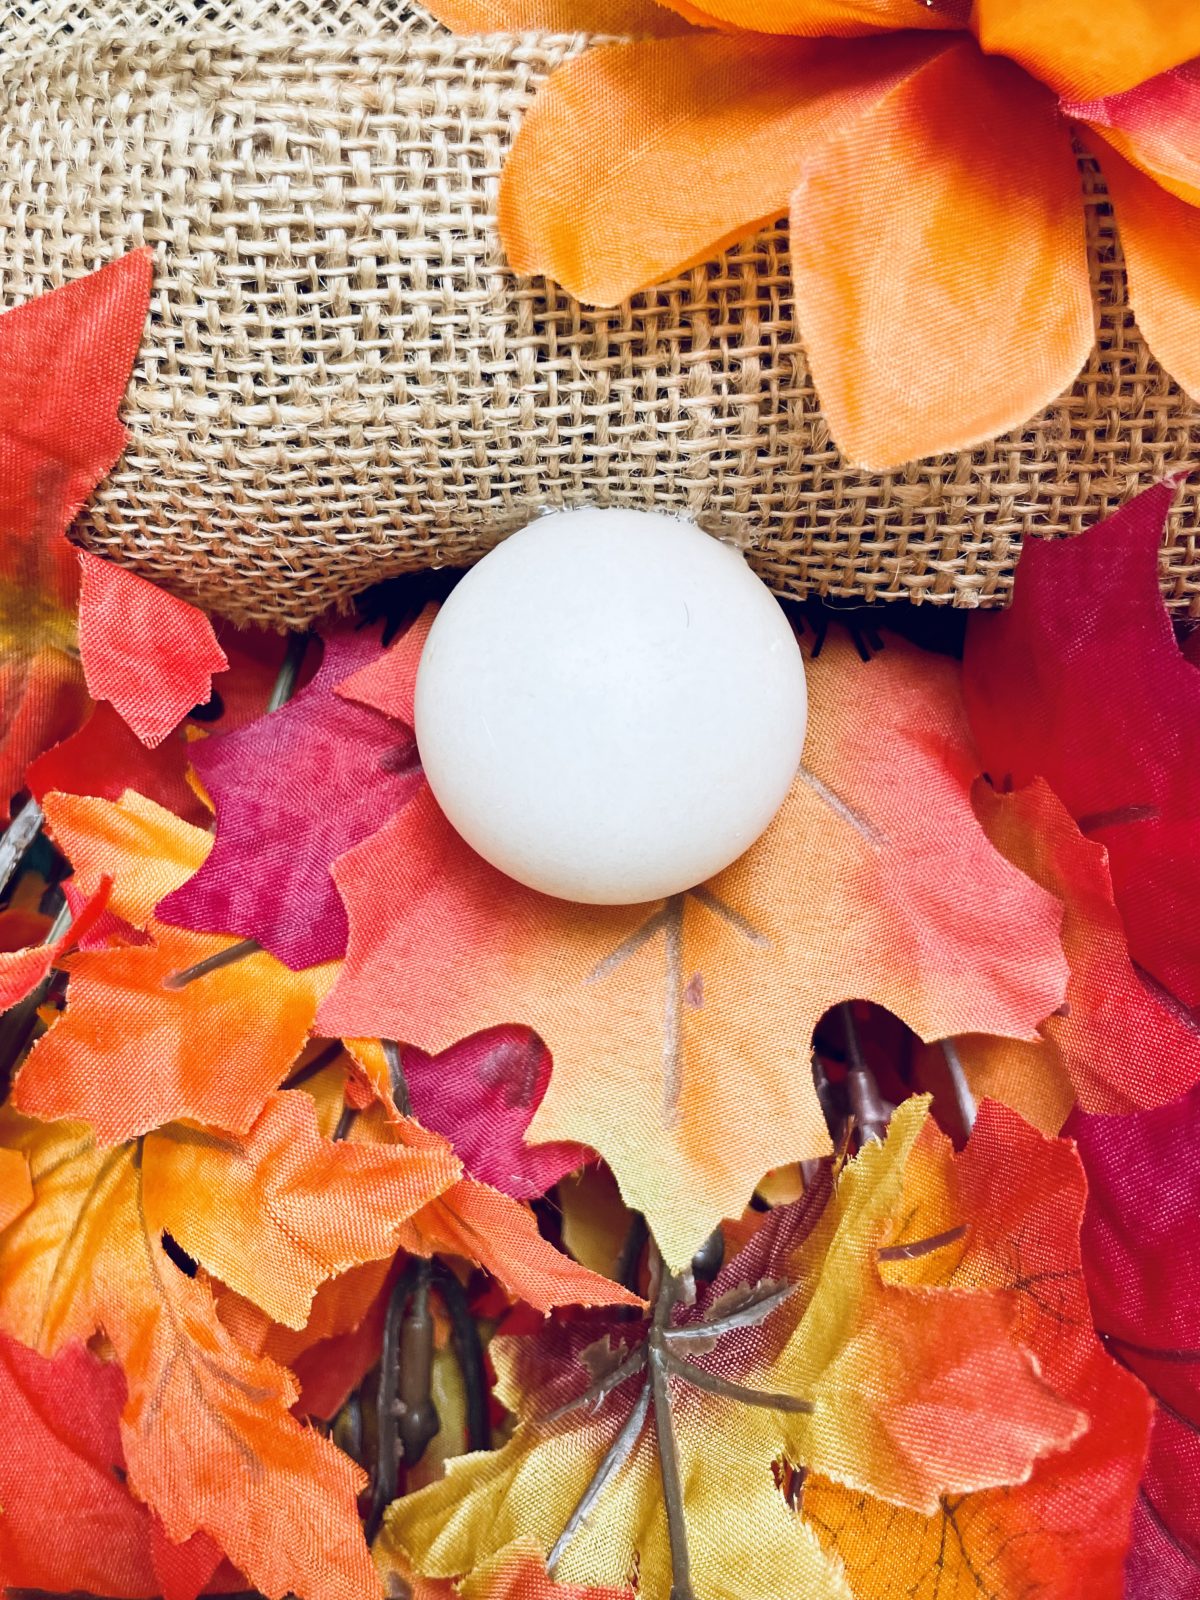
Dap some hot glue on the ping pong ball’s backside and slap it onto them leaves. Press like you mean it. And there you have it, folks – your very own Dollar Tree Fall Gnome Wreath, all spruced up and ready to give those autumn vibes a high-five.

As you hang your Dollar Tree Fall Gnome Wreath on your door or display it proudly within your home, take a moment to relish in the crafty victory. Every snip of the scissors, every twist of the zip tie, and every careful press of the hot glue has transformed ordinary materials into a delightful masterpiece that captures the essence of fall’s enchantment.
Whether you’re welcoming guests, hosting a cozy gathering, or simply reveling in the beauty of the changing season, your Fall Gnome Wreath stands as a testament to your creativity and dedication. So go ahead, give those autumn vibes a high-five, and bask in the heartwarming feeling of a DIY project well done. Happy crafting and embracing the magical spirit of fall!


I am making this tonight!
I think cool