
Get more details about this project
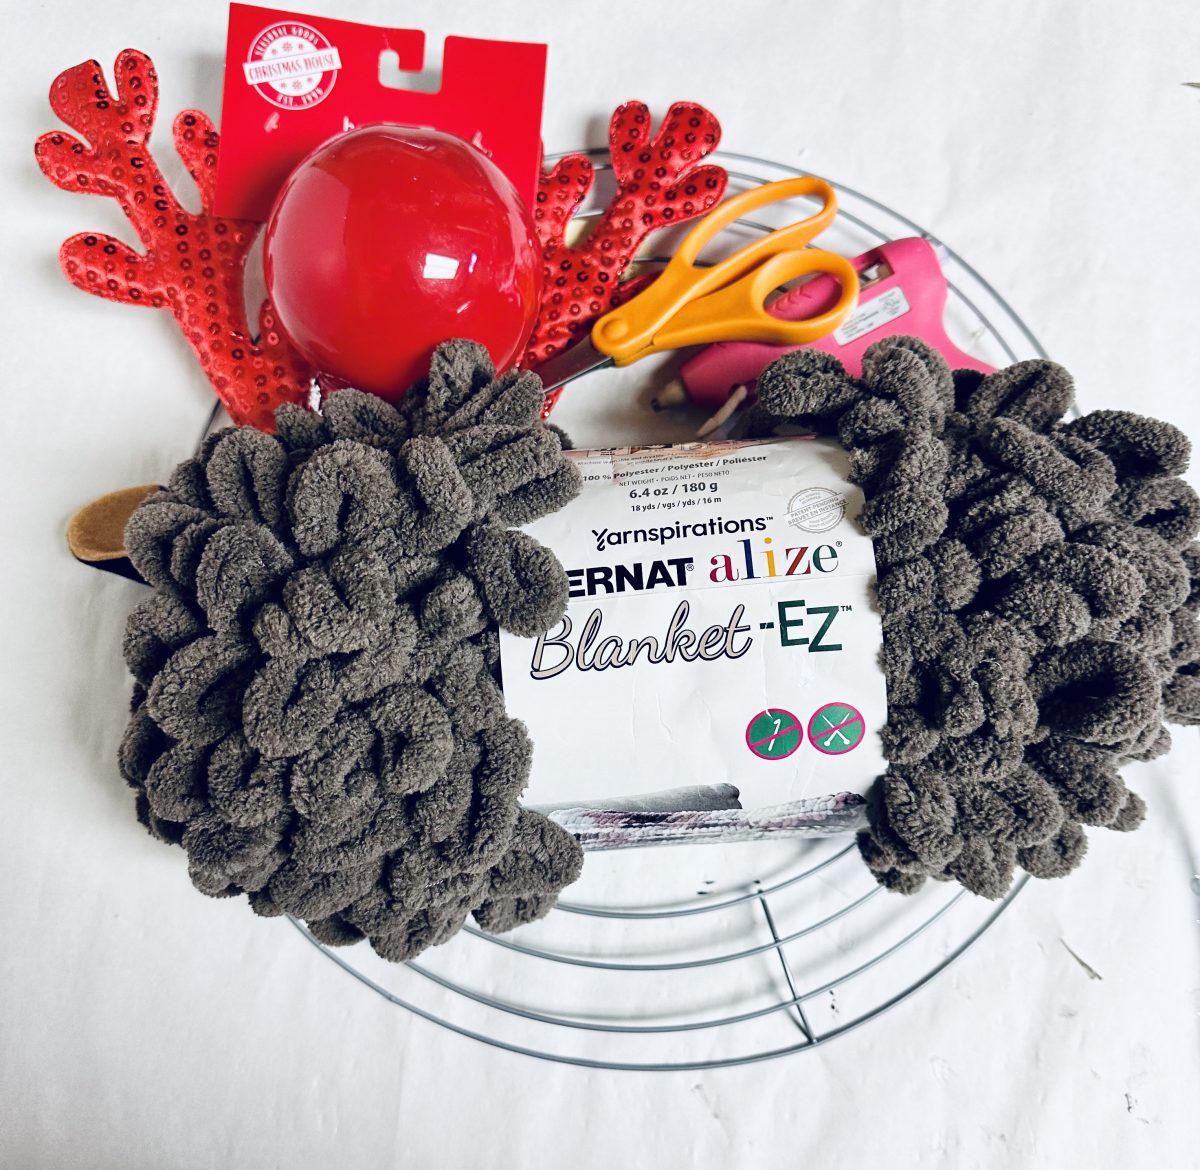
What you need

Bernat Blanket-ez yarn in Deep Taupe
Large Red Ornament
Hot Glue Gun/ glue sticks
Instructions
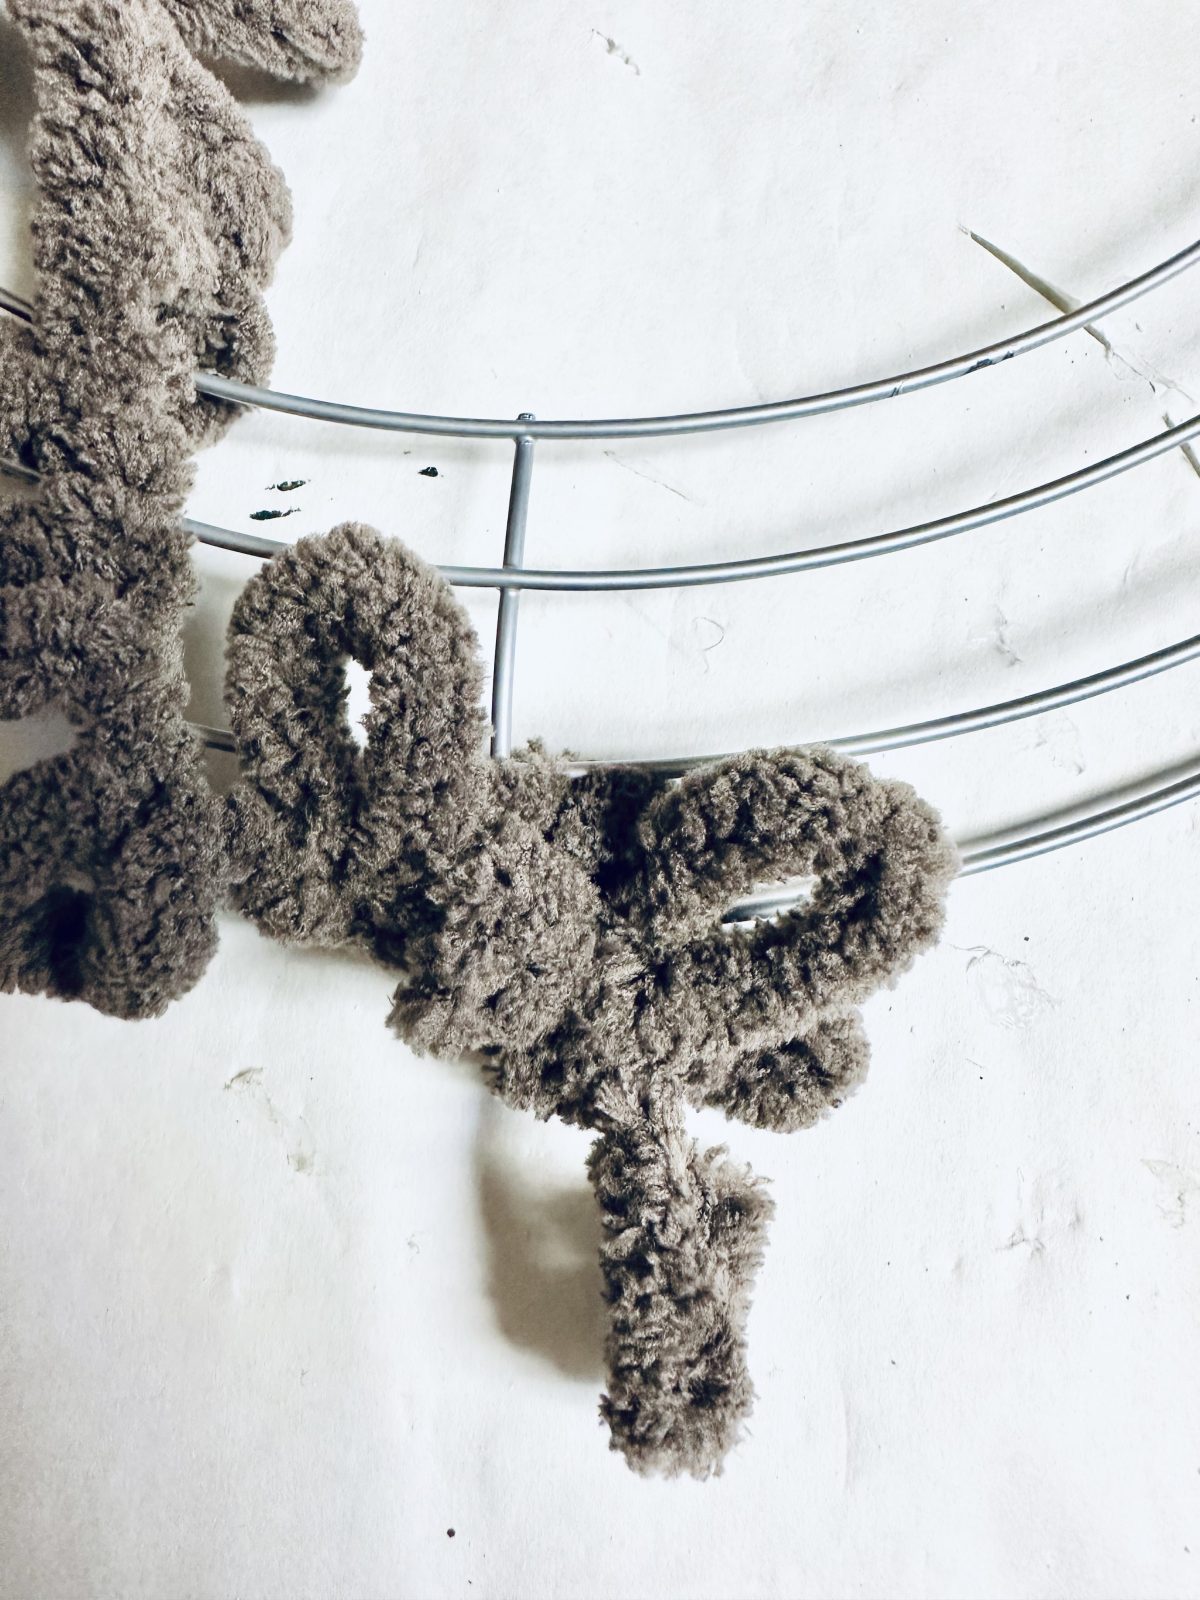
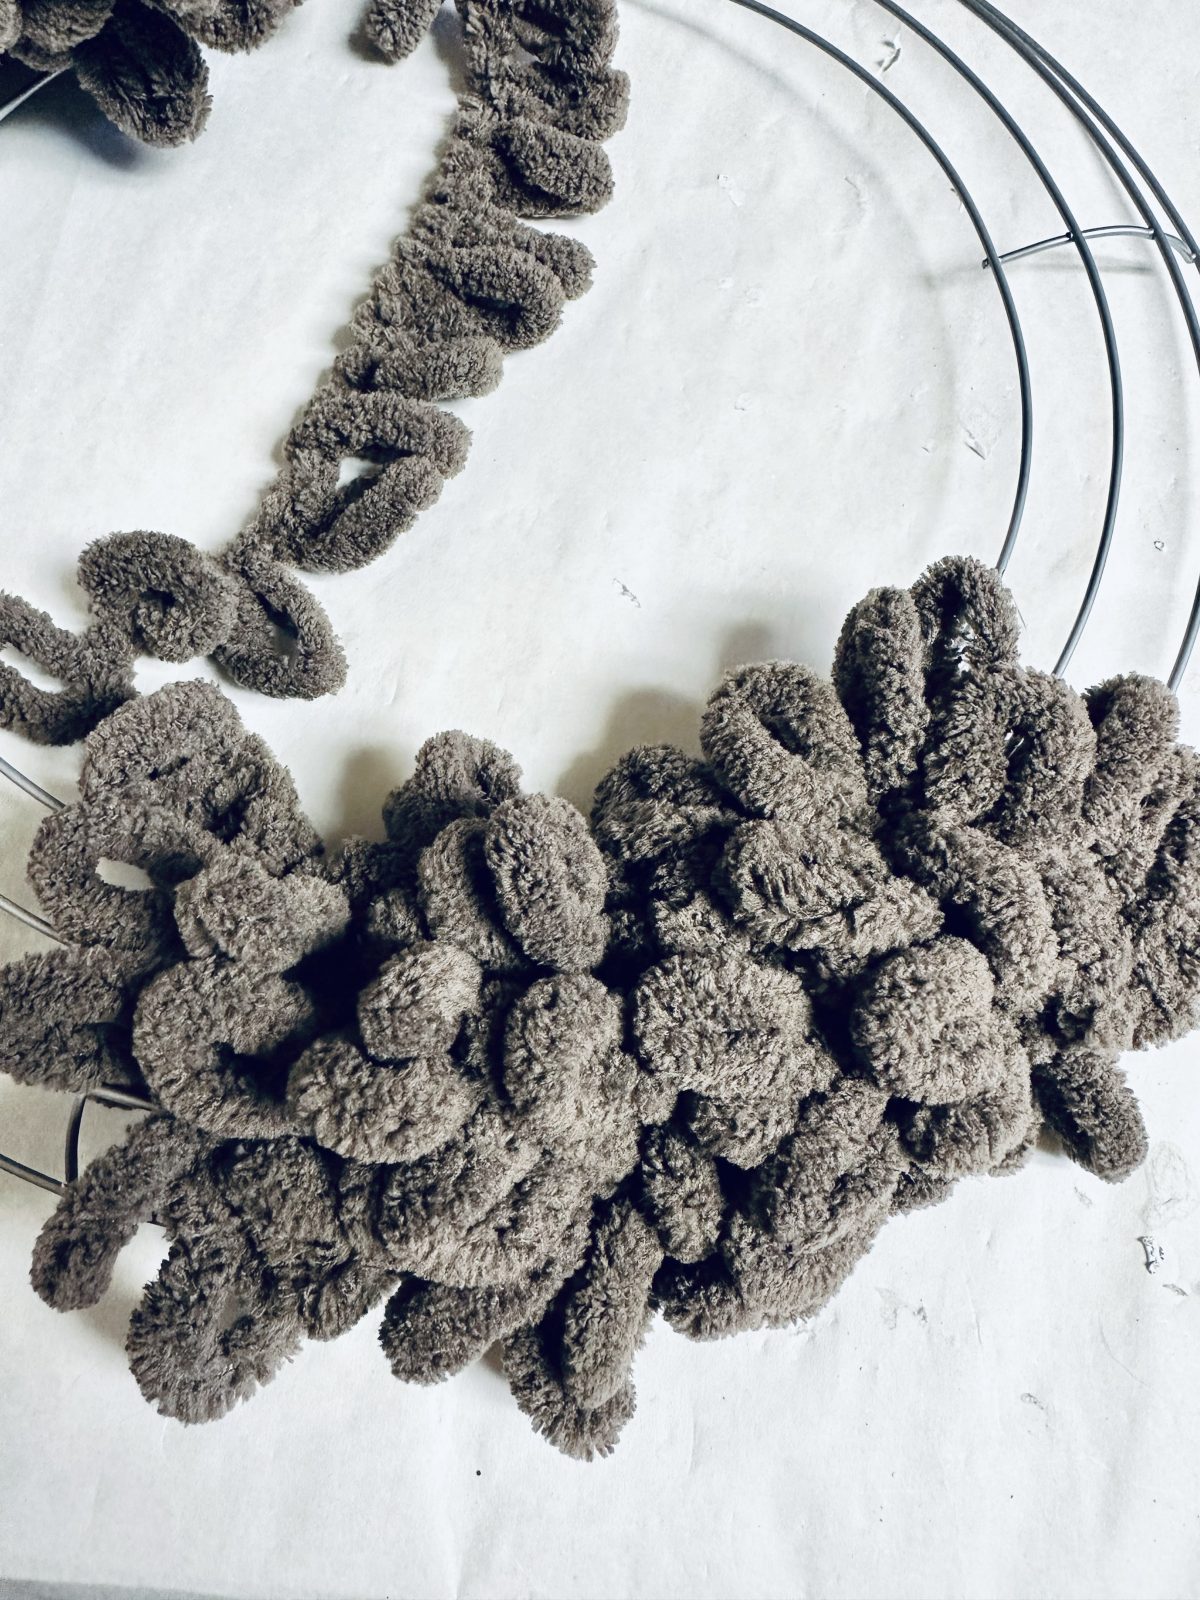
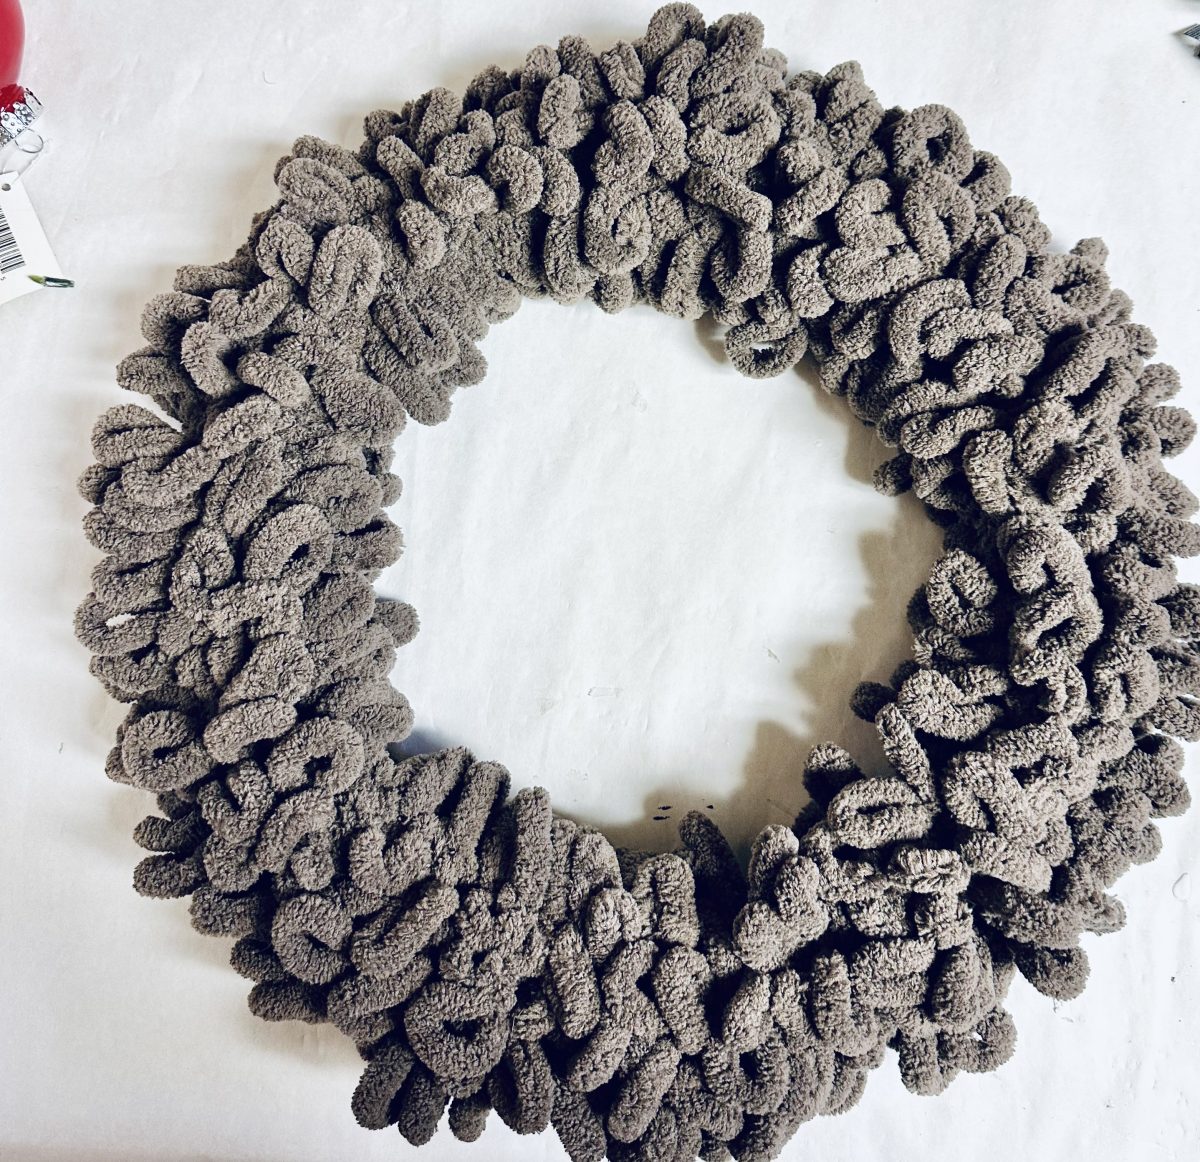
In this DIY Christmas holiday craft, you’ll start by securing the end of your chosen yarn to the outer wire of a wreath form, setting the stage for a delightful project. By wrapping the yarn around the entire wreath form, you’ll achieve a fuller and more captivating appearance. After completing the yarn wrapping, you’ll add a fun twist by attaching ornaments.
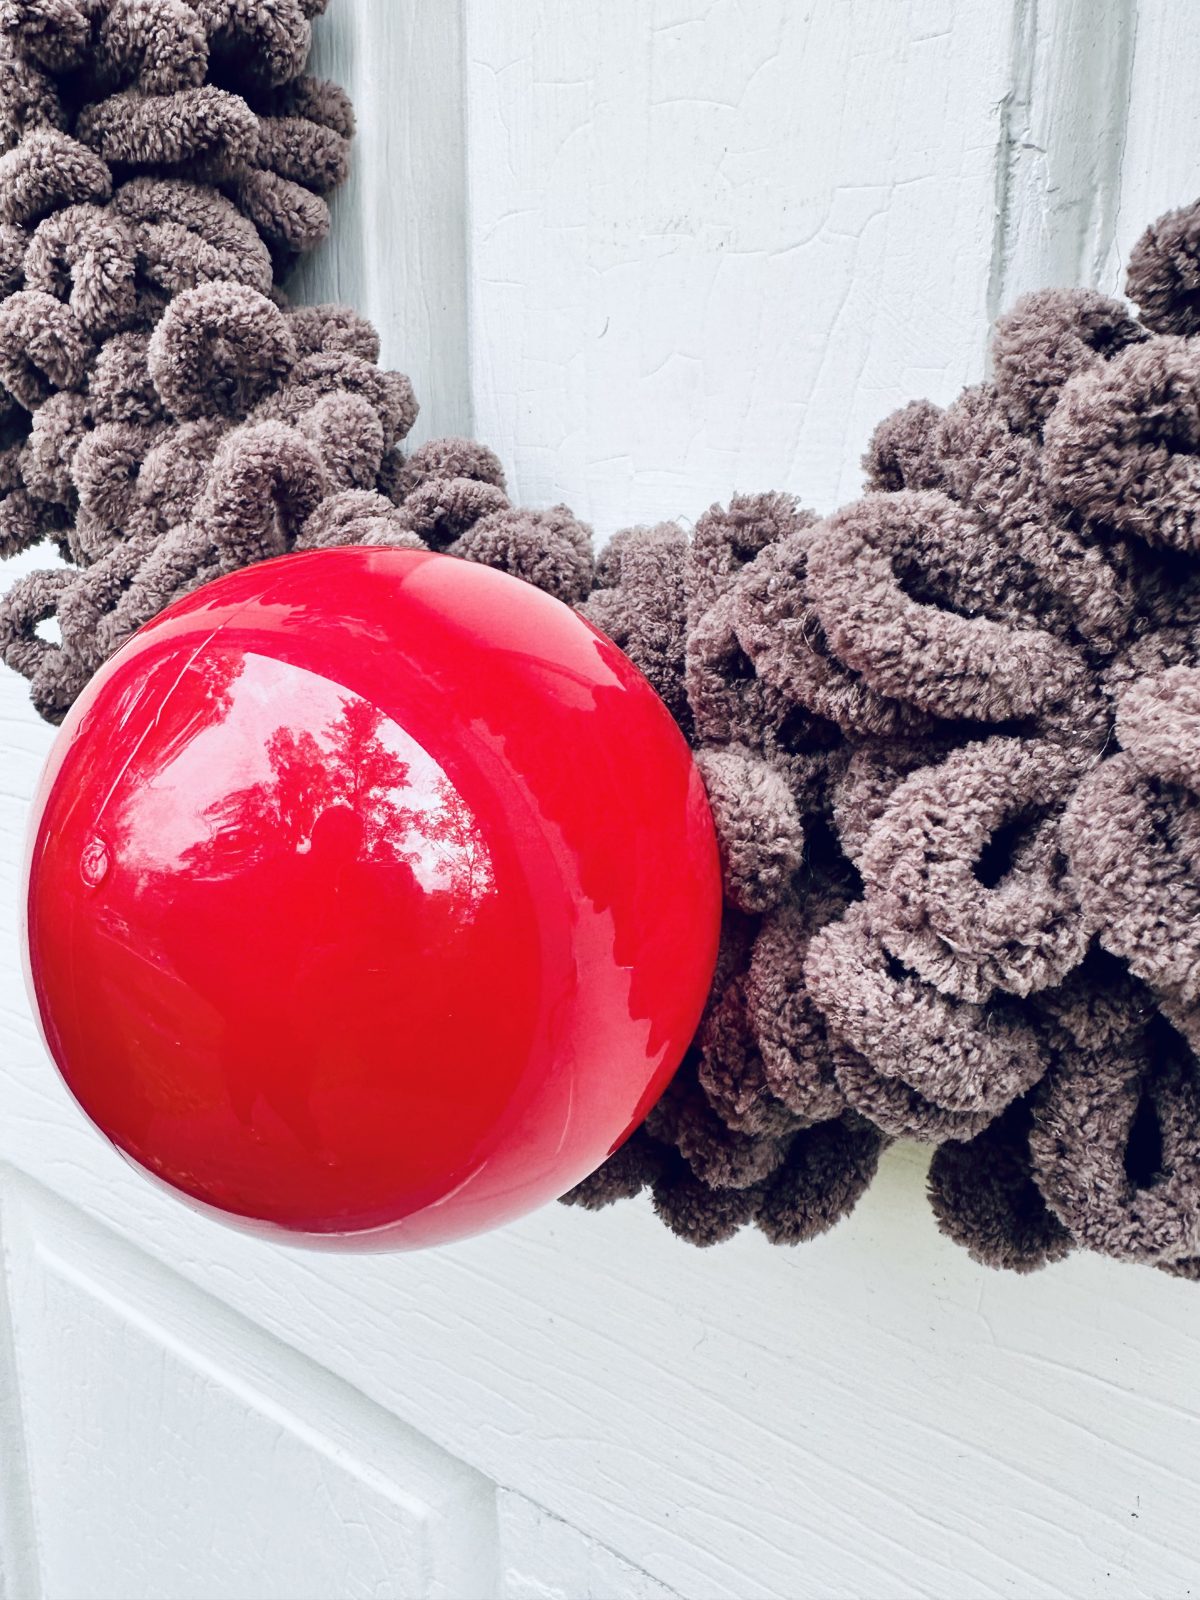
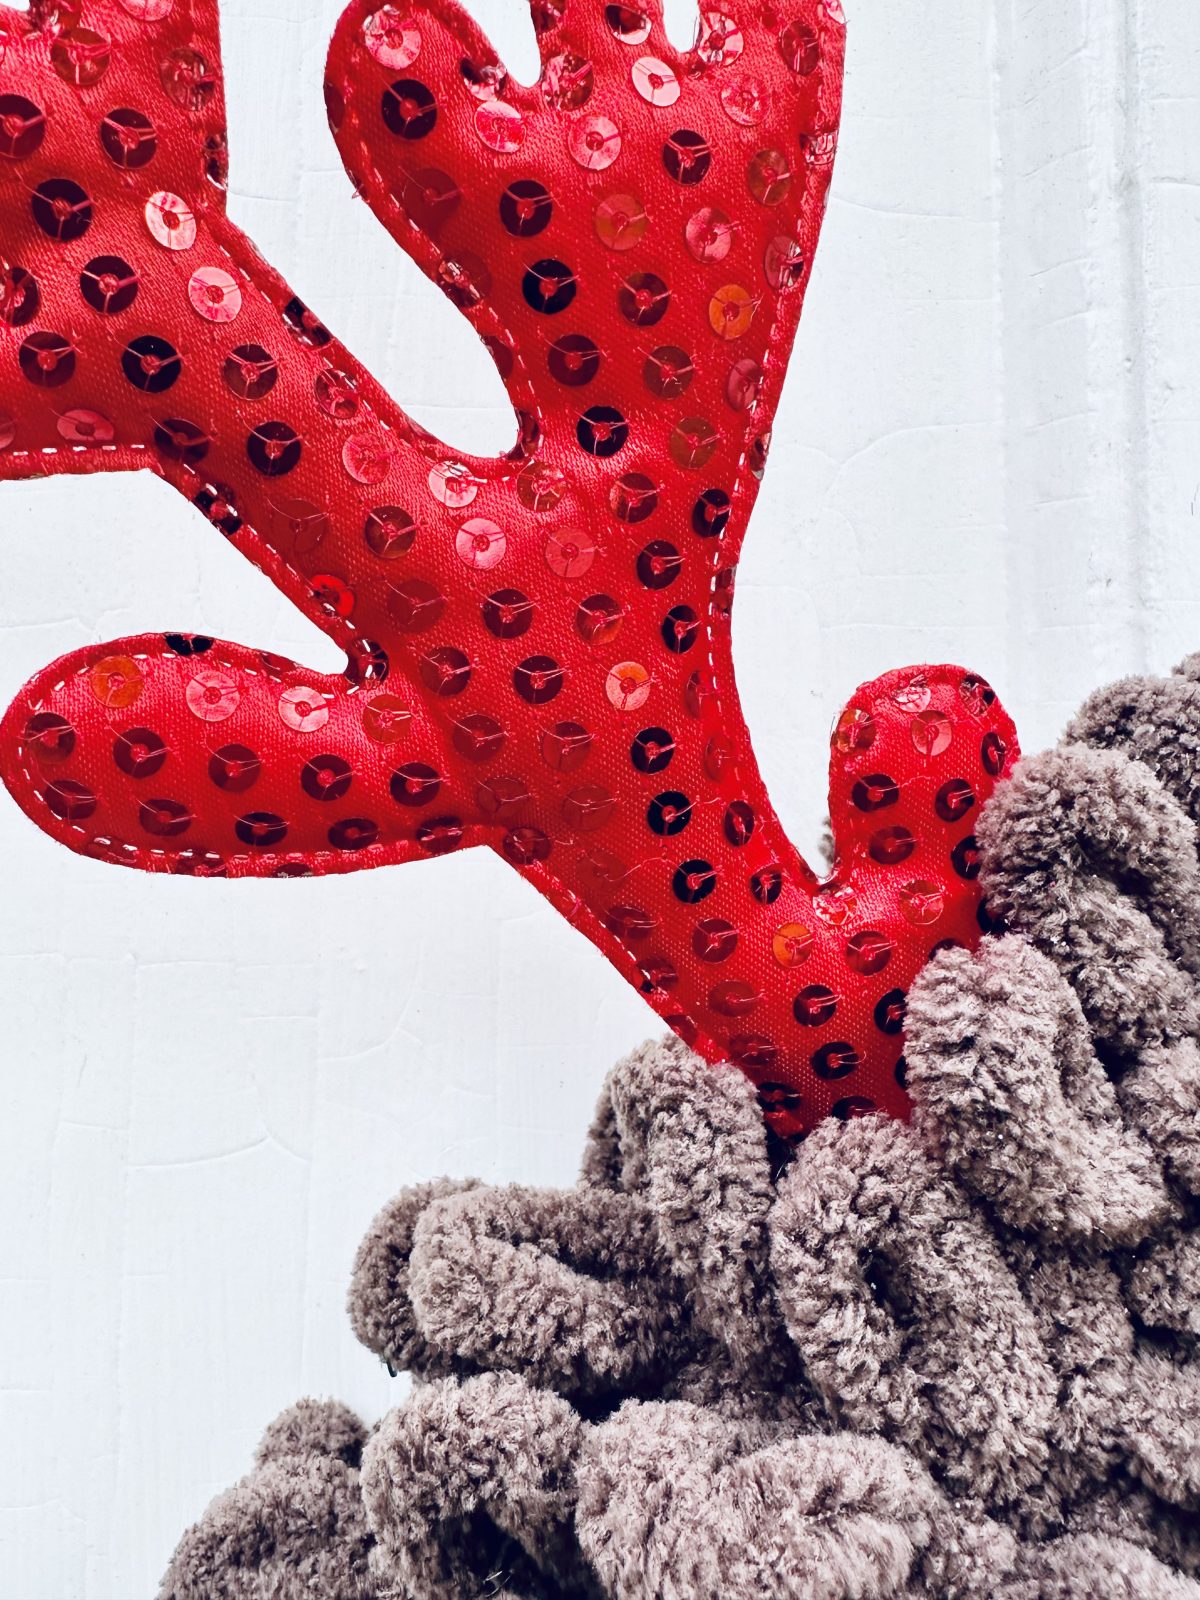
To ensure a secure bond, remove the top piece of the ornament, apply hot glue, and firmly press it onto the wreath form. This creates the “nose” or central element of your wreath. For those embracing a reindeer theme, the tutorial takes an imaginative turn as you add antlers. By carefully attaching the antlers with hot glue, you’ll infuse your wreath with whimsical charm. The same process is repeated for the second antler, ensuring balance and symmetry.
To start off the wreath, I took the end of the yarn and used that to tie it around the outer wire from the wreath form. Then wrap the yarn around the entire wreath form. Following this, I carefully wound the yarn around the entirety of the wreath form. I opted to wrap it tightly to provide the wreath with a more voluminous and robust appearance.
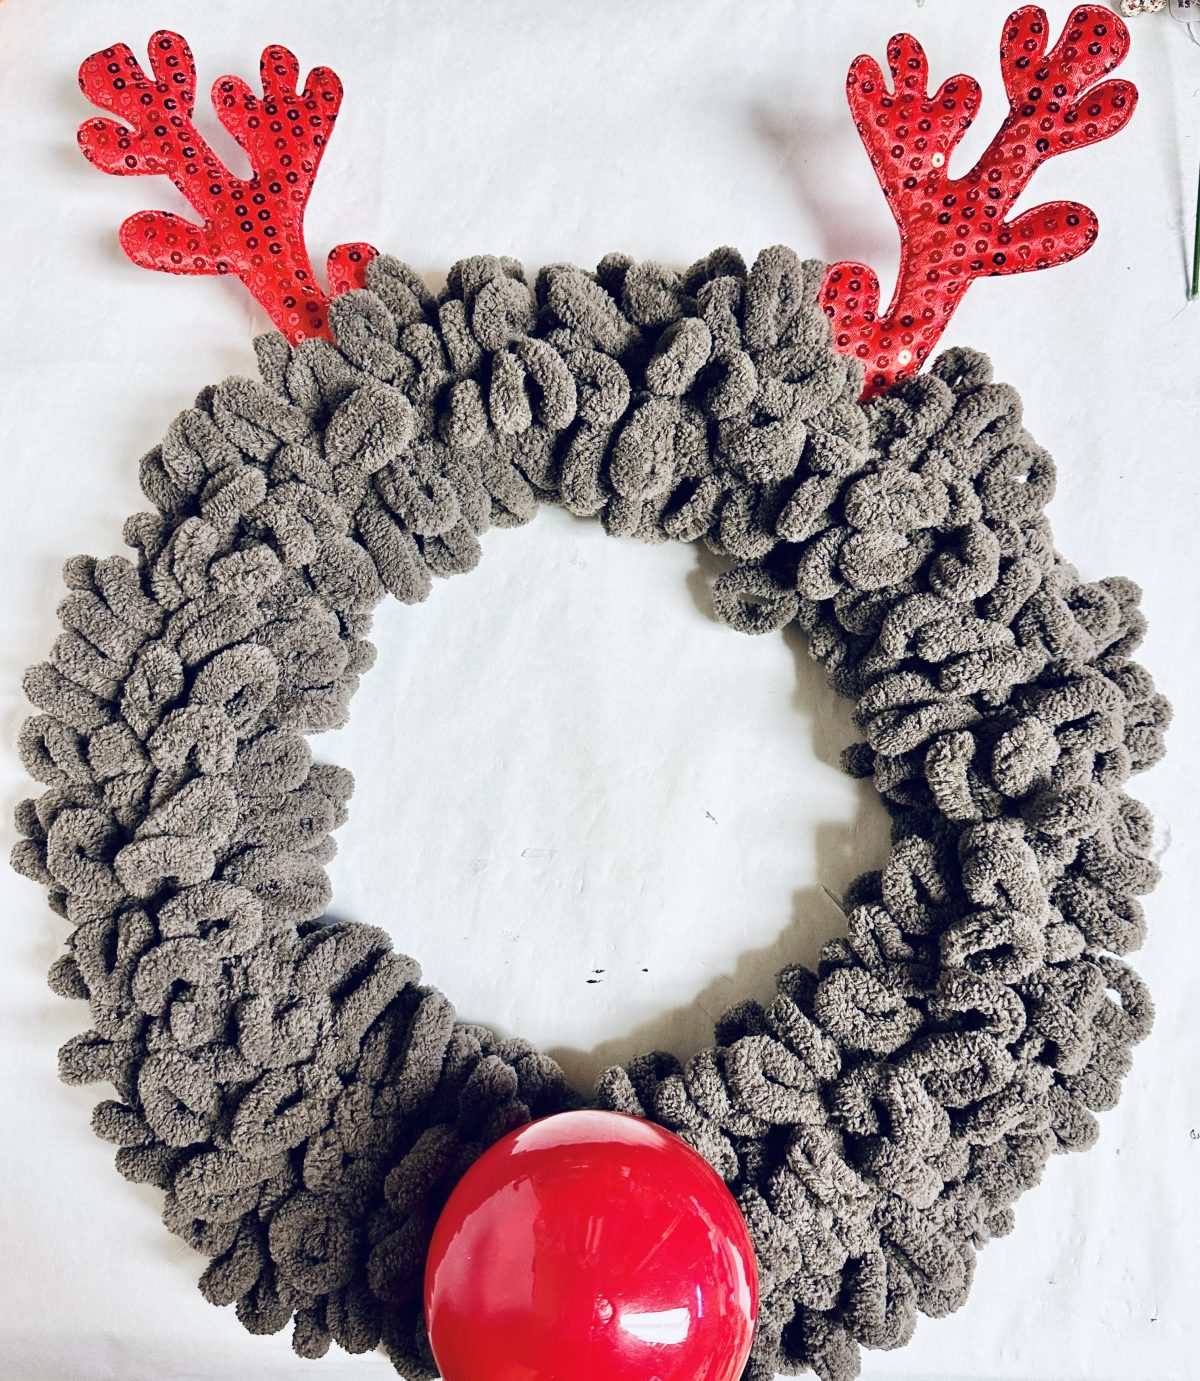
Once the wreath is fully wrapped. I pulled off the top piece of the ornament (the silver part), added some hot glue around the top, moved the yarn away from the area where I was placing the ornament for a nose, and pressed it firmly to the wire wreath form.After attaching the ornament, I applied pressure for approximately 30 seconds to ensure a secure bond. Once I was certain of its stability, I gently moved the yarn back into place to neatly conceal the attachment point around the nose.
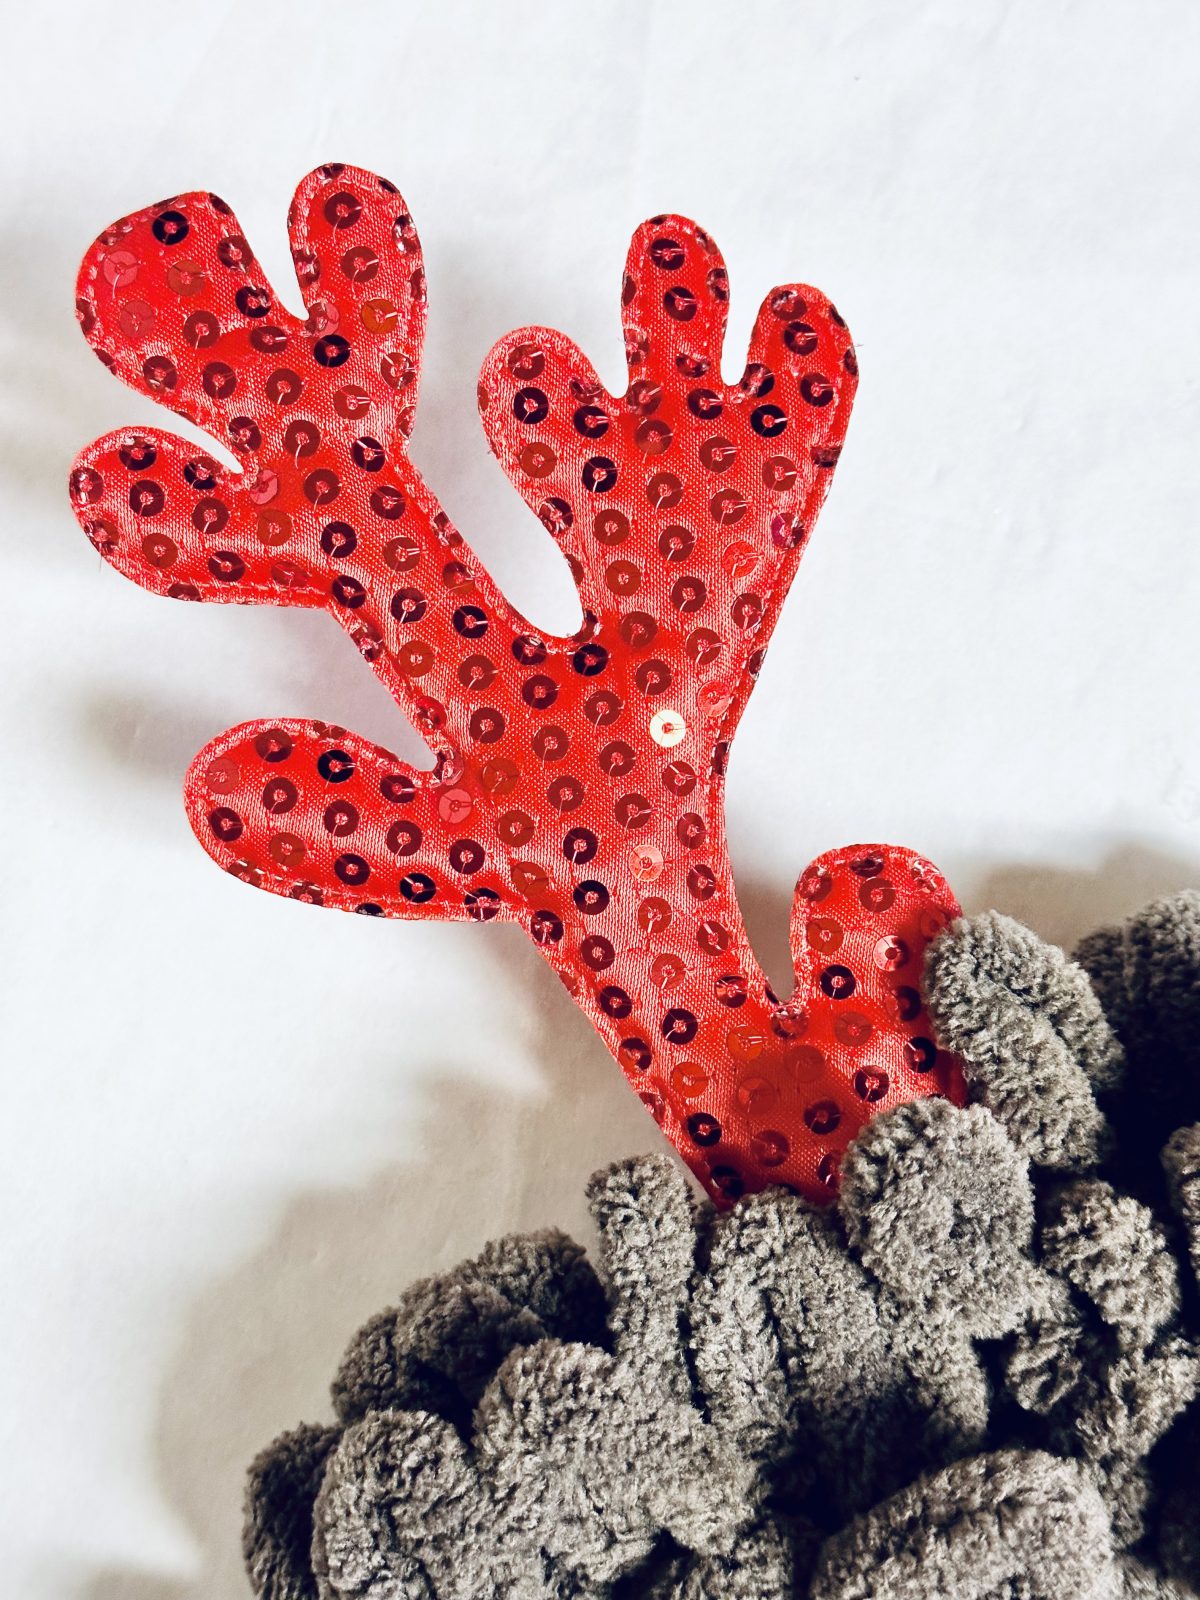
I then bent the antlers off of the headband. I added some hot glue to the bottom section of the antlers on the front and back and moved the yarn away from the wreath form in the section where I was adding the antlers. I then pressed down for about 30 seconds to make sure it adhered. I then moved the yarn back to cover around it. I repeated the same process for the other antler. 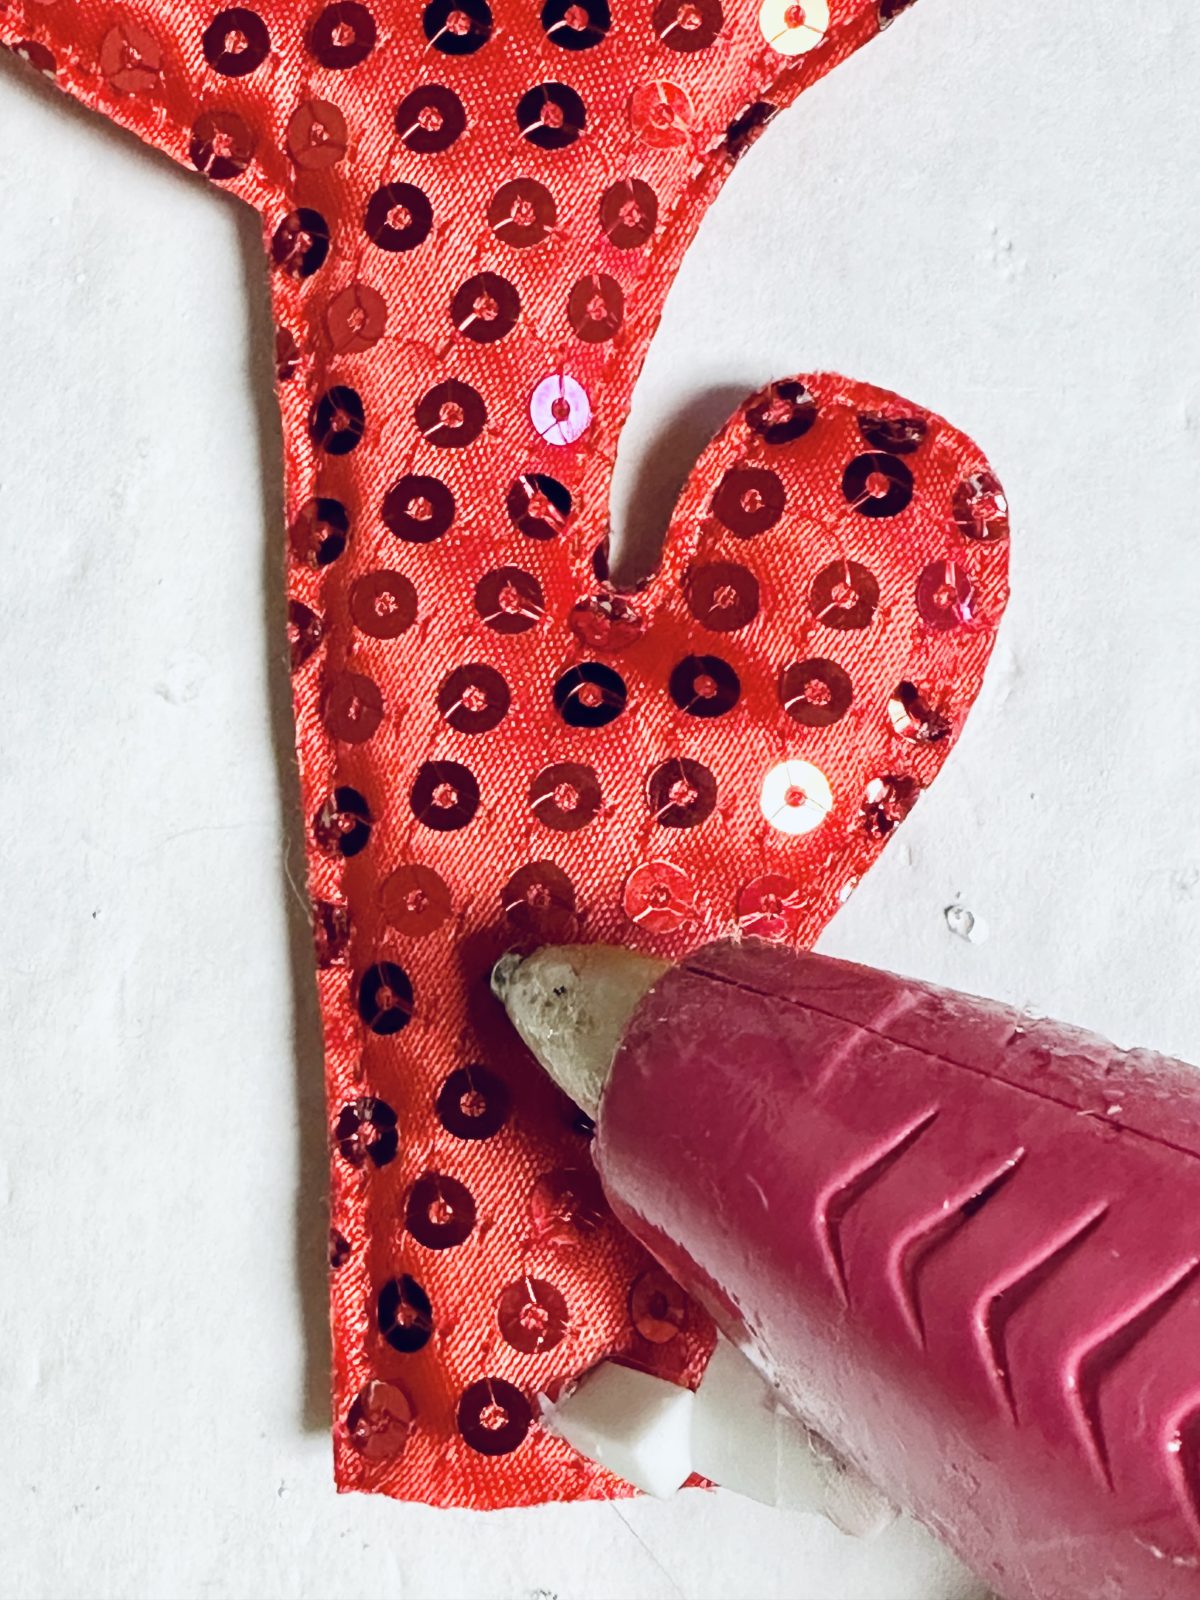
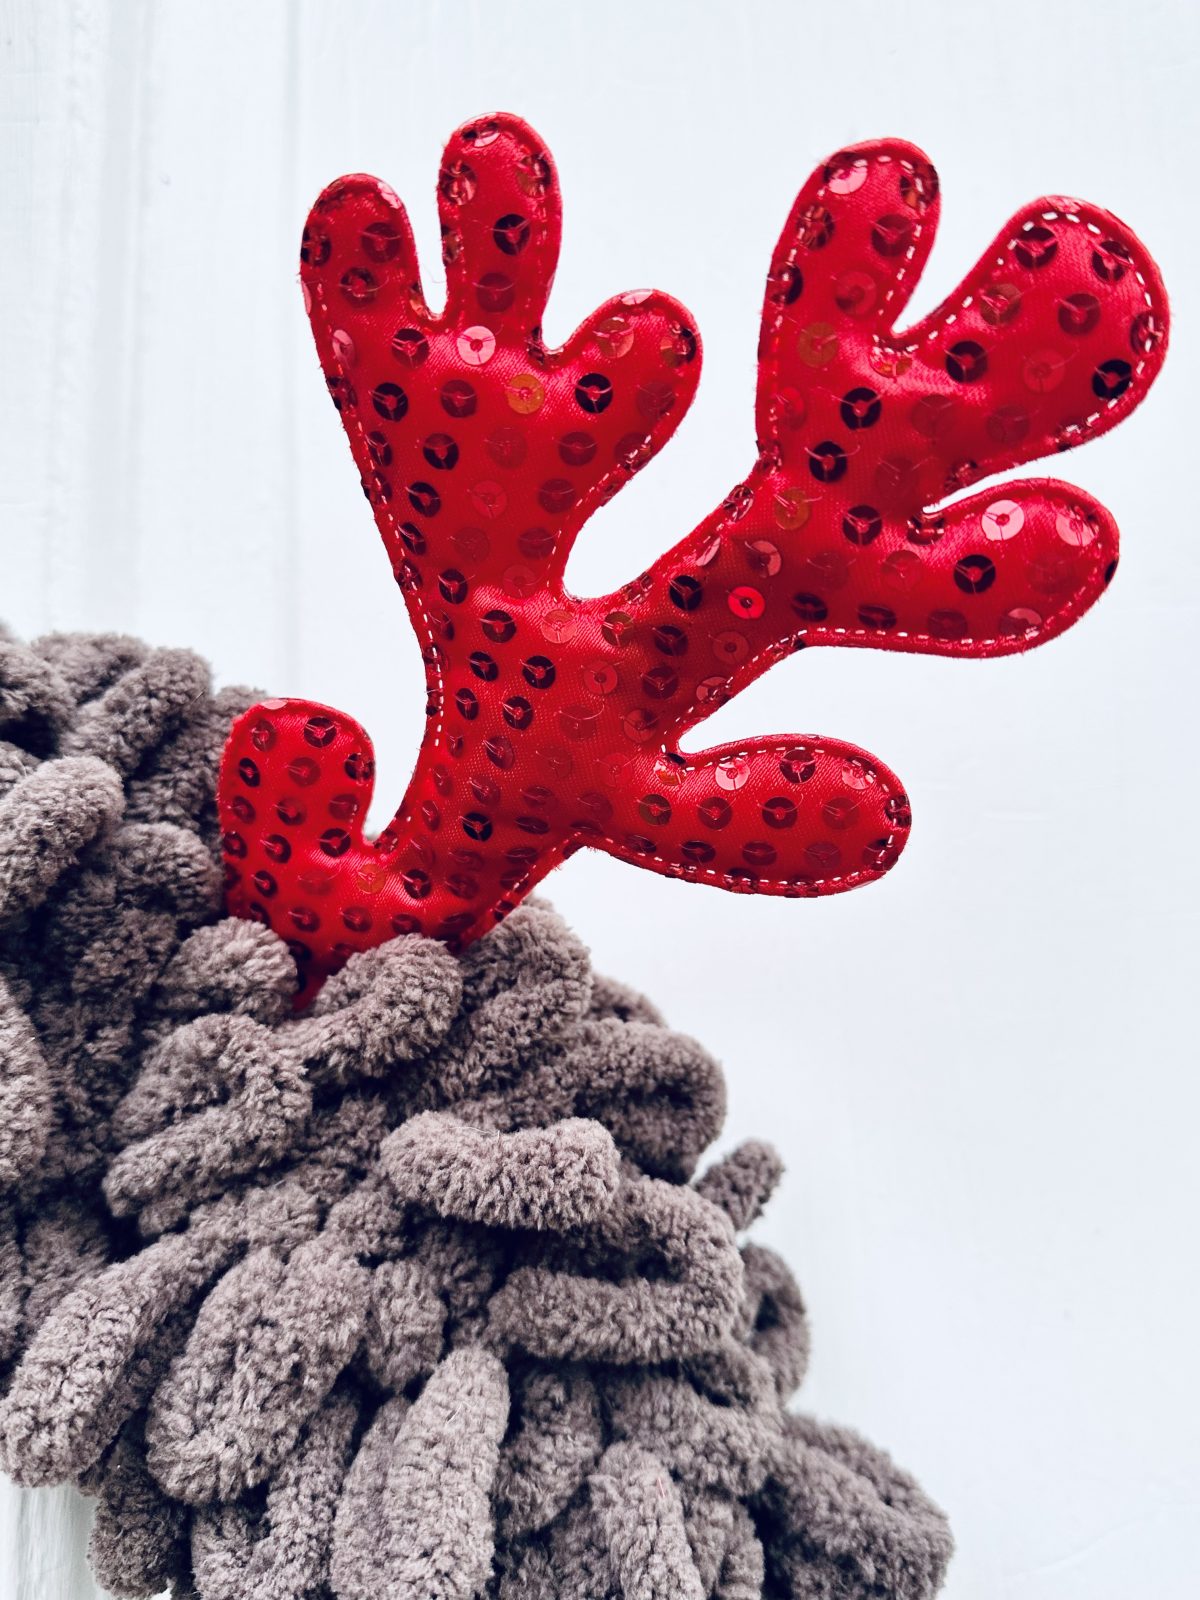
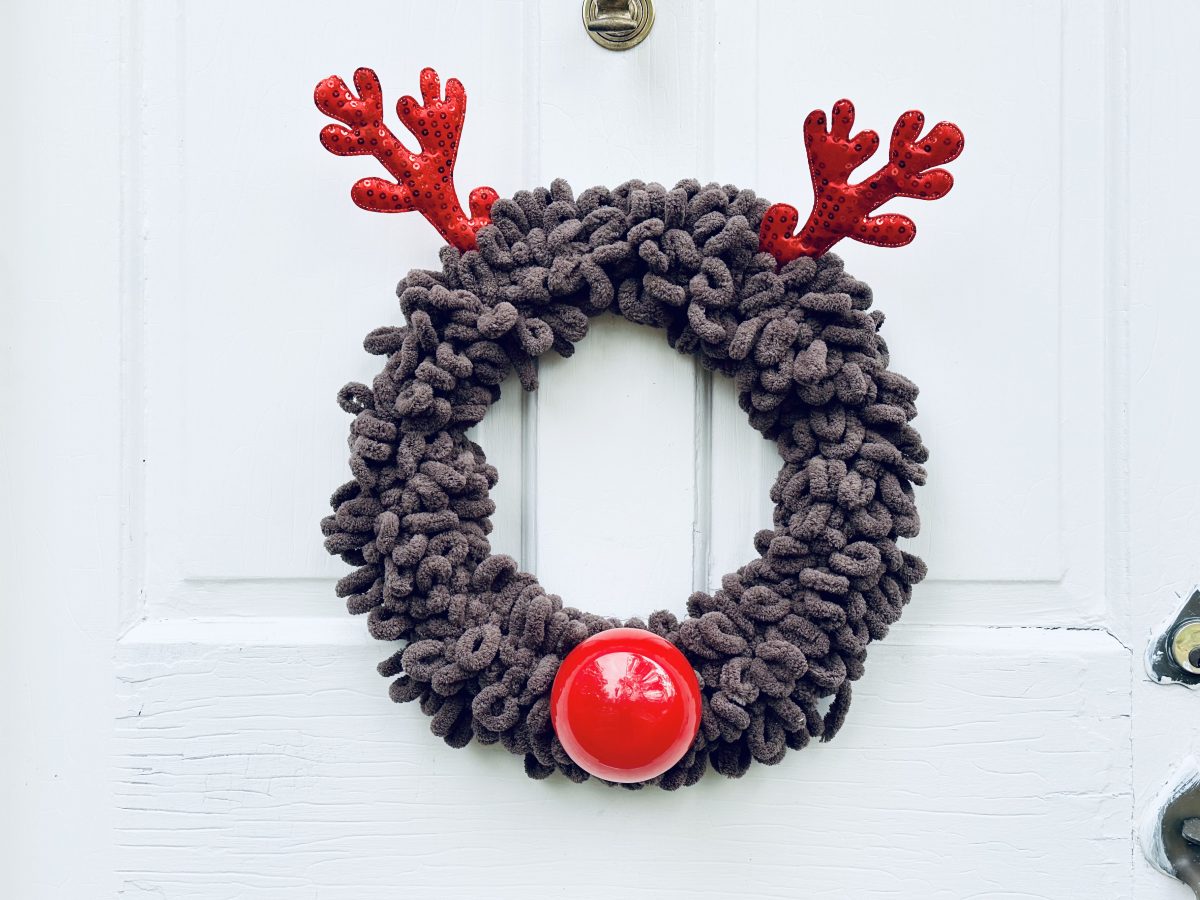
With this craft, you’ve not only crafted a beautiful Christmas wreath but also added a personal touch to your holiday decor. This whimsical creation is sure to bring smiles to your family and guests. Hang your masterpiece with pride and enjoy the warmth and joy it brings to your home this holiday season. Happy crafting, and happy holidays!


How much yarn did you use?
Imma try to make this
I think it would be cool to run clear thread or fishing line across the center and attach google eyes. May try it.