
Get more details about this project
What you need
Dollar Tree Materials: 1 Picture Box Frame 8”X 8” by 1” tall (For Base)
1 Set (2) of Hot Wheels Tracks (24”)
Foam Brush
Krylon White Spray Paint
White Chalk Paint
Black Chalk Paint
Paint Brush (1” or so)
Glue Gun & Glue Sticks

Instructions
I love the moment when an ordinary craft supply becomes something completely unexpected. This project has exactly that appeal—especially when you see the bright orange pieces before they disappear beneath the paint.
The finished look is wonderfully easy to personalise. Keep the colours soft for a cottage-style room, choose darker accents for a rustic setting, or let your favourite flowers decide the palette. There’s no need to match everything perfectly; a slightly uneven finish is part of the charm.
My suggestion is to choose where you’ll display it before you begin decorating. On a dining table, keep the flowers low enough for conversation across the table. On a sideboard, you can give the arrangement a little more height and let a few trailing stems soften the edges.
This tutorial was contributed by Phyllis F. Thanks for sharing Phyllis we loved your variation of this Craft!
This lantern would be perfect for seasonal occasions, it can be easily transformed to suit any home decor from farmhouse to beach house! Embellish with shells and rope for a nautical look or add some holly or greenery for a Christmas lantern.
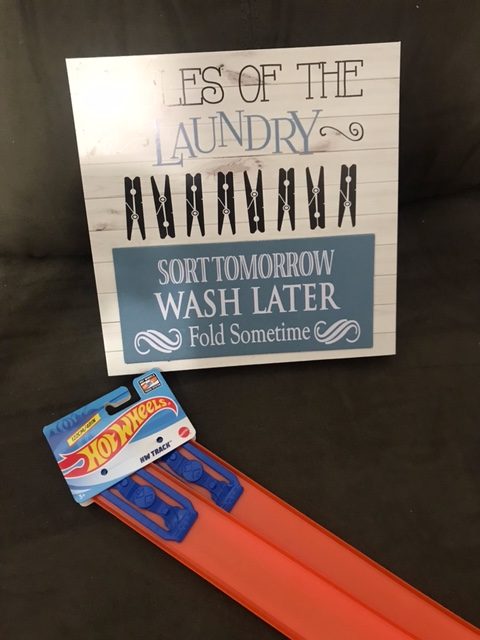
ASSEMBLY
Turn picture box frame upside down to use as a base. (You can also use
a shadow box with a 2” side.)
Set 1 Hot Wheels track in base at opposite corners. (Track will bend
easily to form the arch.) Hot glue each end in place.
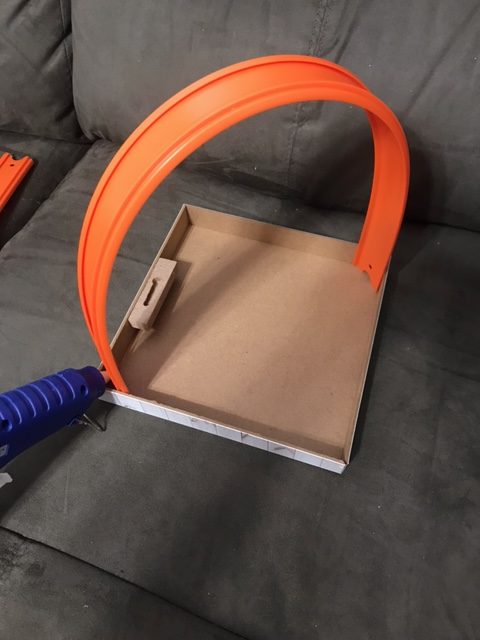
Set the other track in the remaining corners and hot glue in place at the
ends.
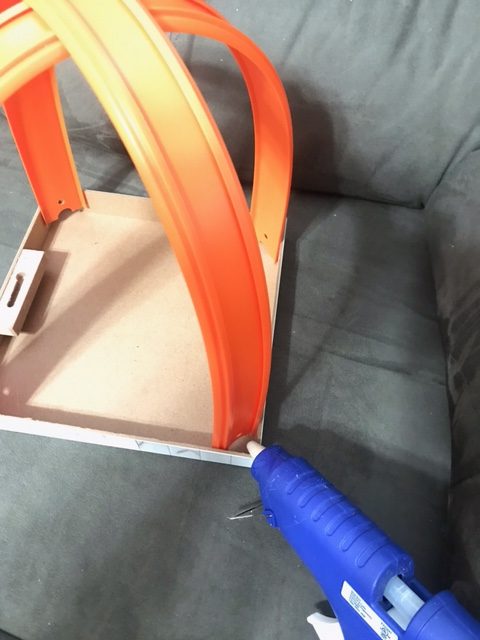
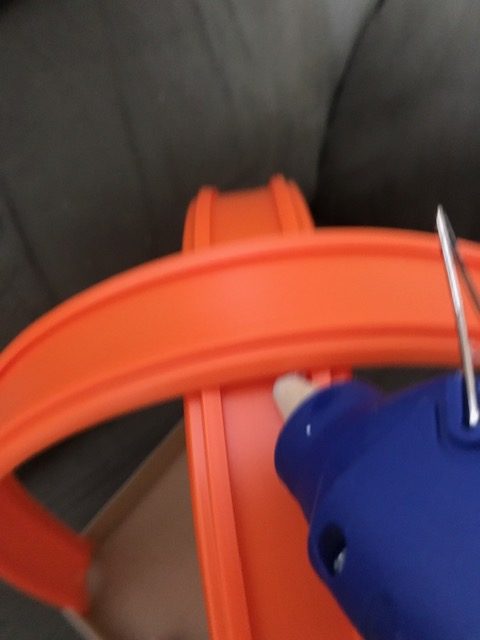
Add hot glue in the middle where both tracks intersect (at the top) to
hold together.
FINIAL (Top Piece)
You can use whatever you want or have on hand for the finial (top
piece.) (ie; small wooden candlestick topped with a ping pong ball)
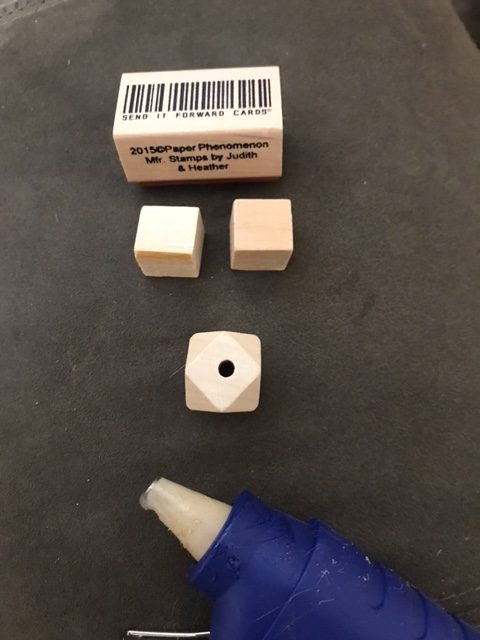
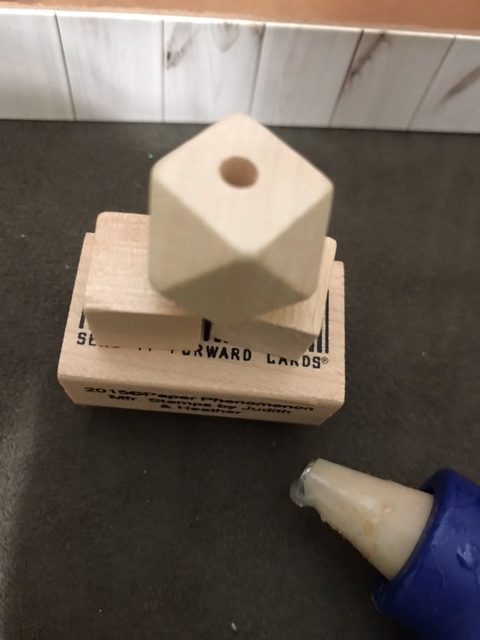
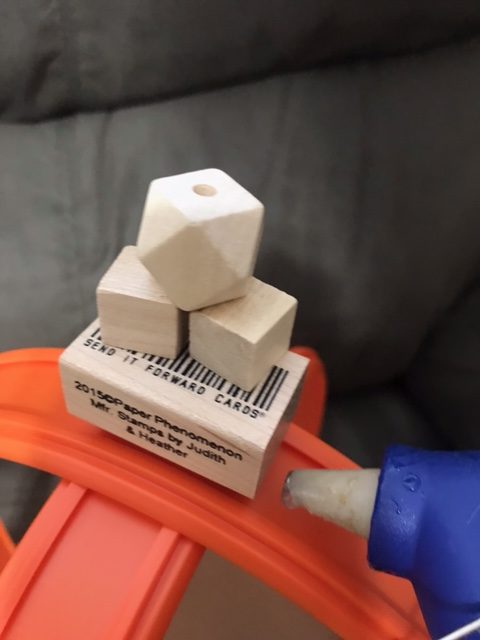
I used an old rubber stamp, 2 sm. wooden blocks (DT), 1 wooden bead.
I glued the 2 wooden blocks on top of the stamp, then glued 1 wooden
bead on top of the blocks. Hot glue the entire finished piece on top of
the tracks where they intersect.
PAINT
Spray paint (white) the entire lantern inside and out with 2 coats. Let
dry completely between coats.
Chalk (white) paint with paint brush the entire lantern with 2 coats. Let
dry completely between coats.
Distress paint (black) with foam brush around edges, and where
desired.
DECORATE
Choose a couple of colors of flowers and some greenery and place
around the inside edge of the base. Add a flameless candle to the
center.
Now, enjoy your beautiful masterpiece!!!!
Variation —
Phyllis used the Mini Buffalo Plaid Transfer and Black Paste from Chalk Couture to decorate the sides
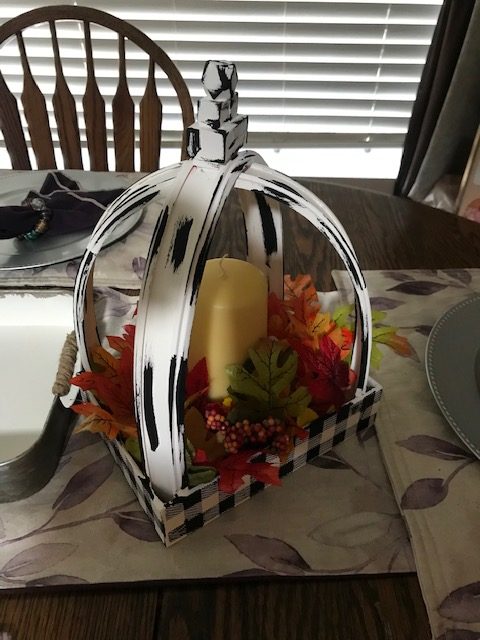
Phyllis Filbeck




What do you think of this project? Let us know!