
What you need
To make this pillow you will need:
1) Cotton fabric – color of your choice,
2) Sewing machine,
3) Needle and thread,
4) Pencil,
5) Scissors,
6) Wool – for filling the pillow.
Instructions
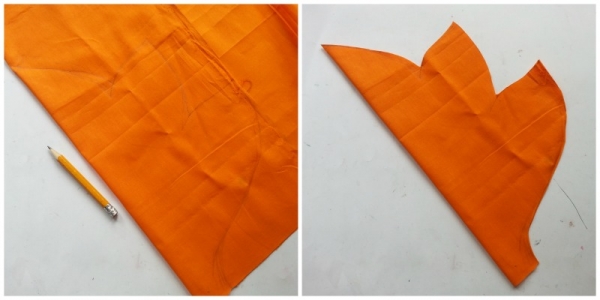
Step-1: Cut a square piece of cotton fabric, you can choose the size of the pillow but cut the fabric into a square shape first. Fold the square fabric into half. Draw a half maple leaf pattern on the folded fabric. Draw on the open side, not on the closed (folded) side. Similarly cut another piece.
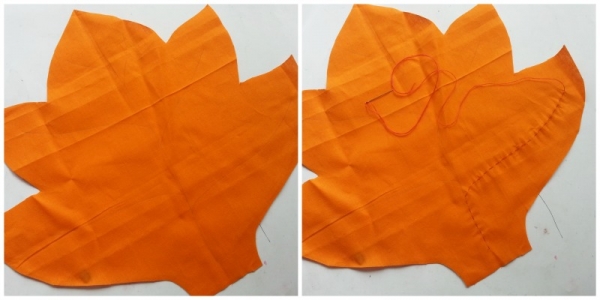
Step-2: take any 1 of the cut out leaf shaped fabric and draw the leaf’s vein pattern on it with a pencil. Take a bright colored thread and prepare it with the needle. Stitch along the traced vein lines.
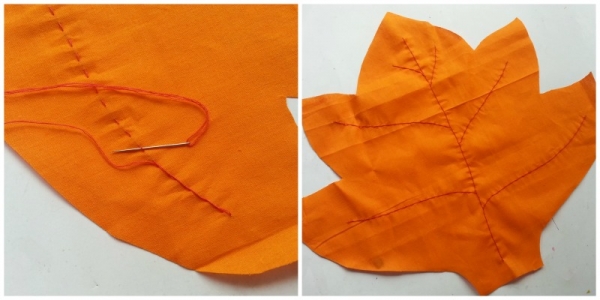
Step-3: Once you are done stitching along all the traced veins, take the needle and thread again. This time draw your needle and thread through and between the stitches to make the veins look more visible.

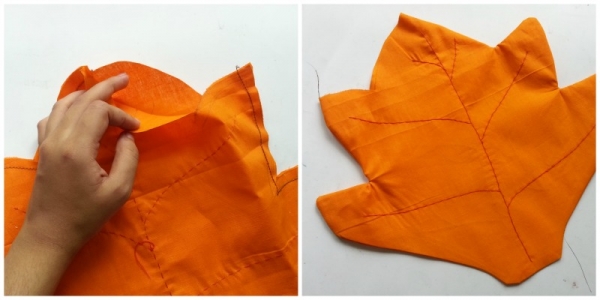
Step-4: Now place the plain piece on a flat surface and then place the patterned piece on it with the wrong side of the stitches facing down. Sew around the sides to join the pieces together. Keep a small area open to turn the right side out and also for the filling.
Step-5: Turn the right side out through the small open end. Try to pull out all the corners neatly and carefully.
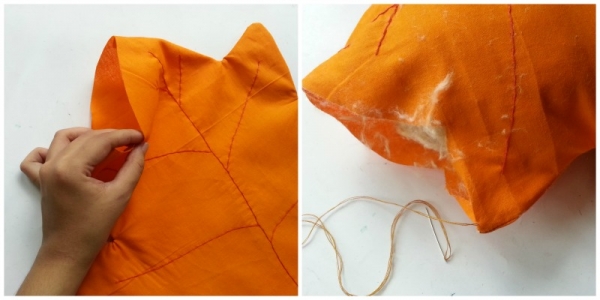
Step-6: Now start to fill the leaf with wool. Stuffs the pillow as evenly and neatly as you can. Fill all the corners, use a pencil to push the wool towards the corners. When the filling will be almost done prepare your needle and thread and attach it with the fabric on the open end.
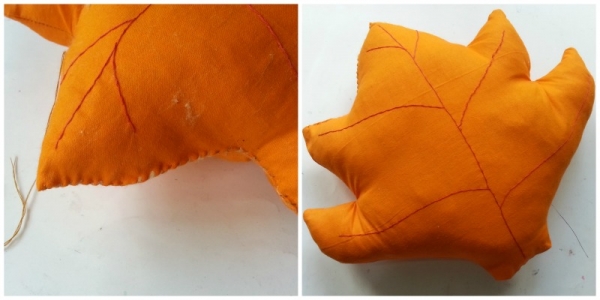
Step-7: Neatly stitch the open end to close and secure the filling.


What do you think of this project? Let us know!