
Get more details about this project
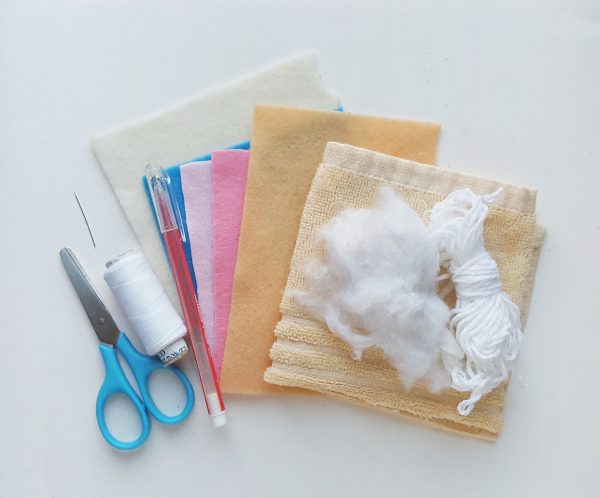
What you need
Fluffy fabric or towel
Needle and thread
Pencil or pen – for tracing the template
Scissors
Felt fabric
Confetti
Yarn
Instructions
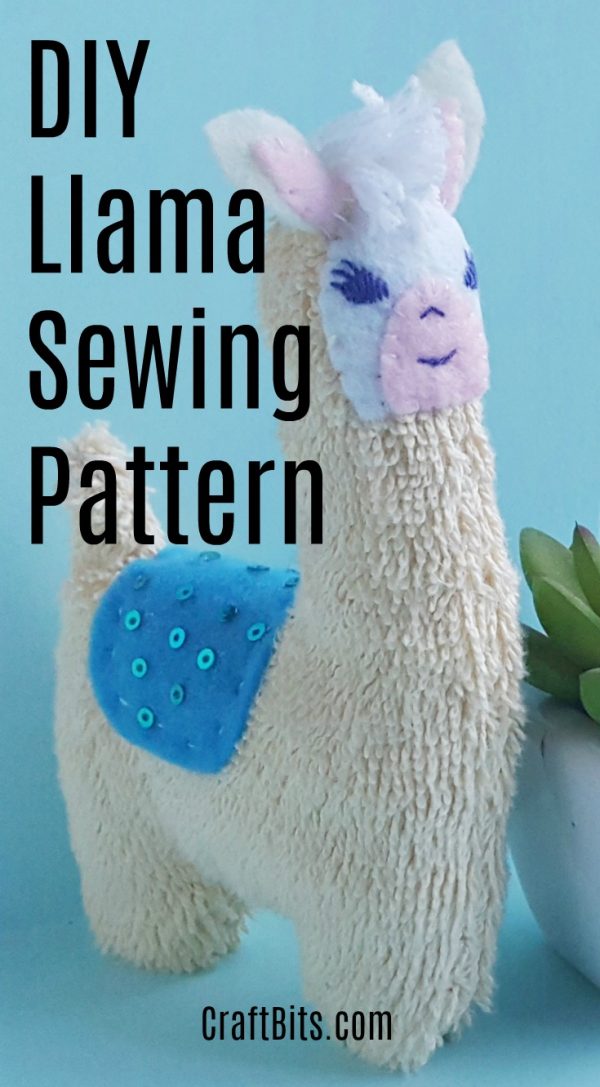
Looking for a new and unique sewing project? Why not try making your very own plush llama toy! Not only are llamas adorable and trendy, but a handmade plush toy is the perfect gift for any child or animal lover. Plus, sewing your own plush toy allows you to customize it with your favorite fabrics and colors, and gives you the satisfaction of creating something special with your own hands.
This free sewing pattern for a plush llama toy is easy to follow, even for beginners. With just a few basic supplies and some patience, you can create a cute and cuddly toy that will bring joy to anyone who receives it. The pattern includes step-by-step instructions, along with photos and diagrams to help guide you through each step of the process.
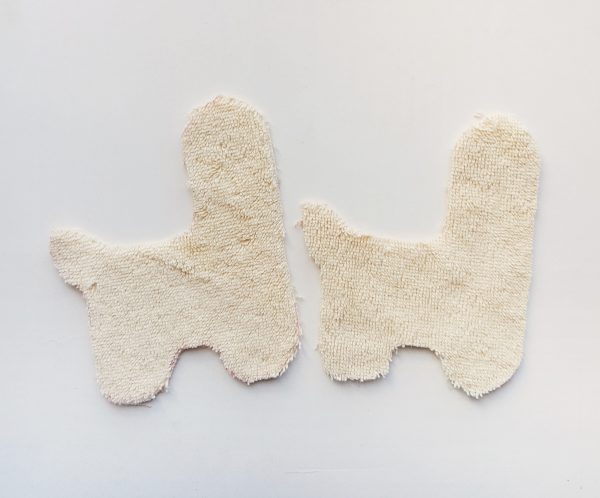
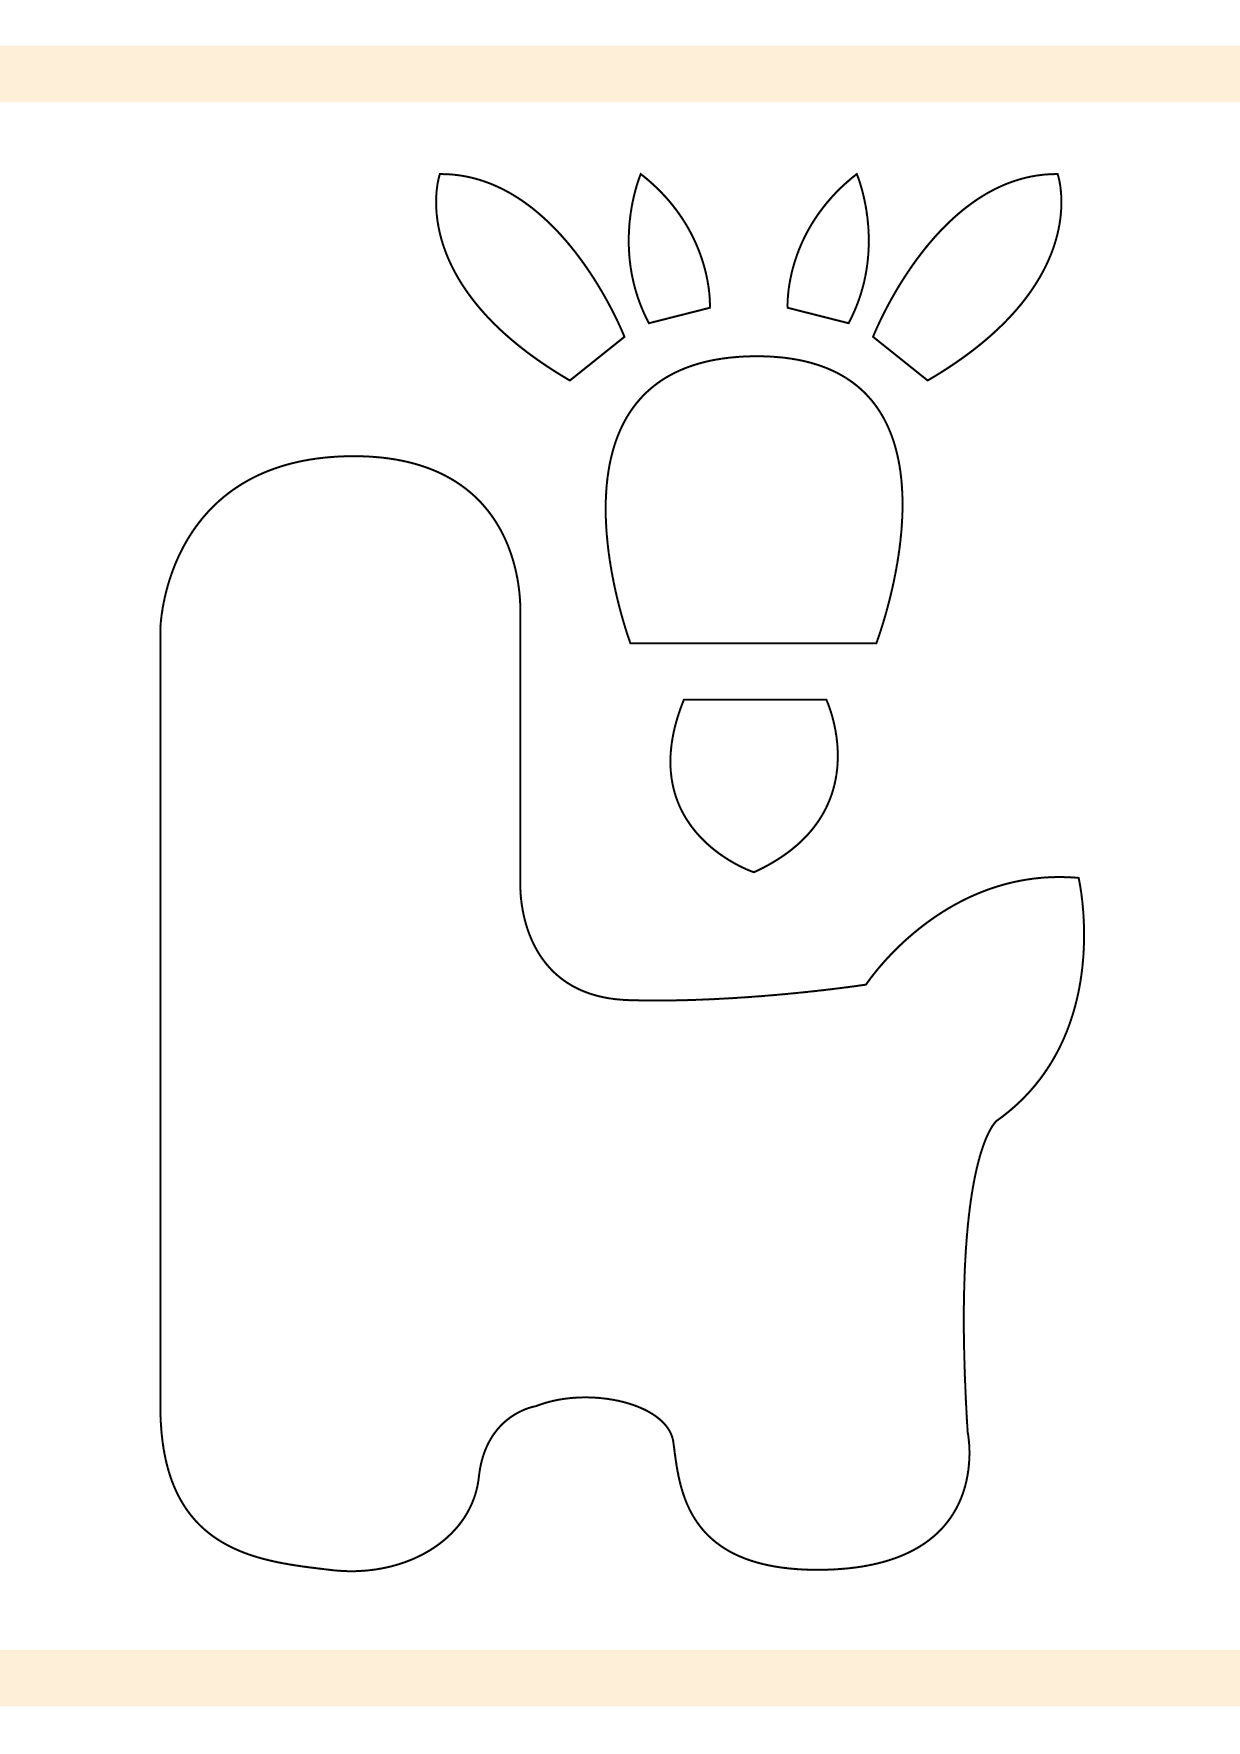
Step 1:
Print and cut out the patterns from the given template. Trace the body shapes on the selected fabric and cut them out nicely along the traced lines.
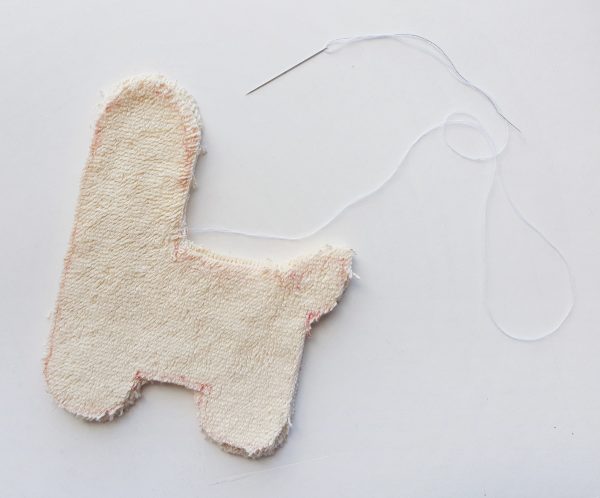
Step 2:
Place both cut out pieces (from the first step) one on the top of the other one and making sure that they are matched nicely on all sides. Prepare needle and thread and start to stitch the pieces together around the sides. You can do running stitch or flat blanket stitch.
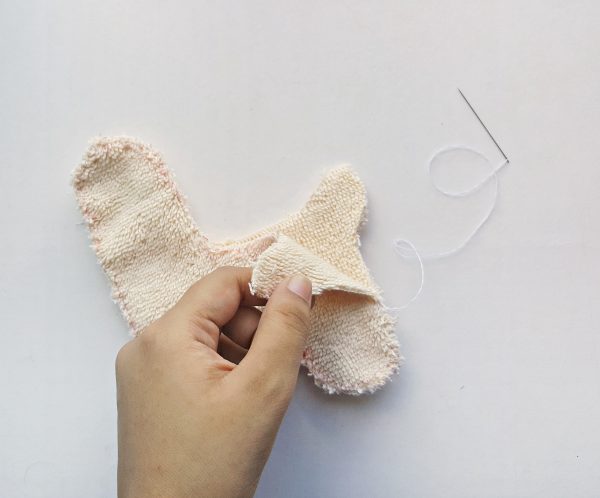
Step 3:
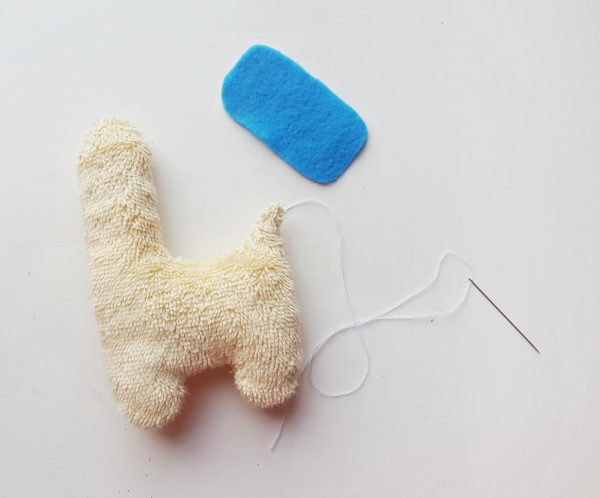
Remember to keep a small open end for stuffing the llama plush. Keep the thread and needle attached. Insert cotton through the open end to stuff the plush. Use a pencil or pen to push the cotton inside the small parts (head- neck, legs).
Step 4:
Done stuffing? Stitch the open end to secure the stuffing. Cut out a rectangular piece from felt fabric.
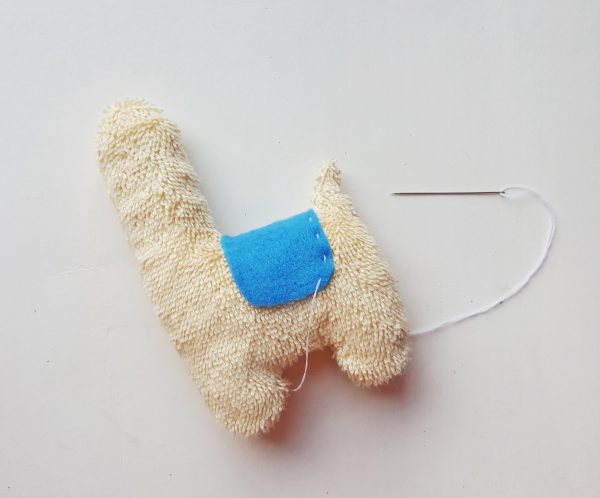
Step 5:
Place the felt fabric on the back part of the llama, keeping even amount of felt (lengthwise) on both sides.
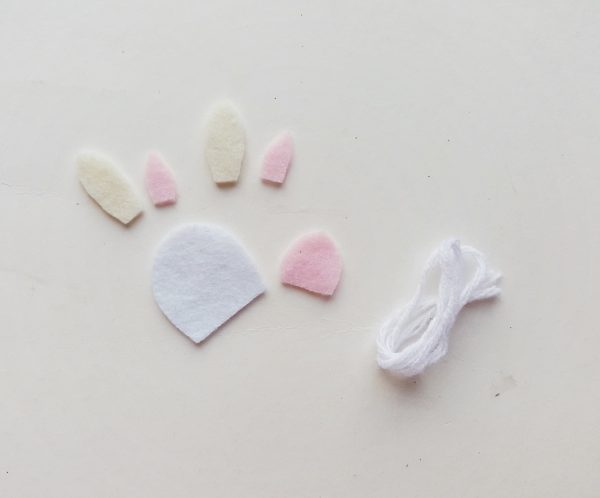
Step 6:
Cut out patterns for the face and ears.
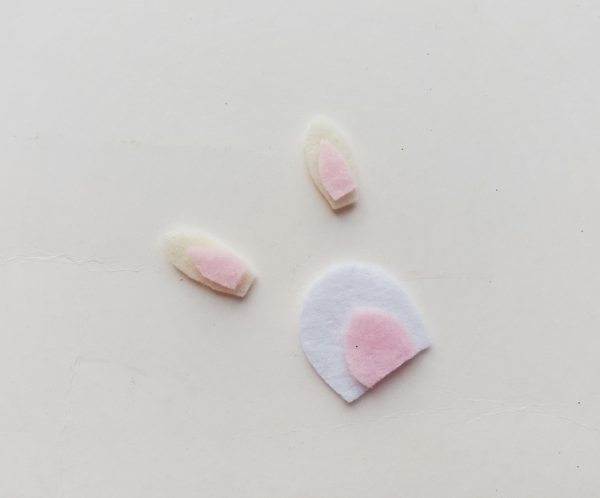
Step 7:
Use fabric glue (or needle and thread) to attach the inner parts of the ears on the outer parts. Also attach the front part of the llama’s face with the felt cut out for the face.
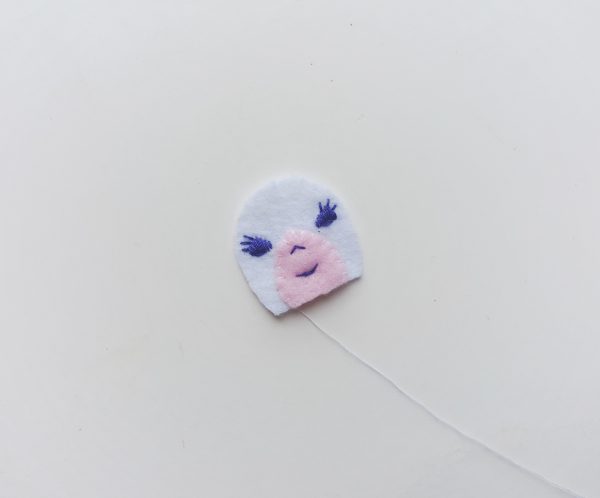
Step 8:
Use dark colored thread or black thread to stitch the face details (eyes, nose and mouth).
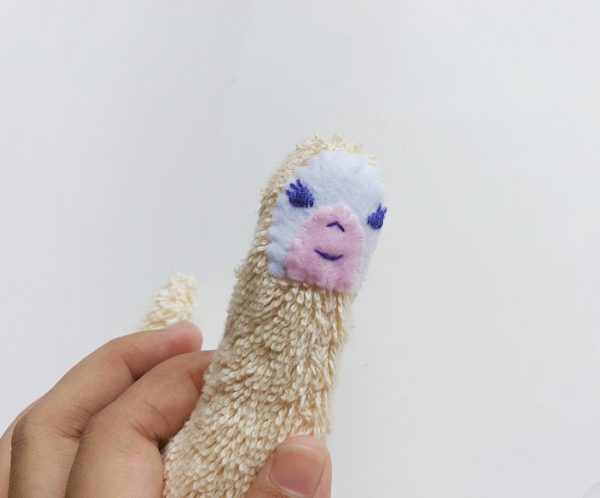
Step 9:
Stitch the felt cut out (for the face) on its place (on the plush).
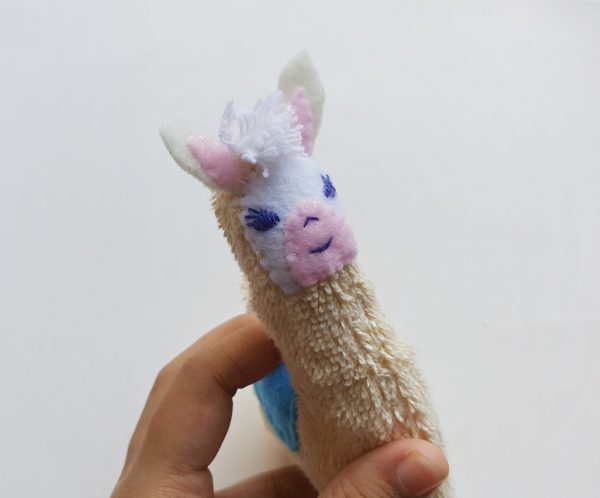
Step 10:
Stitch the ears on 2 sides of the head (above the face). Cut out small strands (2 inches) of yarns, fold them into half and stitch them between the ears; stitch the closed ends of the folded yarn strands.
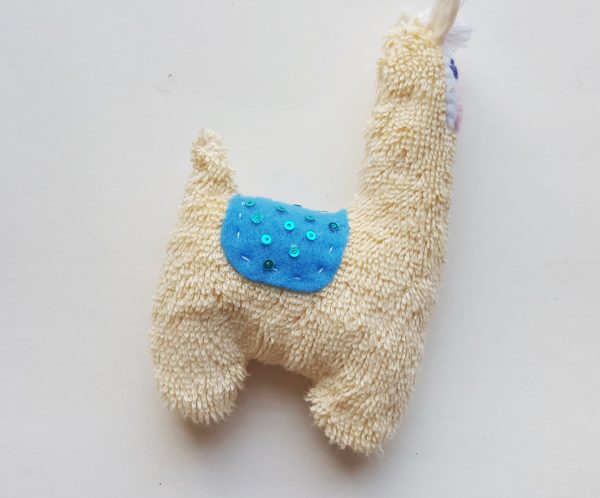
Step 11:
I glued some decorative confetti on the blue felt (saddle). You can add more details if you want to.
Happy crafting!


What do you think of this project? Let us know!