
Get more details about this project
What you need
Hard back book with 1-2 inches of pages
white craft glue
foam brush
Harry Potter Printables
Silver Spray Paint
Exacto knife
Pencil
Instructions
For this tutorial you will need a hard back book with 1-2 inches of papers.
Start by finding the center of the book and diving and separating around 4 pages. These 4 pages are NOT to be glued. I used a hair clip to separate the pages.
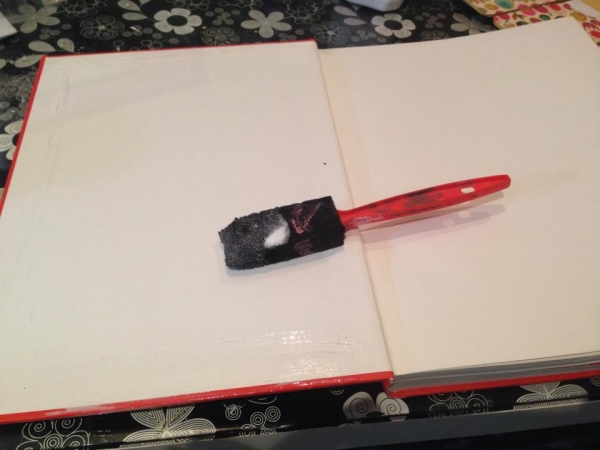
Now you need to make a glue mix of white wood glue and a few spoonfuls of water so that the glue mixture is thin and spreadable onto the pages. You need to flick the pages back to the beginning and start at one end. Glue each page down.
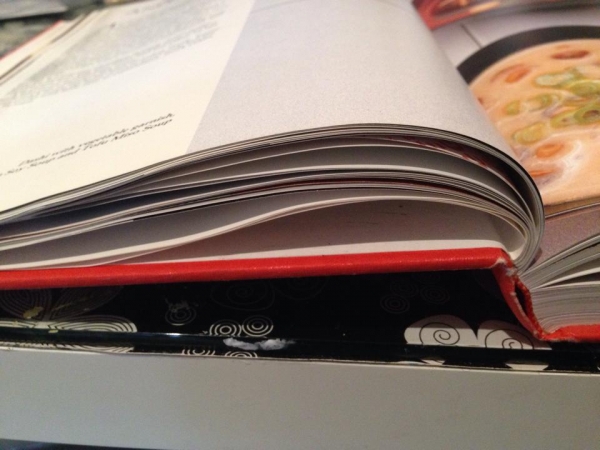
As you glue you want to create a nice curved edge as shown here.
Keep going until you reach the 4 separated pages in the middle. Then do the same thing from the back of the book to the middle again.
Once all the pages are glued down (except the 4 in the centre) it is important to work out what you are going to pop on the pages. I used a printable Harry Potter verse I found online quoted by Dumbledore. I also printed off a Ministry of Magic symbol that I could use later too.
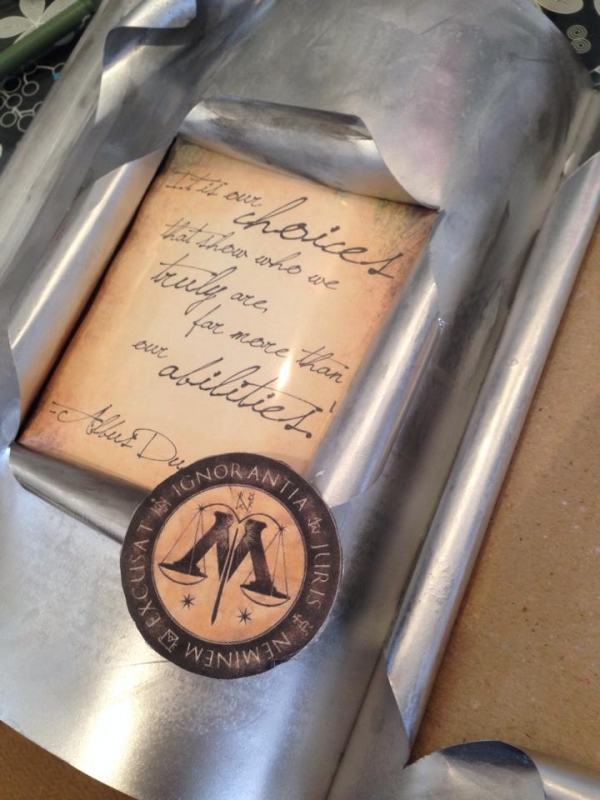
You need to laminate your quote so that it looks like a glass finish, it is optional but I would recommend it for the best finish. You could use recycled thick plastic from a box or carton too. I used a recycled brown paper for the signing page on the right.
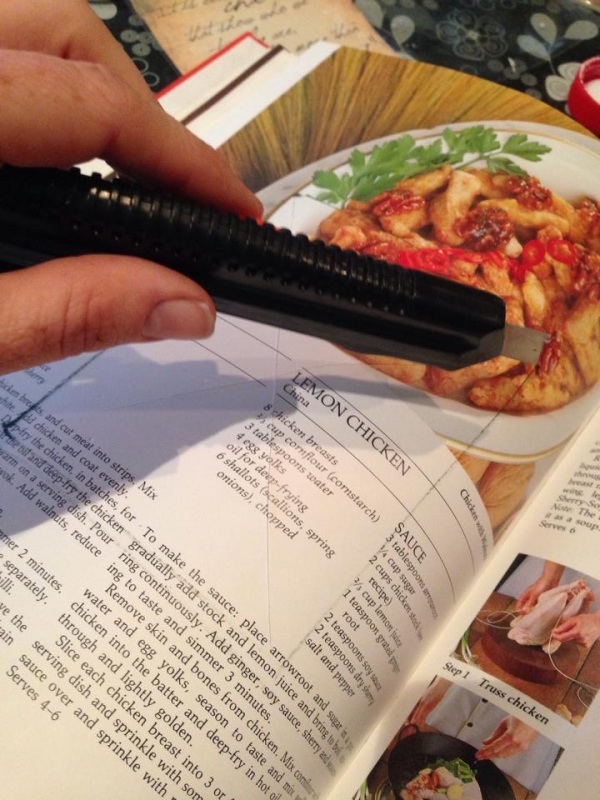
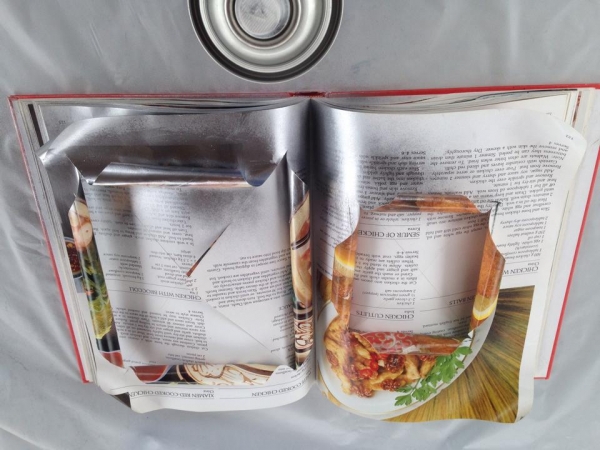
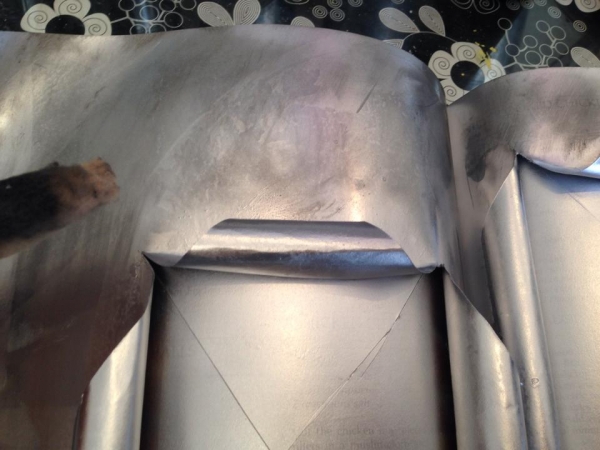
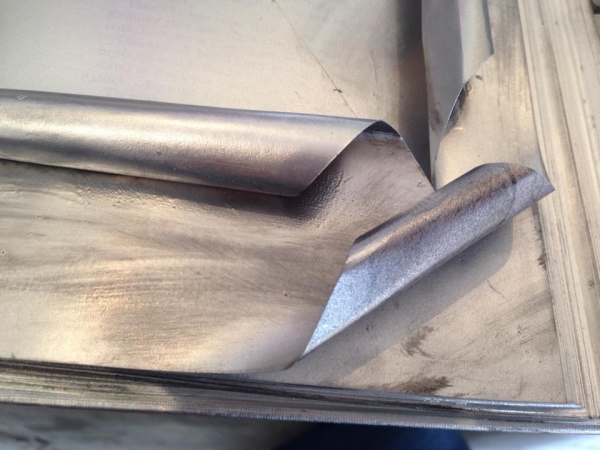
Next we are going to create the windows for the quote and signing page. Do this by using a pencil to trace out the size each window needs to be. Then using the blade cut out the window by cutting from each corner into the middle (diagonal) . Try to only cut through one layer of paper.
Do not cut out the edges, the picture below makes it appear I am cutting down the side of the square it is in fact just the pencil line.
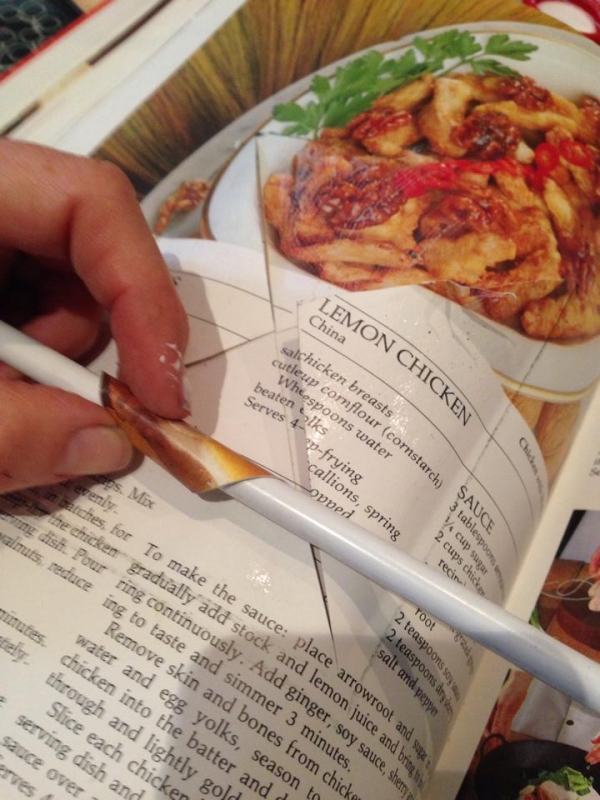
Once you have cut on the diagonal. Coat the paper with a thin layer of glue. Whilst it is still wet, use a pencil to roll it back to the edge. This will create the rolled look. Start from the point of each triangle and roll it back to reveal the window. Do this with all 4 sides for each window.
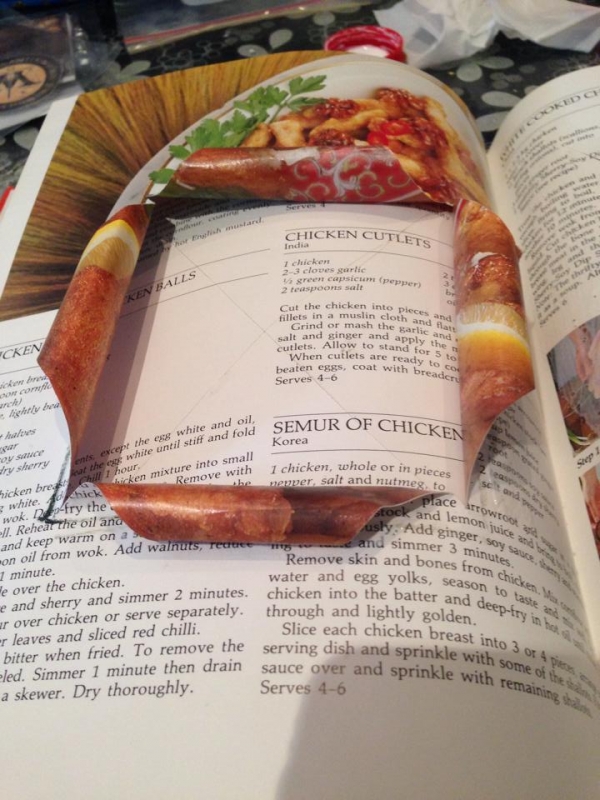
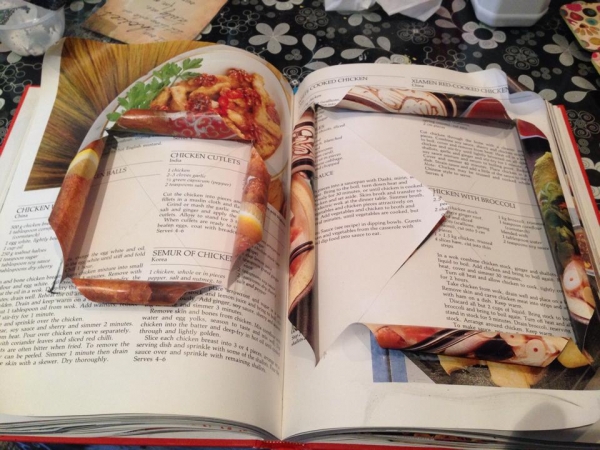
The next thing to do is allow the curled window edges to dry completely. Once all the book is dried you are ready to paint.
We used a good quality metallic paint for a true metallic finish. make sure you get under all the edges and curls with the spray paint. Also make sure to cover the remaining loose pages.
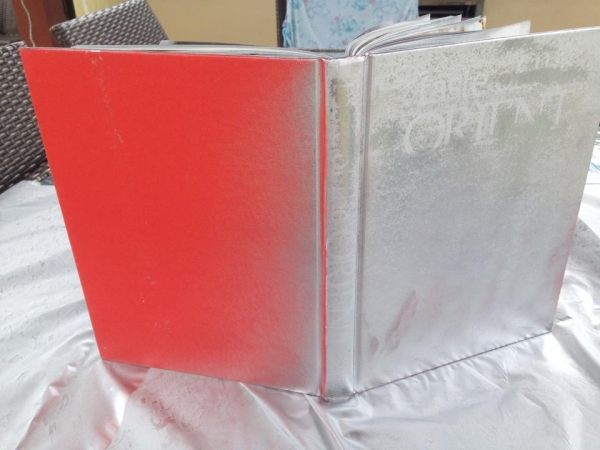
Once the book has had several coats of paint, including the back cover it is ready to tarnish with a little black paint or shoe polish.
Finish off by slipping your quote inside and singing brown paper and gluing down any remaining loose paper.
Add some embellishments of your own choice. What do you think?


What do you think of this project? Let us know!