
Get more details about this project
What you need
Materials
Small amounts of DK / 8-ply yarn in red, cream or your preferred face colour, and white
3 mm crochet hook
Black embroidery thread for the face
Small amount of toy stuffing
Yarn needle
Embroidery needle
Stitch marker
Scissors
Use the same yarn weight for all three colours. Smooth yarn makes the tiny stitches much easier to see than fluffy or chenille yarn.
Instructions
Some Christmas projects take weeks. This little fellow is rather more considerate of your December to-do list.
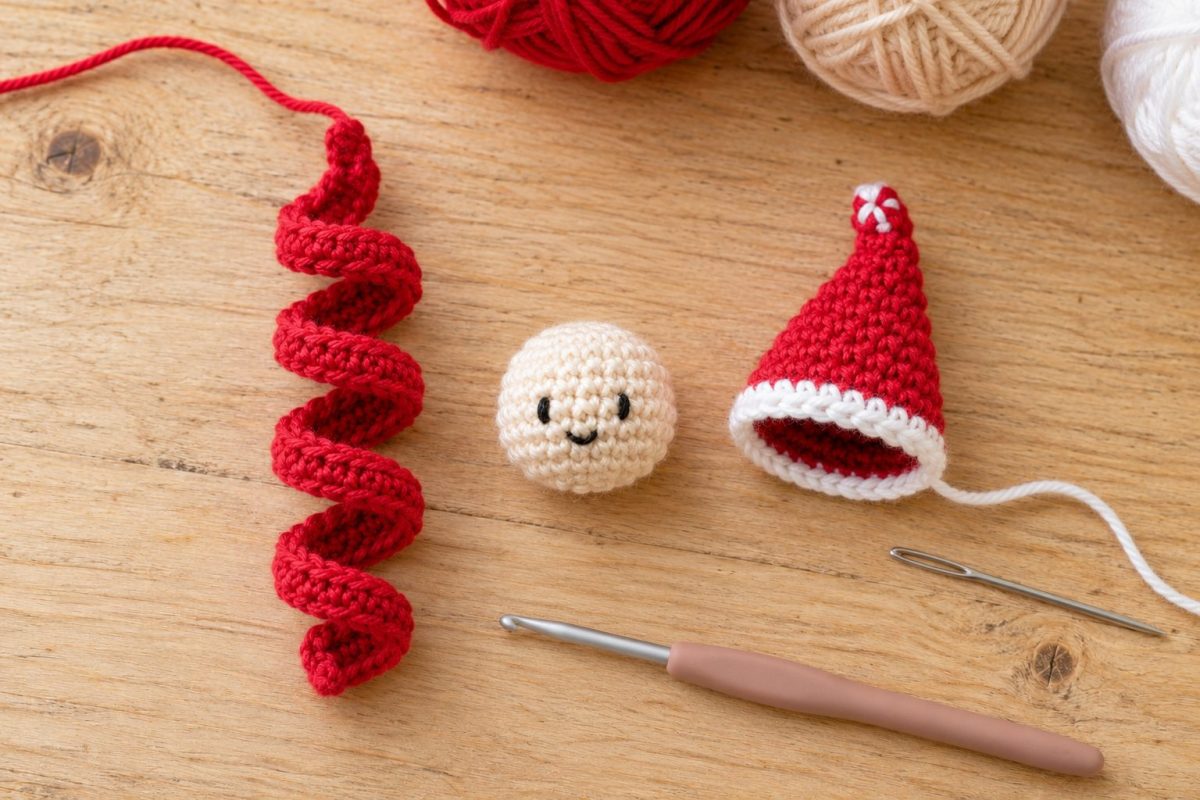
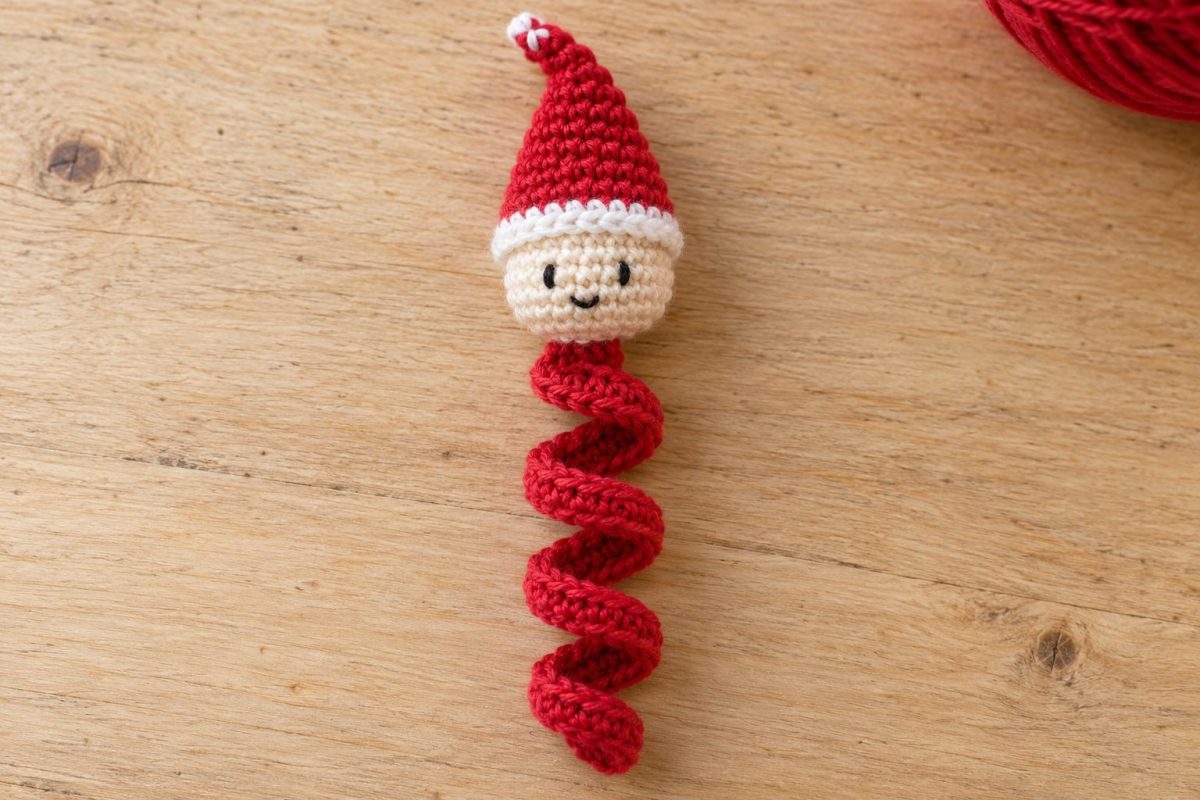
Our Santa worry worm pairs a traditional crochet corkscrew with a small smiling head and a pointed Christmas hat. There are no arms, legs or complicated colourwork to tackle, just a few small pieces to stitch together.
Keep the face simple and let that cheerful curl do most of the work. These little companions are lovely tucked into a Christmas card or attached to a gift with a handwritten message.
Instructions
Abbreviations
- ch: Chain
- sc: Single crochet
- sl st: Slip stitch
- inc: Work 2 sc into the same stitch
- dec: Single crochet 2 stitches together, preferably using an invisible decrease
- st / sts: Stitch / stitches
- MR: Magic ring
Numbers in brackets show the stitch count at the end of the round or row.
Before You Begin
Work the head and hat in continuous rounds. Do not join or turn between rounds. Mark the first stitch of each round and move the marker as you work.
The body is worked along a foundation chain. Its extra stitches create the curl automatically.
1. Crochet the Curly Body
Using red yarn, leave a starting tail of approximately 15 cm.
Chain 31.
Row 1: Work 3 sc into the second chain from the hook. Work 3 sc into each remaining chain. [90 sc]
You will work into 30 foundation chains, placing 3 sc in each one.
Fasten off, leaving a 20 cm finishing tail for attaching the body to the head.
Wrap the strip gently around your finger to arrange it into a corkscrew. Encourage all the turns to spiral in the same direction.
The end with the finishing tail will sit beneath the head. Weave the starting tail securely into the opposite end.
Tip: Do not steam or stretch the curl flat.
2. Crochet the Head
Using your chosen face colour:
Round 1: Work 6 sc into a MR. [6]
Round 2: Inc in each st around. [12]
Round 3: (Sc in next st, inc in next st) 6 times. [18]
Rounds 4–6: Sc in each st around. [18 per round]
Pause here to embroider the face.
Place two small black eyes on the front of the head between Rounds 4 and 5, leaving approximately 3 stitches between them. Add a tiny smile underneath.
Secure the embroidery ends inside the head.
Round 7: (Sc in next st, dec over next 2 sts) 6 times. [12]
Lightly stuff the head. It should feel rounded and soft, without stuffing showing between the stitches.
Round 8: Dec 6 times. [6]
Fasten off, leaving a 15 cm tail.
Thread the tail through the front loops of the remaining 6 stitches. Pull gently to close the opening, secure and weave in the end.
The magic-ring end is the top of the head. The gathered closure is the bottom.
3. Crochet the Santa Hat
Using red yarn:
Round 1: Work 4 sc into a MR. [4]
Round 2: (Sc in next st, inc in next st) twice. [6]
Round 3: Sc in each st around. [6]
Round 4: (Sc in next st, inc in next st) 3 times. [9]
Round 5: Sc in each st around. [9]
Round 6: (Sc in next 2 sts, inc in next st) 3 times. [12]
Round 7: (Sc in next 3 sts, inc in next st) 3 times. [15]
Round 8: (Sc in next 4 sts, inc in next st) 3 times. [18]
Change to white on the final pull-through of the last stitch in Round 8.
Round 9: Sc in each st around. [18]
Sl st into the next stitch to finish. This slip stitch does not count as an additional stitch.
Fasten off, leaving a 30 cm white tail for sewing.
Weave the other ends into the inside of the hat. Leave the hat unstuffed.
For a white tip, use white yarn to make several short embroidery stitches over the very point of the hat. Secure the ends inside. This gives a festive finish without adding a separate pompom.
4. Attach the Body
Position the finishing end of the curly body against the centre underside of the head, over the gathered closure.
Using the red finishing tail, sew through the end of the body and several stitches on the underside of the head. Make several passes, spreading the attachment across a small area rather than pulling on one stitch.
Secure the yarn and weave the remaining tail through the body.
Let the curl hang freely beneath the head.
5. Attach the Hat
Place the hat over the top of the head, with the white brim approximately between Head Rounds 3 and 4. Keep the eyes and smile visible.
Both the hat opening and the widest part of the head have 18 stitches. With matching yarn and tension, their circumferences should be similar.
Using the white tail, sew the brim to the head with small stitches all the way around. Avoid pulling tightly enough to squash the head.
Bend the hat point slightly to one side. If you would like it to stay bent, secure it with one small stitch in matching red yarn.
Weave in all remaining ends.
Finishing Checks
Before gifting your Christmas worry worm:
- Check that the head is firmly attached to the body.
- Check that the hat is securely sewn around its entire brim.
- Make sure no stuffing is visible.
- Check that all embroidery and yarn ends are secure.
- Arrange the curl into an even spiral.
Troubleshooting
My body looks like a ruffle rather than a spiral.
Check that you worked exactly 3 sc into each of the 30 chains. Then wind the strip around your finger, keeping every turn travelling in the same direction.
My stuffing shows through the head.
Use a smaller hook for the head and add less stuffing. Increasing the amount of stuffing will make the gaps more noticeable.
My hat does not fit.
Check that its final round has 18 stitches and that the head’s widest rounds also have 18. Different yarn thicknesses or tighter tension in the tiny hat rounds can affect the fit, even when the counts match.
Christmas Colour Variations
Keep the same stitch counts and try:
- Christmas elf: Green body and green hat with a red brim.
- Snowy Christmas worm: White body, white head and red Santa hat.
- Festive pocket friend: Red body, brown or cream head and green hat with a white brim.
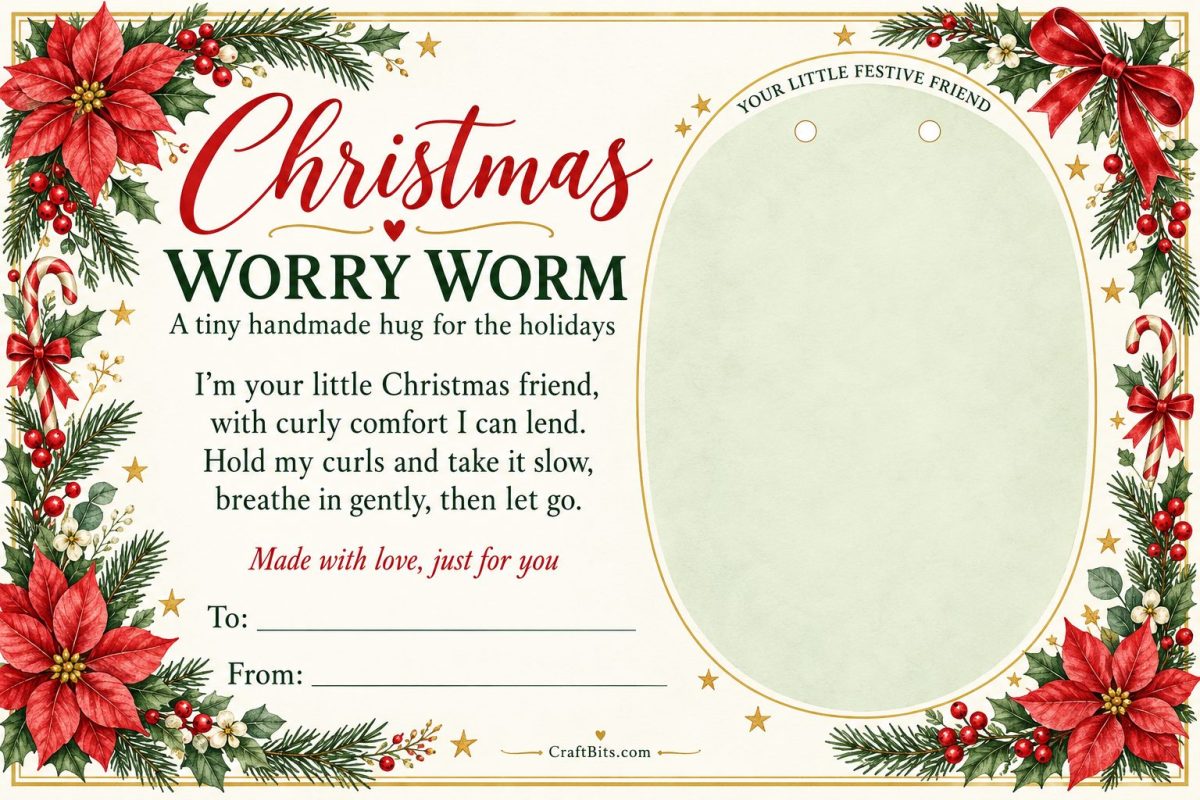
A Little Message to Include
“I’m your little Christmas worm,
With a smile and curly charm.
Tuck me in your pocket tight,
A tiny friend for day or night.”
Gifting note: Use embroidered features rather than beads or glued eyes. This small handmade item is not suitable for babies or children who still mouth objects.
Make one in traditional Christmas colours, then see what your scrap basket suggests. A tiny hat is a very good excuse to keep those last few metres of yarn.



What do you think of this project? Let us know!