
Get more details about this project
What you need
Jenga Blocks from the dollar tree (you will need 22 blocks in total)
Paint Brush

Wood Glue
Waverly white and green chalk paint
Instructions
There is something so satisfying about turning a handful of inexpensive wooden blocks into a piece of Christmas décor that looks completely different from where it started. This Dollar Tree Jenga block Christmas tree is a simple little holiday project with a rustic farmhouse feel, and it is perfect for decorating shelves, mantels, tiered trays or small tabletop displays.
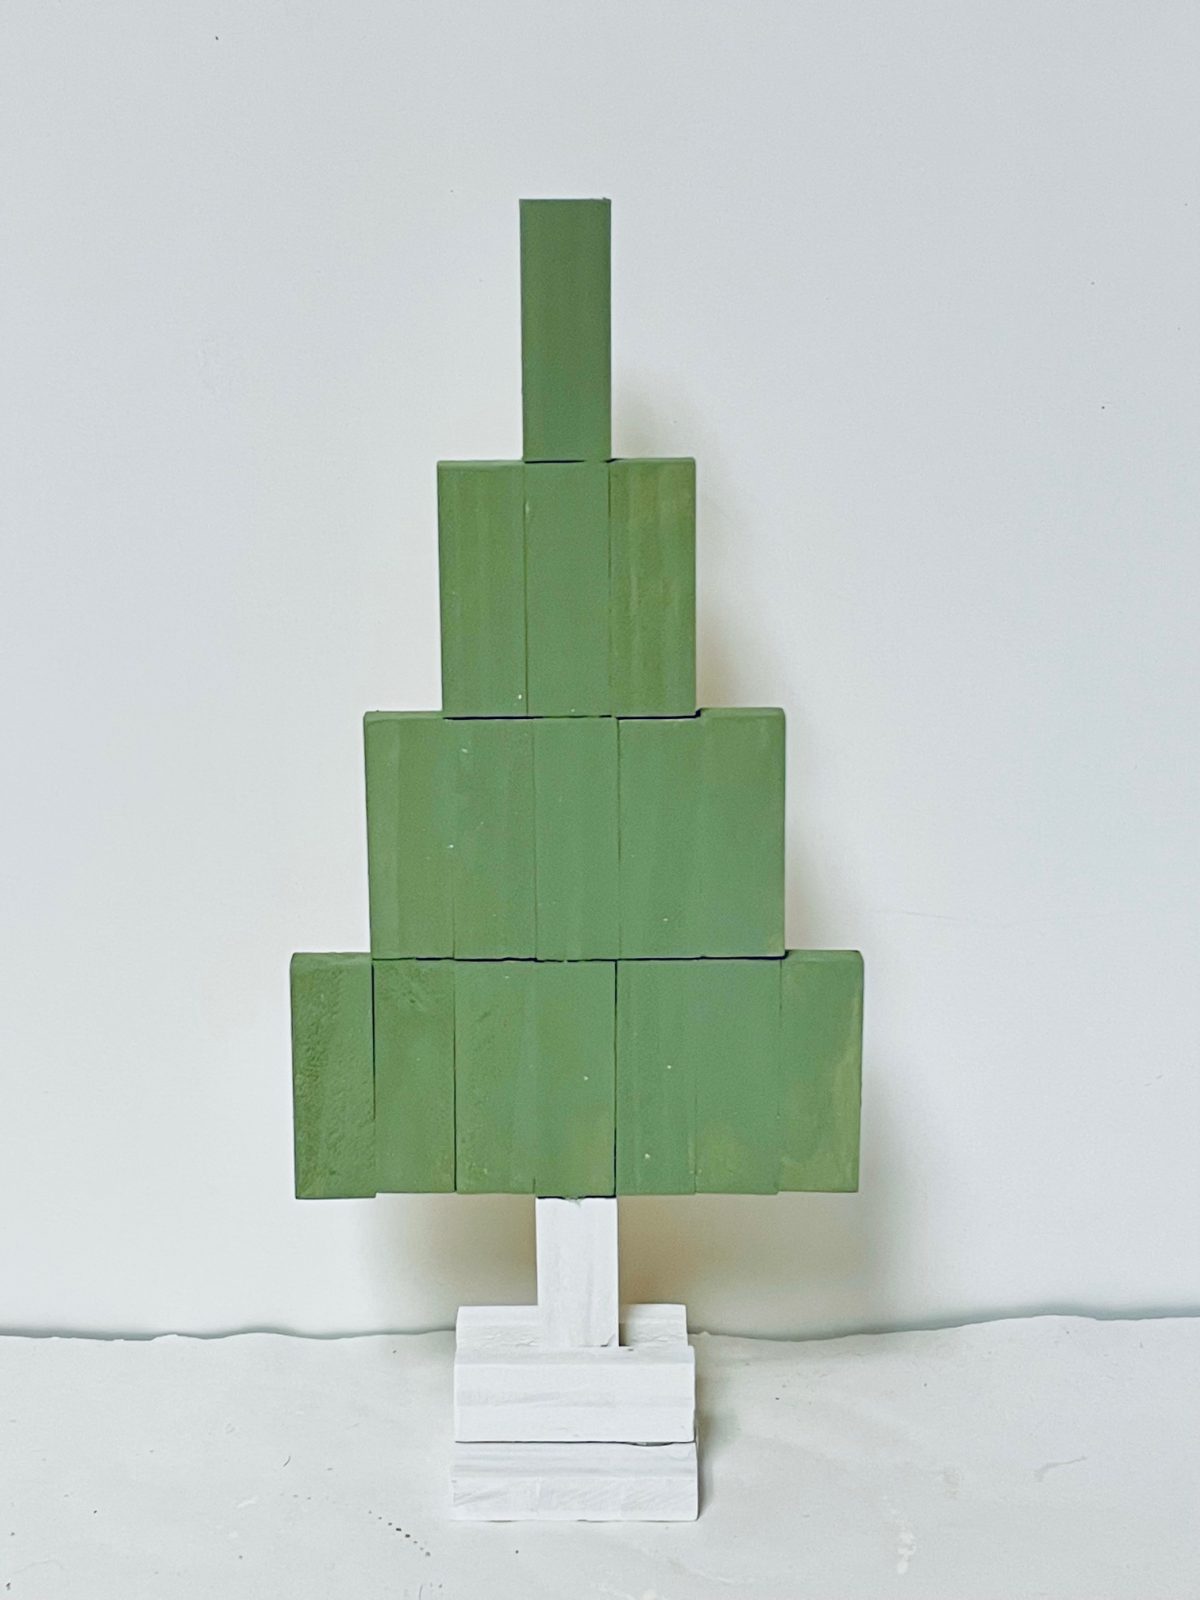
The tree is made from stacked Jenga-style or tumbling tower blocks arranged in graduated rows to create the classic Christmas tree shape. A few white-painted blocks form the trunk and base, while the green sections give it that soft, understated look that works beautifully with neutral, rustic and farmhouse Christmas decorating.
I especially like how easy this project is to personalise. You can keep the tree simple, distress the paint for a more aged finish, add a small wooden star, glue on miniature ornaments, paint tiny dots as baubles or even stencil a festive word onto the blocks.
Because the supplies are inexpensive and the construction is straightforward, this is also a great Christmas craft to make in batches for gifts, market stalls or holiday decorating. It is quick, budget-friendly and easy to adapt to whatever colours you already use in your Christmas décor.
If you are looking for an easy Dollar Tree Christmas craft with plenty of rustic charm, this Jenga block tree is a lovely little project to add to your festive crafting list.
Start by wood gluing Jenga sections together ( 2 sections of 3, 1 section of 5, and 1 section of 7)
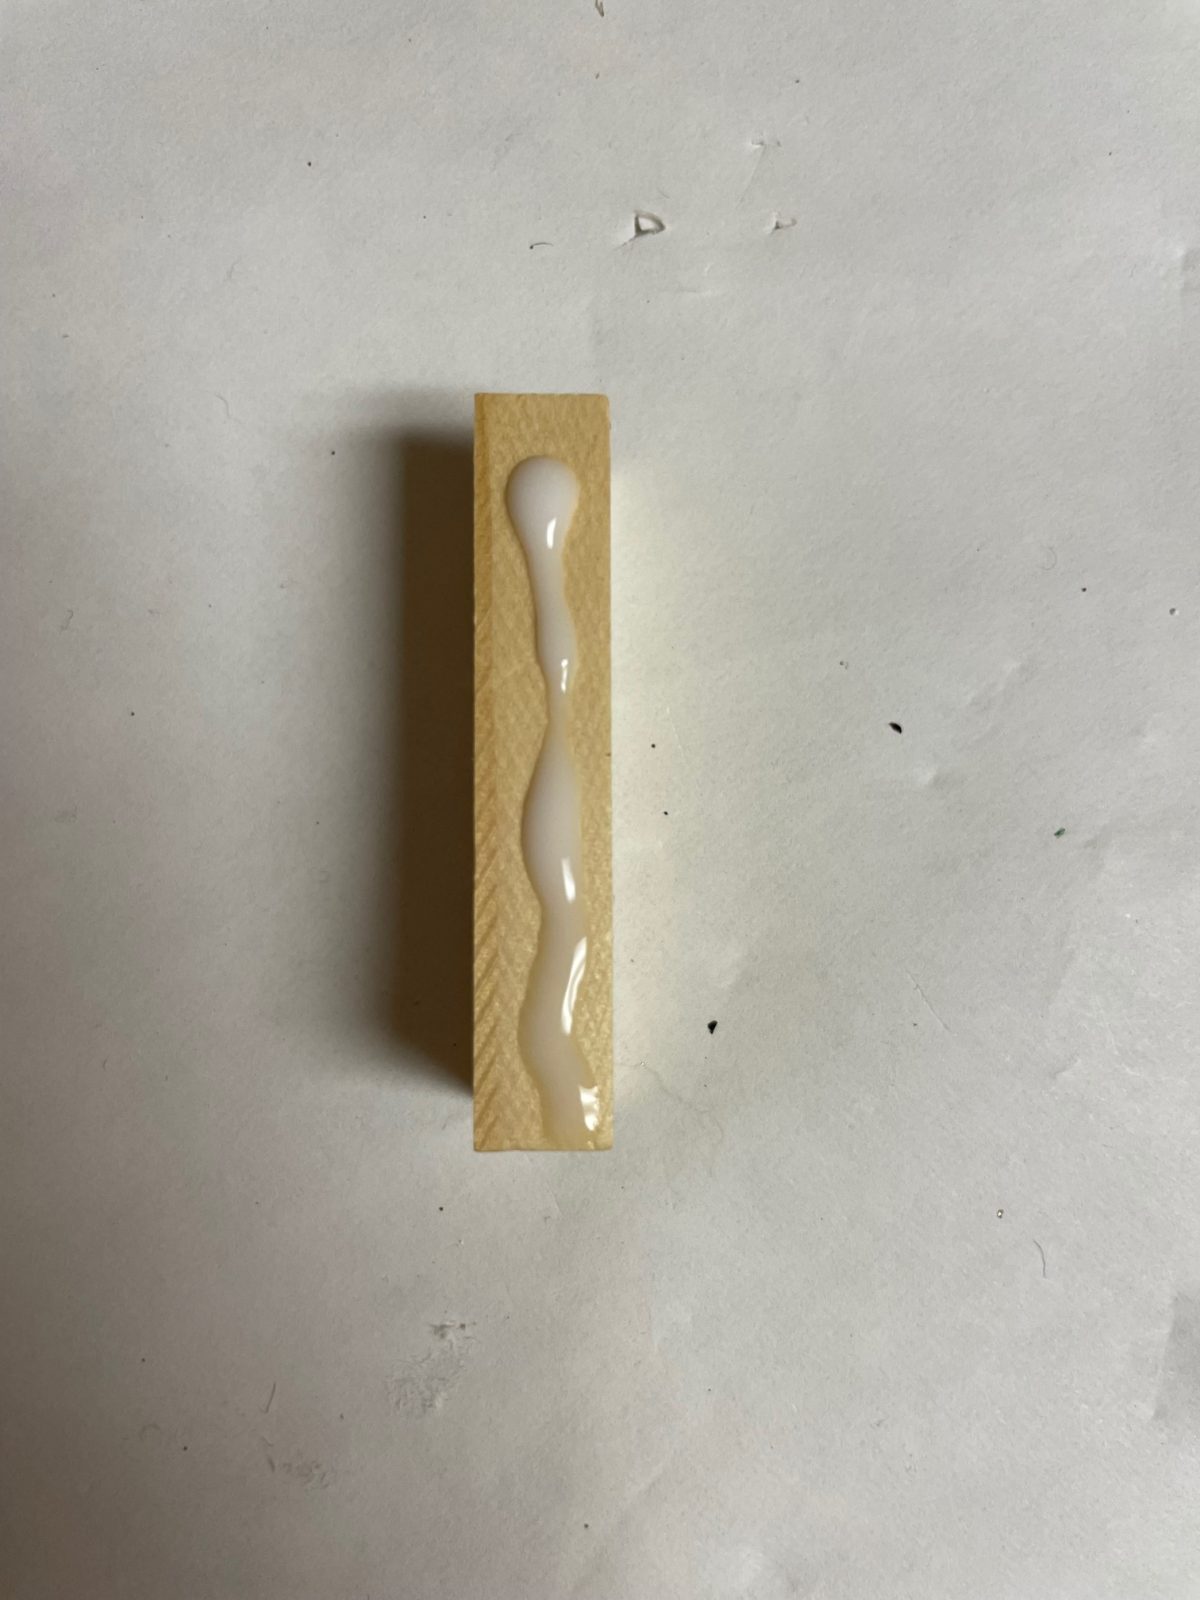
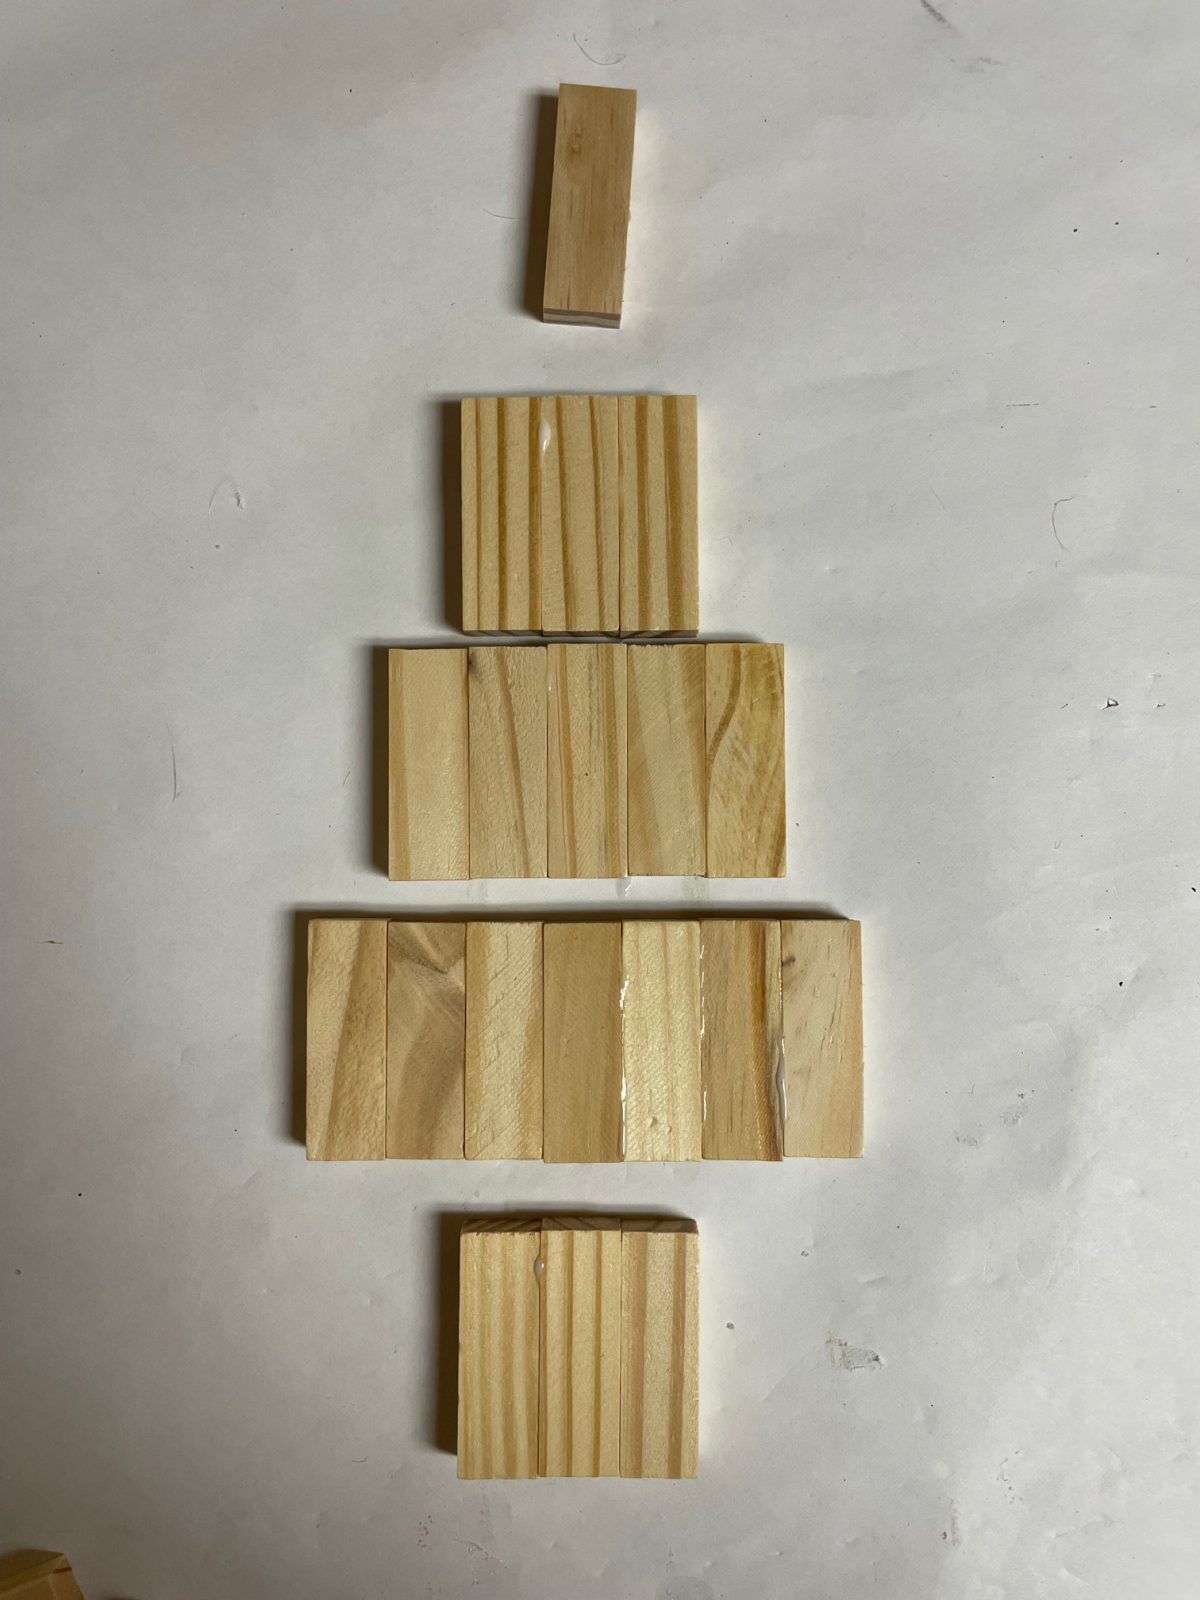
Let them dry for about an hour.
Once the sections are sturdy and dry using the wood glue (or hot glue if you prefer) add glue to the bottom of the sections. Start by adding the section of 7 and the section of 5 together first, then add the section of 3 and then the last piece of top. Allow to dry and become sturdy.
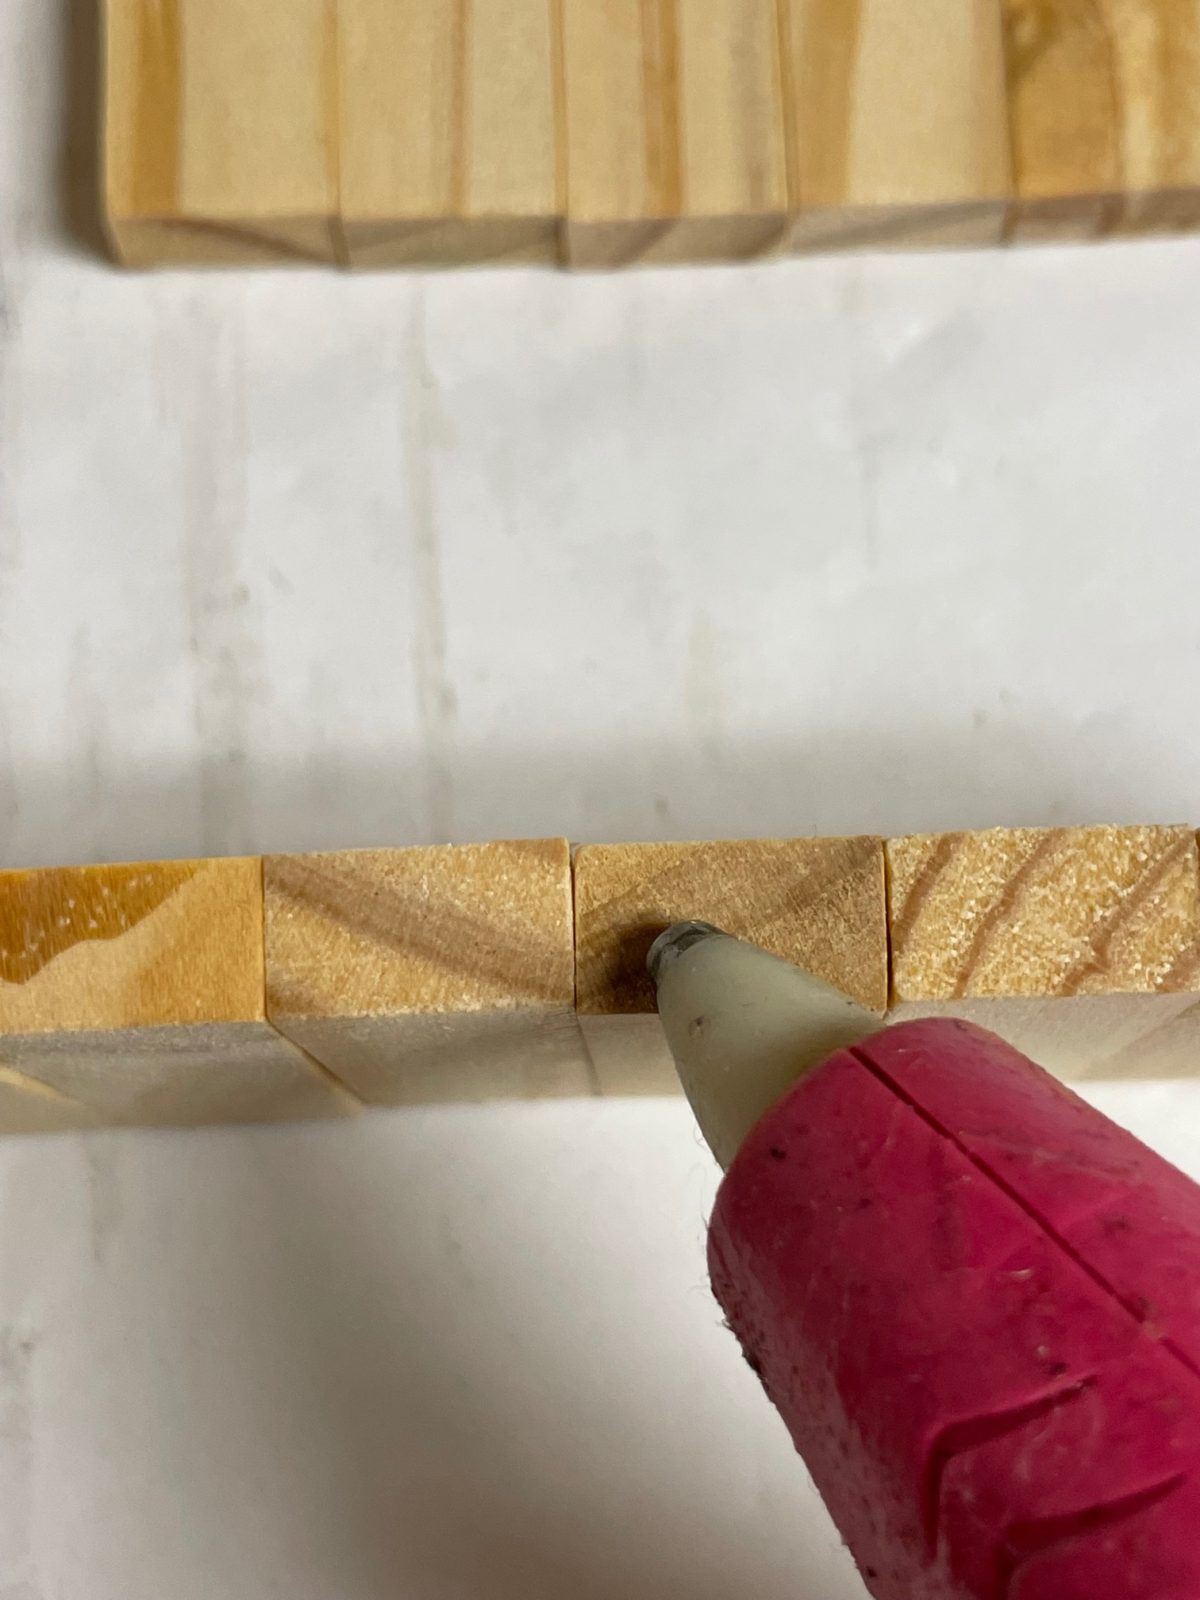
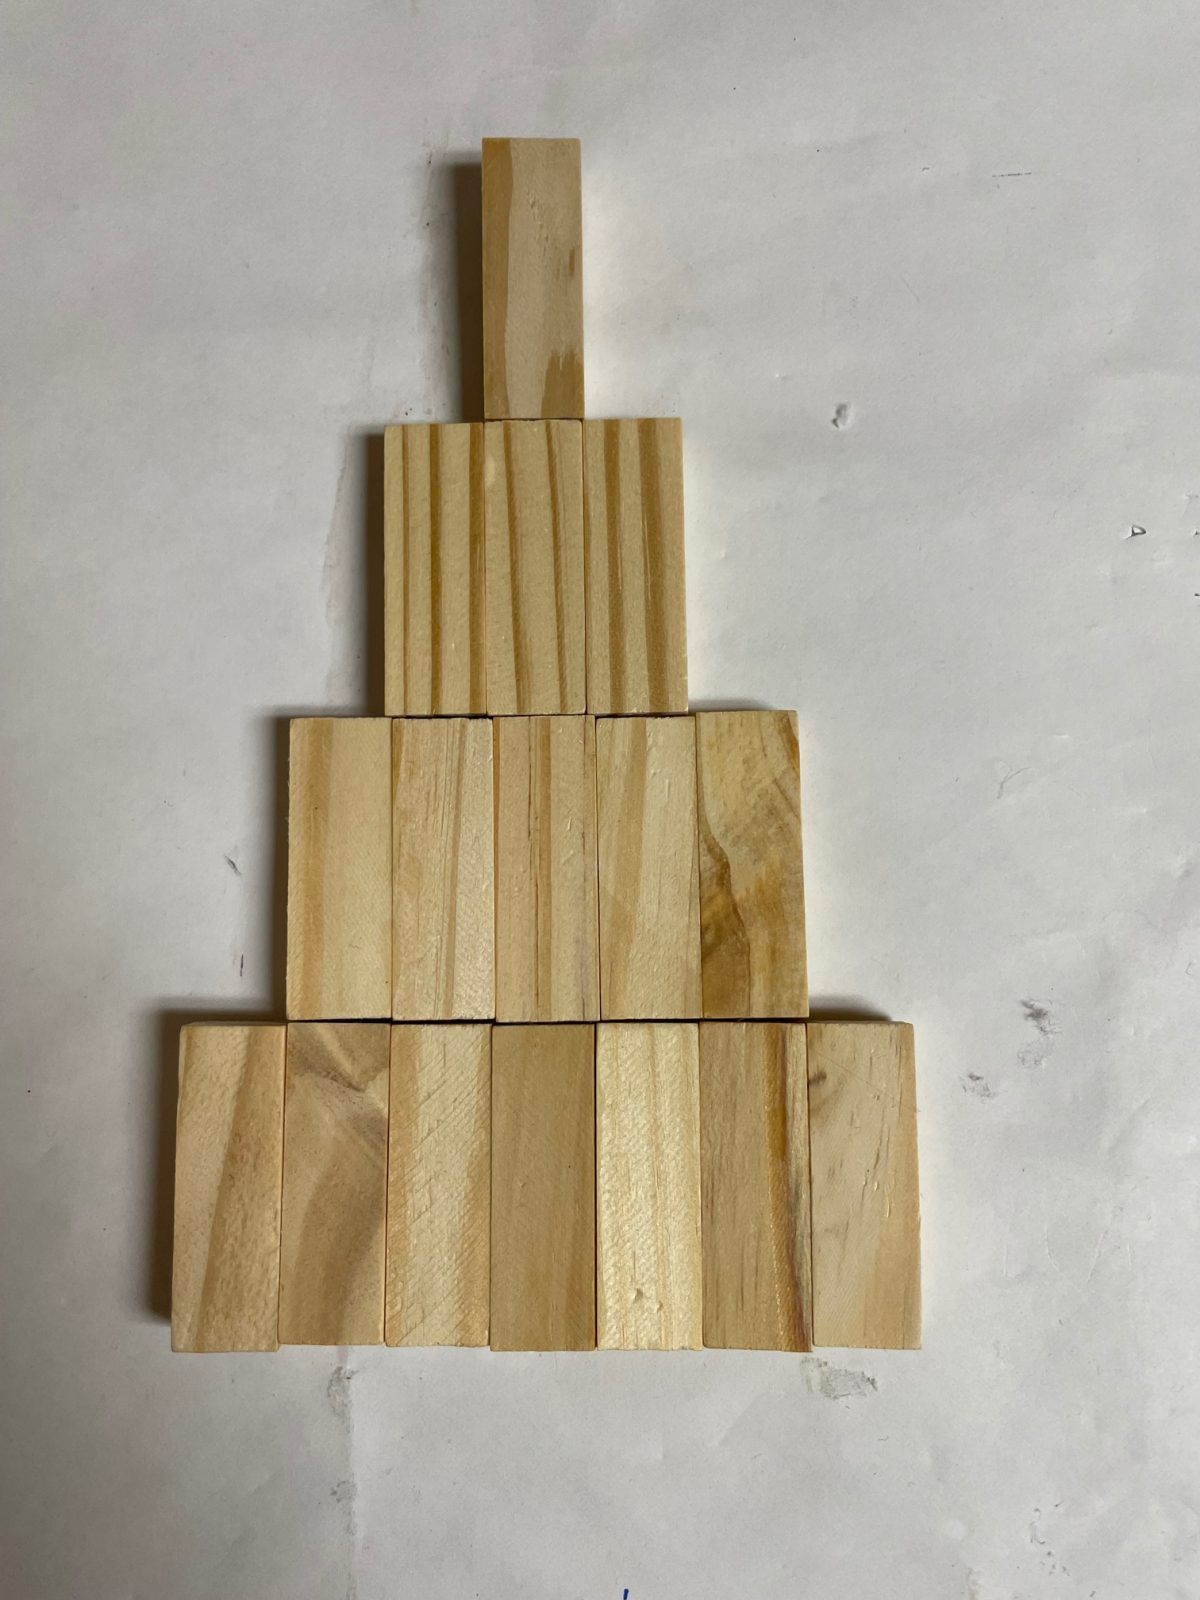
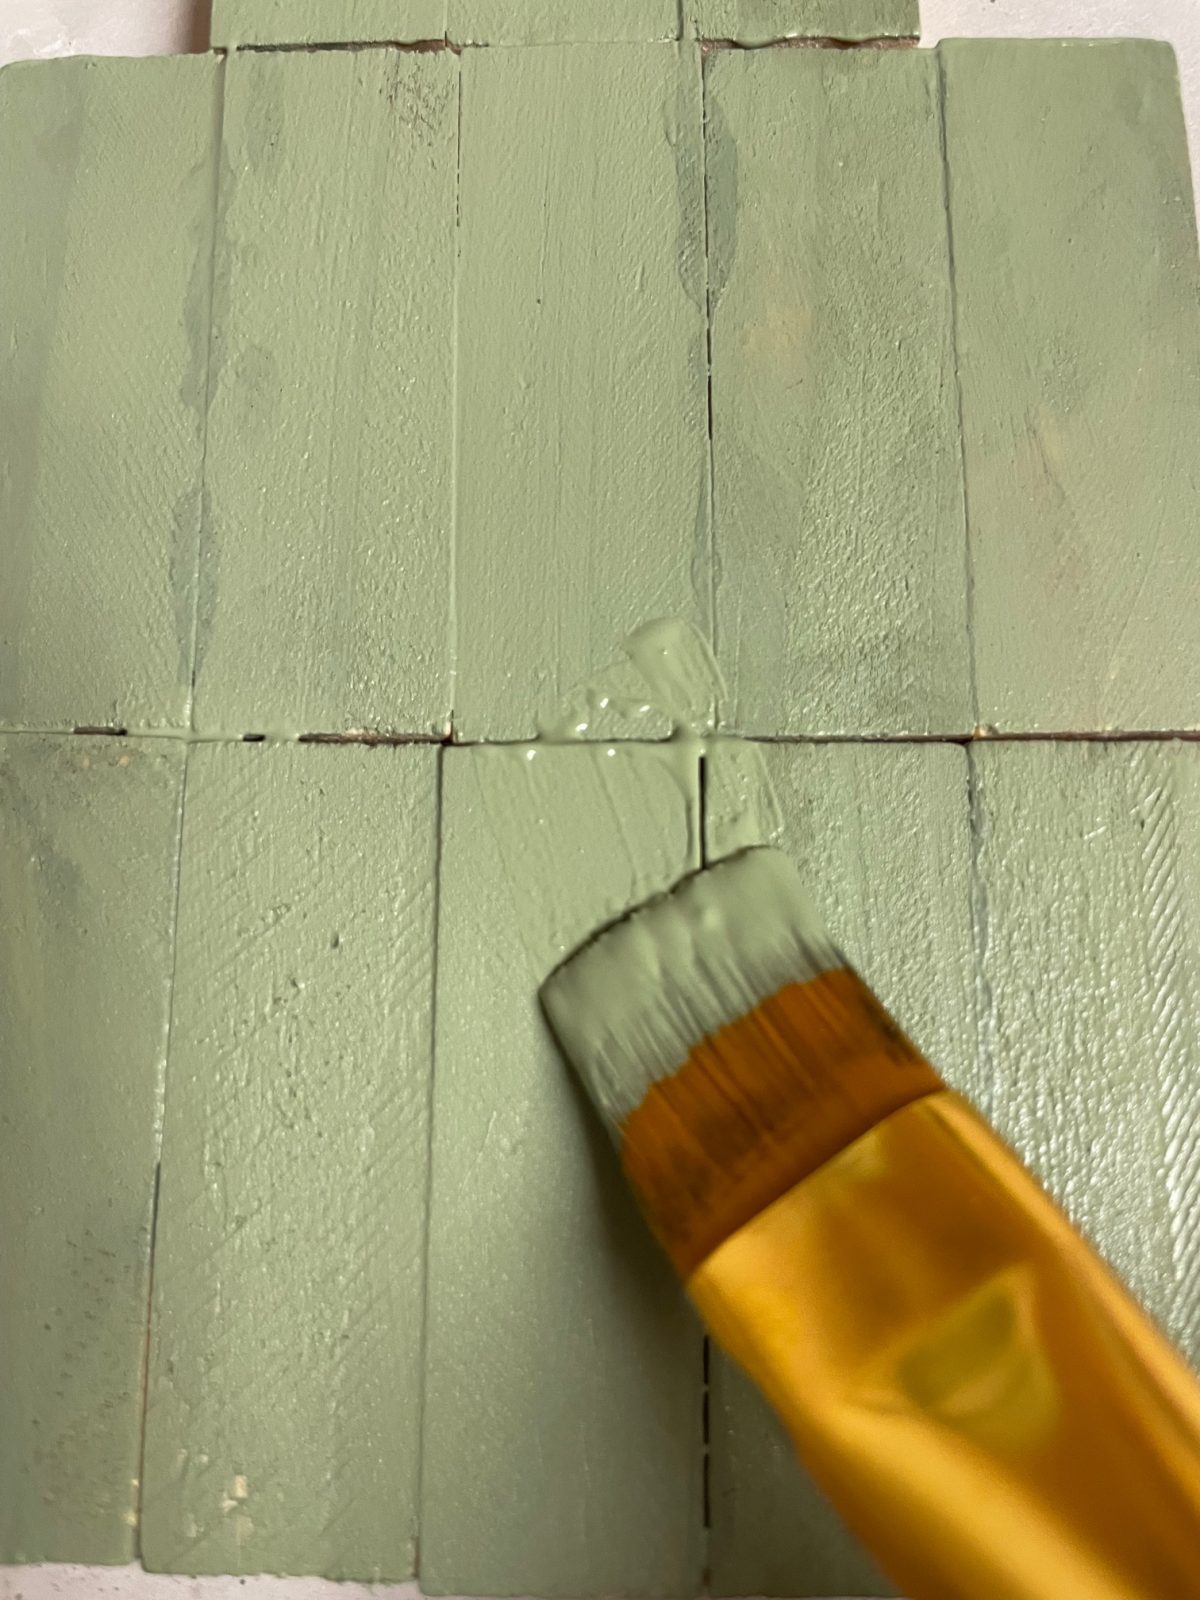
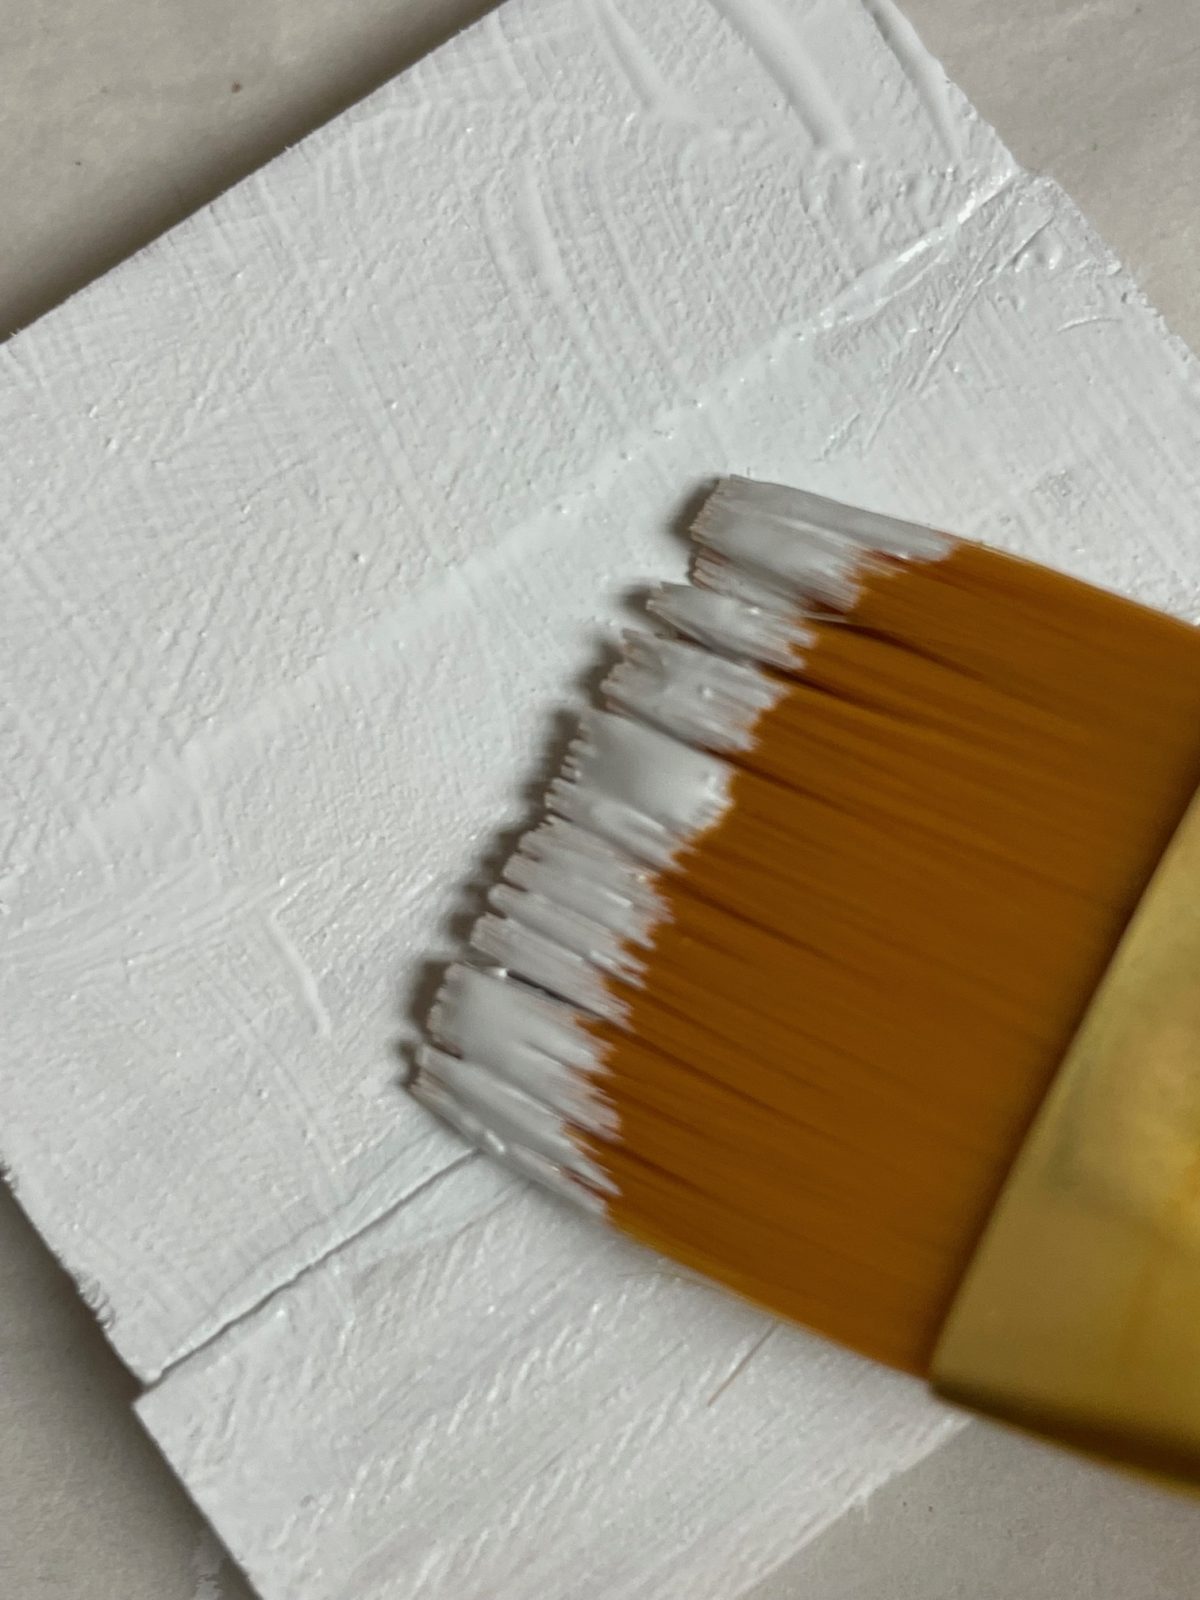
Paint this section with the green chalk paint, while that is drying paint the last section of 3 Jenga blocks and the 2 separate Jenga blocks with the white chalk paint.
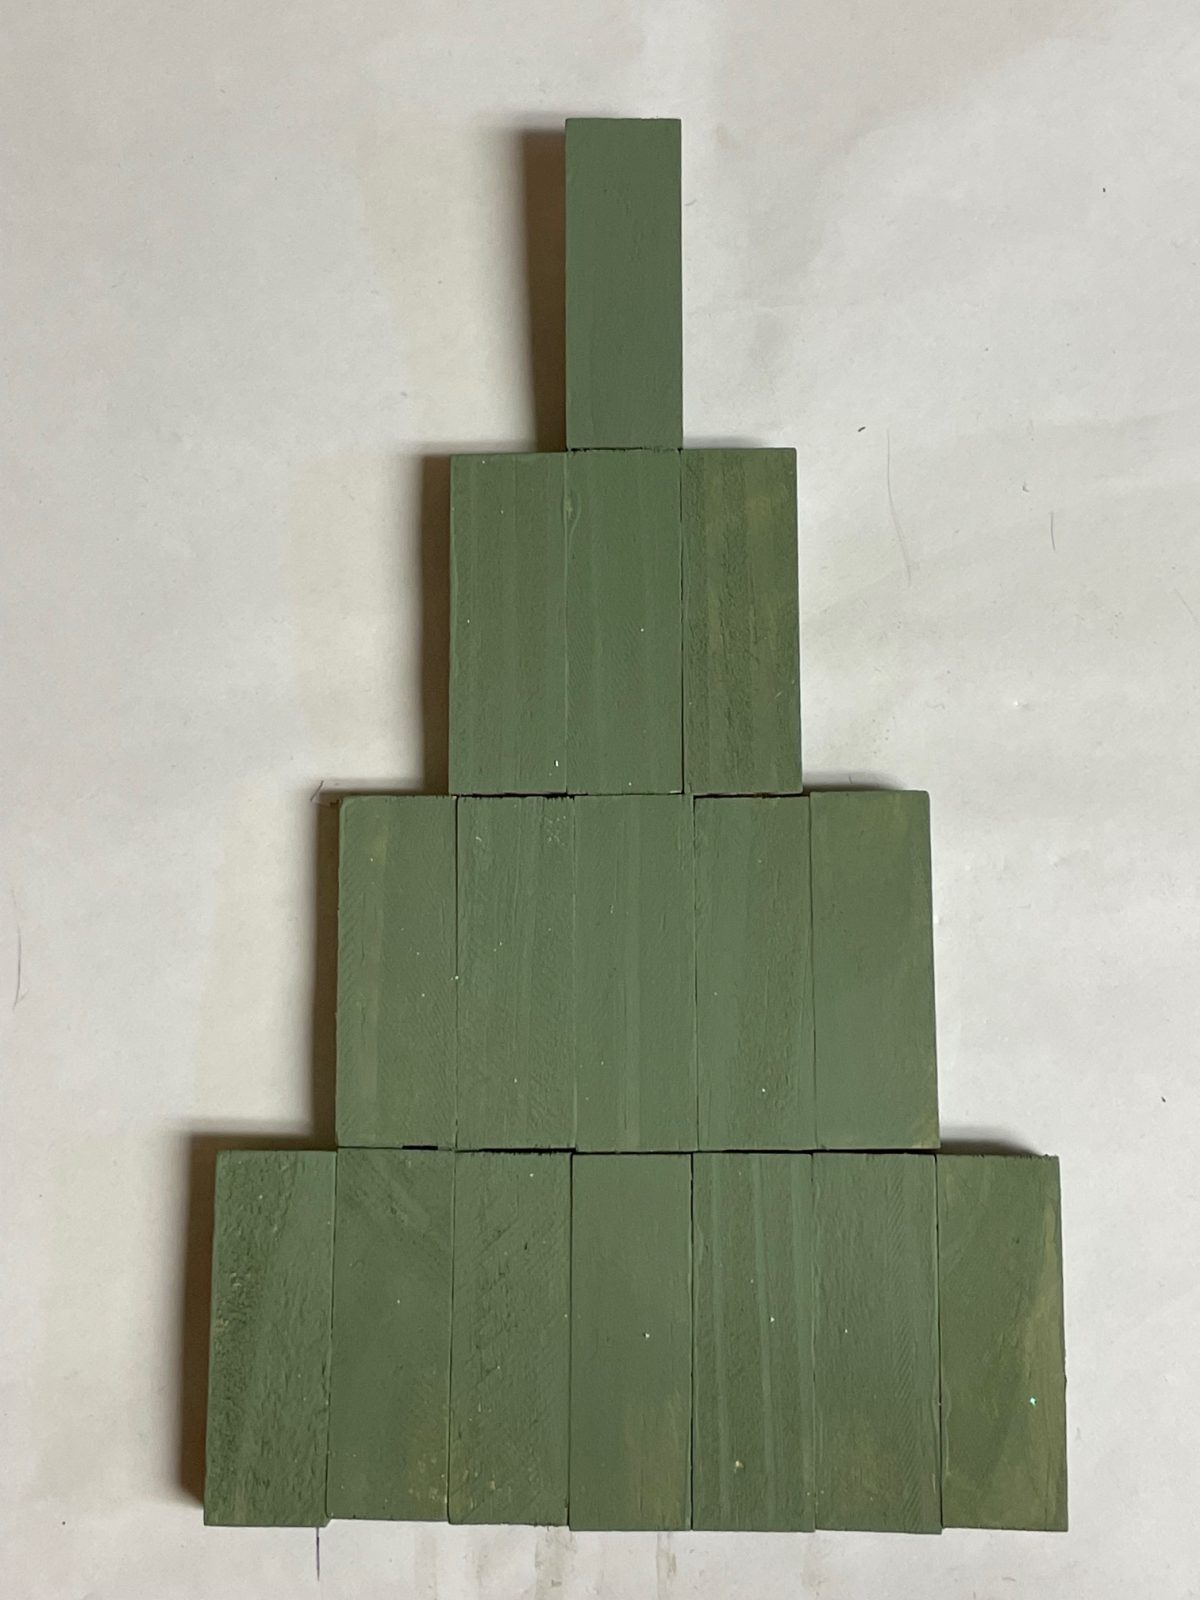
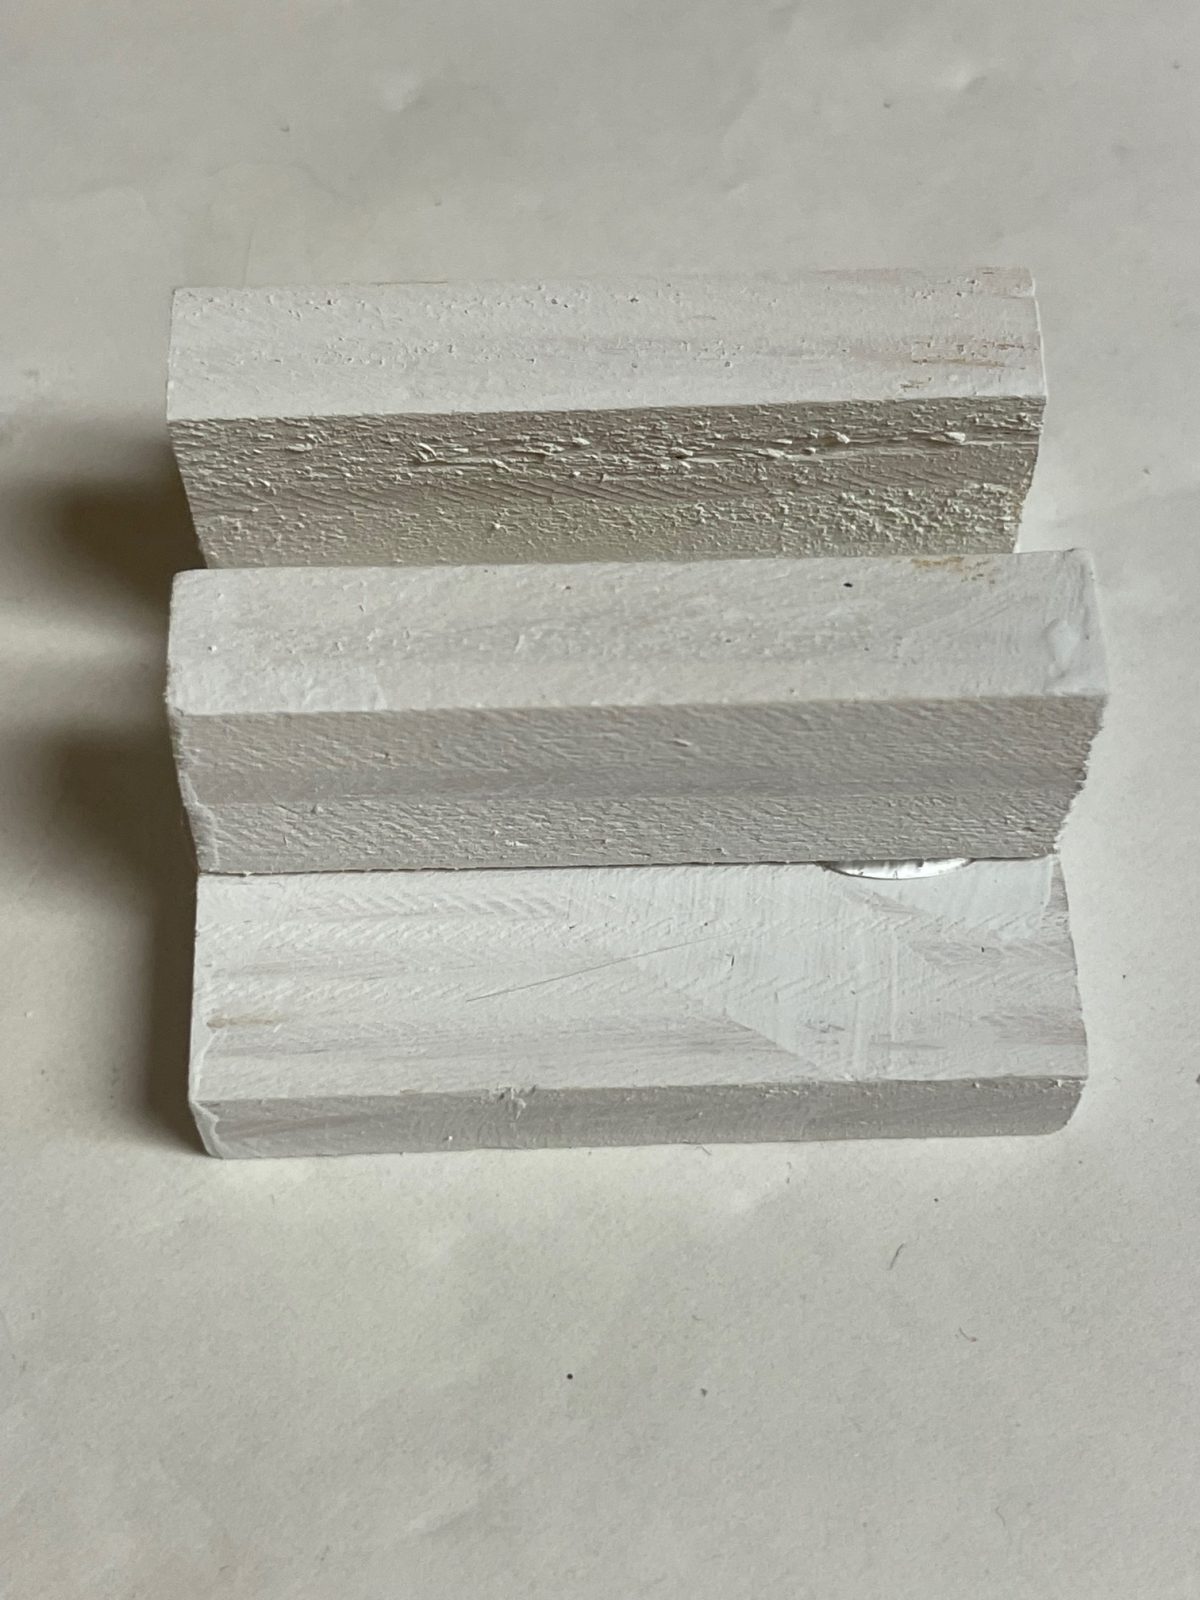
Once fully dry, hot glue or wood glue one of the white pieces to make the trunk of the tree and then the other 2 separate pieces to the section of 3 Jenga blocks to form a base and keep the tree steady
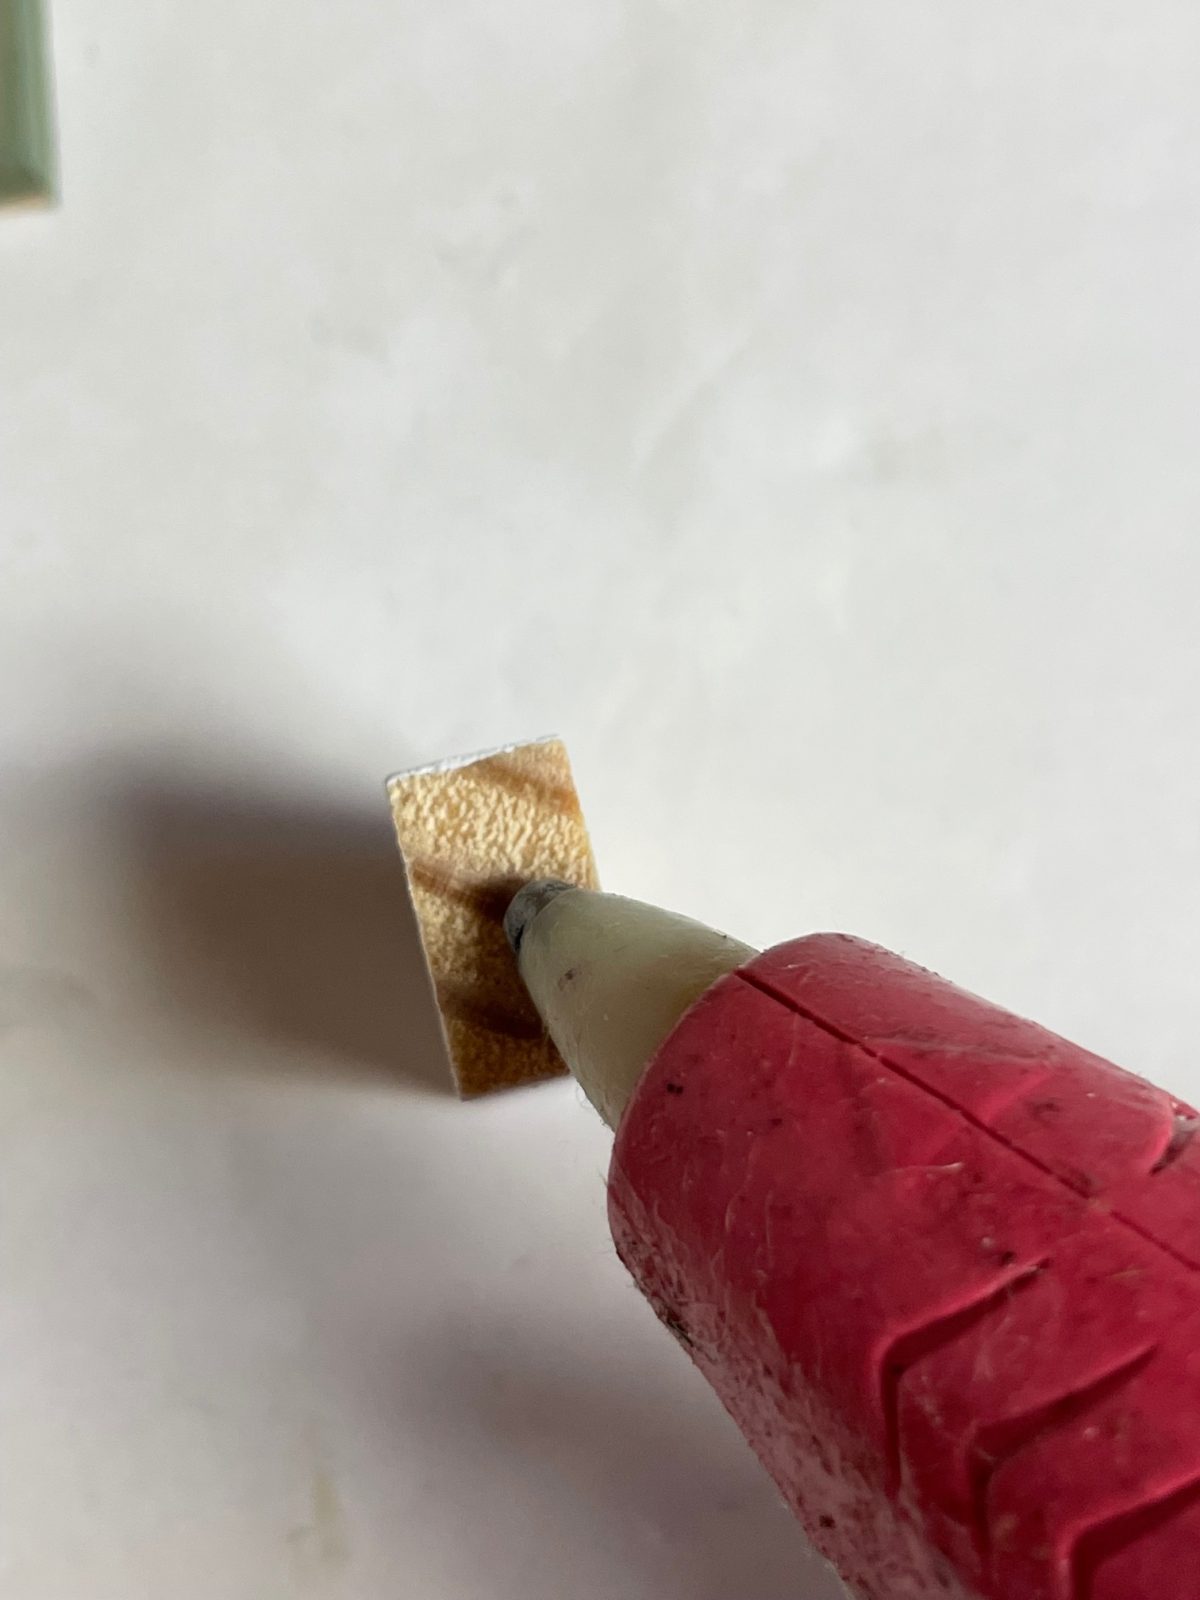
Add some hot glue to the bottom of the white trunk piece and add to the base.



What do you think of this project? Let us know!