
Get more details about this project
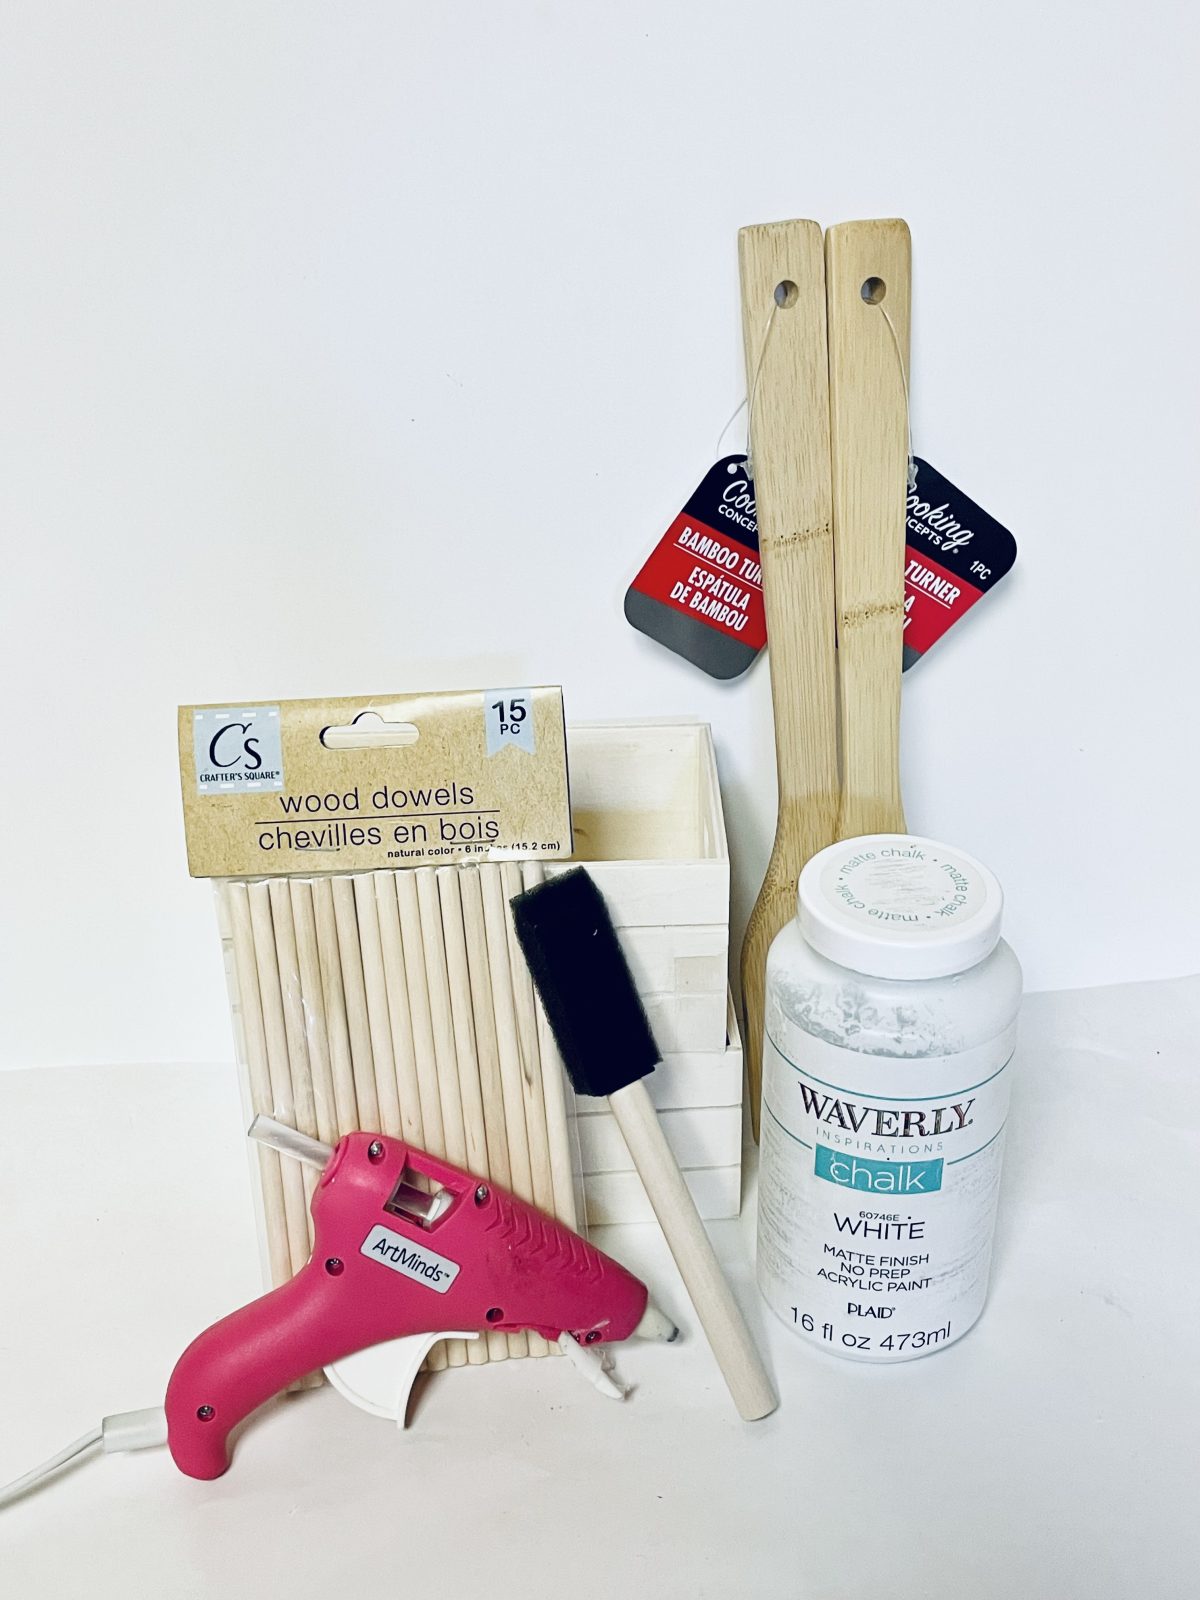
What you need
2 Dollar Tree wooden/bamboo spatulas
Waverly White Chalk Paint
Hot Glue Gun
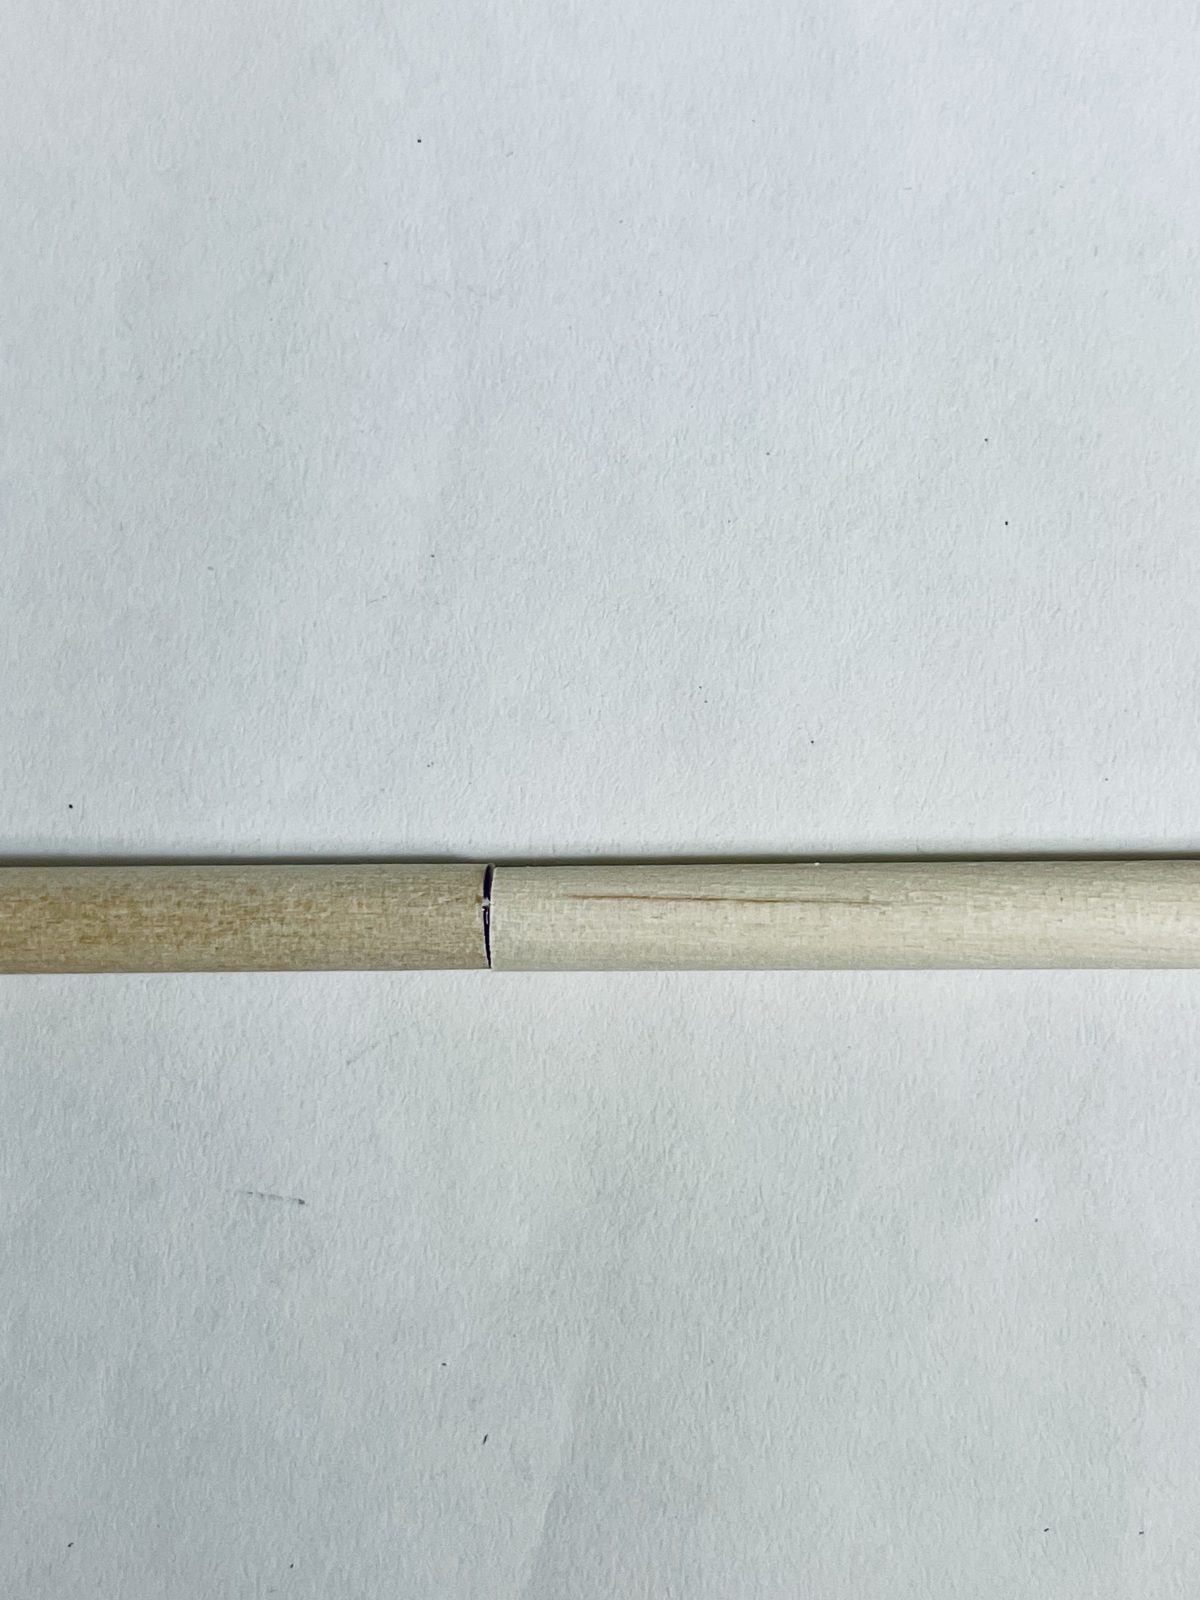
Dollar Tree wooden Dowels
Instructions
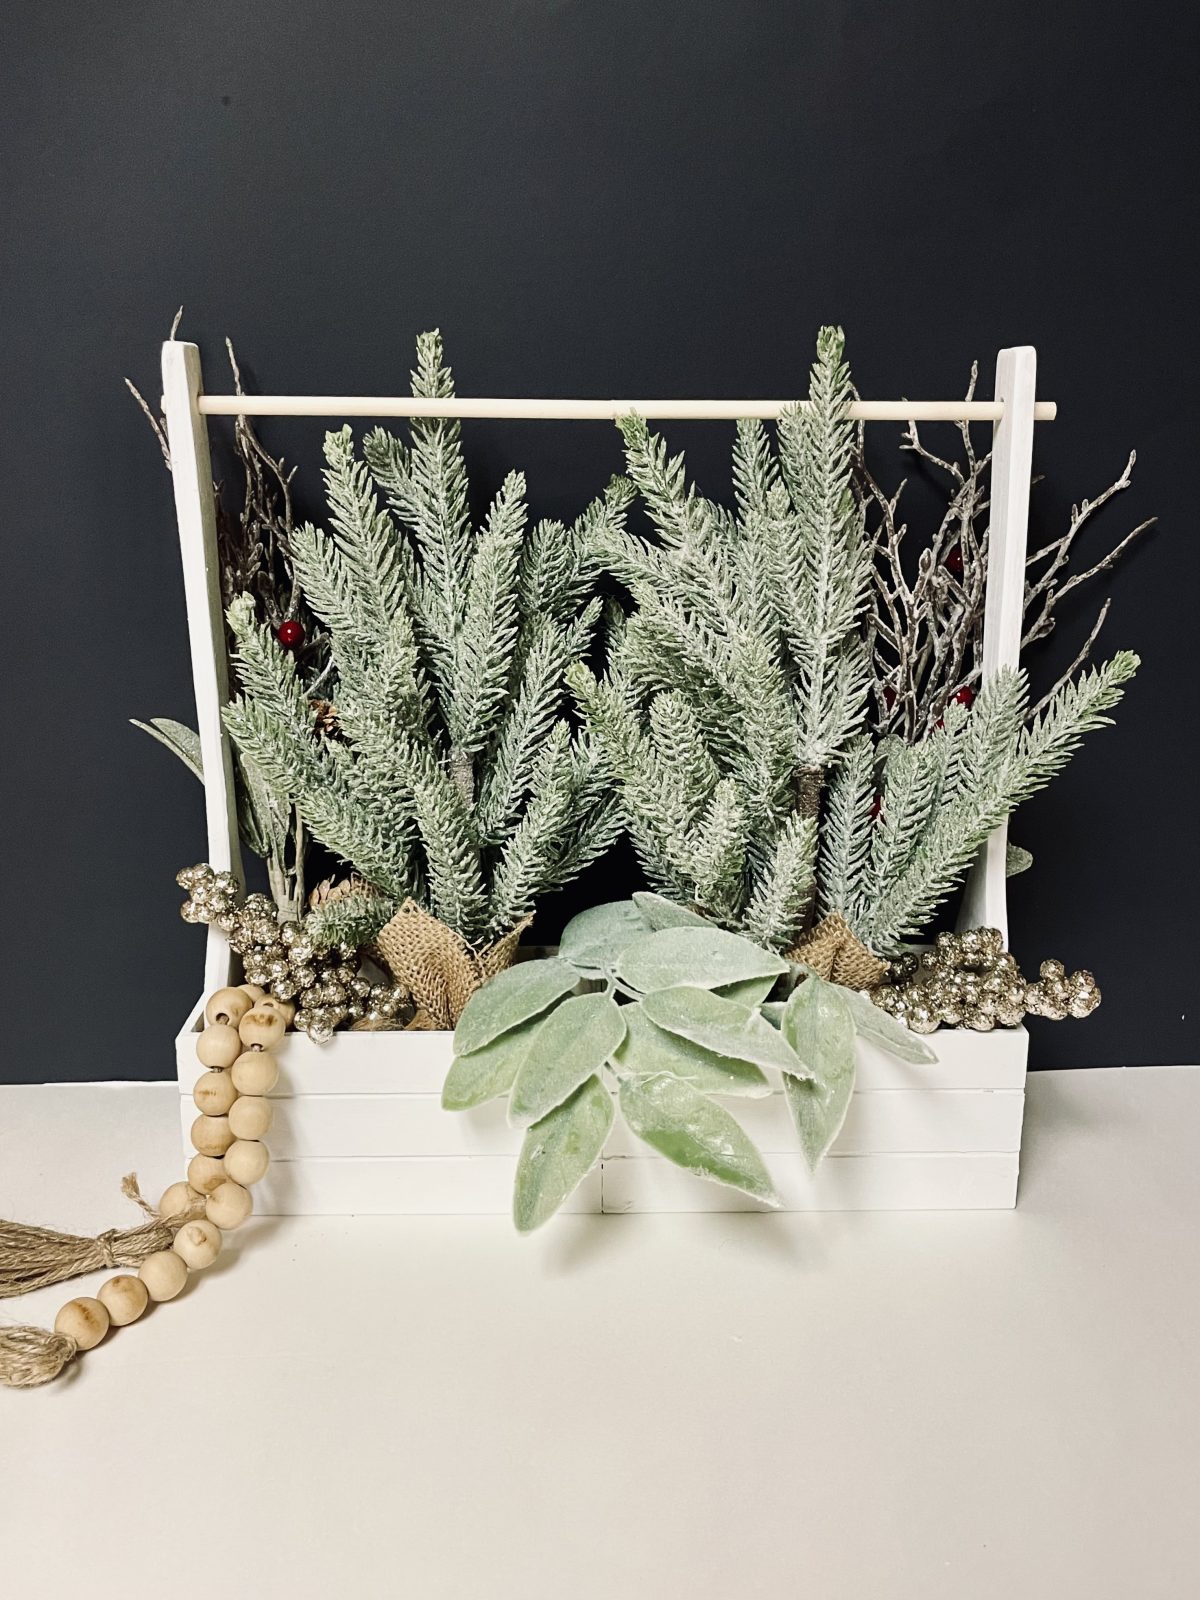
The Dollar Tree Farmhouse Kitchen Tool Box is made from sturdy materials and features a wooden box design with metal handles, perfect for storing and organizing all of your kitchen essentials. Whether you’re looking to store utensils, cooking tools, or even spices and herbs, this tool box has got you covered. You can use it on your kitchen countertop or even mount it on the wall for easy access.
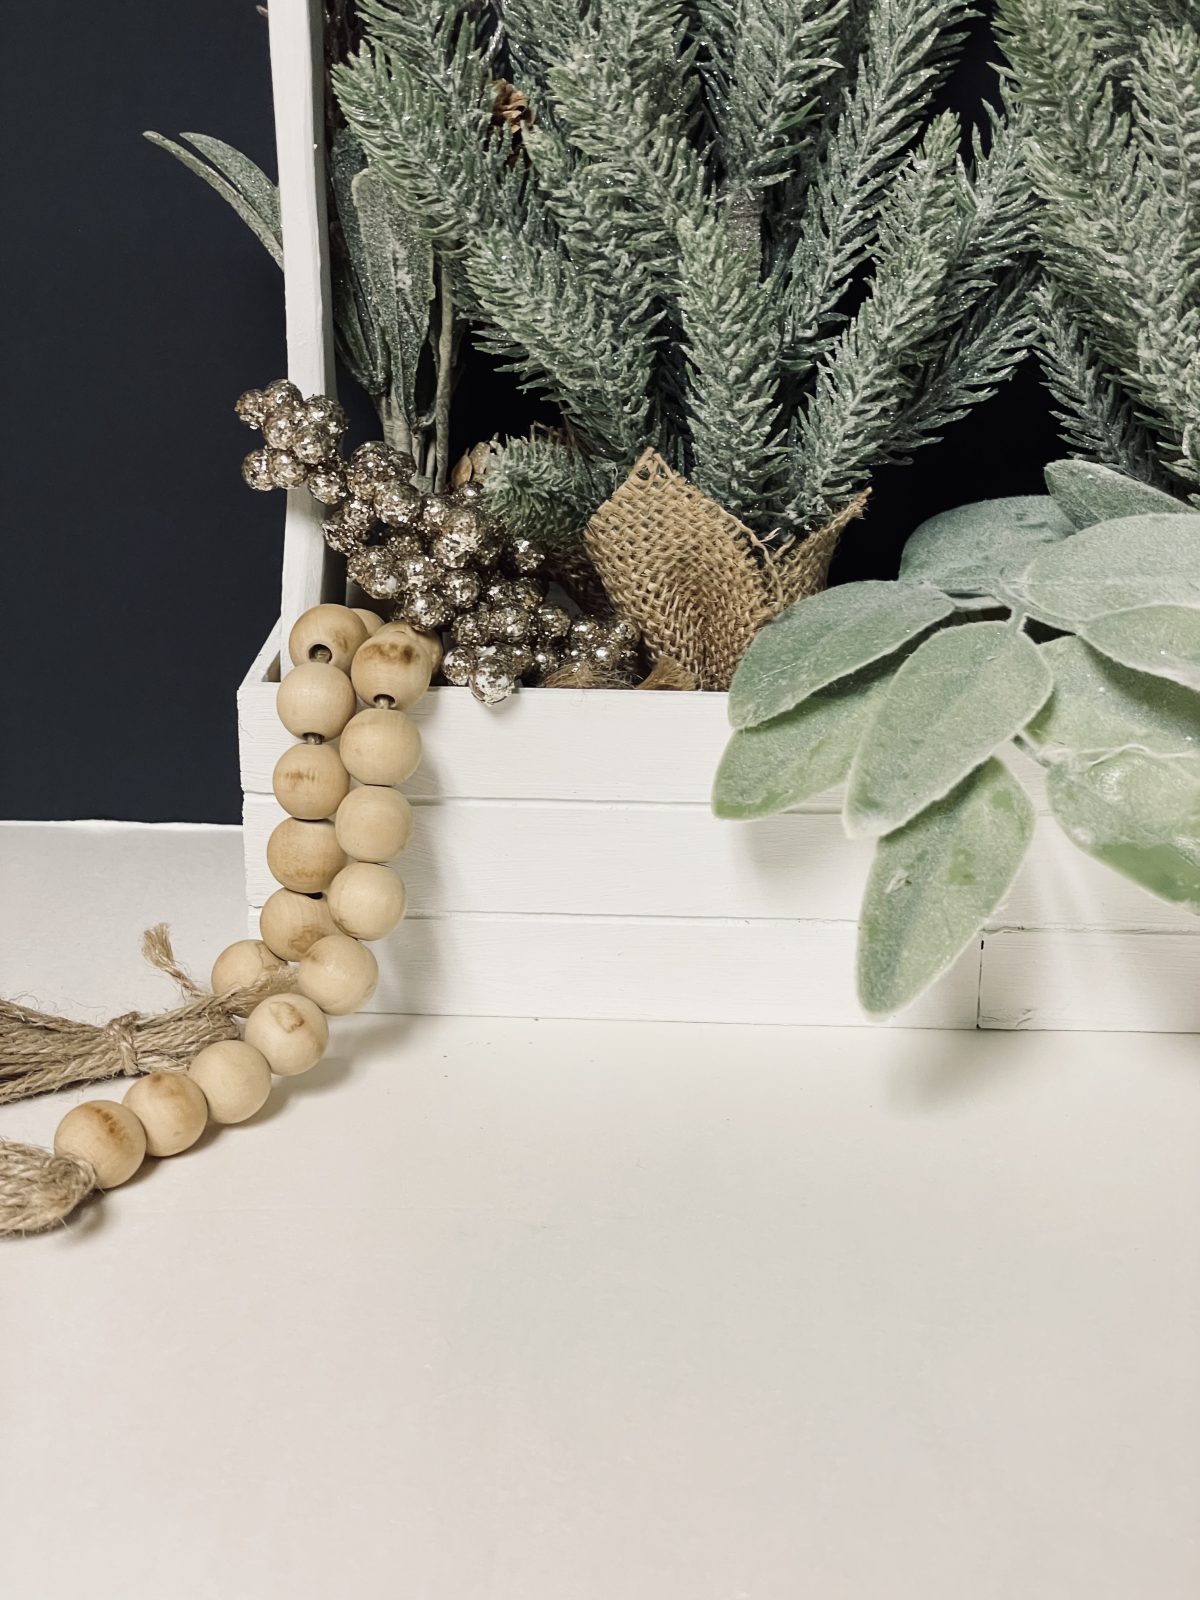
What makes the Dollar Tree Farmhouse Kitchen Tool Box so unique is that it’s easy to customize to fit your specific style. You can paint it in your favorite color, add decals or stencils, or even distress it for a more vintage look. With a little creativity and imagination, you can turn this simple tool box into a one-of-a-kind piece that perfectly fits your farmhouse kitchen.
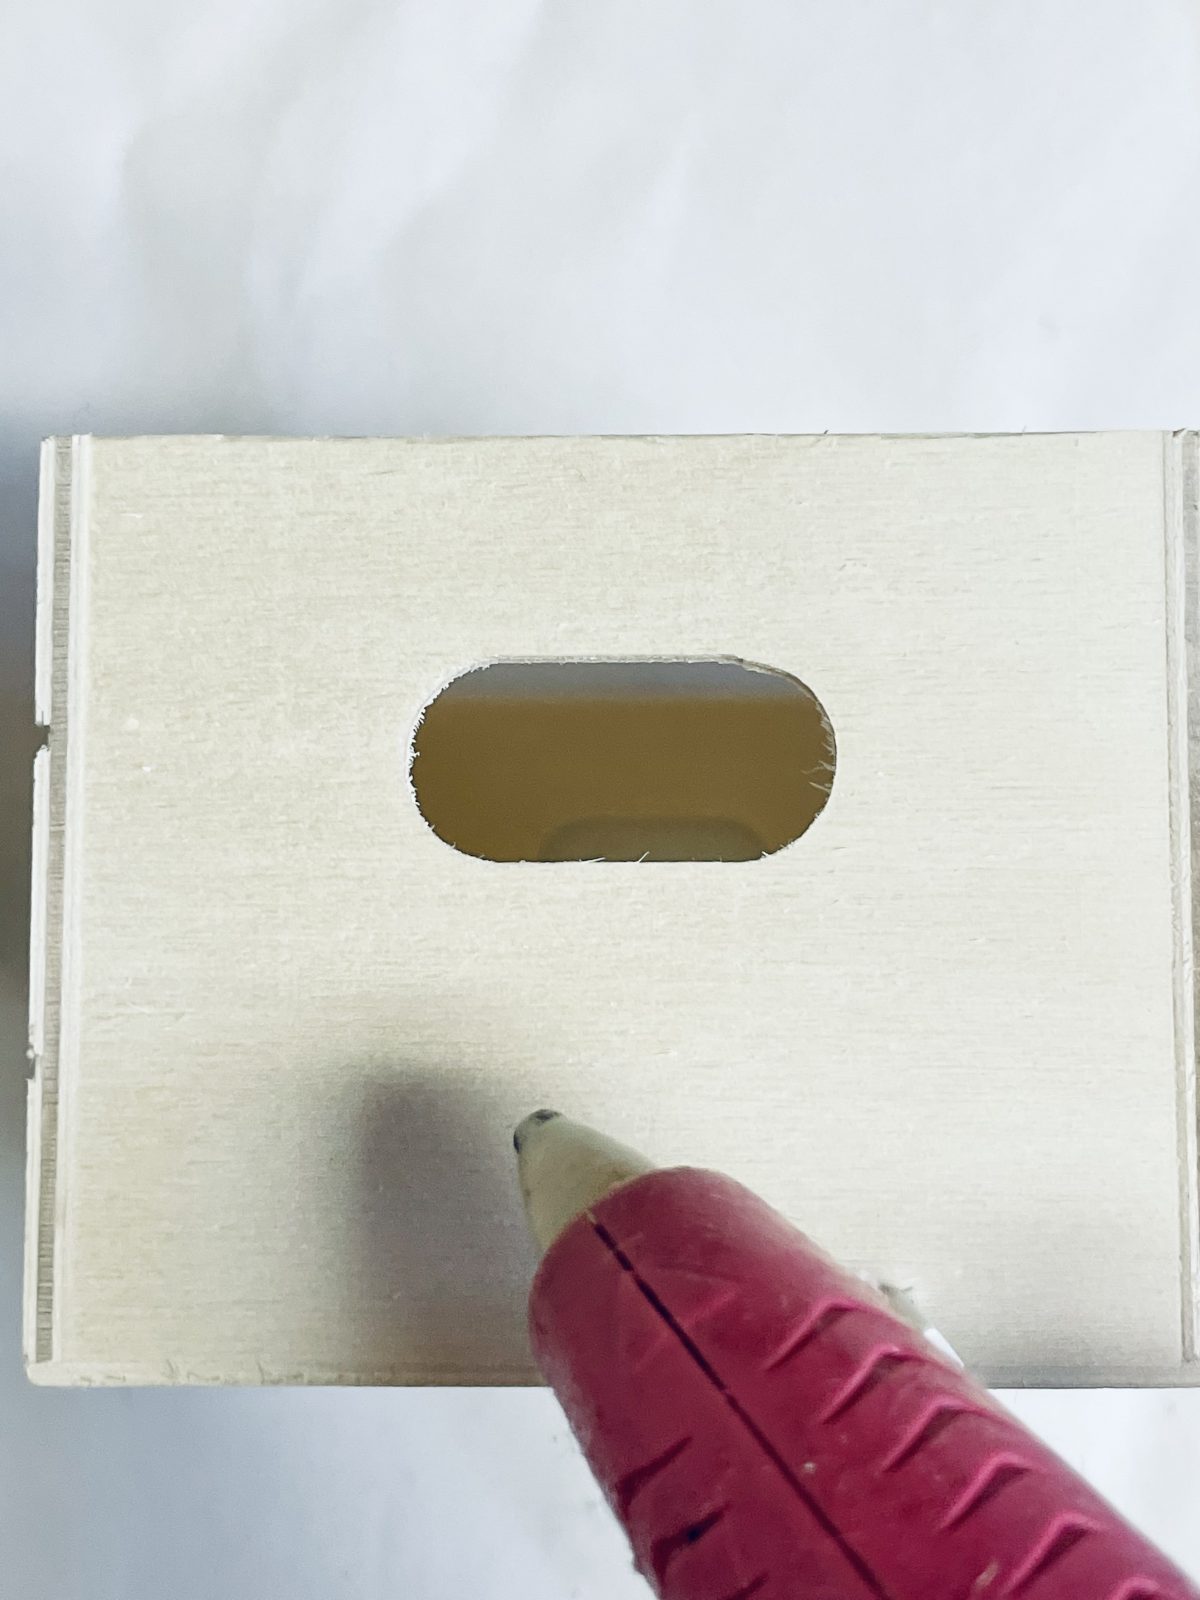
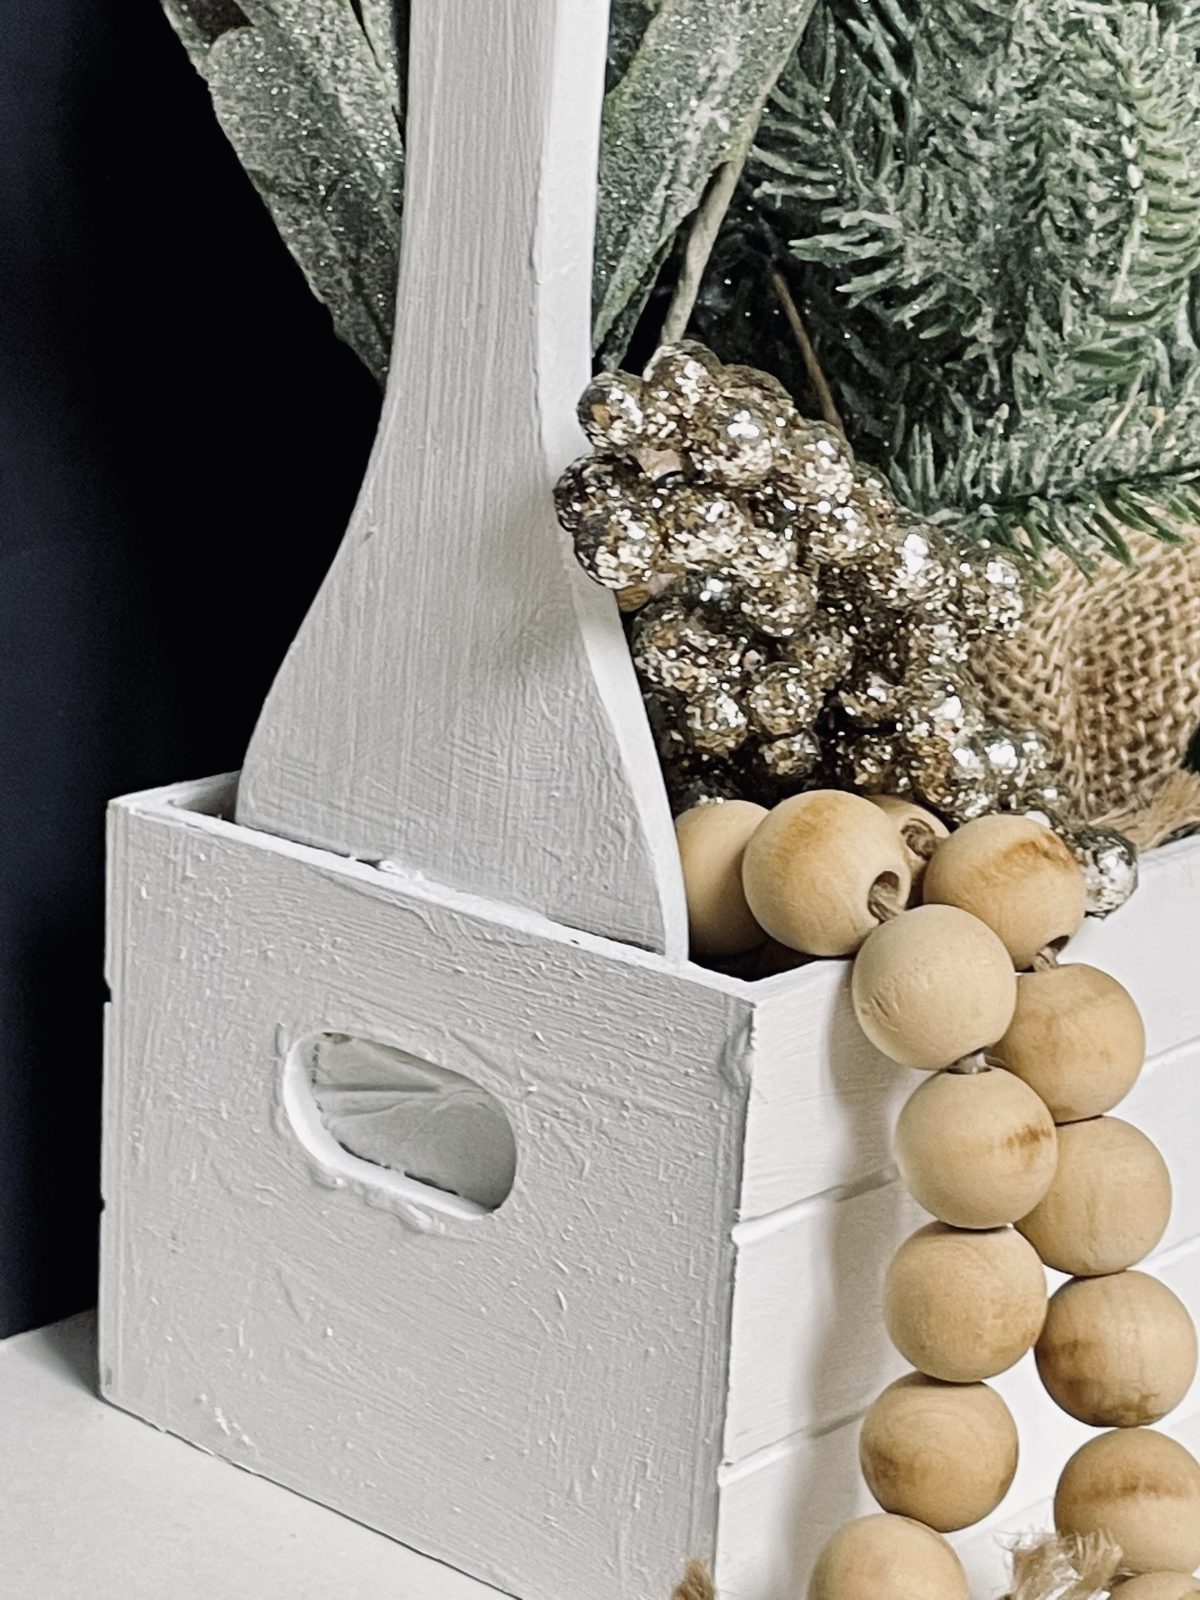
Start by hot gluing the 2 wooden crates together at the ends. Make sure to apply enough glue to secure the crates together firmly.
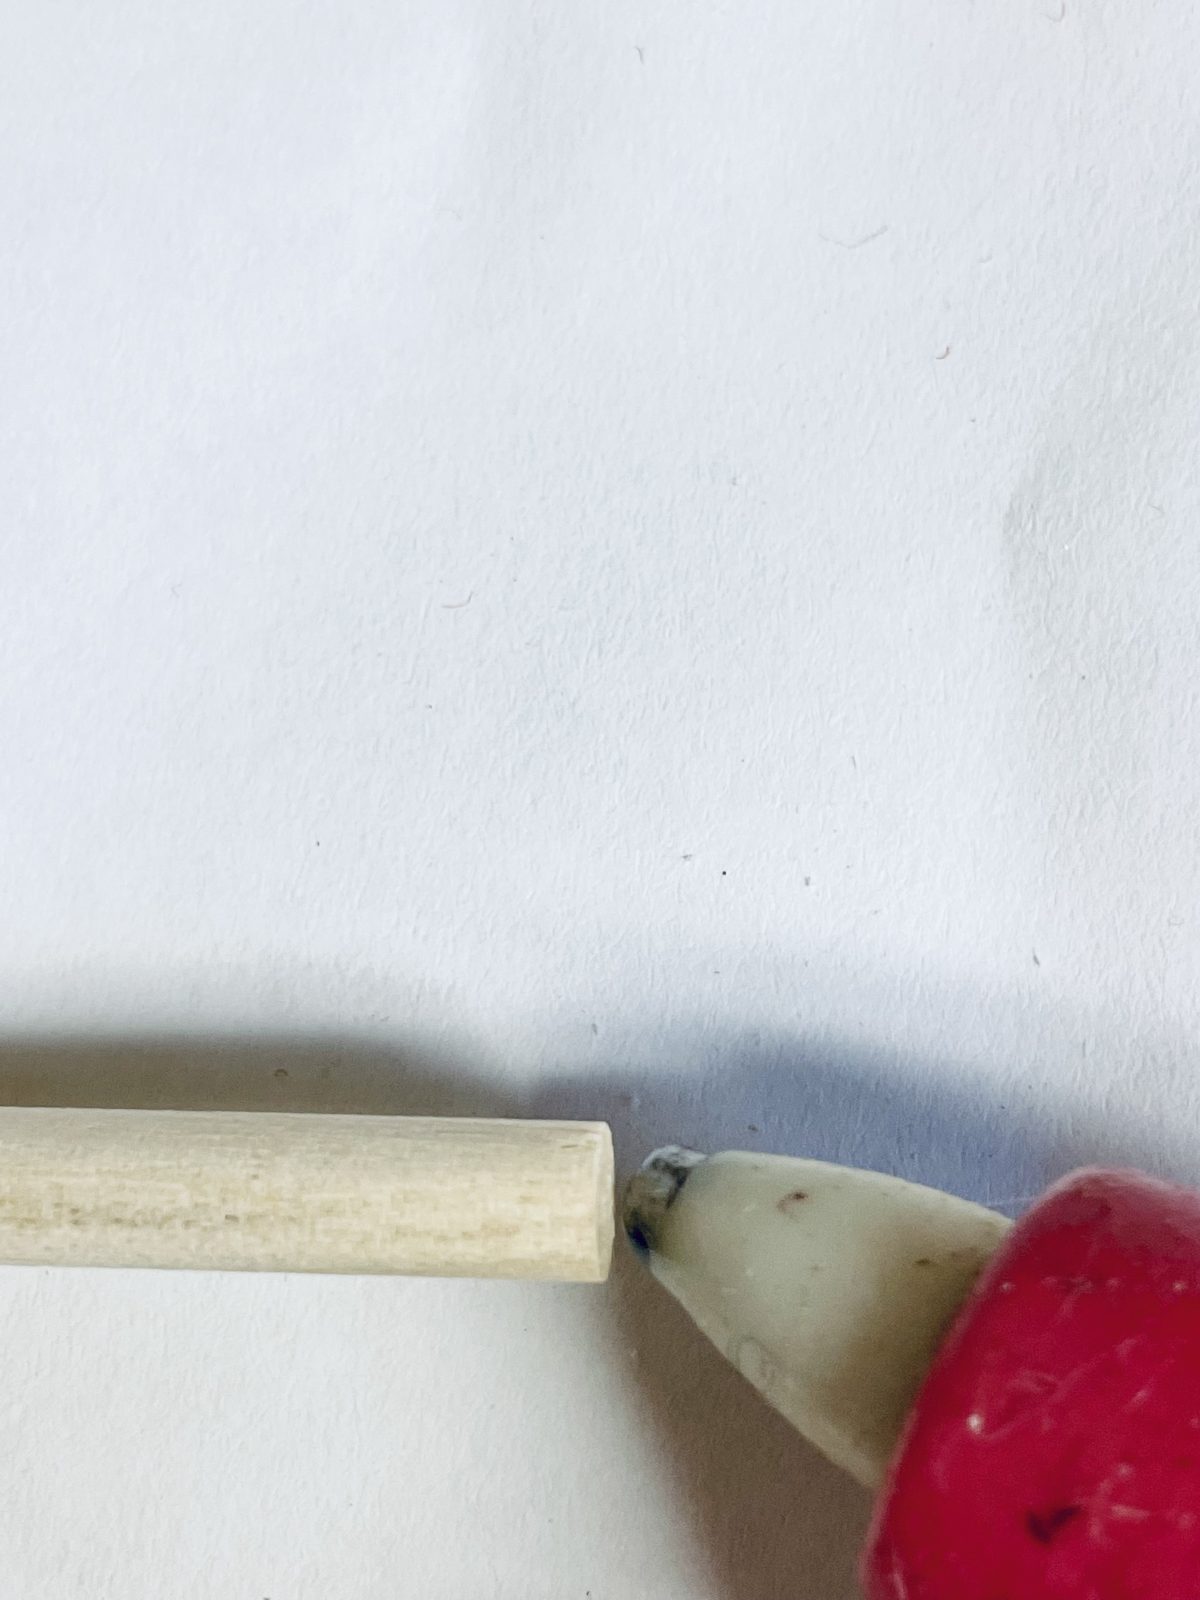
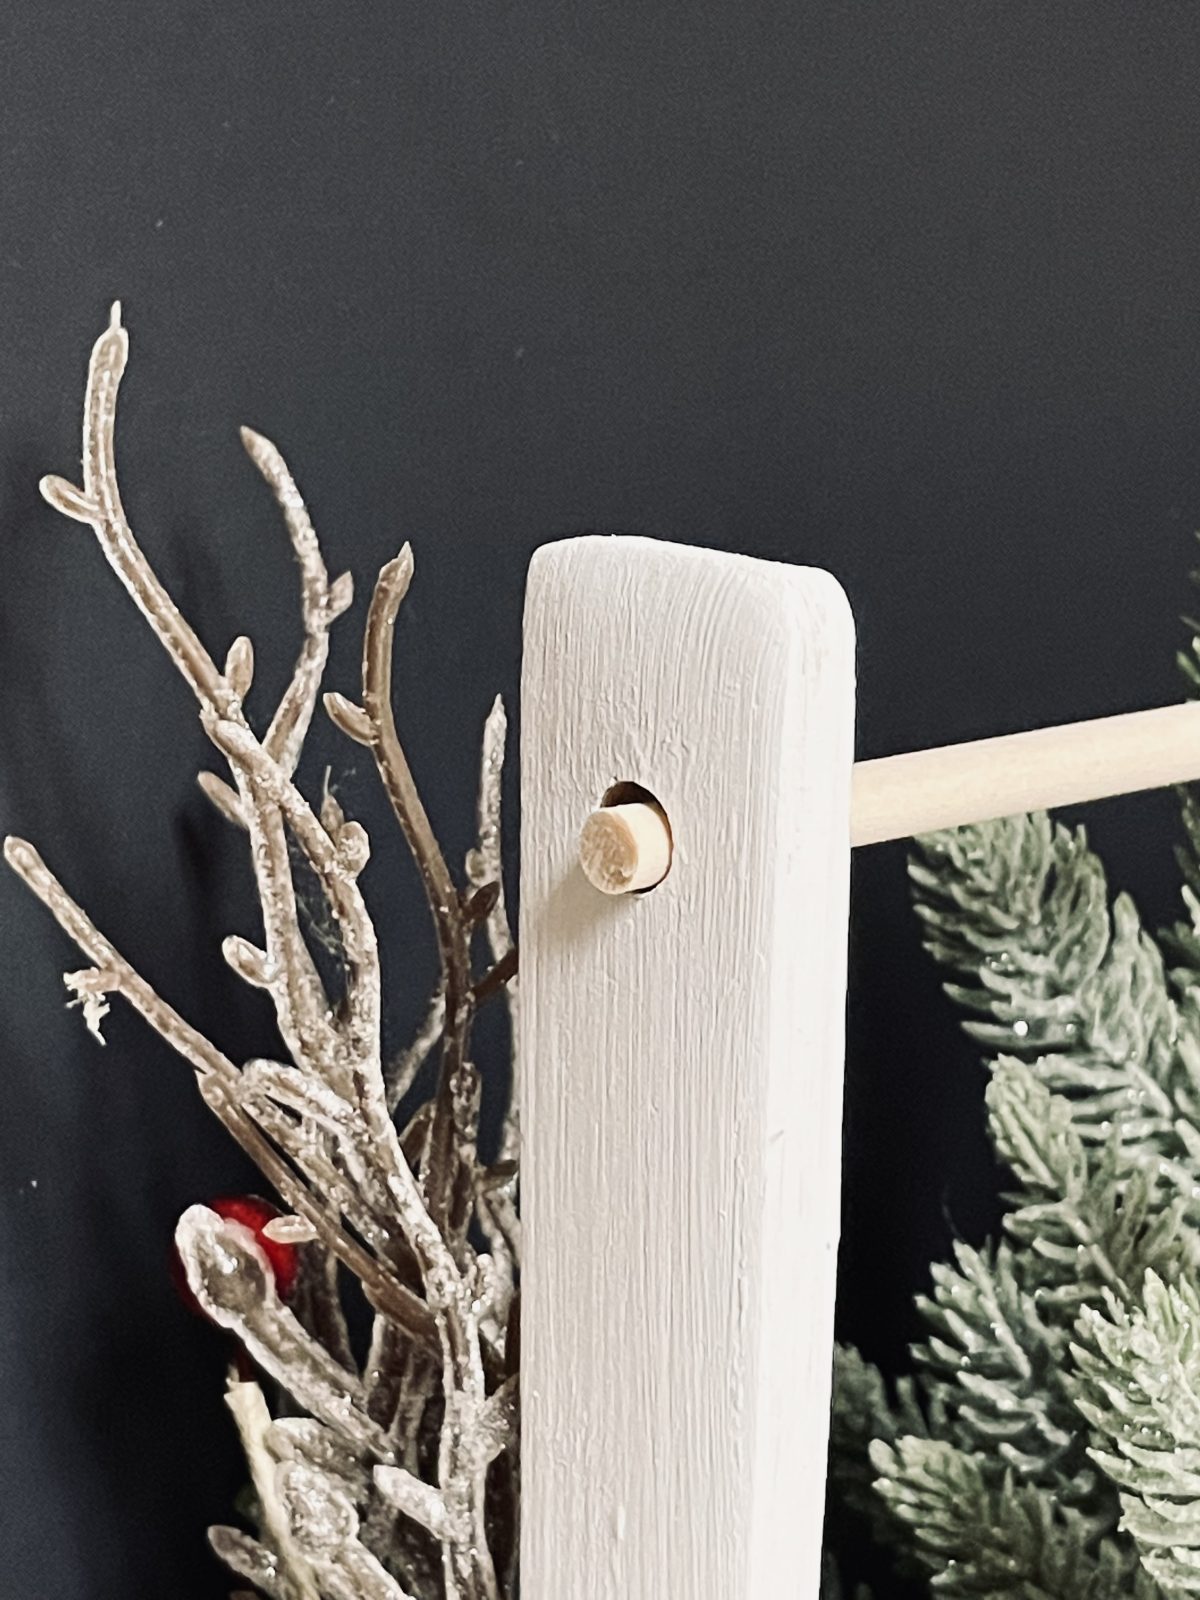
Next, hot glue the 2 dowels together if you have shorter ones like the ones being used in this project. If you have longer dowels, you may skip this step.
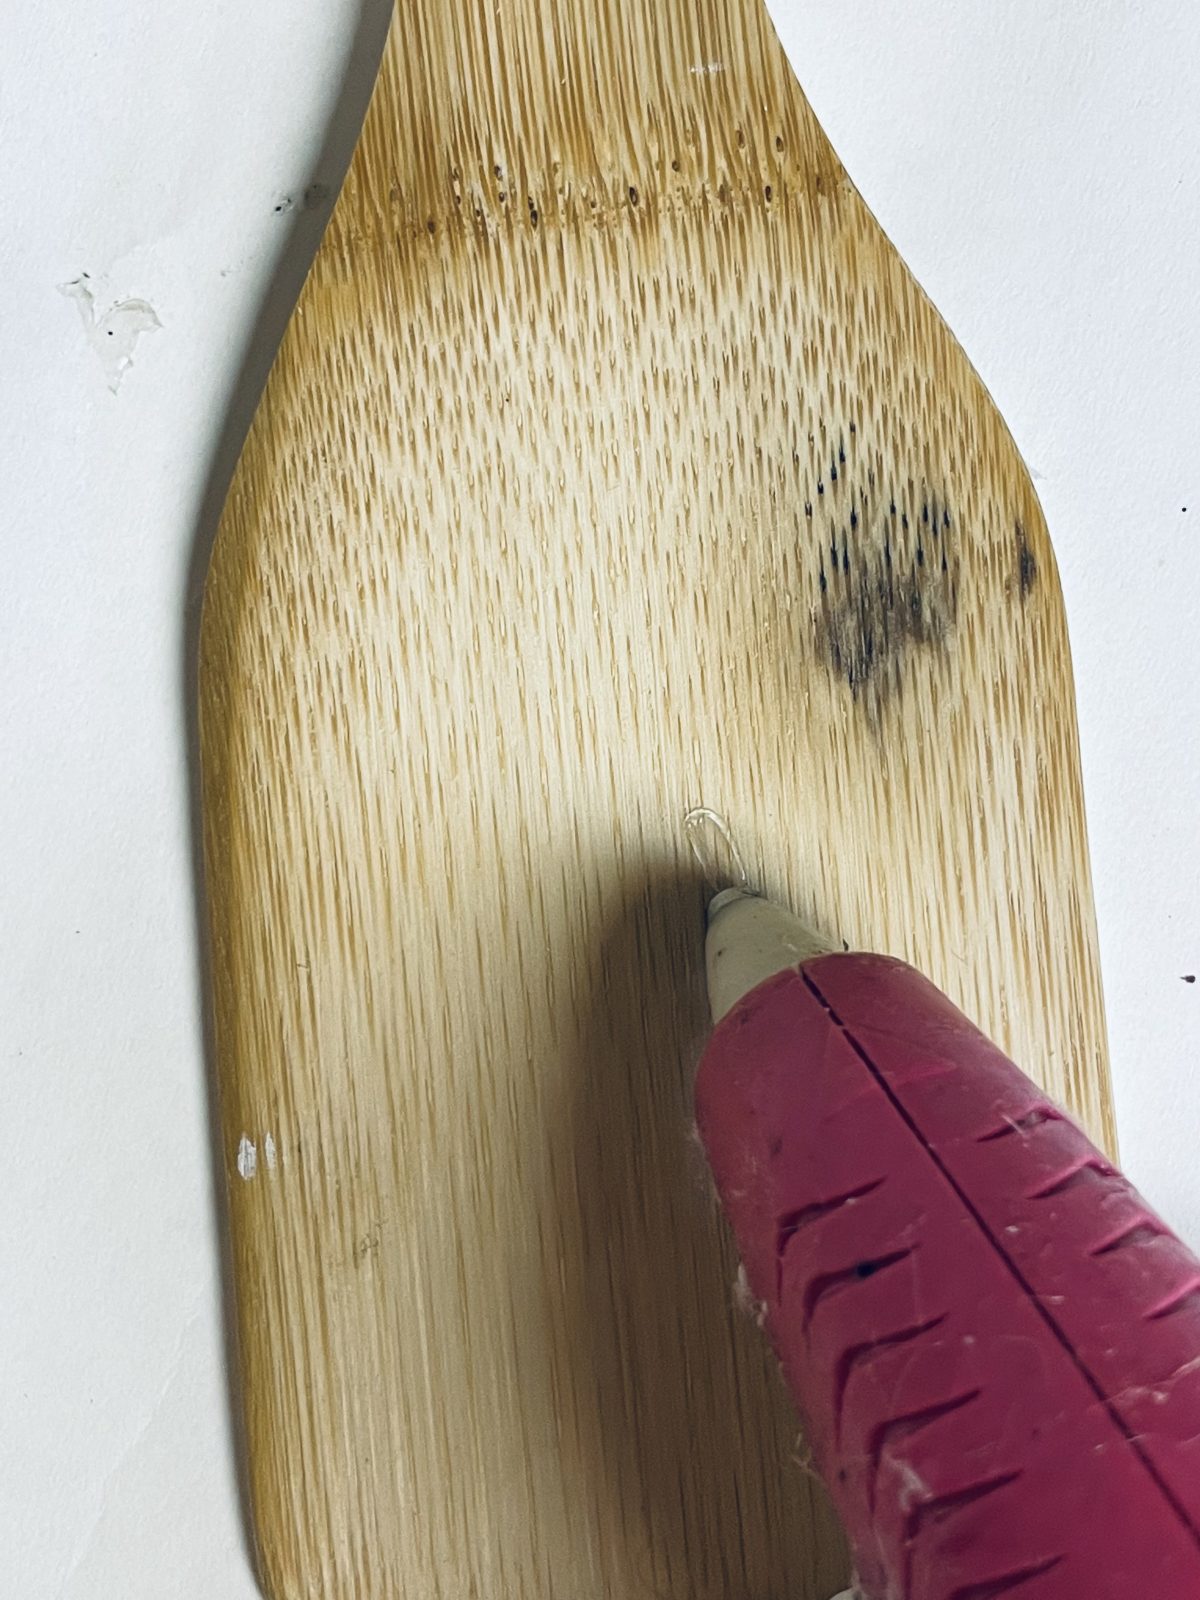
Once the dowels have been secured, it’s time to hot glue the wooden spatulas to the inside of the ends of the crates. This step is important as it will help keep the dowels in place and provide support for the items that will be stored in the crate.
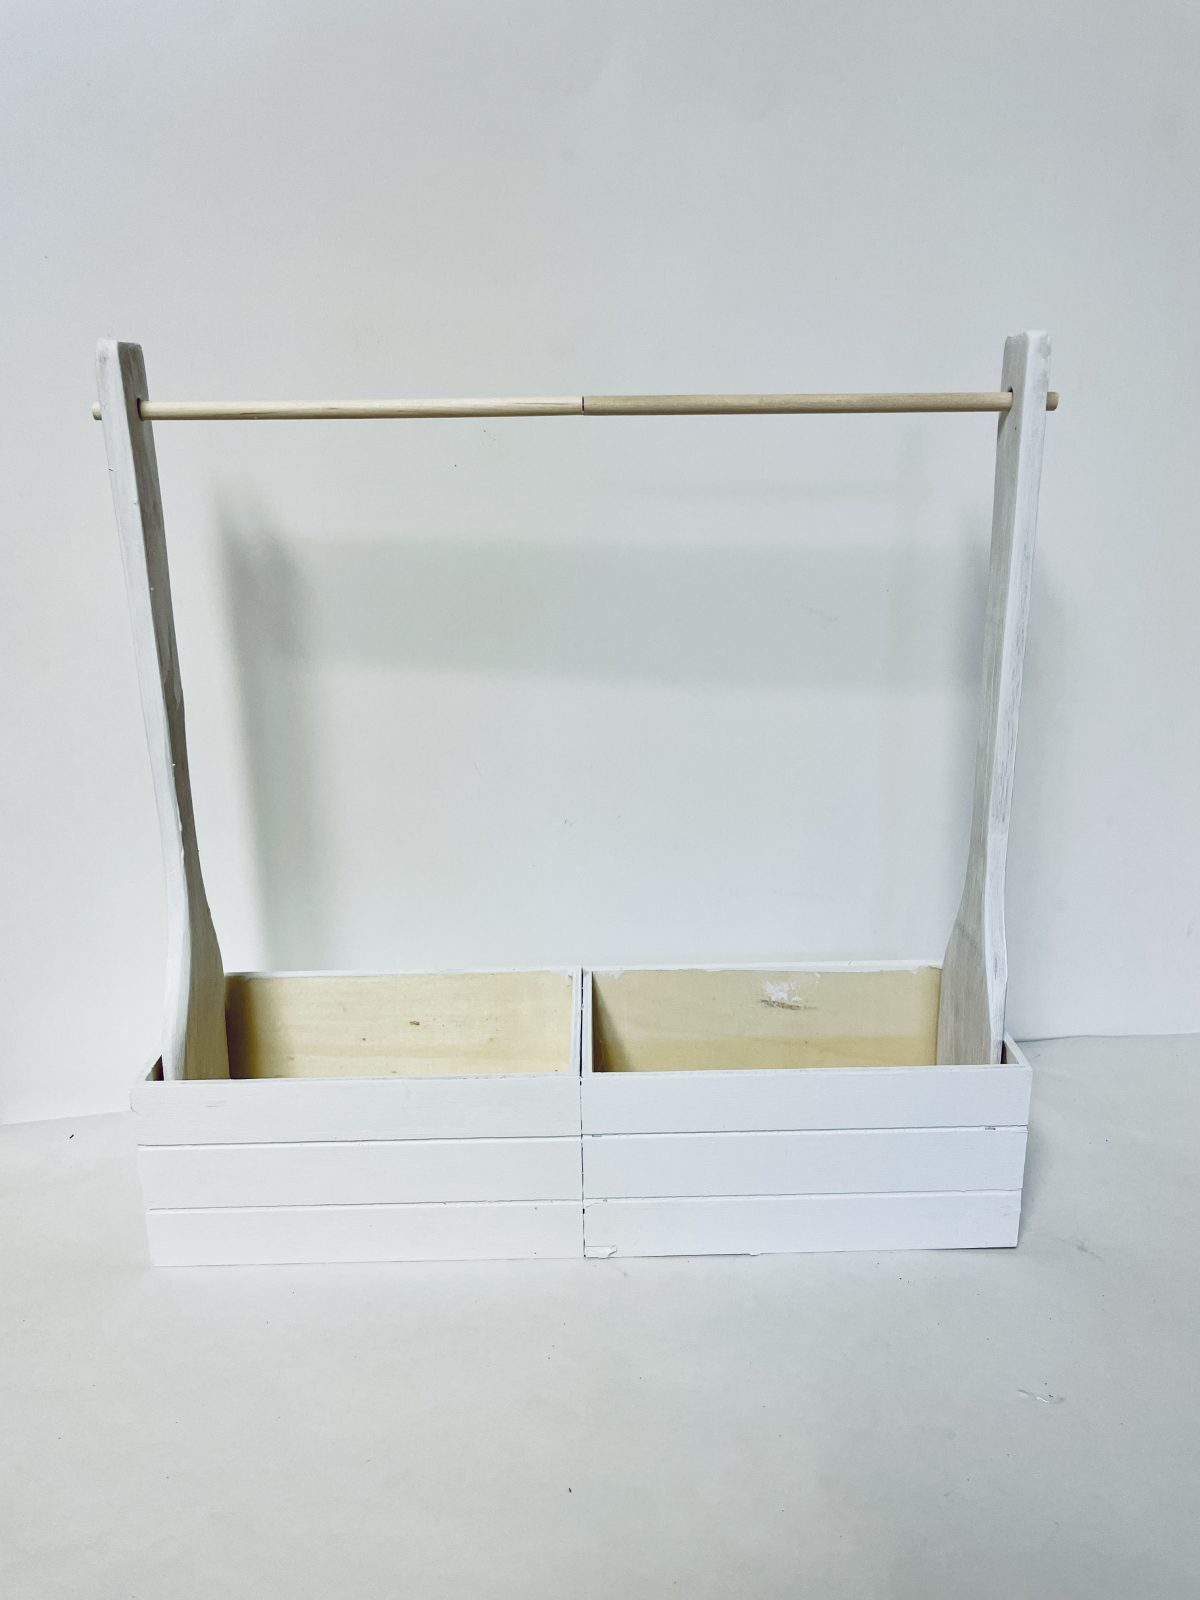
After the spatulas have been securely attached, it’s time to paint the crates. Apply 2 coats of Waverly White chalk paint to the crates. If you are using a different type of paint, you may need to apply more coats to ensure complete coverage and a smooth finish.
Allow the paint to dry completely before using your new wooden crate storage unit. You can use this versatile and stylish storage solution in any room of your home, from the kitchen to the bathroom and everything in between.


Achei lindo! Rústico e simples, como eu gosto! Parabéns!