
Get more details about this project
What you need
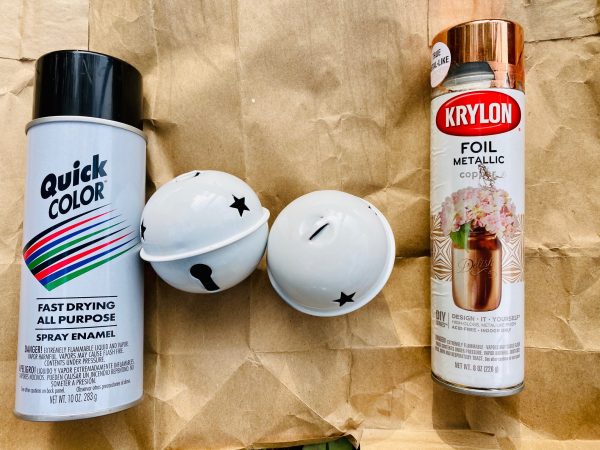
Copper Spray Paint
Black Spray Paint
2 Dollar Tree White Bell Ornaments
Dollar Tree Black Rub on Transfers
Dollar Tree Gold Rub on Transfers
Scissors


Instructions
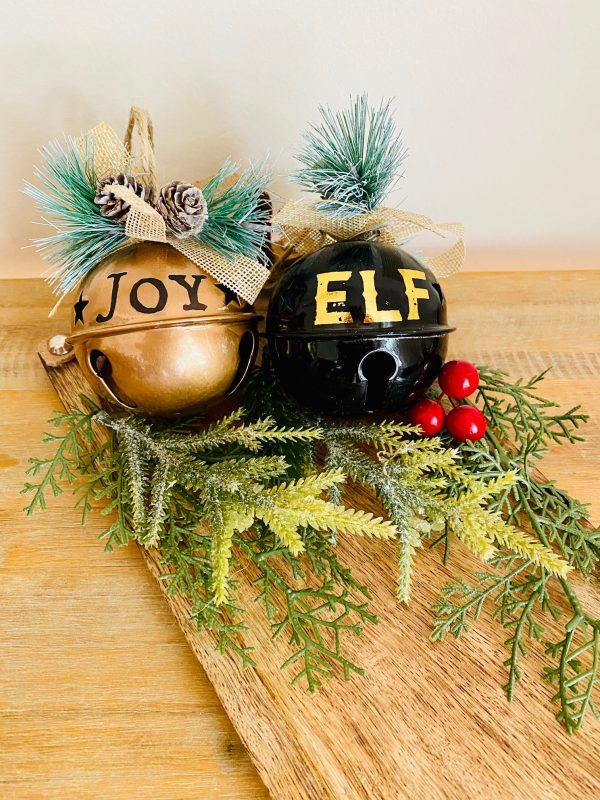
DIY Dollar Tree Farmhouse Christmas Bells
I love a Christmas makeover that starts with something ordinary and finishes with a decoration you’re excited to display. These farmhouse Christmas bells are a lovely example, combining metallic colour, simple lettering and a little rustic greenery.
The copper and black combination gives them a slightly vintage feel, while the burlap bows soften everything beautifully. They would look lovely nestled into a Christmas tree, hanging from a garland or grouped together on an entryway table.
There’s plenty of room to make this project your own, too. Choose words that suit your decorating style, coordinate the ribbons with your tree or make a matching pair as a handmade gift. Short words are particularly handy when you’re working around the curved surface of a bell.
Instructions
- Remove the greenery. Carefully untwist the wire holding the decorative sprigs and ribbon to each bell. Set these pieces aside to reattach later.
- Paint the bells. Spray one bell copper and the other black. Work in a suitable ventilated area and follow the paint manufacturer’s application directions.
- Allow time to dry. The original project leaves the bells overnight. Before adding lettering, check that the finish is ready to handle according to your paint’s directions.
- Prepare your words. Cut out the individual rub-on letters. Black lettering contrasts with copper, while gold stands out against black.
- Plan the spacing. Arrange the letters before applying them. Leave enough room for the whole word across the visible front.
- Apply the transfers. Rub each letter onto the painted surface following the transfer instructions. Lift the backing carefully, checking that the design has transferred completely.
- Replace the decorations. Secure the greenery and ribbon back onto the top using the original wire.
Tips for a Lovely Finish
Keep your lettering above the bell’s centre seam so the word is easy to read. Working with one letter at a time also makes it easier to follow the curve.
JOY, ELF and NOEL are lovely options for a coordinated collection. For a quieter winter look, you could use matching colours and simple linen ribbon instead of mixing finishes.
Display your bells beside our farmhouse Christmas red truck wall art, or add them to a seasonal arrangement with this burlap winter wreath.
Remove greenery from the ornament. It should be attached by a small wire that you can untie, so you
can tie back on later.
Spray one bell with copper spray paint, Spray other bell with black spray paint
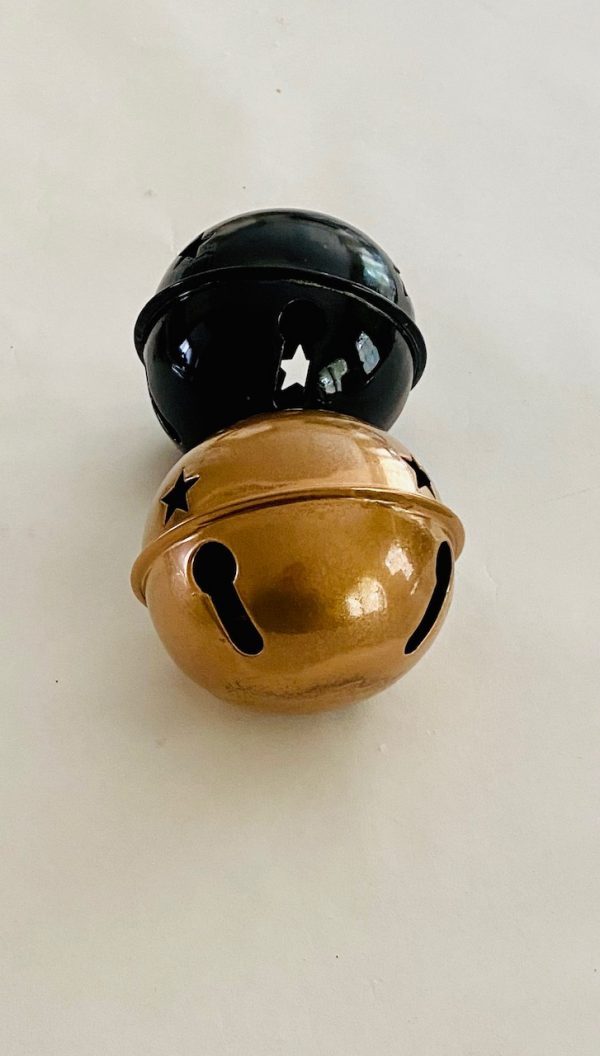
Let dry overnight
Cut out letters for wording you want on bells
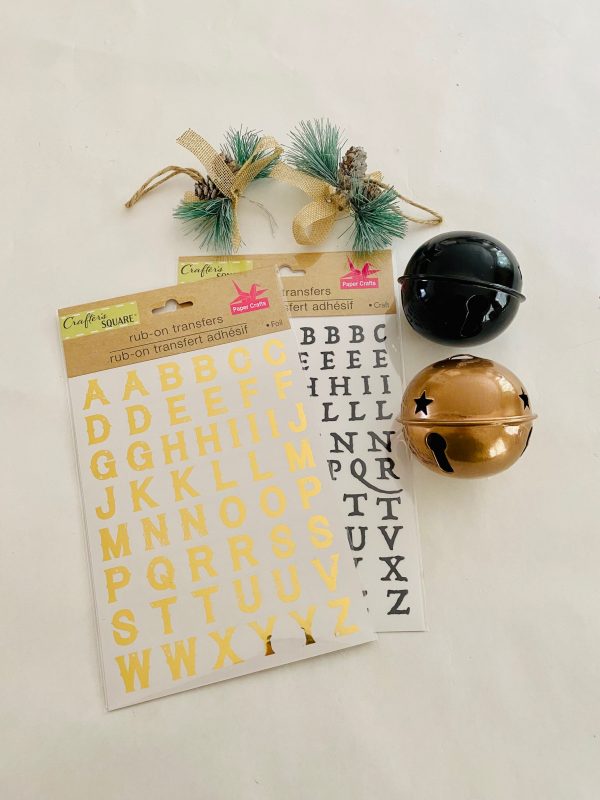
Apply rub on transfers to bells ( I just used my finger nail to apply the rub on transfers)
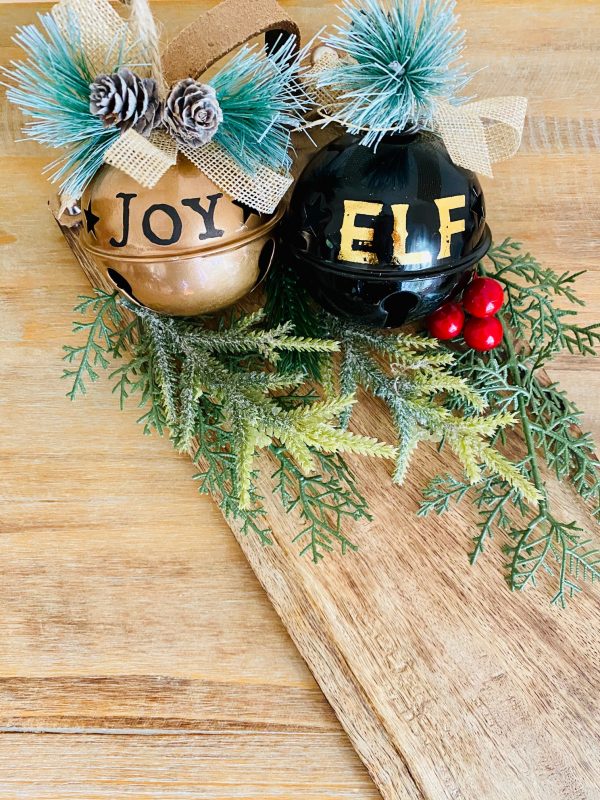
( TIP): Make sure you know how you want the letters spaced before you put the rub on transfer down
because once you put it down it will stick automatically)





I love this idea.