
Whether you’re looking for a fun autumn craft to do with your grandkids, a farmhouse-style wall piece for your home, or a creative way to use up pantry beans, this project is as simple or as elaborate as you want to make it.
Get more details about this project
What you need
- Beans & Seeds – Choose a variety for texture and color (kidney beans, navy beans, pinto beans, lentils, split peas, black beans, sunflower seeds, pumpkin seeds, popcorn kernels)
- Base board – Thick cardboard, wood plaque, canvas board, or recycled cereal box
- Glue – Tacky craft glue or hot glue gun
- Pencil & stencil (optional) – For outlining your design
- Small bowls or muffin tin – To keep beans sorted and easy to grab
- Clear sealant spray – To protect and preserve your finished piece
Instructions
Step-by-Step Instructions
1. Prepare Your Design
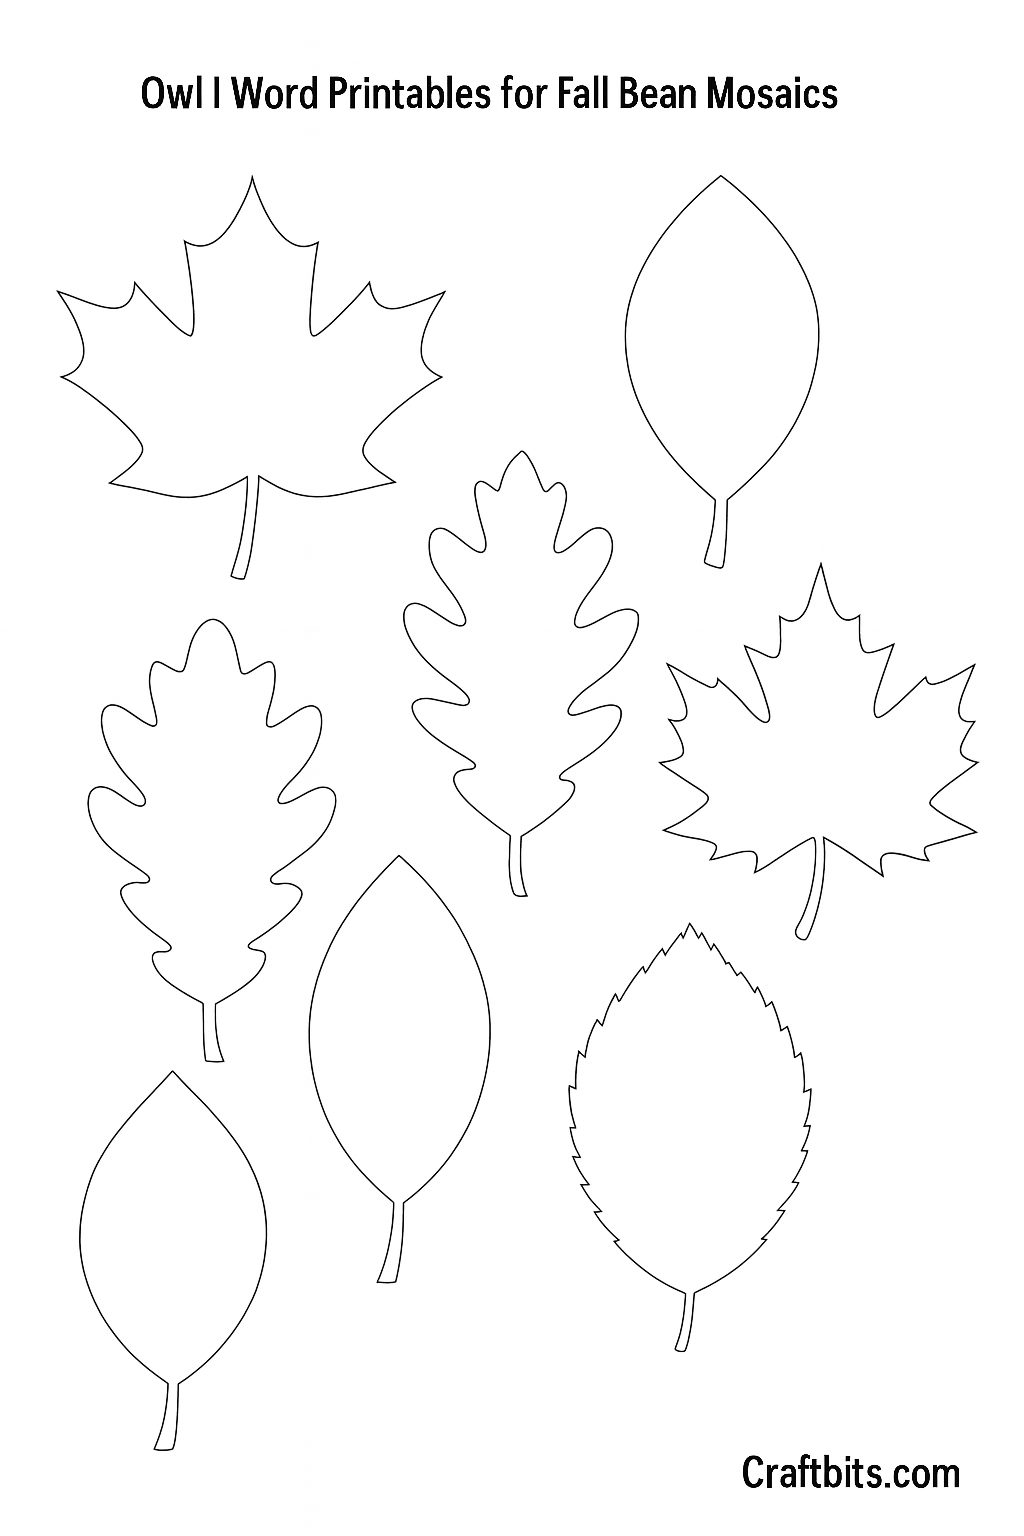
Choose a simple shape — think pumpkins, fall leaves, or a cozy farmhouse barn silhouette. Lightly sketch your design on the base board, or use a stencil if you want crisp lines.
Tip: If crafting with children, stick to big, bold shapes so it’s easier to fill in without frustration.
2. Sort Your Beans by Color & Size
Pour your beans into small bowls or a muffin tin to keep them organized. This makes the gluing process smoother and stops little fingers from scattering them everywhere (ask me how I know!).
3. Glue in Sections
Apply glue to a small section at a time so it doesn’t dry before you place the beans. Start with your outline first, then fill in each section with your chosen color or type of bean.
Texture tip: Alternate the direction the beans face to create movement and depth in your design.
4. Fill & Layer for a Rich Look
Don’t be afraid to overlap slightly or use smaller seeds to fill tiny gaps. Layering creates a more professional, mosaic-like finish.
5. Let it Dry Completely
Leave your bean mosaic flat for at least 24 hours before moving. Once dry, you can shake off any loose pieces.
6. Seal for Longevity
Lightly spray your artwork with a clear sealant to protect it from dust and moisture. This is especially important if you plan to hang it in a kitchen or entryway.
Creative Design Ideas
- Pumpkin Patch Scene – Create several small pumpkins in different shades of orange and gold.
- Falling Leaves – Use lentils, split peas, and popcorn kernels to mimic the look of real autumn leaves.
- Rustic Words – Spell out “Harvest,” “Give Thanks,” or “Welcome” in bean letters.
- Owl Silhouette – Combine dark beans for feathers and light beans for facial features.



What do you think of this project? Let us know!