
Get more details about this project
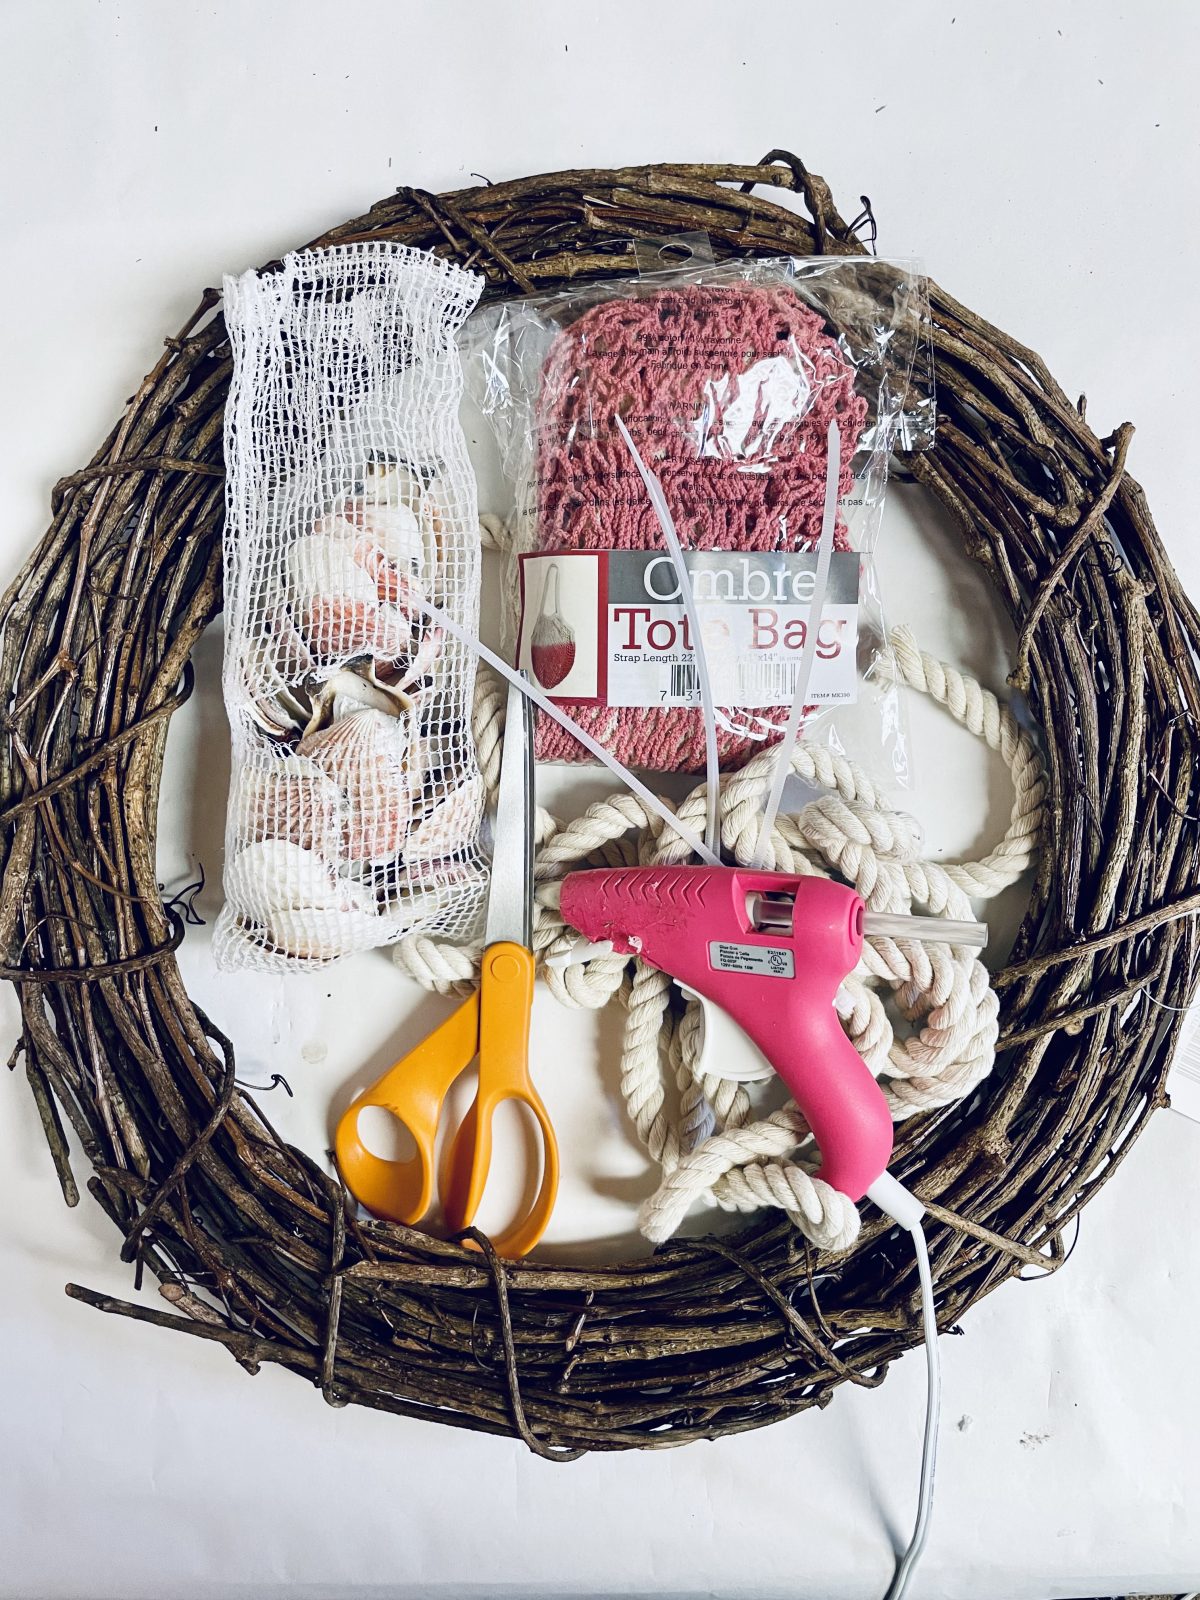
What you need
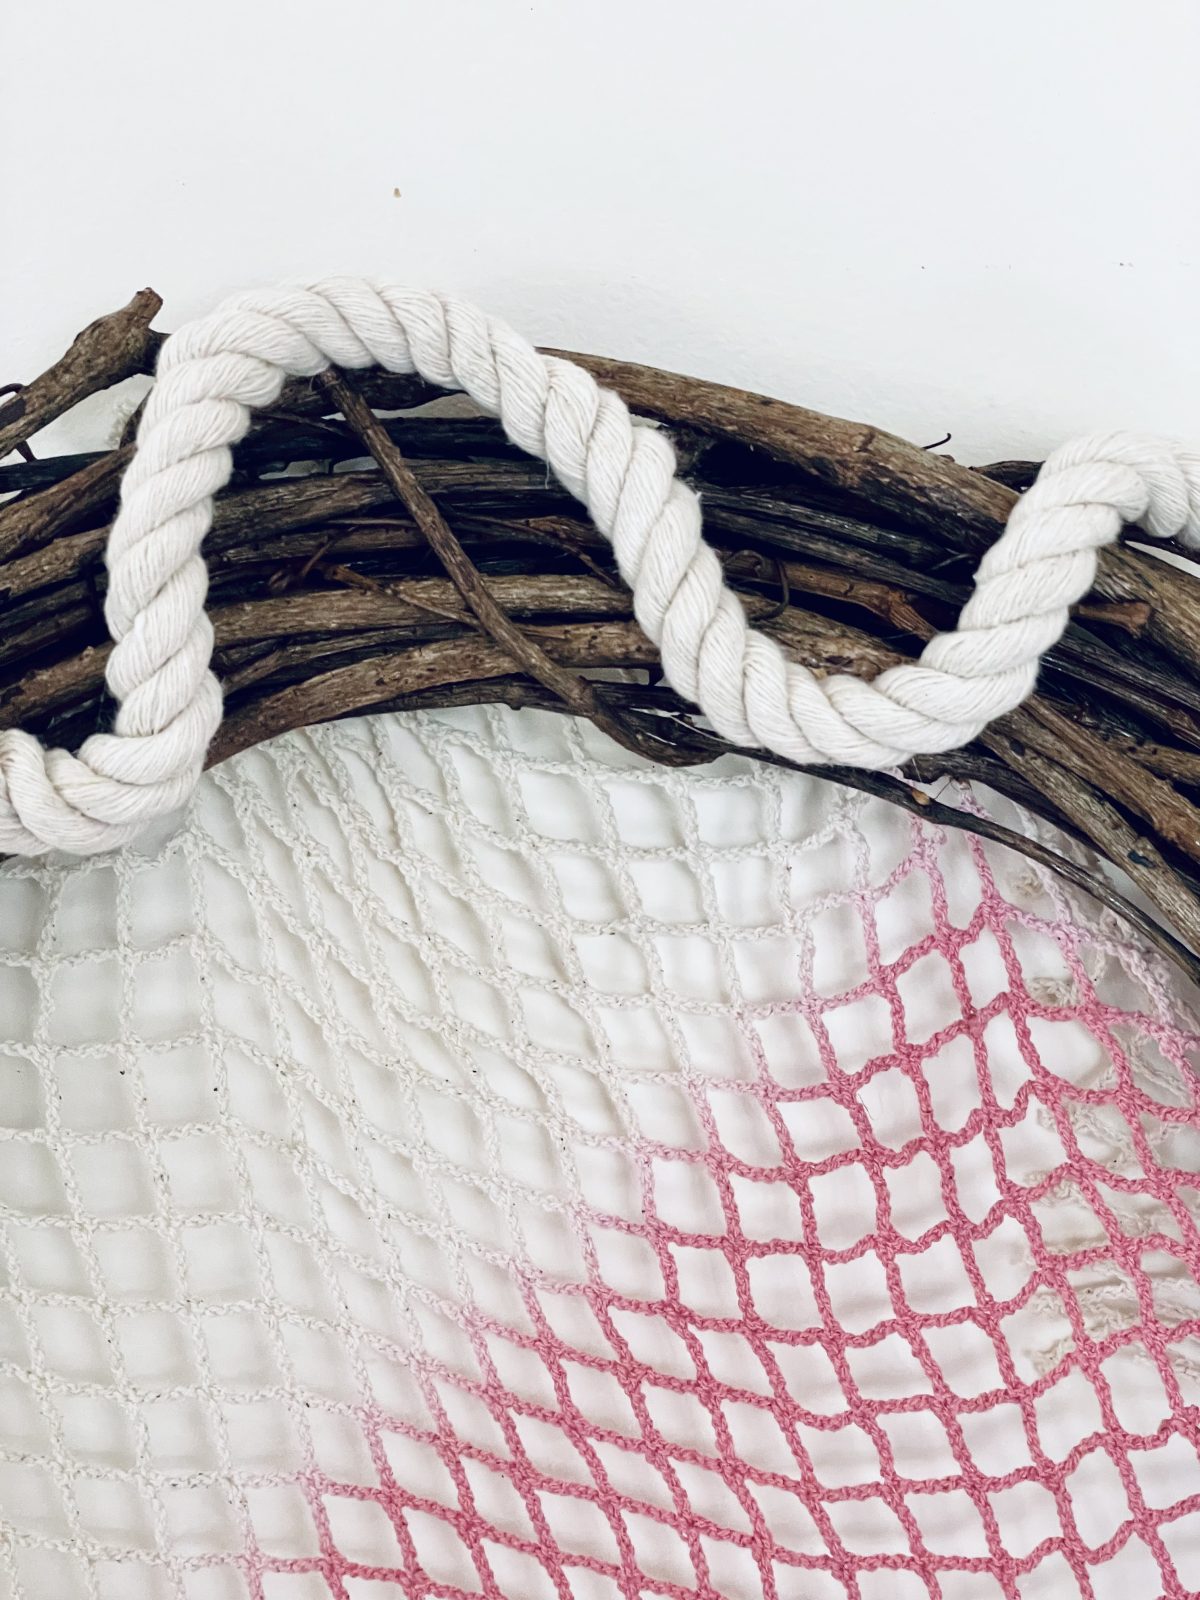
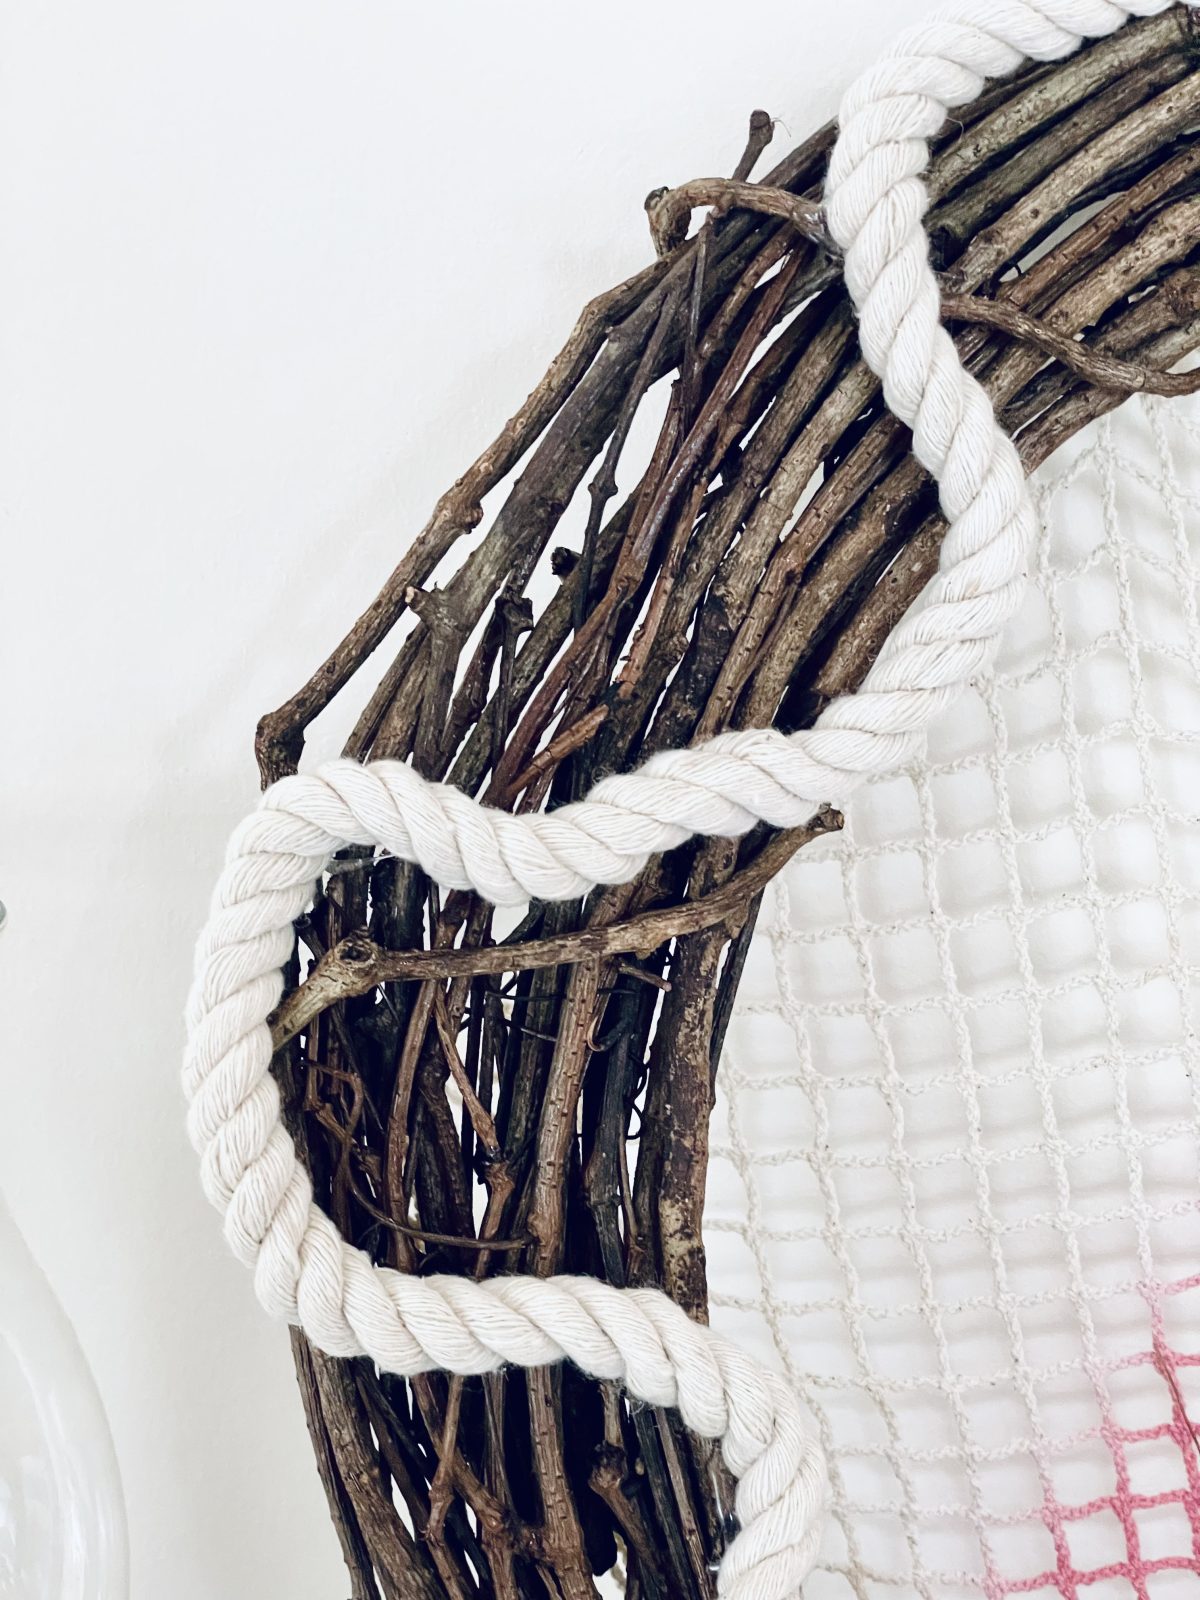
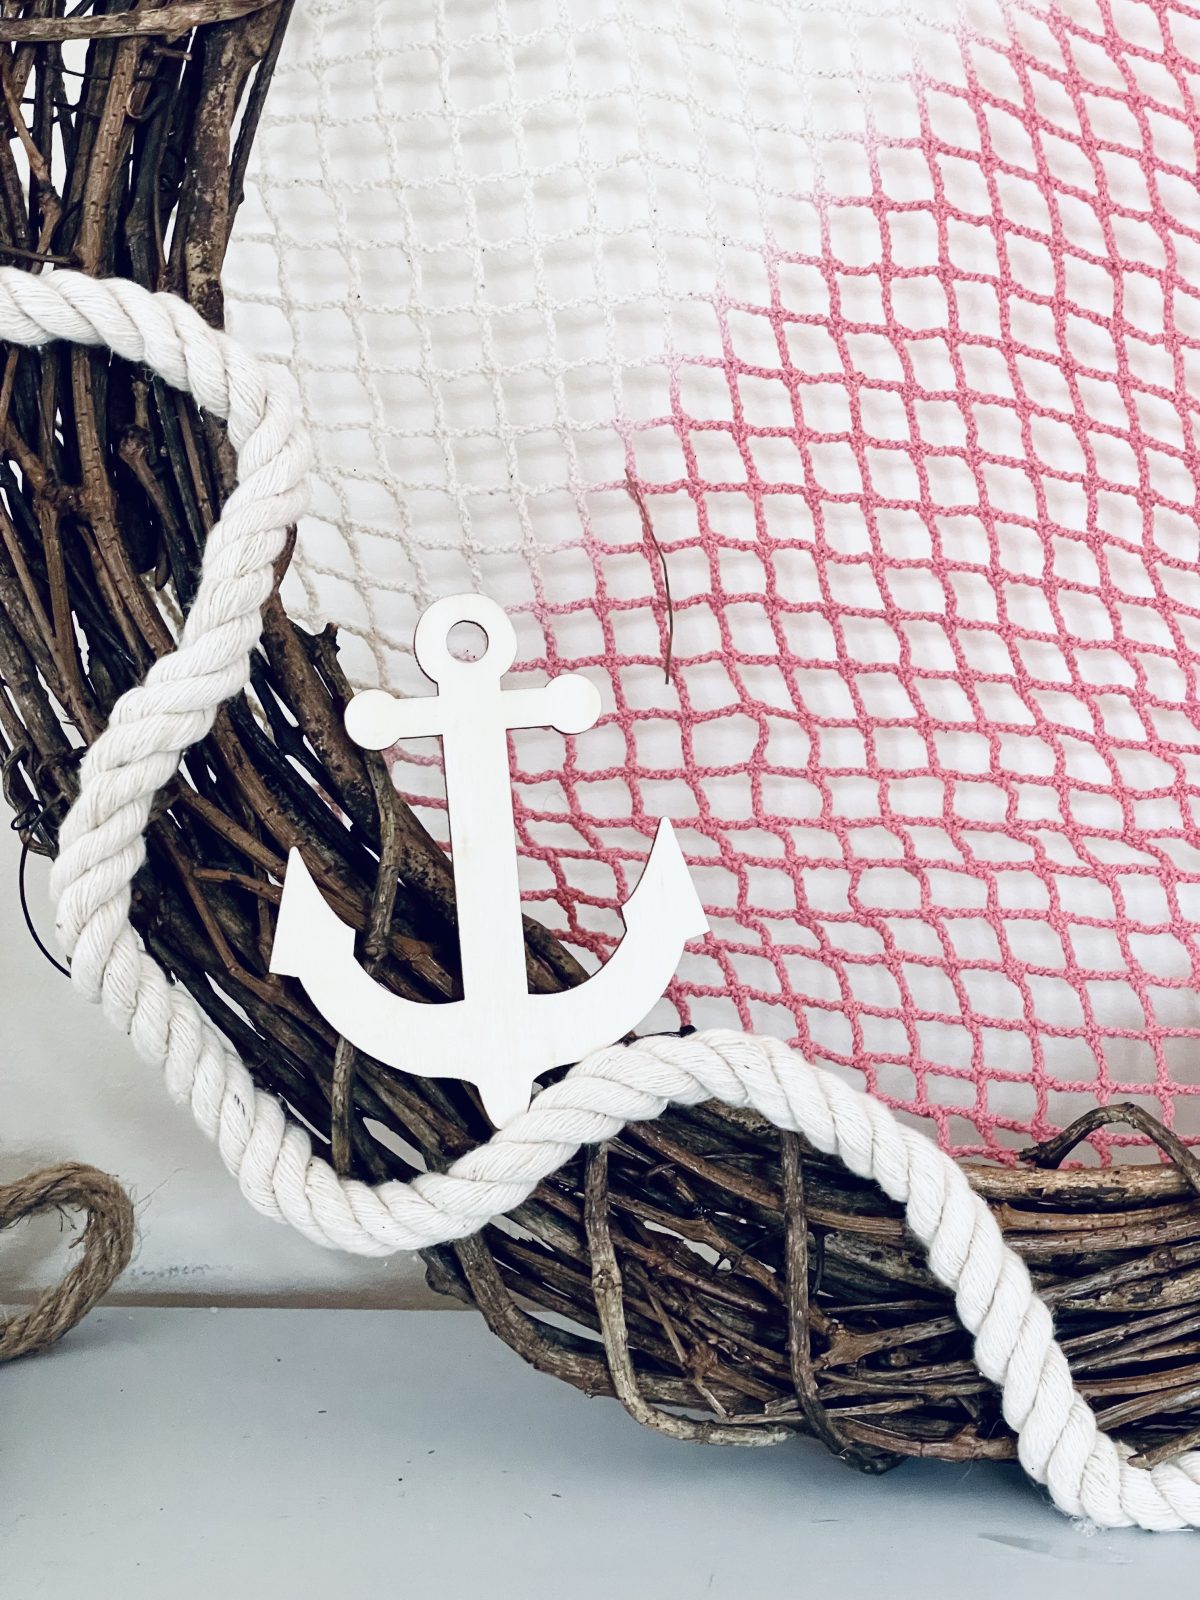
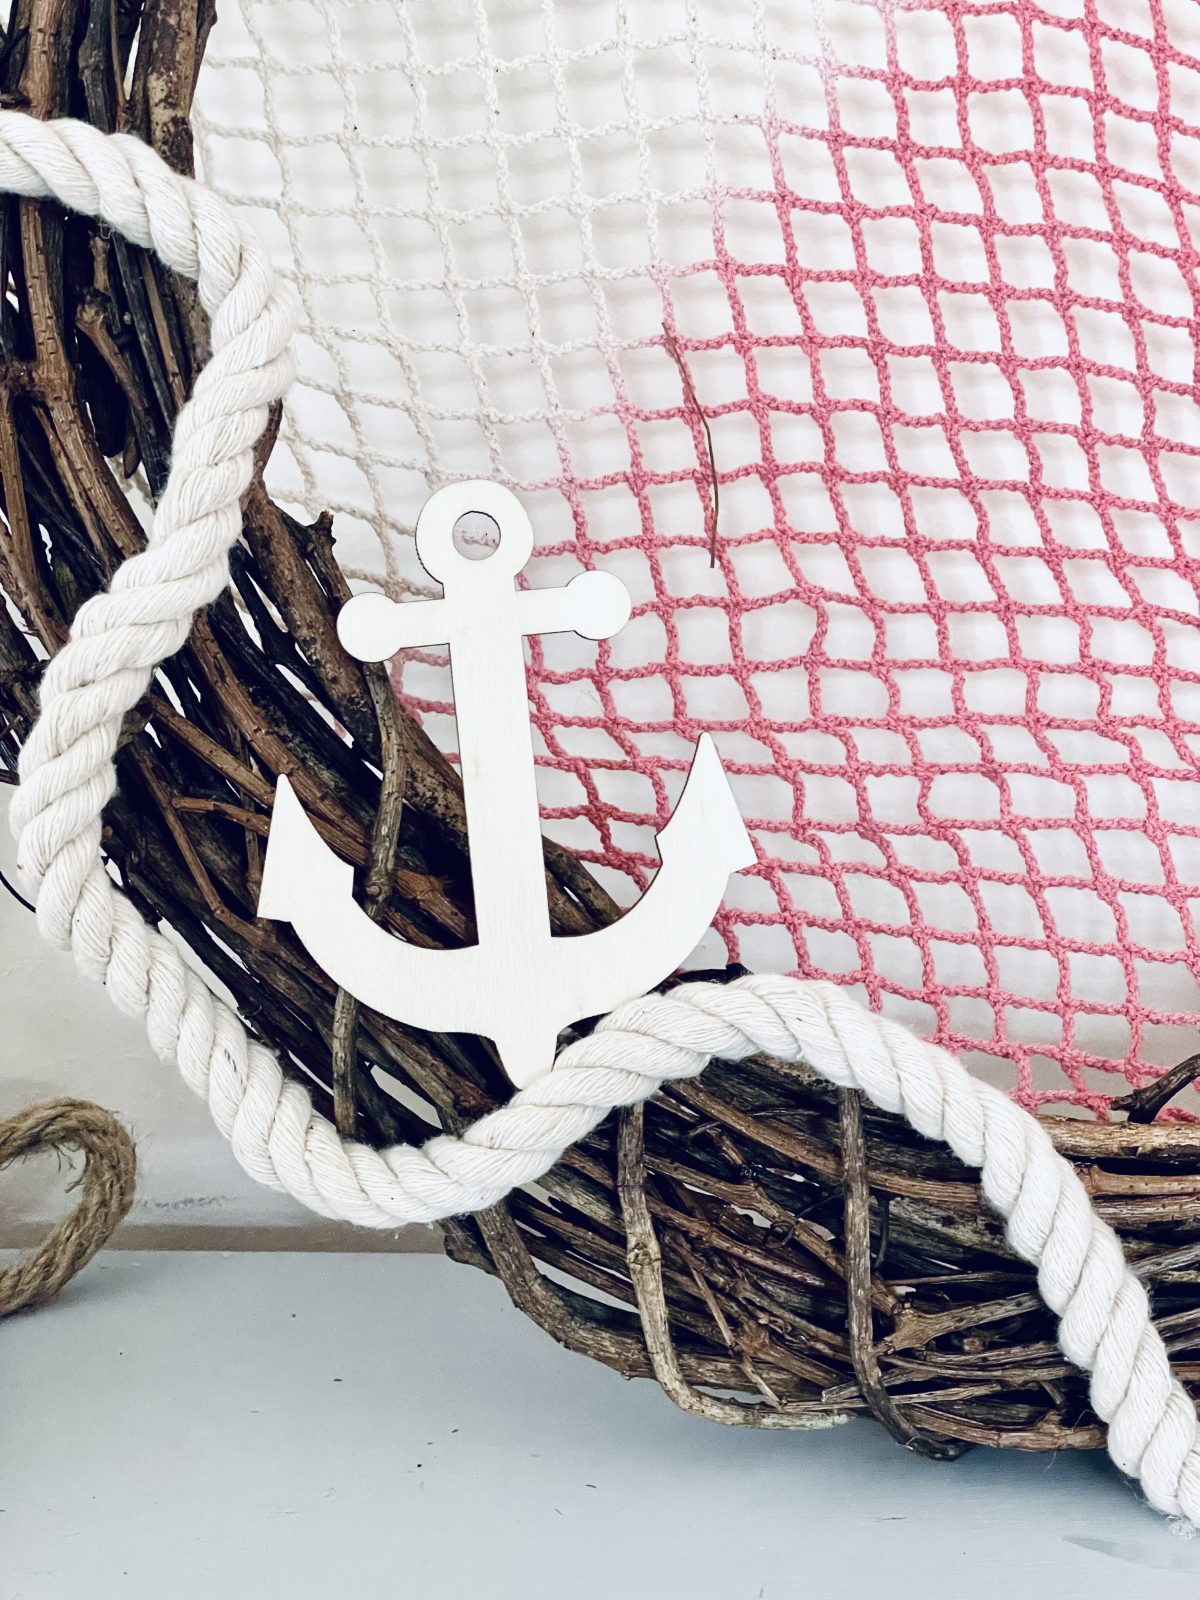
18 inch grapevine wreath
5 zip ties
Dollar Tree Nautical Rope
Dollar Tree Sea Shells, or if you take a trip to the beach grab them
Dollar Tree Ombre Tote Bag or a small net mesh
Hot Glue Gun
Scissors


Instructions
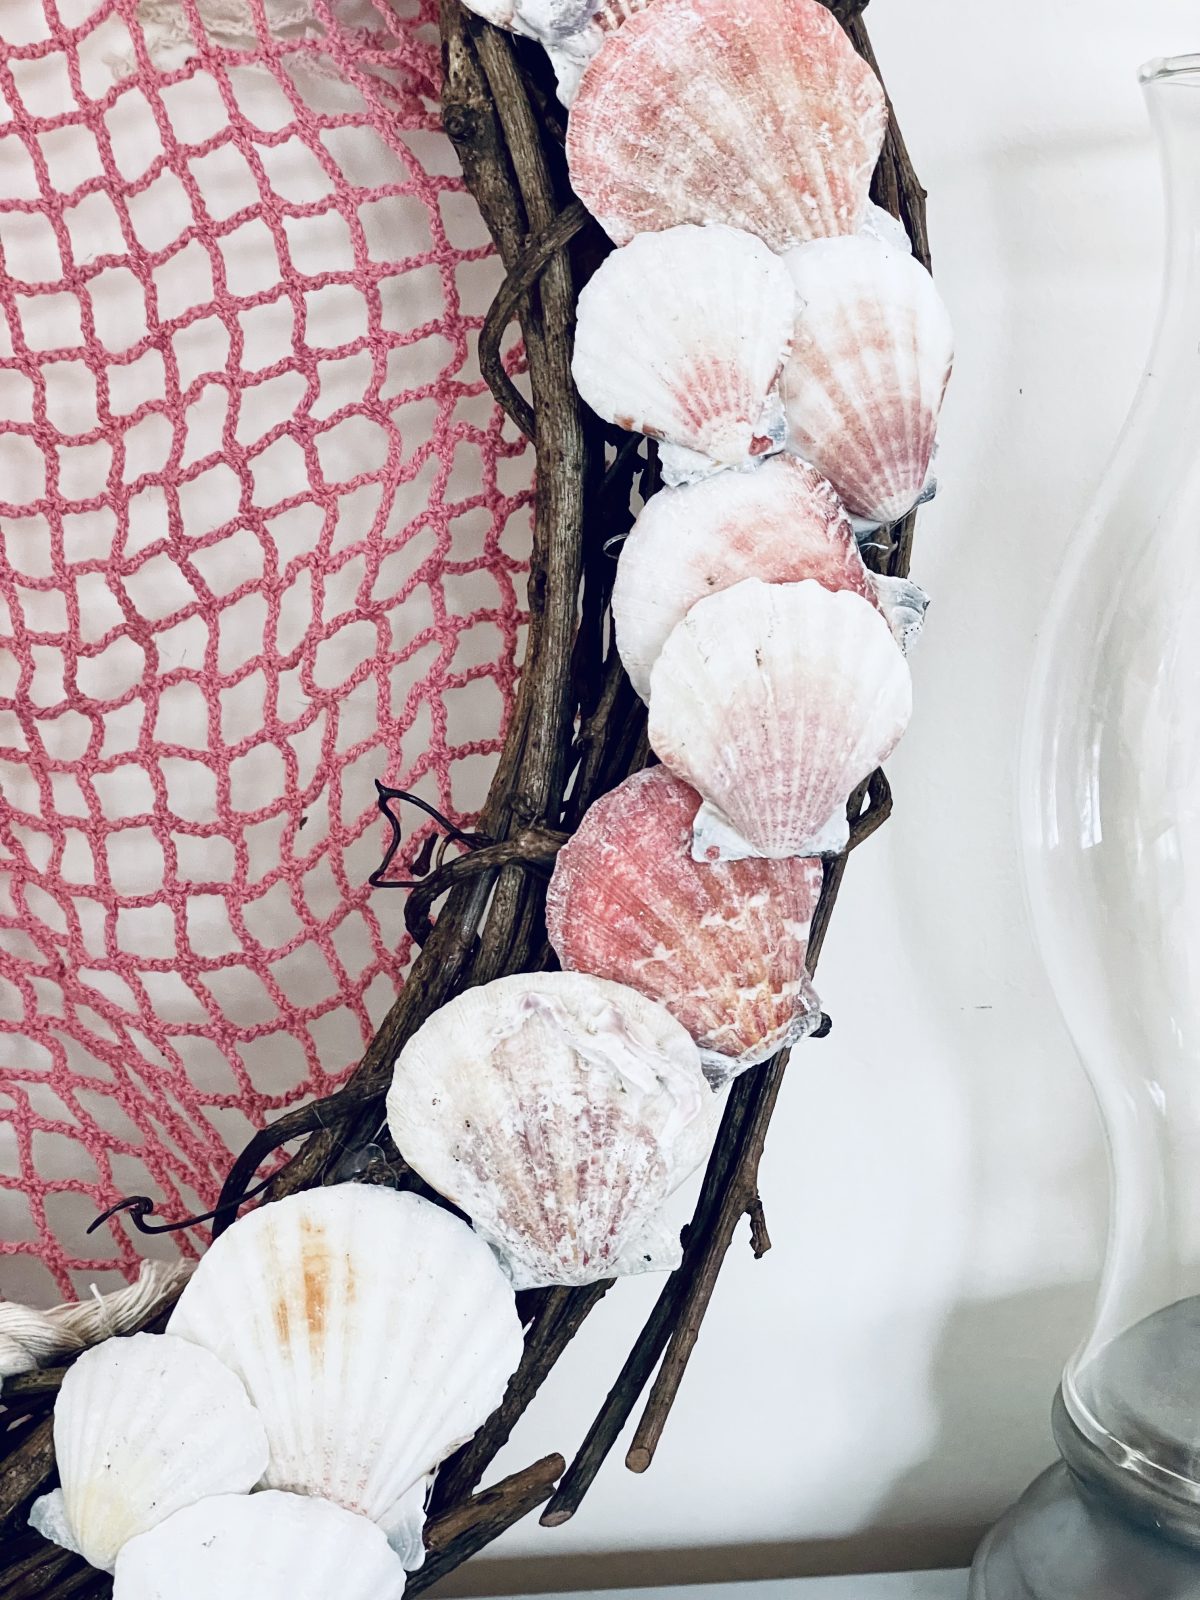
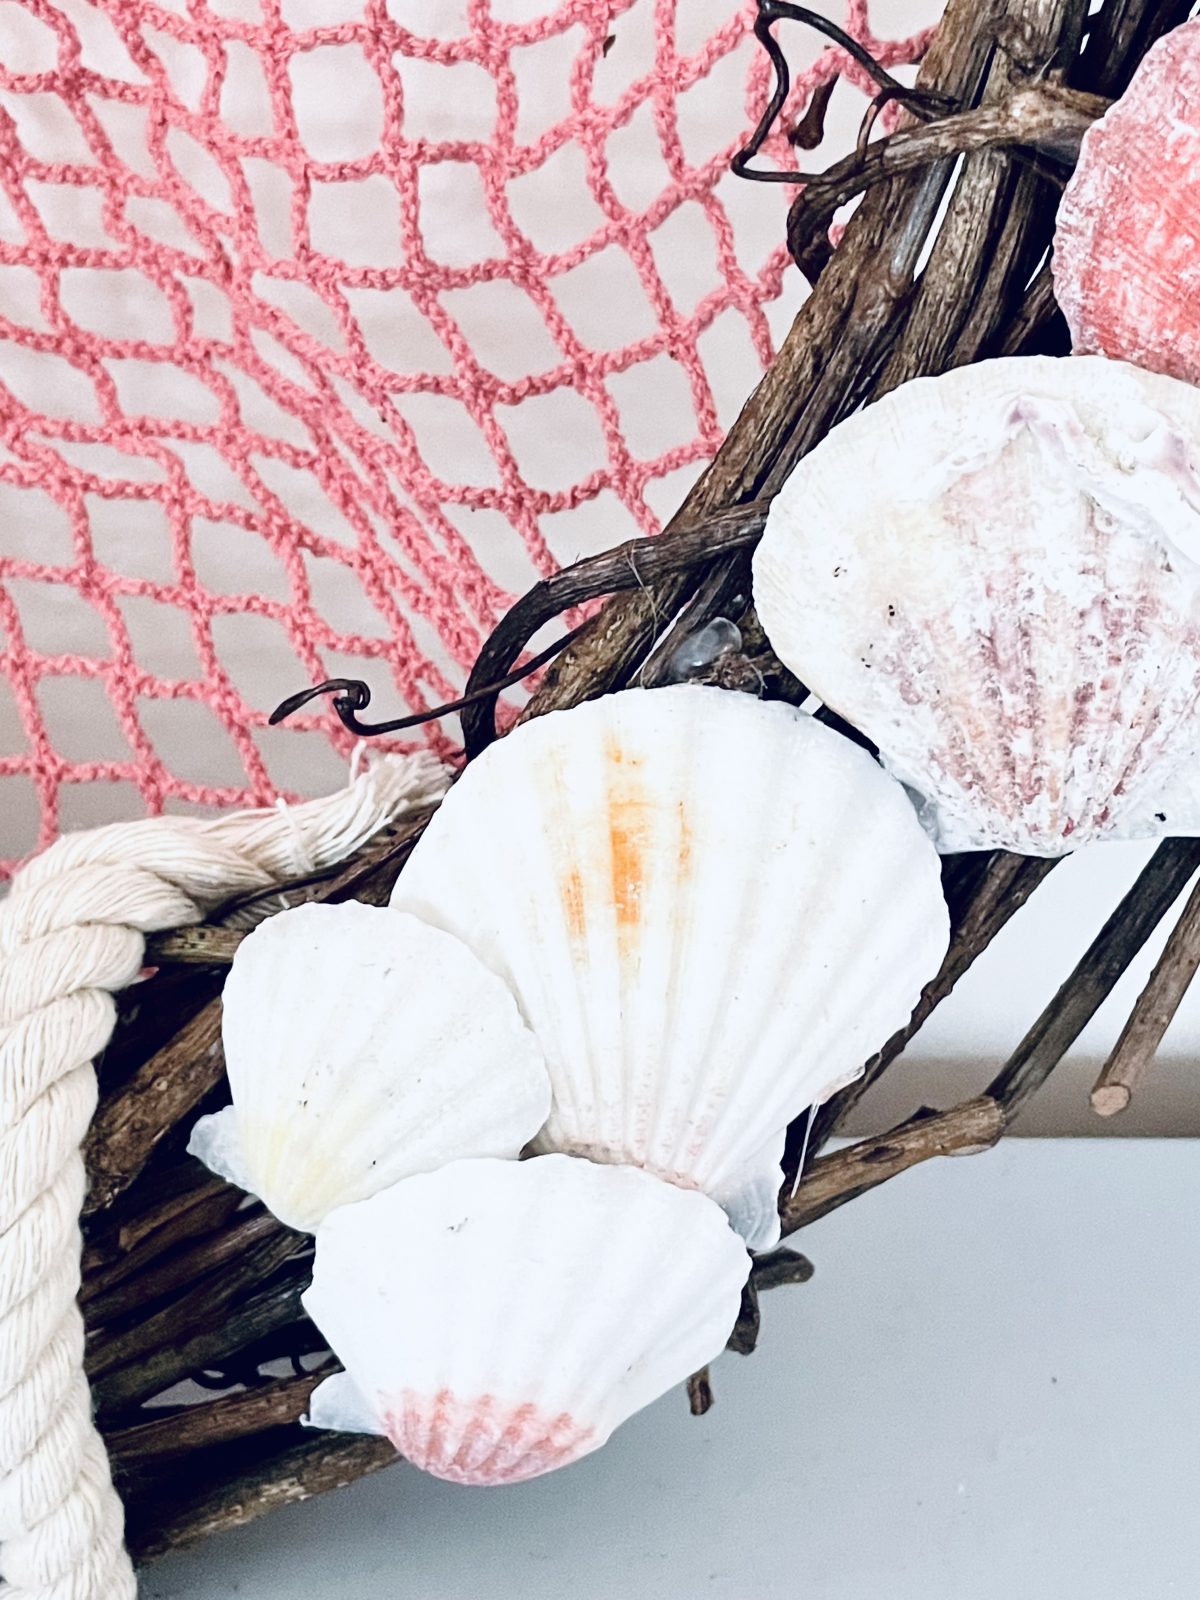
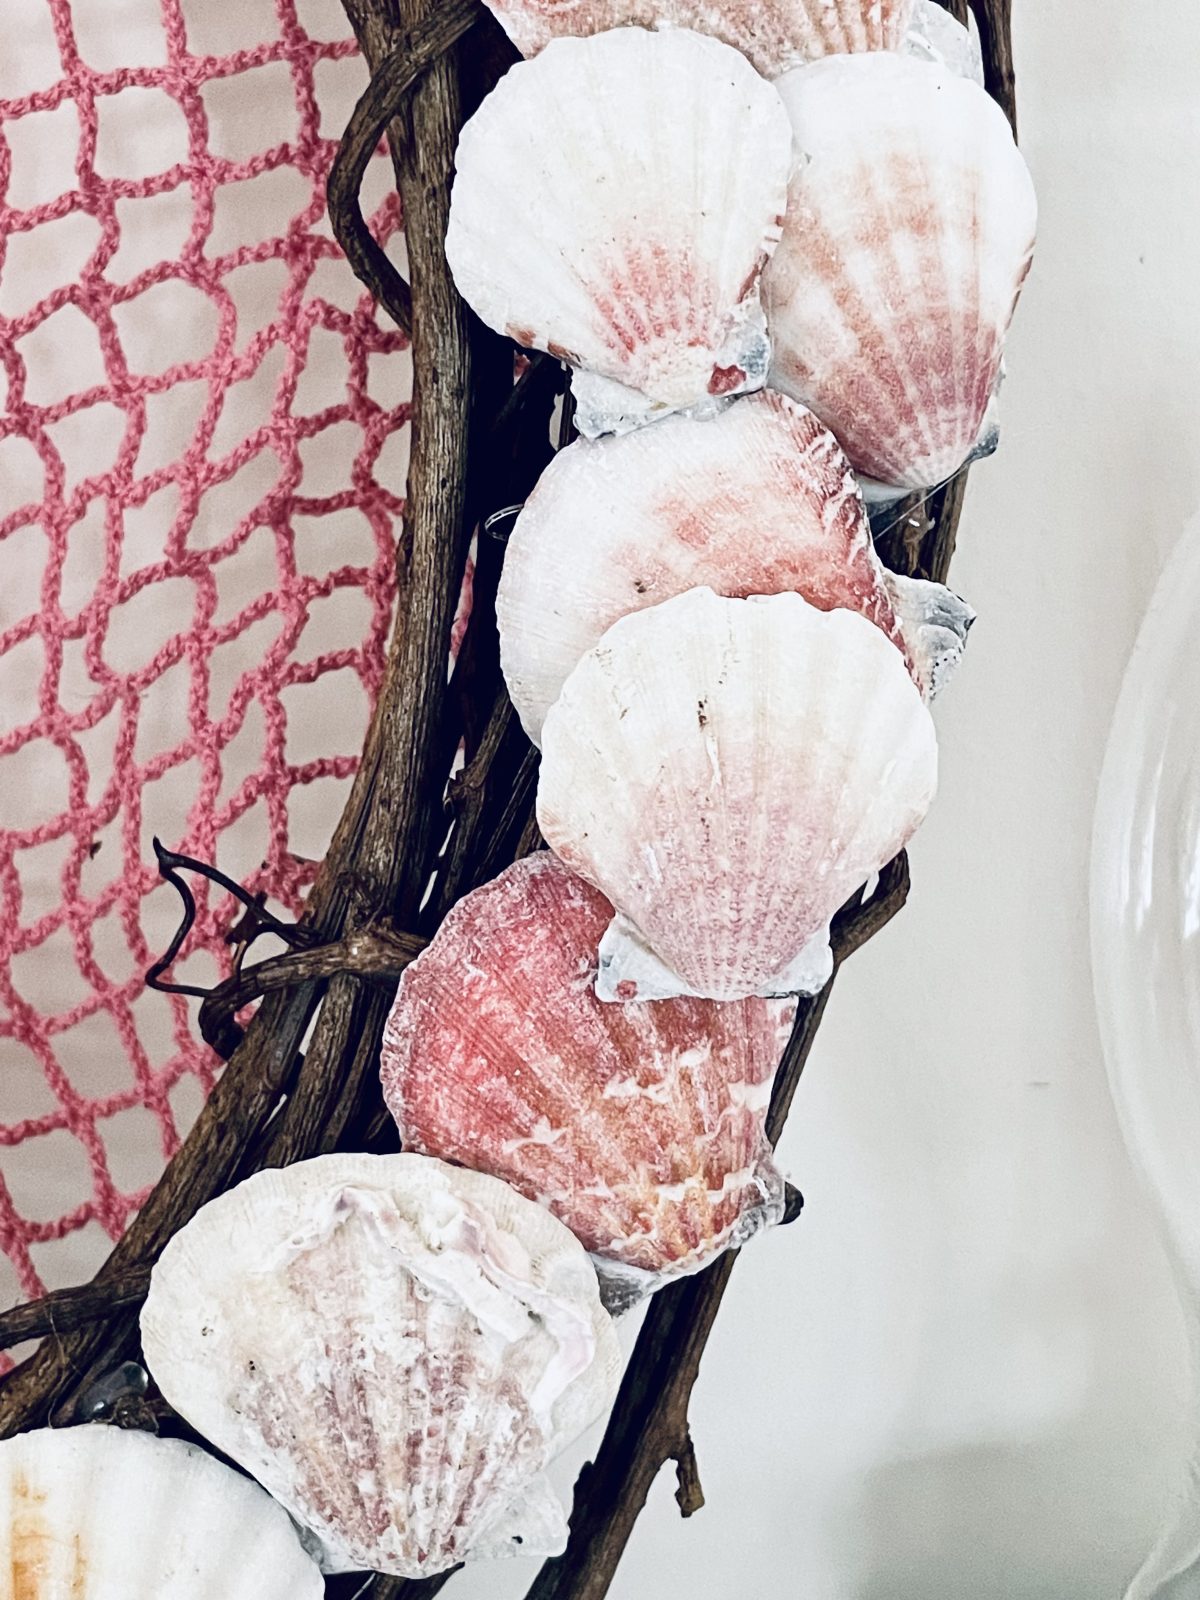
This summertime wreath is perfect for making as gifts. They are inexpensive to make and the wreath can be created using shells you have picked up on the shoreline from a recent holiday or family picnic.
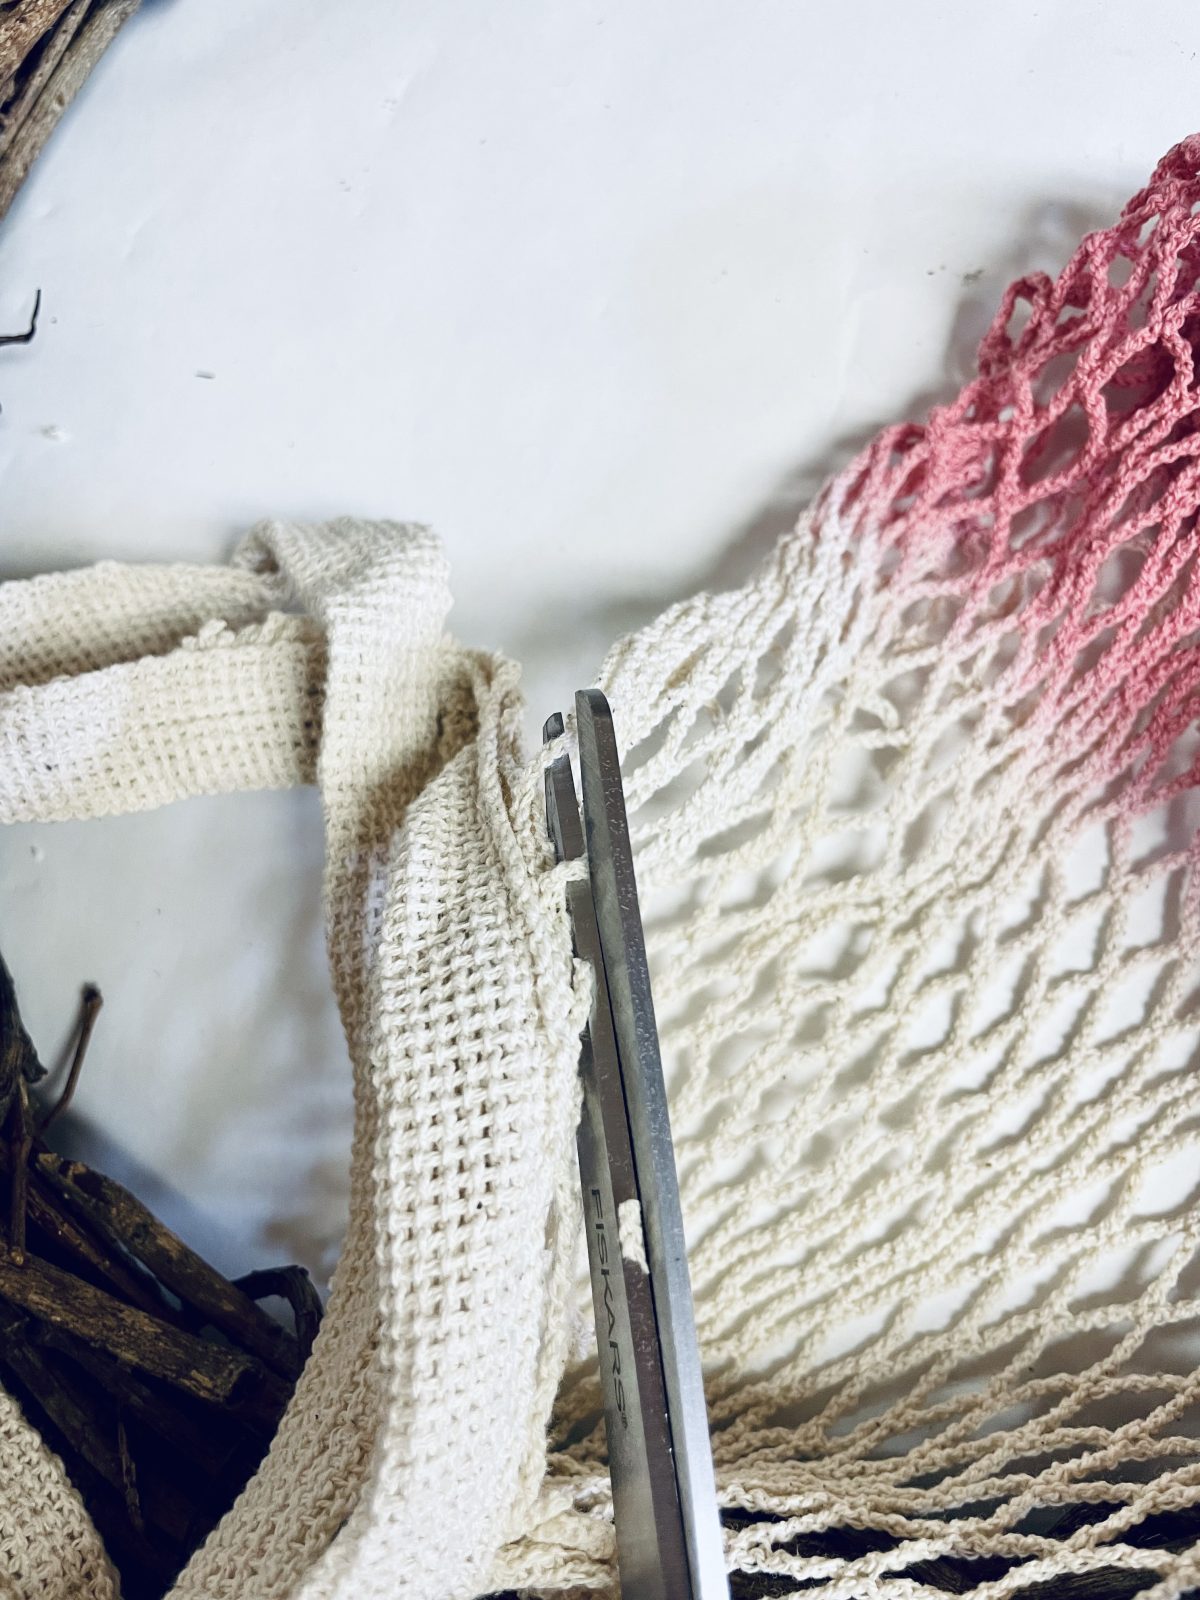
This tutorial uses a tote bag from the dollar store that had mesh, but you can use any similar products, such as plastic produce bags, like the ones you find oranges in, it works well too.
Start by cutting the ombre tote bag handles off so you just have the netting
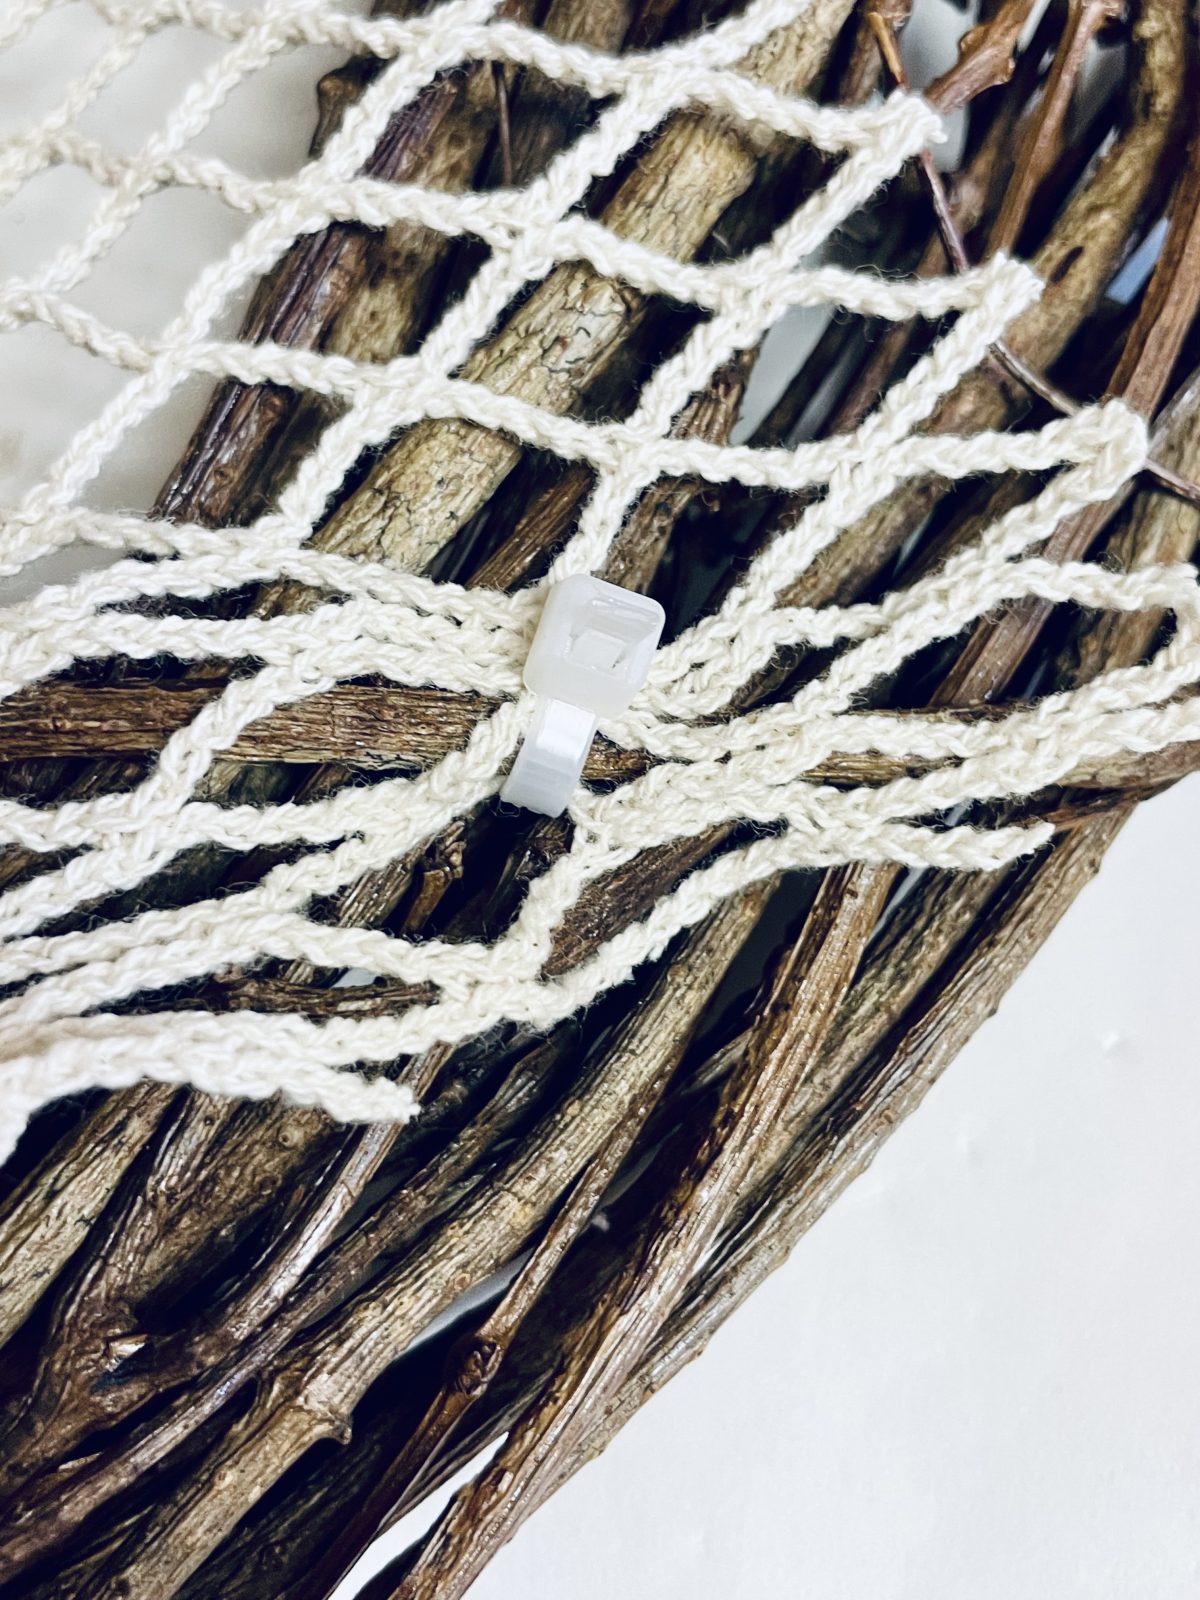
Trim so that it stretches to fit inside of the grapevine and secure with zip ties. Trim the ends of the zip ties
Using the hot glue gun, hot glue the shells to the grapevine wreath, I made sure to add hot glue to the grapevine wreath where I was going to add the shell also to make sure it was secure
I then laid out the nautical rope onto the grapevine wreath to see exactly how much I would need. I then trimmed the end off and added the nautical rope to the grapevine wreath using the hot glue

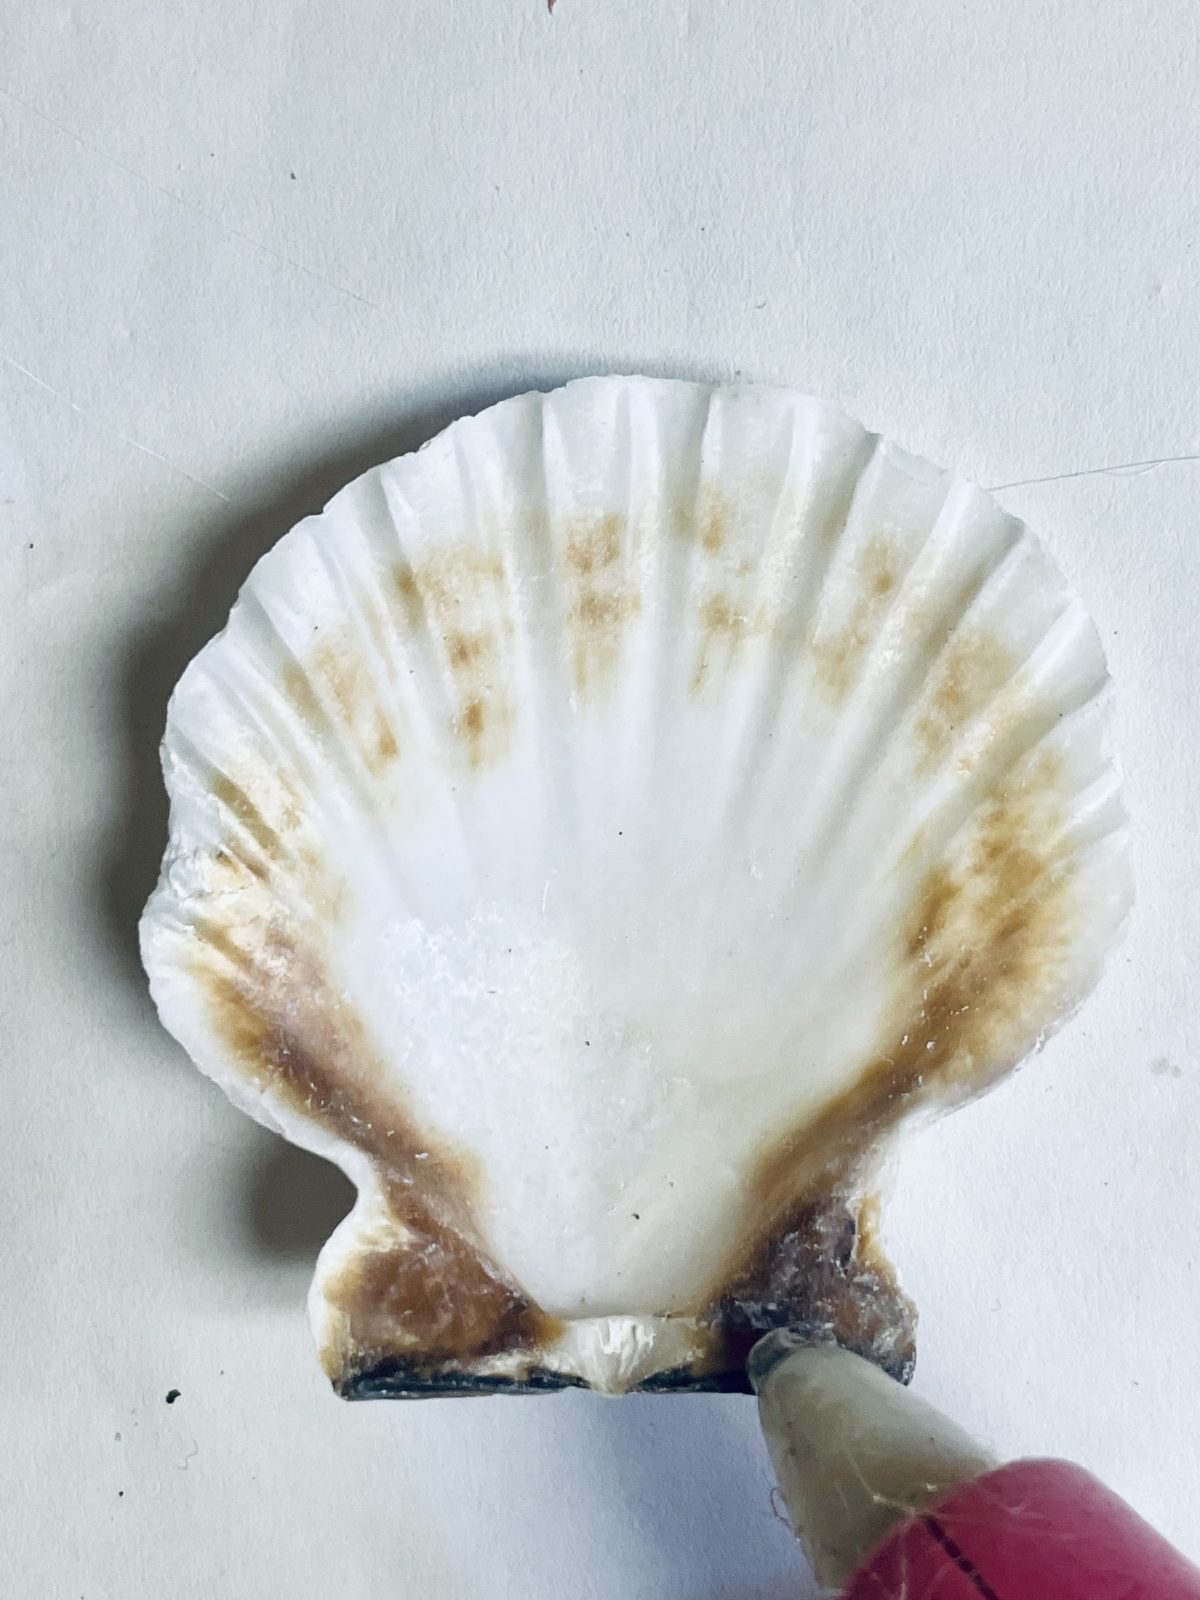
Updated to add a quick tutorial on cleaning shells, So many of you have messaged me asking how to get shells clean.
It’s important to properly clean them so they’re free of any debris that could affect the final product, especially when using resin. So, let’s get started with this mini step-by-step tutorial on how to clean shells found on the beach for this project or your next craft project.
Materials you’ll need:
- A bucket
- Water
- White vinegar
- Toothbrush or small scrub brush
- Gloves (optional)
- Newspaper or paper towels
- Bleach (optional)
Step 1: Collect Your Shells First things first, collect your shells from the beach. Look for shells that are intact and not broken, as these will be easier to clean and are more likely to be useful for DIY crafts.
Step 2: Soak the Shells Next, fill a bucket with water and add a small amount of white vinegar. The ratio should be roughly one part vinegar to three parts water. Place your shells in the mixture and let them soak for several hours. This will help to loosen any dirt or debris that may be stuck to the shells.
Step 3: Scrub the Shells After soaking, remove the shells from the vinegar and water mixture. Put on gloves if desired. Use a toothbrush or small scrub brush to gently scrub each shell, paying special attention to any stubborn areas. Be careful not to scrub too hard as this may damage the shell. Rinse each shell with clean water after scrubbing.
Step 4: Dry the Shells Place the cleaned shells on newspaper or paper towels to dry. You may want to pat them dry with a towel to remove any excess water. Leave the shells to air dry completely before using them for DIY crafts.
Optional Step: Bleach the Shells If you want to further whiten the shells, you can use bleach. Mix one part bleach with three parts water in a separate bucket. Soak the shells in the mixture for no more than 10 minutes, then remove them and rinse thoroughly with clean water. Be sure to wear gloves and work in a well-ventilated area when using bleach.
That’s it!


What do you think of this project? Let us know!