
What you need
Wrapping paper
Pencil
Measuring tape
Scissors
Orange felt
1/8 yard orange print fabric
Straight pins
Sewing machine
Natural colored burlap-scrap
1/4 yard green homespun fabric
Stuffing
Sewing needle
Off white crochet thread
Craft glue
Instructions
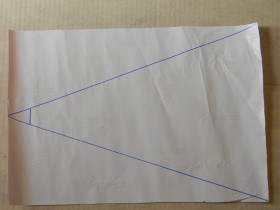
Step 1
Trace a 16-inch-tall triangle with an 11-inch base on the back of wrapping paper. Some wrapping paper has a 1-inch grid on the back which makes tracing patterns much easier. Measure down 1 1/2 inches from the point and mark from side-to-side with a horizontal line. Cut out the shape, removing the point as you do so. This is your basic carrot pattern for both sides of the pillow.
Step 2
Using the pattern, cut two carrot shapes from orange felt.
Step 3
Rip 1-inch-wide strips from orange print fabric. I ripped the width of 45-inch-wide fabric and needed a little less than three strips for this project.
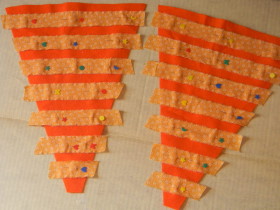
Step 4
Lay both felt carrot shapes on your work surface. Spacing the strips approximately 1/2 inch apart, cut and pin the strips across the width of the carrots.
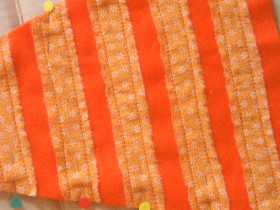
Step 5
Top stitch the pinned strips to the felt 1/4 inch from the long ripped edges. Trim the ends of the strips even with the side edges of the carrot shapes.
Step 6
Cut a 1-inch-wide by 5-inch long strip of natural colored burlap.
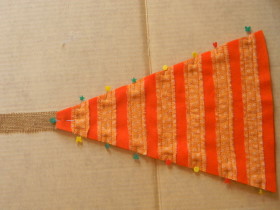
Step 7
Place the two carrot shapes together with the wrong sides facing and the edges aligned. Insert one short end of the burlap strip 1/2 inch between the points of the two carrot shapes. Pin the long edges and the point of the carrot together. Sew the pinned edges 1/4-inch from the edge.
Step 8
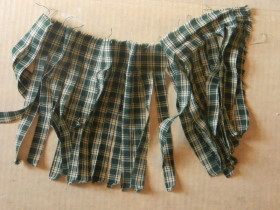
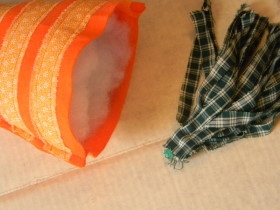
Cut an 8-inch-wide by 22-inch-long rectangle of green homespun fabric. Lay the length of the rectangle horizontal on your work surface. Cut 1/2-inch-wide fringe from one lone edge to within 1 inch of the other long edge. Roll the fringed rectangle from one short end to the other. To secure the roll, pin the end of the roll that was not cut through when fringed.
Step 9
Fill the carrot with stuffing. Thread a needle with a double strand of off white crochet thread. Sew a running stitch around the open end of the carrot, 1/2 inch from the edge. At the opening of the carrot, burrow a hole in the center of the stuffing. Fill the hole with craft glue. Remove the pin from the end of the rolled fringe and insert the same rolled end into the hole. Pull the thread of the running stitches, gathering the carrot opening closed around the base of the fringe. Knot and cut the thread.
Step 10
Remove the short horizontal threads from the burlap strip at the carrot’s point. The remaining long threads are the carrot’s roots.
All done!


What do you think of this project? Let us know!