
What you need
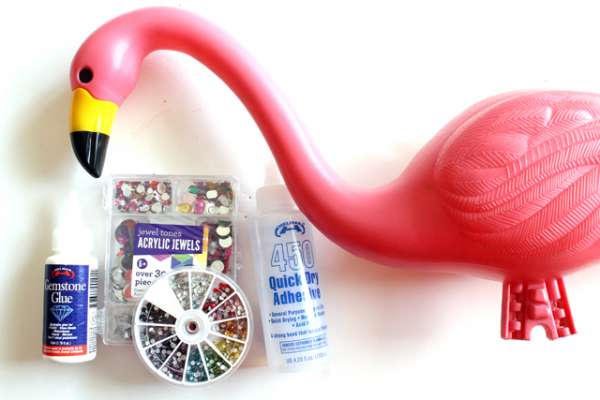
Plastic Flamingo, Gemstone Glue, Flat Back Rhinestones, Mod Podge, Paint Brush, Pink Glitter
Instructions
1. Choose your rhinestone and gather your supplies. I used a variety of rhinestones in different sizes and colors.
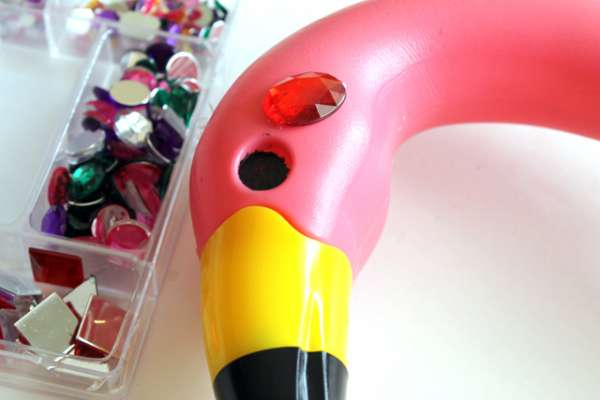
2. Apply glue to the back of your rhinestone.You don’t need a lot, just enough to cover the back of the gem. If you don’t have gemstone glue, other fast drying, water proof adhesives should work.
3. Starting at your flamingos head, place your first rhinestone. Use larger rhinestones on the flatter areas and smaller rhinestones on the more curved areas.
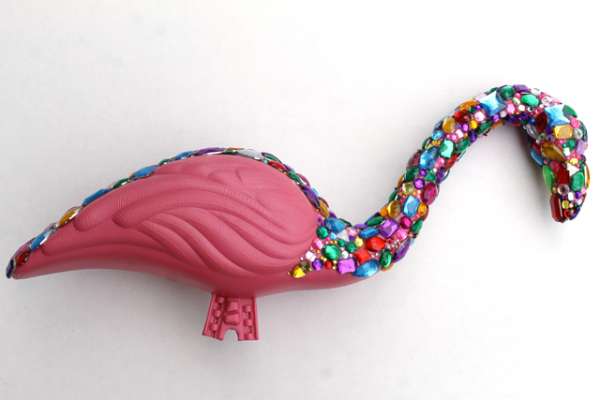
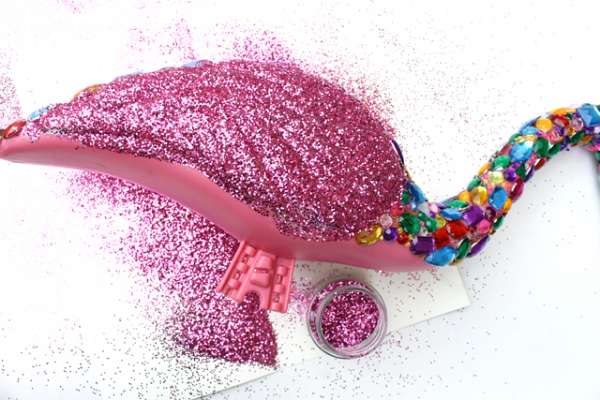
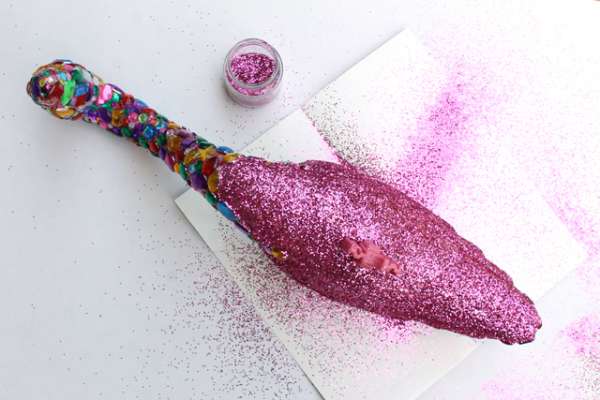
4. Continue adhering rhinestones on to your flamingo. I started at his head, covered his beak, and worked my way down his neck. I continued adhering rhinestones across his back until I reached the end of his tail. I didn’t rhinestone his wings because they have so many curves and textures, it would be difficult to adhere the gems.
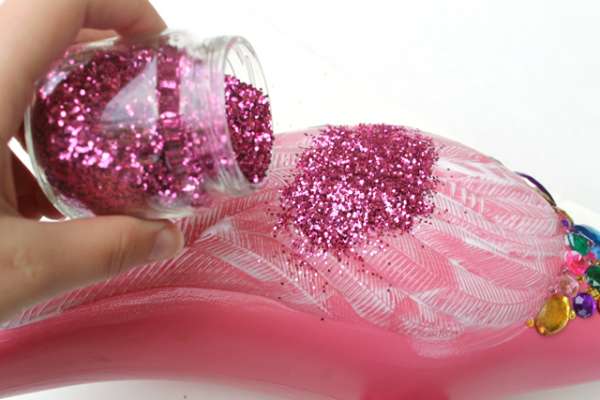
5. To glitter the wings- Use a paint brush to apply Mod Podge onto one wing.
6. Once you have the wing fully coated in Mod Podge, sprinkle pink (or any other color) glitter over the mod podged area. Give it a good coating of glitter, because you can shake off the excess glitter onto a piece of paper and pour it back into your glitter container to save it.
7. Repeat the glittering process with the opposite wing, and the underside of your flamingos belly. Shake the excess glitter off.
8. To finish your flamingo, use Mod Podge Acrylic Spray to seal your glitter. This will prevent the glitter from coming off at the touch.
All done!





That was so cute I have a metal flamingo can I use that