
Get more details about this project
What you need
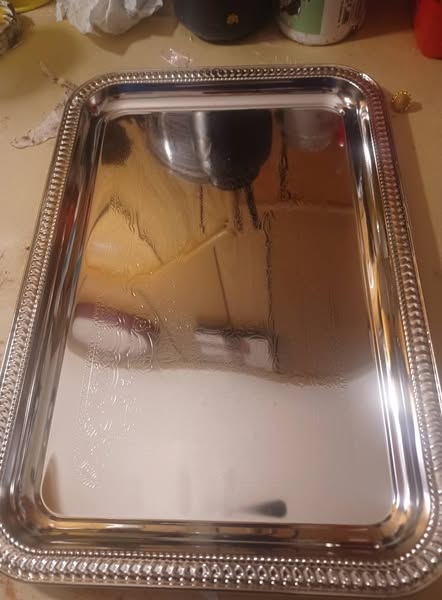
Dollar Tree silver metal party tray
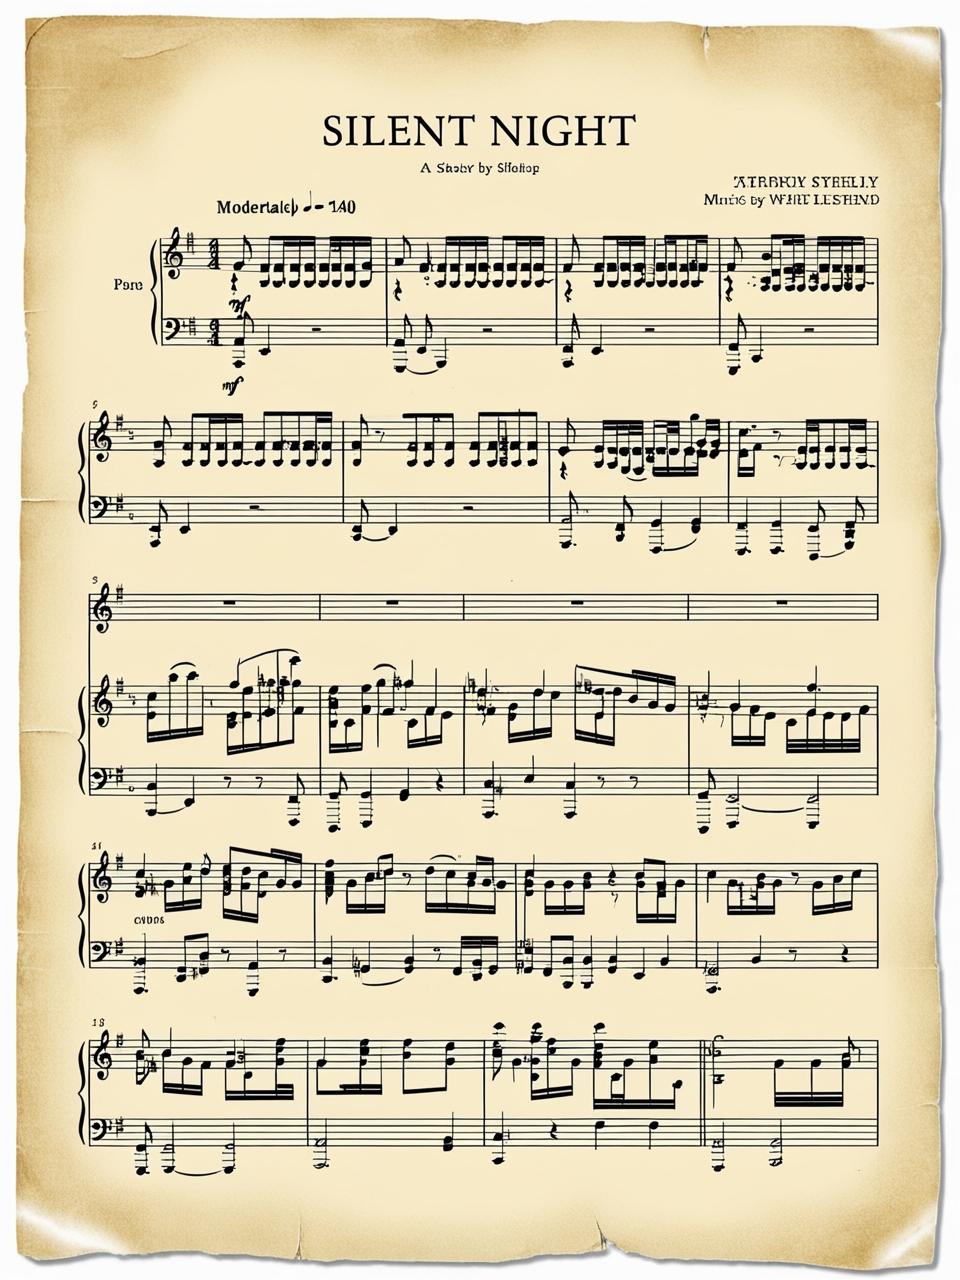
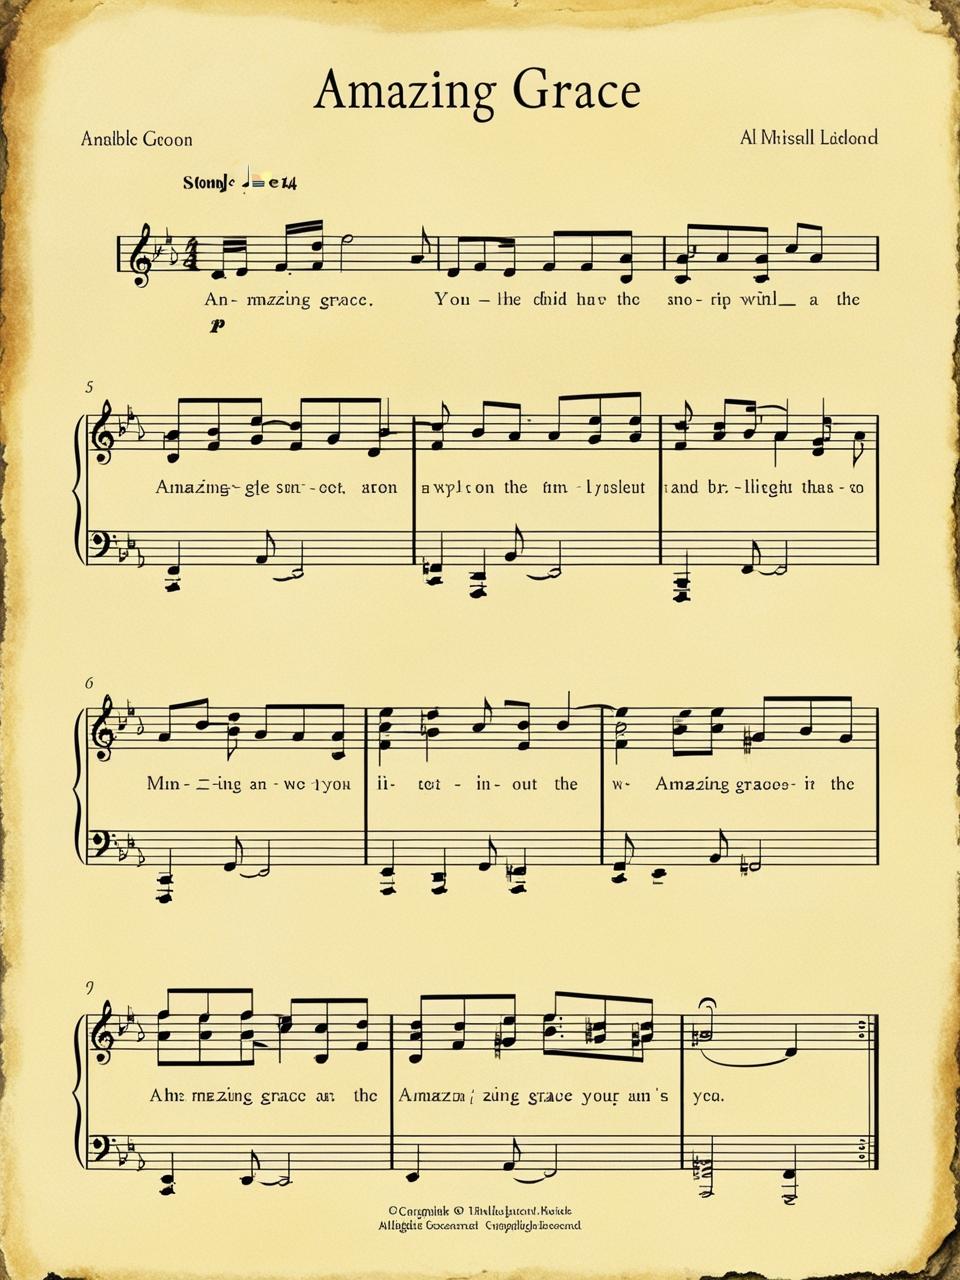
Printed hymnal sheet or any music sheet (decoupage paper works well)
PVA white craft glue or clear-drying decoupage medium
Tim Holtz Distress Oxide in Vintage Photo
Brown Antique Wax
Copper metallic wax
Optional: Acrylic paint in Cottage White or Sheepskin
Paintbrushes or foam brushes
Instructions
A big shoutout and heartfelt thanks to Deb R.G. for sharing her beautiful photos and inspiring us with her creative take on this project! It’s always wonderful to see how each person adds their own unique touch to a craft, and Deb’s work truly brings this vintage hymn sheet tray to life. Her contribution has sparked new ideas and given us all the motivation to dive into our next DIY adventure. Let’s get started and create something equally magical!
Prep Your Tray:
Start by giving your tray a thorough wipe-down with a damp cloth or paper towel. This step removes any dust, fingerprints, or residue that might interfere with the paint or glue.
If the tray has any stickers or adhesive residue, gently scrape it off using a plastic scraper or soak it briefly in warm soapy water before drying.
To achieve a softer, vintage look, apply a coat of Cottage White or Sheepskin acrylic paint to the tray. This creates a neutral, aged base that allows the hymn sheet and distressing details to stand out.
Use a foam brush or a fine bristle brush for smooth application. Start with thin, even strokes and let the first coat dry completely.
If you prefer a more solid, opaque finish, apply a second coat of paint. Allow ample drying time between coats to avoid streaks or smudges.
Sanding for a Distressed Look (Optional):
If you want the tray to have a more weathered appearance, lightly sand the edges and raised details with fine-grit sandpaper (around 220 grit) after the paint has dried. This step gives your piece that beautiful “worn over time” vibe.
Select a hymnal sheet that speaks to you or fits your decor. You can print from below or from the internet, use a photocopy, or opt for a real vintage sheet for added authenticity which you can pickup at yard sales or second hand stoes.
Use PVA white craft glue, Mod Podge, or any clear-drying glue for this step.
Spread an even layer of glue across the center of the tray where the hymn sheet will sit. Be careful not to apply too much, as excess glue can cause wrinkles or bleed through the paper.
Carefully position the hymn sheet over the glued area. Start at the center and gently smooth outward using your hands or a rubber scraper to eliminate air bubbles and wrinkles.
For a professional finish, use a brayer (rolling tool) to evenly press the paper into the tray.
After the hymn sheet is firmly in place and completely dry, apply a thin topcoat of Mod Podge or matte sealer to protect it. This step ensures your design stays intact and adds a subtle sheen to the finished product.
Now comes the fun part – giving your tray a gorgeous aged look that makes it feel like an antique treasure.
Distress the Edges:
Use Tim Holtz Distress Oxide in Vintage Photo and lightly brush or dab it along the edges of the hymn sheet. Focus on the corners and any natural creases to mimic authentic aging.
Blend the ink with a soft sponge or dry brush for a smooth transition.
For a more dramatic aged look, apply Brown Antique Wax to the edges and corners of the tray. Use a small brush to work the wax into any grooves or details.
Blend the wax outward to create depth, and buff it lightly with a clean cloth to soften the effect.
The raised edges of the tray offer the perfect opportunity to add a metallic touch that elevates the entire piece.
Apply Metallic Wax:
Use Copper Metallic Wax to highlight the raised edges of the tray. You can apply the wax with your fingers, a small brush, or even a cotton swab for precise detailing.
Lightly buff the wax after application for a subtle shine that mimics the look of aged metal.
Layer for a Custom Look:
If the copper is too bright for your taste, tone it down by brushing a light layer of Brown Antique Wax over it. Blend thoroughly for a seamless, natural finish.
Finishing Details:
The small touches at the end make all the difference in turning your tray into a truly unique piece.
Once all the details are in place and completely dry, seal the entire tray with a clear matte or satin finish spray. This adds durability and protects your creation from wear and tear.
Whether you hang it on the wall, prop it up on a shelf, or make it the centerpiece of a table vignette, your aged hymn sheet decor is ready to be admired.
With these expanded steps, your hymn sheet tray will have all the charm and character of a vintage treasure. Thanks again to Deb R.G. for sharing her inspiring photos and ideas! Happy crafting!


What do you think of this project? Let us know!