
They are made by arranging craft sticks into a star shape, painting them in patriotic red, white, and blue, and adding tissue paper or ribbon streamers underneath. Kids can wave them at a backyard barbecue, hang them along a porch, use them as party decorations, or make a whole batch for a classroom or holiday playdate.
This is one of those easy kids’ crafts that looks much cuter than the effort involved, which is always a win in my book. The best part is that you can make it with basic craft supplies you probably already have tucked away in a cupboard, especially if you are the sort of person who has a random bag of popsicle sticks “just in case.” No judgement here. I have several.
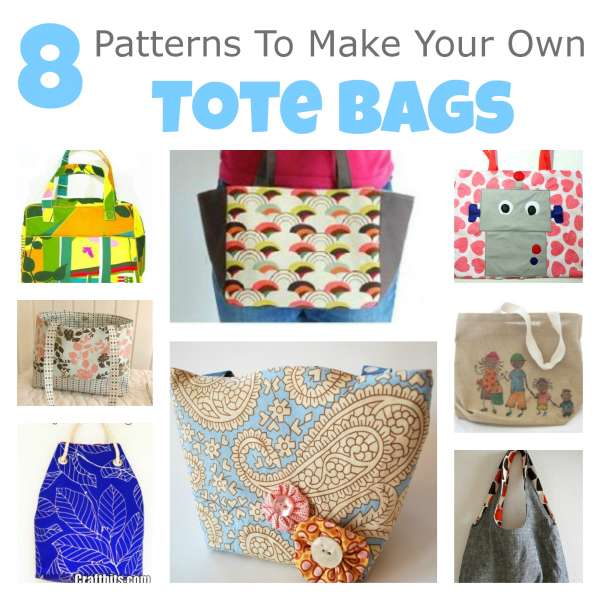
If you are planning a whole afternoon of patriotic crafting, you might also like our recycled 4th of July shaker box craft, which is another fun one for kids who like noisy, hands-on projects. You can also browse more simple ideas in our kids crafts section if you need something quick for school holidays, parties, or grandkids visiting for the afternoon.
Get more details about this project
What you need
5 wooden craft sticks or popsicle sticks per star
Red, white, and blue acrylic paint or washable kids’ paint
Paintbrushes
Craft glue or a low-temperature glue gun
Red, white, and blue tissue paper, crepe paper, or ribbon
Scissors
String, yarn, or ribbon for hanging
Star stickers, sequins, buttons, pom poms, or adhesive gems for decorating
Newspaper, scrap cardboard, or a washable mat to protect the table
Instructions
A low-temperature glue gun is handy if an adult is helping, but craft glue works perfectly well if you have time to let the stars dry flat. If you make kids’ crafts often, a basic craft supply kit from Amazon with craft sticks, glue, pom poms, sequins, and tissue paper is one of those useful things to keep on hand for last-minute school holiday projects.
Instructions
1. Arrange the Craft Sticks Into a Star
Lay five craft sticks on your table and arrange them into a star shape.
The easiest way is to make a simple five-pointed star by crossing the sticks over each other, adjusting them until the shape looks even. Don’t worry if it isn’t perfectly symmetrical. Kids’ crafts are meant to look handmade, and a slightly wonky star has far more personality than one that looks like it came off a production line.
Once you are happy with the shape, add a small dab of craft glue where each stick overlaps.
Let the star dry completely before painting. If you are using a low-temperature glue gun, an adult can glue the sticks together and the star will be ready almost straight away.
2. Paint the Star
Paint the front of the popsicle stick star in red, white, and blue.
You can paint the whole star one colour, alternate the craft sticks, or let kids decorate each stick differently. Stripes, dots, stars, and little brushy firework patterns all look lovely.
Set the star aside to dry. If the kids are impatient, this is usually the part where snacks magically help.
For a cleaner finish, paint one side first, let it dry, and then flip it over to paint the back. If the streamers are being used as wall decorations, painting only the front is fine.
3. Cut the Streamers
Cut strips of tissue paper, crepe paper, or ribbon into lengths of around 20–30 cm.
You can make the streamers short and tidy or long and floaty. Tissue paper gives a soft fluttery look, while curling ribbon is brighter and more durable for children who want to wave their stars around outside.
For younger children, pre-cut the strips before you begin. It keeps the craft moving and avoids that moment where ten children are all asking for the scissors at once.
4. Attach the Streamers
Turn the painted star over so the back is facing up.
Glue the strips of tissue paper, crepe paper, or ribbon to the bottom two points of the star. Layering several pieces in red, white, and blue gives the streamer a fuller, more festive look.
Let the glue dry before lifting the star.
If the star will be used as a parade wand, glue or tape a wooden dowel, paper straw, or extra craft stick to the back of the star as a handle.
5. Add Decorations
Now comes the fun part.
Let kids decorate the front of the star with stickers, sequins, buttons, adhesive gems, paper stars, or little dots of paint. Keep the decorations fairly light so the star does not become too heavy, especially if you are hanging it as bunting.
If you want a less messy version for younger kids, use foam star stickers and pre-cut paper shapes instead of loose glitter. Loose glitter is cheerful in theory, but somehow it always ends up on the dog, the sofa, and someone’s sandwich.
6. Turn Them Into Hanging Decorations
To hang the star streamers, tie or glue a loop of string to the top point of each star.
You can hang them individually from a porch, classroom display board, party table, tree branch, or mantle. You can also make several stars and string them together to create a patriotic garland.
These look especially cute hanging above a food table for a 4th of July barbecue, picnic, or backyard party.
Helpful Tips
For toddlers and preschoolers, assemble the star shapes ahead of time and let them focus on painting and decorating.
For older kids, turn it into a design challenge by asking them to create different patterns using only red, white, and blue.
If you are making these with a group, write each child’s name lightly on the back before painting. Trust me, this avoids the great “that one was mine” debate later.
If you want a sturdier decoration, use ribbon instead of tissue paper. Tissue paper is lovely indoors, but ribbon holds up better outside in a breeze.
If you are making these for a classroom, summer camp, or party table, set up bowls of decorations so kids can choose their own embellishments without everyone digging through the same packet at once.
4th of July Craft Variations
Parade Wand Version
Glue a wooden dowel or paper straw to the back of the star and let kids wave them during a parade, backyard march, or family photo.
Patriotic Garland Version
Make several stars and string them along twine to create a red, white, and blue garland.
Firework Star Version
Use metallic pipe cleaners or shiny ribbon as the streamers to make the stars look like little fireworks.
Scrap Paper Version
Use strips of scrapbook paper, wrapping paper, or leftover party napkins instead of tissue paper. This is a great way to use up scraps from your paper craft stash.
Recycled Craft Version
Use recycled cardboard strips instead of craft sticks. Cut them into even strips, paint them, and glue them into a star shape.
If you enjoy recycled holiday crafts, our 4th of July inspired recycled shaker box is another easy project that works well for kids’ groups and summer craft tables.
Craft Skill Level
Beginner friendly.
This project is suitable for preschoolers with help, early primary school children, and older kids who enjoy decorating. Adults should handle hot glue guns and help younger children with scissors.
Why This Craft Works Well
This is a good 4th of July craft because it uses simple materials, dries quickly, and can be adapted for different ages. Younger kids can paint and stick decorations, while older kids can assemble the star shape themselves and create more detailed designs.
It is also budget-friendly, which matters when you are making decorations for a party, a classroom, or a group of excited children who all want to make “just one more.”
The finished stars are lightweight, colourful, and easy to display. They make sweet handmade decorations without needing advanced craft skills or a long supply list.
More Patriotic Craft Ideas
For more red, white, and blue crafting, take a look at our 4th of July patriotic painted rocks, which are great for outdoor decorating and garden paths. You might also enjoy our Stars & Stripes 4th of July mason jar craft if you want something simple for the table, porch, or party setup.
And if you are planning a full summer craft day, our kids crafts section has plenty of easy ideas for painting, recycled crafts, nature crafts, and quick projects for little hands.
These Popsicle Stick Star Streamers are bright, easy, and wonderfully forgiving. They are the kind of craft kids can actually finish, wave around proudly, and then insist on hanging somewhere very visible. And really, that is half the fun of a holiday craft, isn’t it?


What do you think of this project? Let us know!