
Cut-out designs are backed with purple tissue paper before the cardstock is folded into a square lantern. A battery-operated LED candle creates the safest glow, although the original project can also be displayed around a candle enclosed inside a suitable tall glass.
Get more details about this project
What you need
Black cardstock
Purple, pink or orange tissue paper
Pencil
Ruler
Eraser
Scissors
Precision craft knife
Self-healing cutting mat
Small paintbrush or glue applicator
Four paper clips or small clips, optional
Battery-operated LED candle or tea light
Tall heat-resistant glass and a short candle, optional
Candle lighter, if using the original candle method
Instructions
A glowing paper luminary is a wonderfully dramatic way to decorate a table, mantel or windowsill for Halloween.
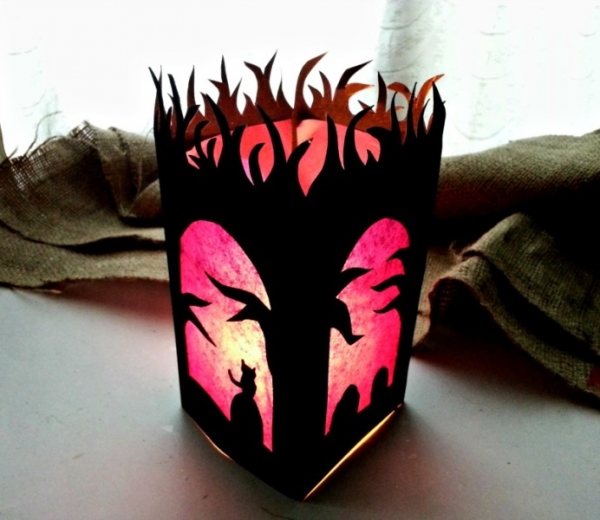
This version uses black cardstock to create a four-sided lantern filled with spooky cut-paper silhouettes. Purple tissue paper covers the openings from behind, producing a colourful glow when the light inside is switched on.
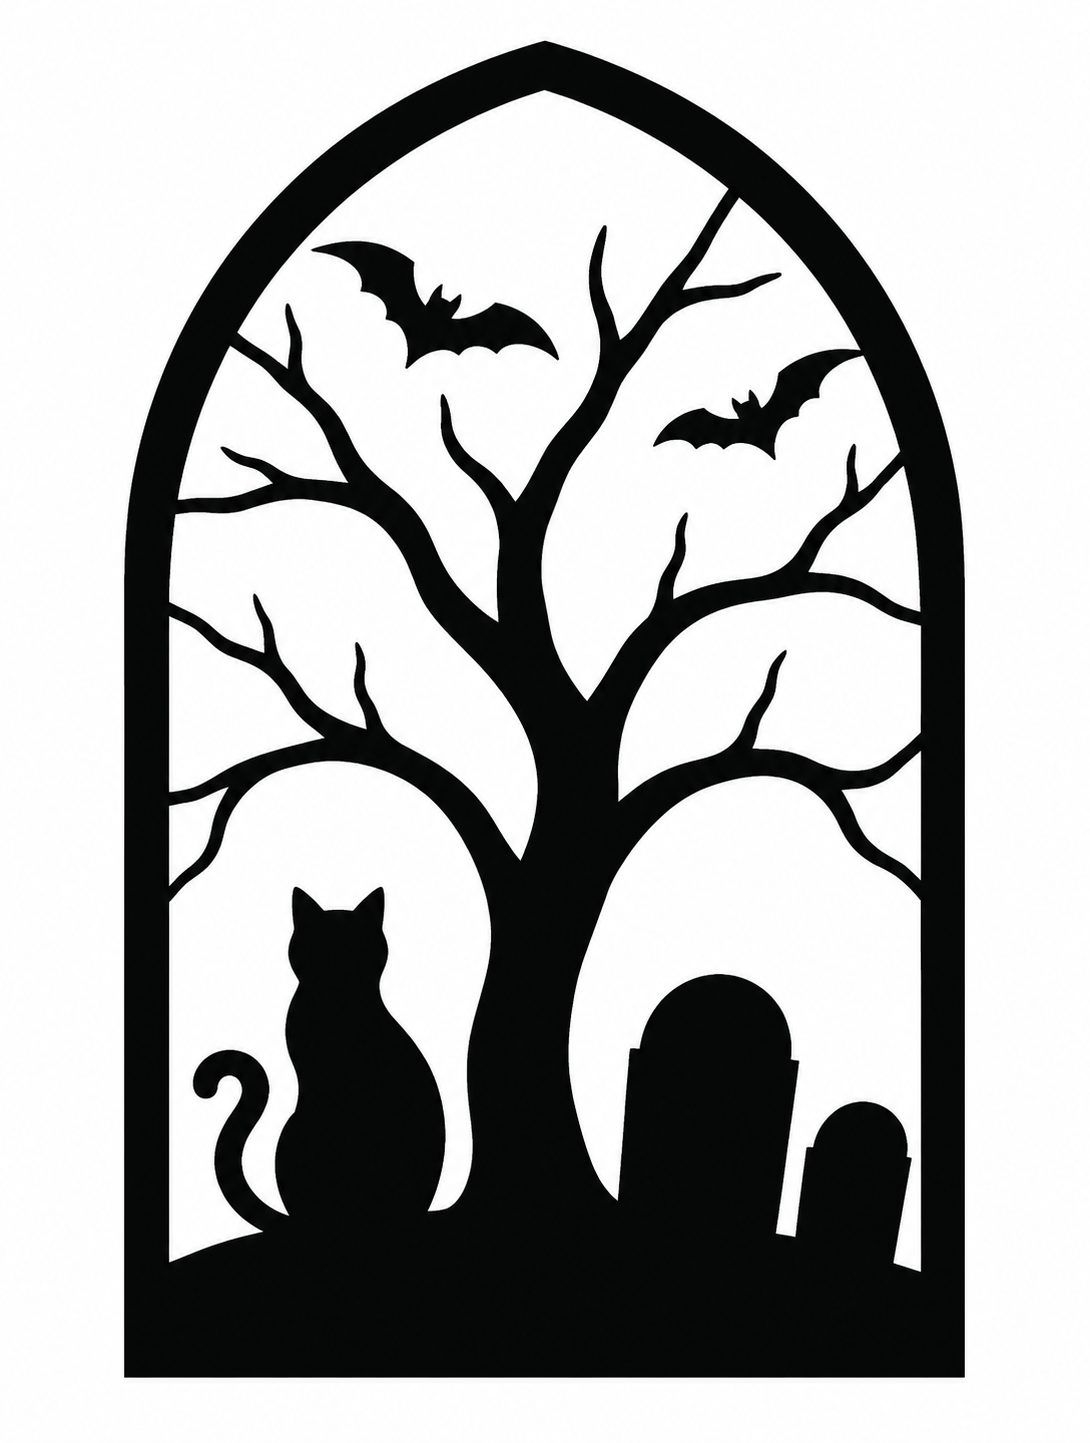
You can personalise each panel with crooked trees, flying bats, cats, gravestones, haunted houses or pointed arches. Keep the shapes reasonably simple so they can be cut neatly without weakening the cardstock.
The finished luminary measures approximately 20 cm or 8 inches tall, with four sides measuring approximately 10 cm or 4 inches wide.
Instructions
Step 1: Measure the cardstock
Cut a piece of black cardstock measuring approximately 20 cm × 42 cm or 8 × 16.5 inches.
The first 40.5 cm or 16 inches will form the four lantern panels. The remaining 1.25 cm or 1/2 inch will become the joining tab.
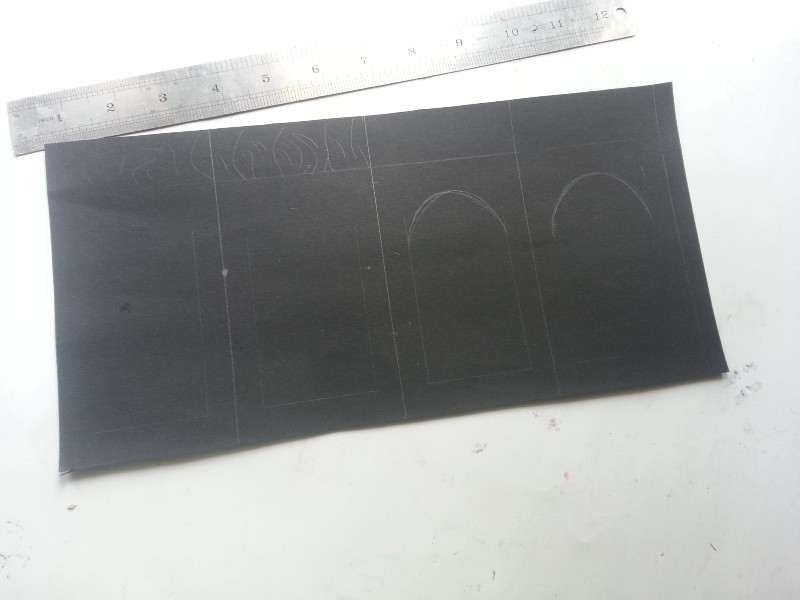
Use a pencil and ruler to mark vertical lines at 10 cm, 20 cm, 30 cm and 40 cm.
If working in inches, mark the cardstock at 4, 8, 12 and 16 inches.
Step 2: Score the fold lines
Use a blunt scoring tool, empty ballpoint pen or the back of a craft knife to score along the four vertical lines.
Do not cut through the cardstock.
Gently fold along each scored line, then open the cardstock flat again while drawing and cutting the designs.
Step 3: Mark the top border
Measure approximately 5 cm or 2 inches down from the top edge.
Draw a light horizontal guideline across the cardstock. This upper section will be used to create the pointed grass, flame or crooked branch design around the top of the luminary.
Do not make the upper cuts too narrow or delicate, as the points may bend or tear.
Step 4: Draw the window shapes
Draw one large arched window inside each of the four panels.
Leave a solid border measuring at least 1–1.5 cm around the sides and bottom of each panel. This border gives the lantern enough strength to stand upright.
Keep the 1/2-inch joining tab completely free from cut-out designs.
Step 5: Add the spooky silhouettes
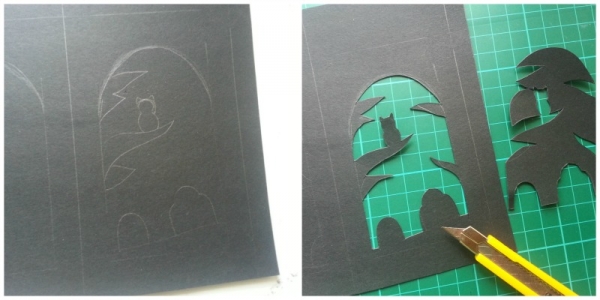
Draw simple Halloween silhouettes inside the arched windows.
Try crooked trees, flying bats, a sitting cat, gravestones, crescent moons or a haunted house.
Remember that the black sections must remain connected to the surrounding cardstock. Avoid drawing floating shapes that will fall away when cut unless you plan to glue them back onto the tissue paper later.
Step 6: Cut the window designs
Place the cardstock on a self-healing cutting mat.
Use a precision craft knife to cut along the drawn lines. Begin with the smallest internal details before cutting the larger window openings.
Turn the cardstock as you work rather than twisting the knife into difficult angles.
Craft knives are extremely sharp and should only be used by an adult or with close adult supervision.
Use an eraser to remove any remaining pencil lines after cutting.
Step 7: Cut the decorative top
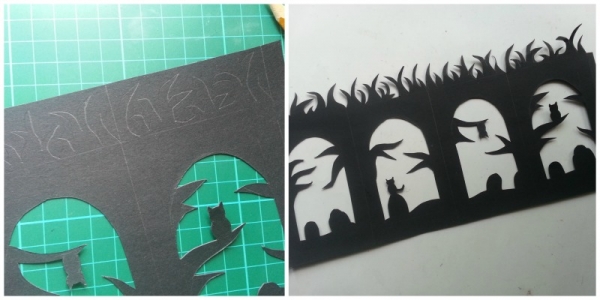
Draw pointed grass, flames, crooked branches or another spooky border across the upper 5 cm section.
Use scissors for the outer edge and a craft knife for small internal openings.
Fold the cardstock loosely along the scored lines to check that the decorative points do not catch against one another.
Step 8: Prepare the tissue paper
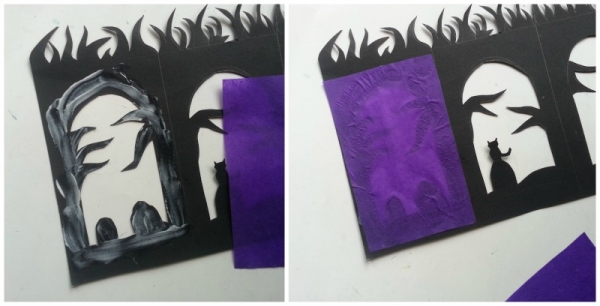
Cut four pieces of purple tissue paper slightly larger than the arched openings.
Each piece should fit inside one panel without extending across the scored fold lines or onto the joining tab.
For a mottled effect, layer small torn pieces of pink, purple and orange tissue paper over one another.
Do not make the layers too thick or the light will not shine through clearly.
Step 9: Attach the tissue paper
Turn the cardstock over so the back is facing upward.
Apply a thin line of craft glue around the edge of the first cut-out window. Avoid spreading glue over the open sections.
Place one piece of tissue paper over the opening and smooth the outer edges gently.
Repeat with the remaining three panels.
Leave the cardstock flat until the glue has dried completely.
Step 10: Form the lantern
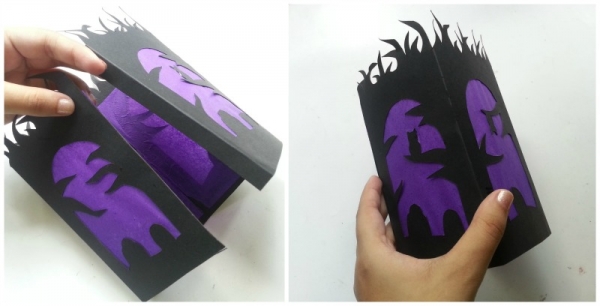
Refold the cardstock along the scored lines to create a square tube.
Apply craft glue to the 1/2-inch joining tab. Bring the opposite edge over the tab and press firmly.
Use paper clips or small craft clips to hold the seam together while the glue dries. Make sure the lantern stands evenly on all four bottom edges.
Step 11: Add an LED light
Place a battery-operated LED candle or tea light in the centre of the finished luminary.
Switch it on and lower the paper lantern over the light.
Adjust the tissue paper or internal light position until all four panels glow evenly.
Step 12: Using the original glass-and-candle method
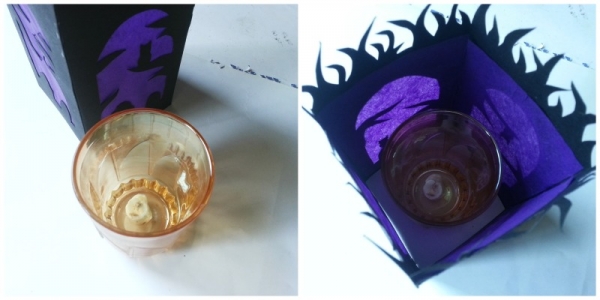
The original version can be placed around a short candle held inside a tall heat-resistant glass.
The candle must sit completely inside the glass, and its flame must remain well below the rim. The glass must be narrower than the luminary so the paper does not touch it.
Place the glass on a stable heat-resistant surface before positioning the paper luminary around it.
Never allow the flame, candle or hot glass to touch the cardstock or tissue paper. Keep the luminary away from curtains, dried foliage, children and pets.
Do not leave a burning candle unattended. If there is any doubt about heat or clearance, use a battery-operated LED light instead.
Step 13: Display the luminary
Display the finished Halloween luminary on a mantel, party table, shelf or windowsill.
Keep it indoors or in a dry covered location because the cardstock and tissue paper are not weather-resistant.
Store the luminary upright or fold it gently along its scored lines after removing the light.
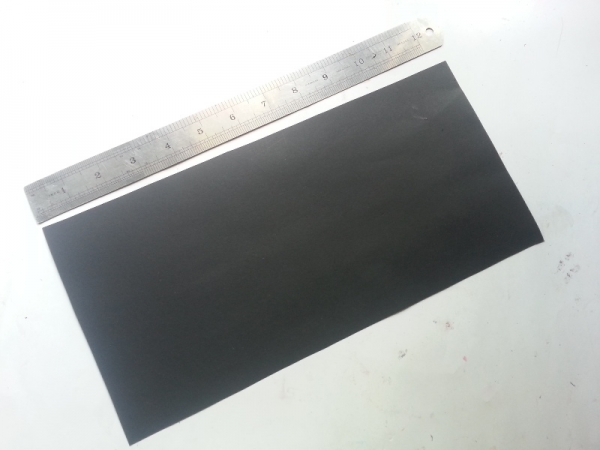
Step-1: Prepare the black cardstock paper. Measure the height and width. My shade was 8 inches (height) X 4 inches (width) so I had to cut out 8 X 16.5 inches of black cardstock paper. After folding the 16 inches part 4 times the width will be 4 inches and extra 0.5 inch for attaching the sides.



What do you think of this project? Let us know!