
What you need
1 Orange Sharpie Permanent Marker
6 2mm Small Green Beads
Jewelry Wire
2 4mm Jump Rings
2 Earring Hooks
Pliers
Wire Cutters (or scissors)
Small Screw Driver (or another small object that is about as thick as a sucker stick)
Instructions
Takes about 15 minutes to make. Supplies makes 1 pair.
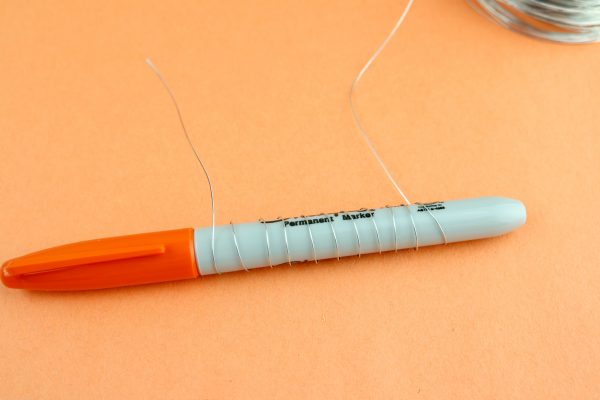
Step 1. Start by wrapping the wire around the marker 10-12 times. Be sure to leave about a 3-inch piece
sticking out at both ends then cut it from the rest of the wire.
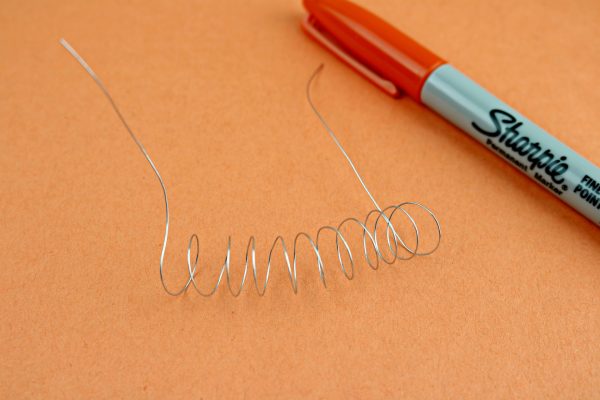
Step 2. Slide the wrapped wire off of the marker.
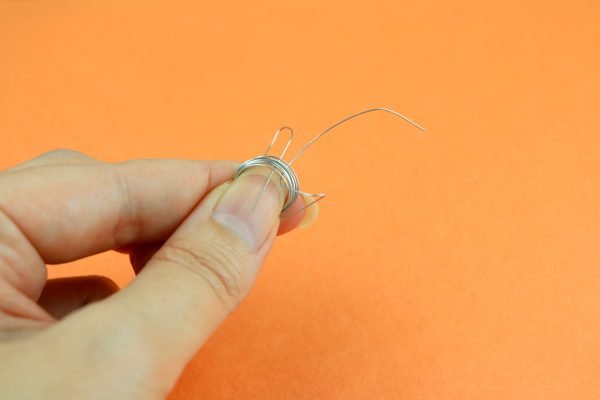
Step 3. Using your fingers pinch the loops together. Then using those long ends run it through each side
and wrap it around. You want it to hold all the loops together.
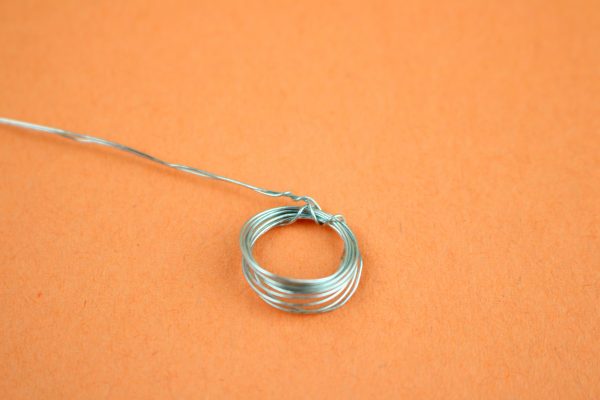
Step 4. Now take those long ends and fold them to one side.
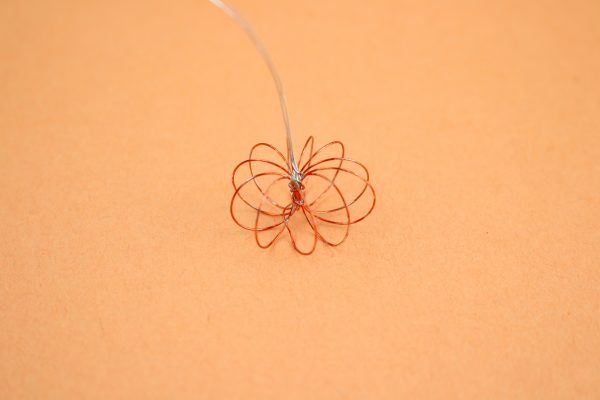
Step 5. Grab a loop from both sides and pull them to each other. It should start to uncoil the loops. You
can use your fingers to separate them. The pumpkin should now be taking shape with the long wires
sticking up out of the center.

Step 6. Take the marker and color over the wire. You can do as much or as little as you like to get the
look you want. Don’t color the wires that are sticking up.
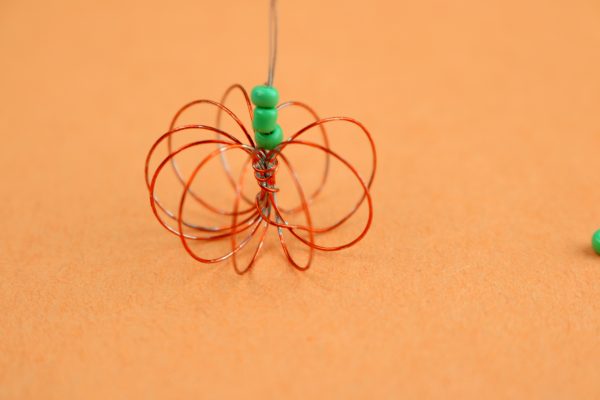
Step 7. Slide the three green beads down over the wires in the center. Make sure they slide over both
wires.
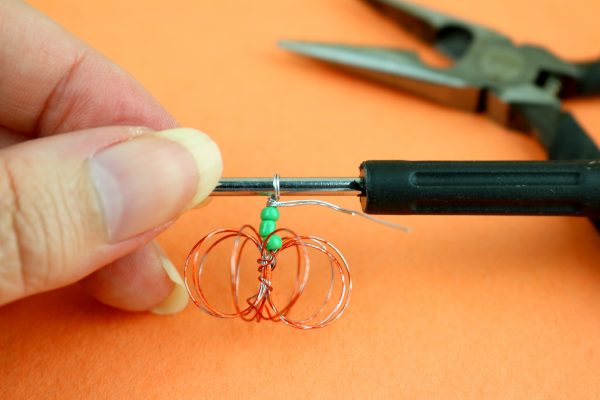
Step 8. Wrap those long wires tightly over the small screwdriver and then back around the wire and
twist a few times. Cut off ends of the wire and then using the pliers pinch the cut edge so it is not
sticking out.
Step 9. Place the jump ring through the loop you made on the wire and through the end of the earring
hook. Clamp it closed and you are done.
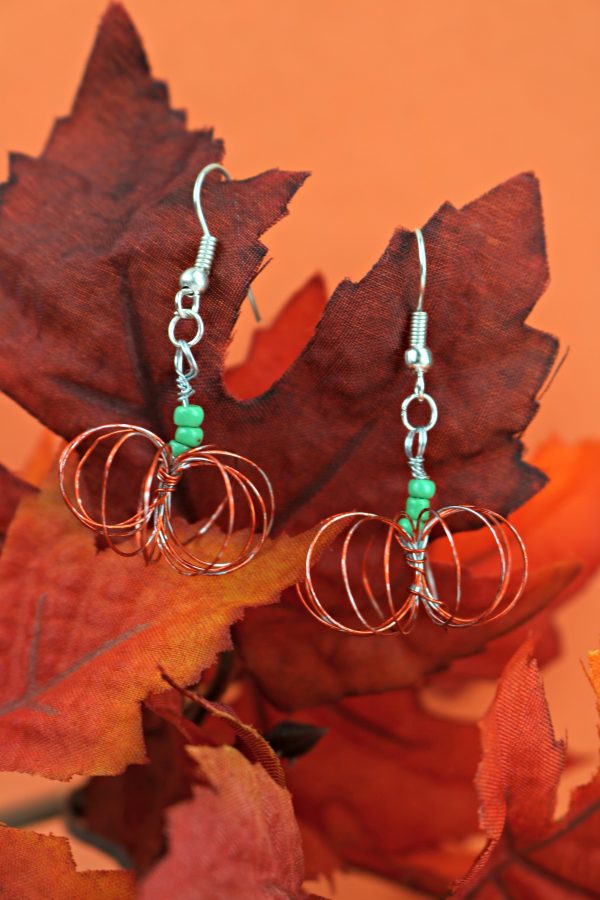


Super cute!!