
What you need
Heabands
Fabric
Glue Gun
Needle and Thread
Embellishments
Instructions
For the headband part, I purchased these at the local dollar store and they were only $1 for a package of 5! So on top of being cute and easy to make, they are very inexpensive.
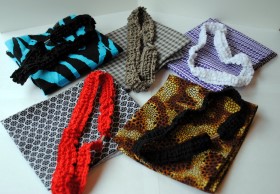
One of the fun parts is choosing fabric and embellishments to match your headbands. Here are a few that I came up with:
The first step is to cut a strip of fabric to use for the flower. The length and width of the strip is optional and will depend on how big you want your flower to be. On this headband, I folded the strip in half so there is a “finished” edge on the flower.
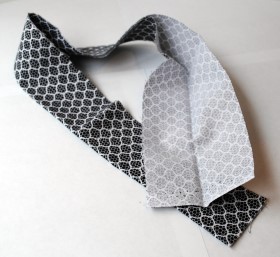
You could cut a thinner strip and not fold it to achieve a raw frayed edge on your flower if that’s the look you’re going for.
Take your needle and thread and do a quick running stitch along the edge of the fabric.
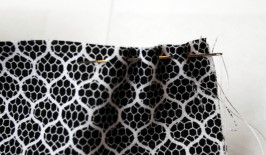
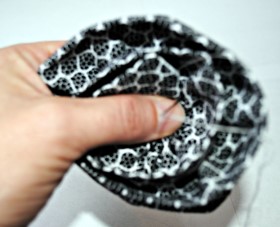
When you get to the end start gathering the fabric to create your flower. You have to experiment with this part, because your flower will look different depending on how tight you gather it. Just play with it until you like it! (Leave your needle and thread hanging for the next step!)
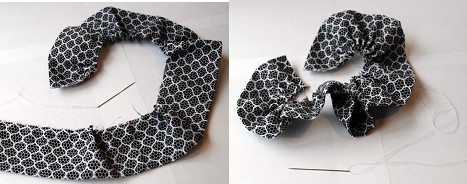
After you get your flower to your liking, just hold it in place and use your needle and thread to stitch it together. Just a few stitches in the center to hold it all in place.
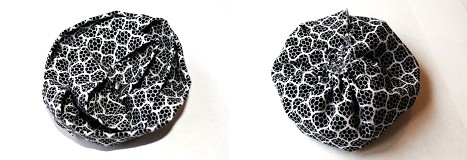
This is what it looks like from the front and back:
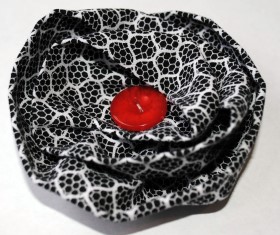
Add your embellishments. I just added a button on this one, but the sky’s the limit! Be creative!
Use the glue gun to attach your flower to the headband. On these headbands, there was a little metal piece that I wanted to cover, so I took a small piece of the flower fabric and glued it right over the metal to hide it.
All done!



What do you think of this project? Let us know!