
Get more details about this project
What you need
Clean, empty metal food cans with smooth, safe rims
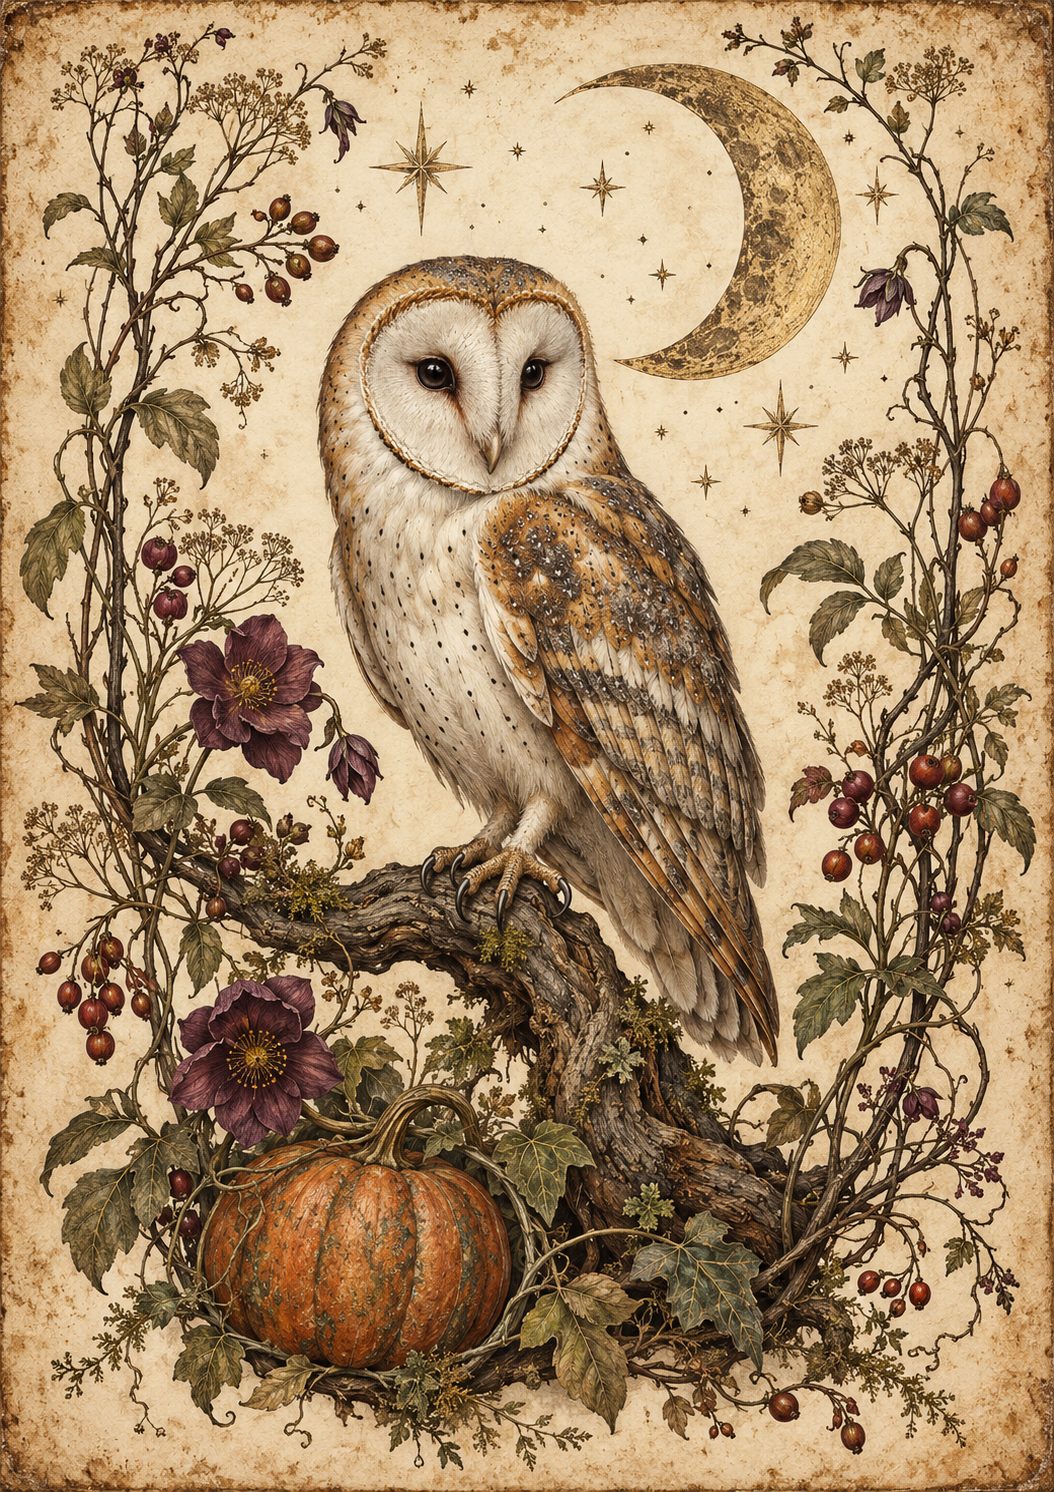
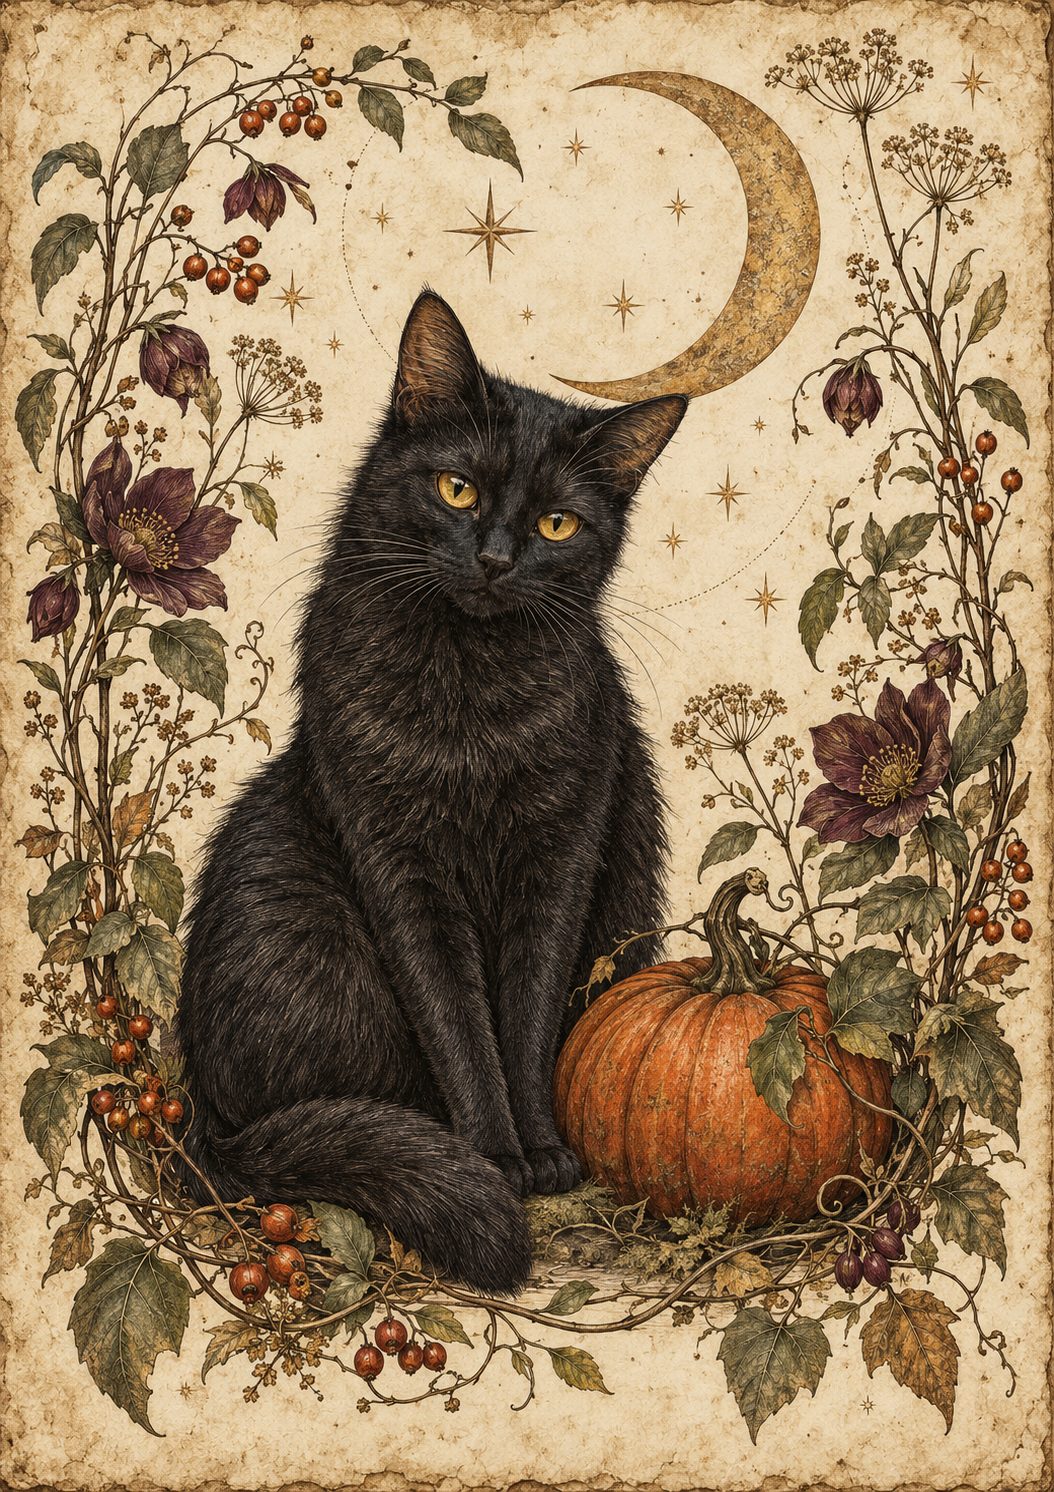
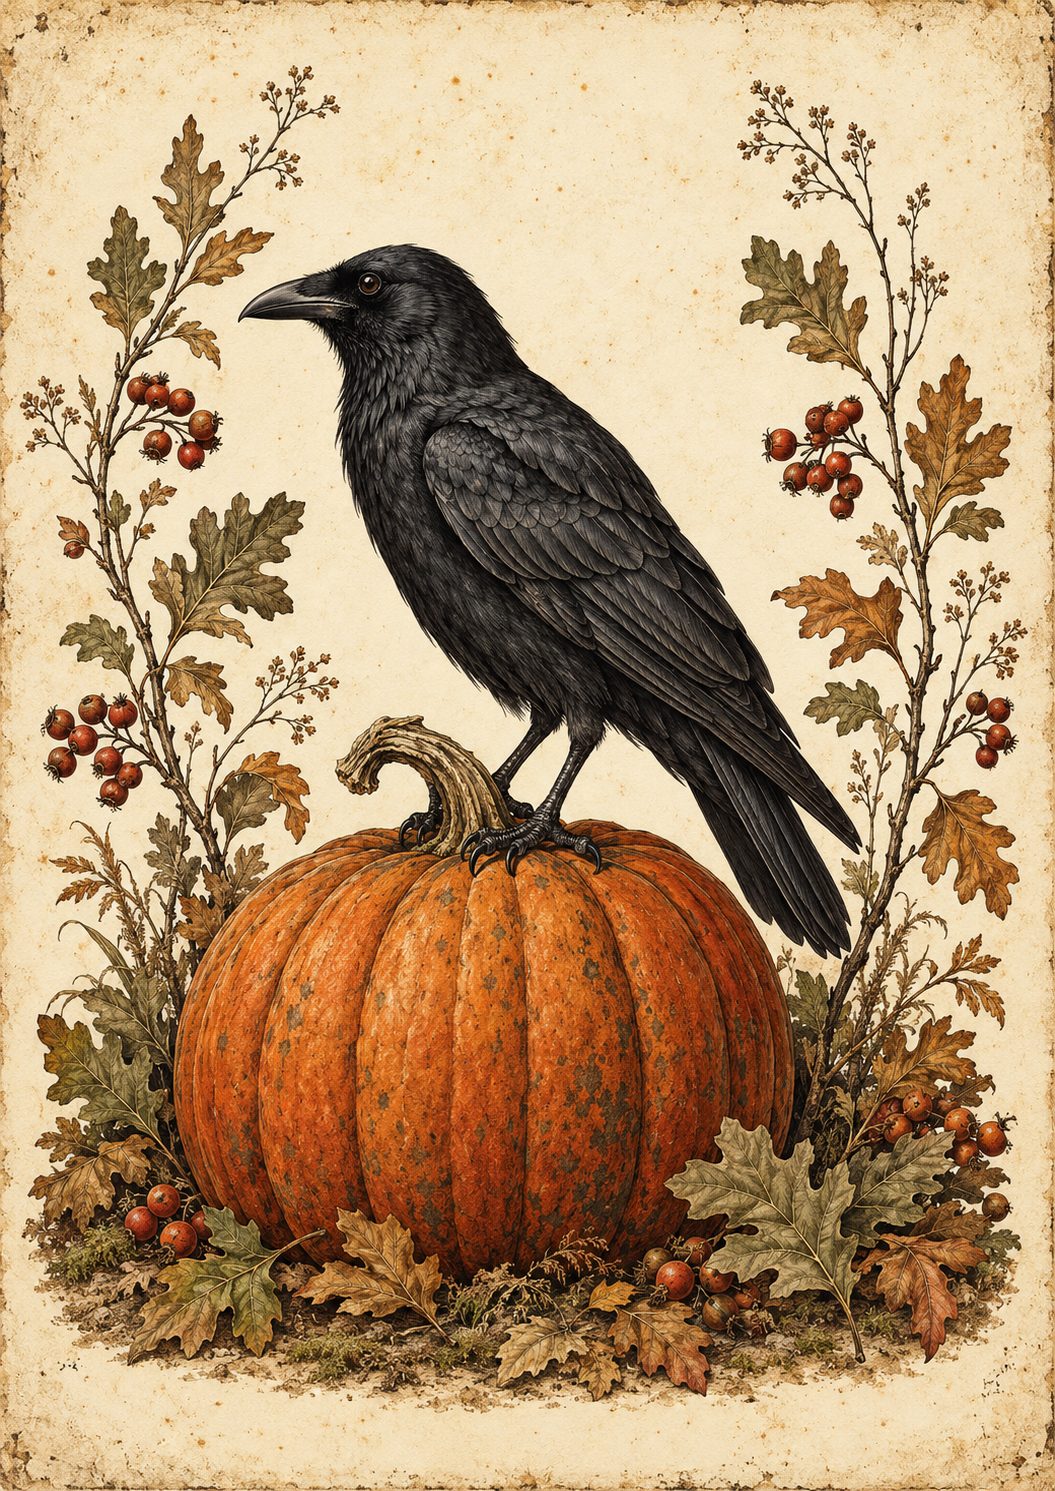
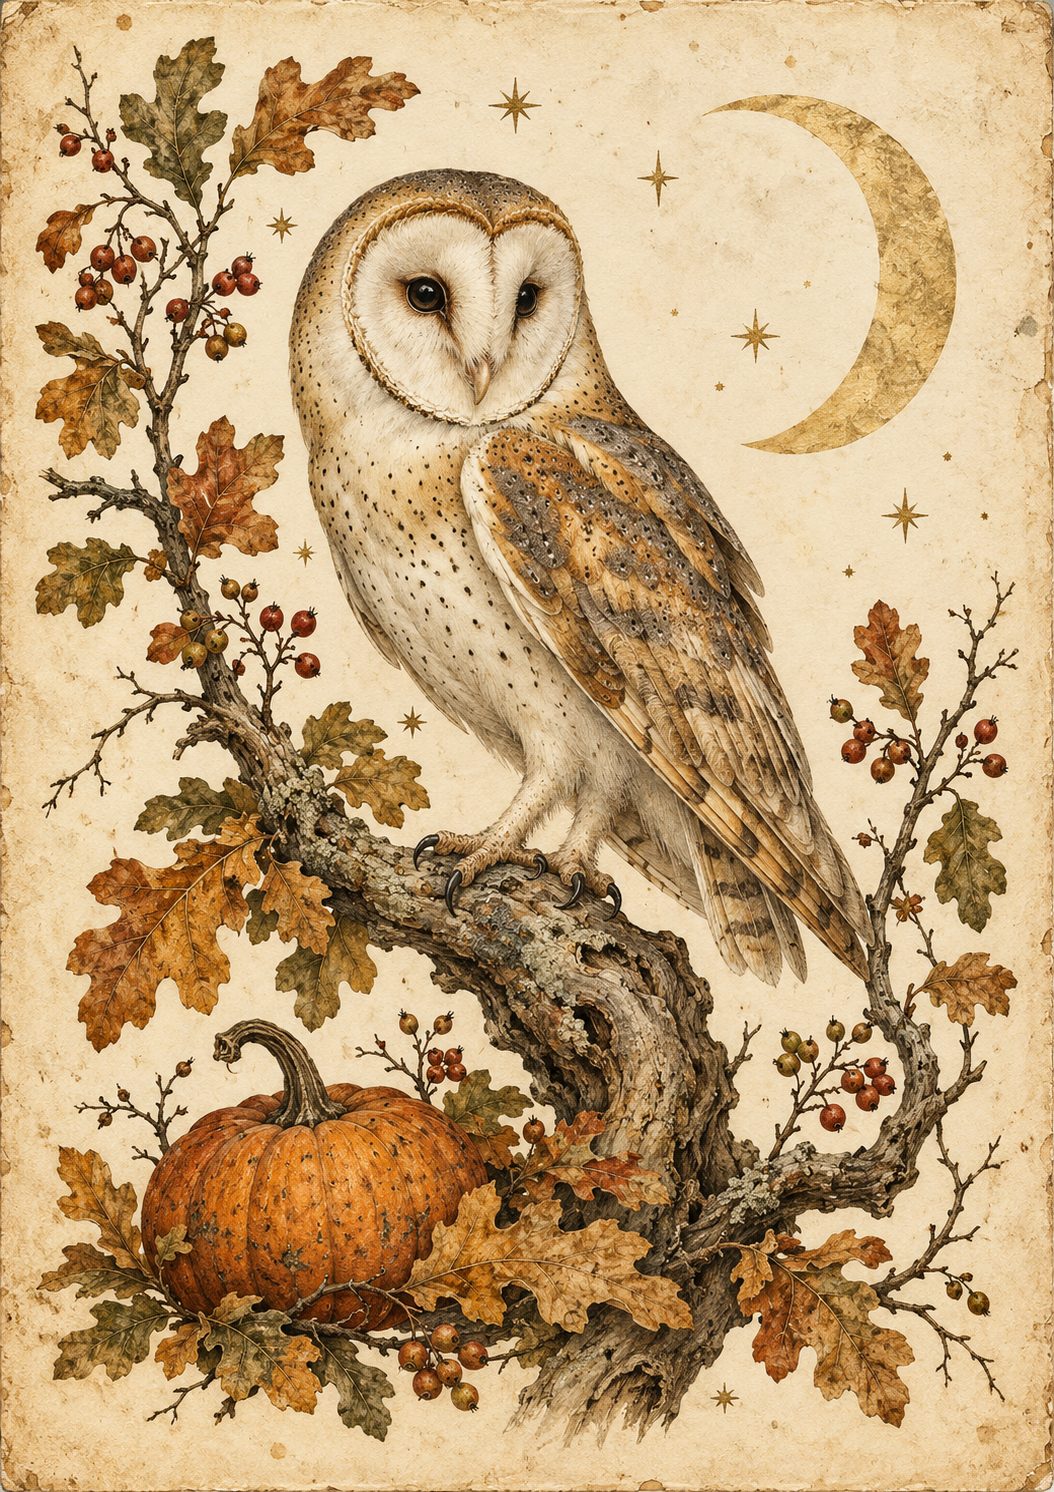
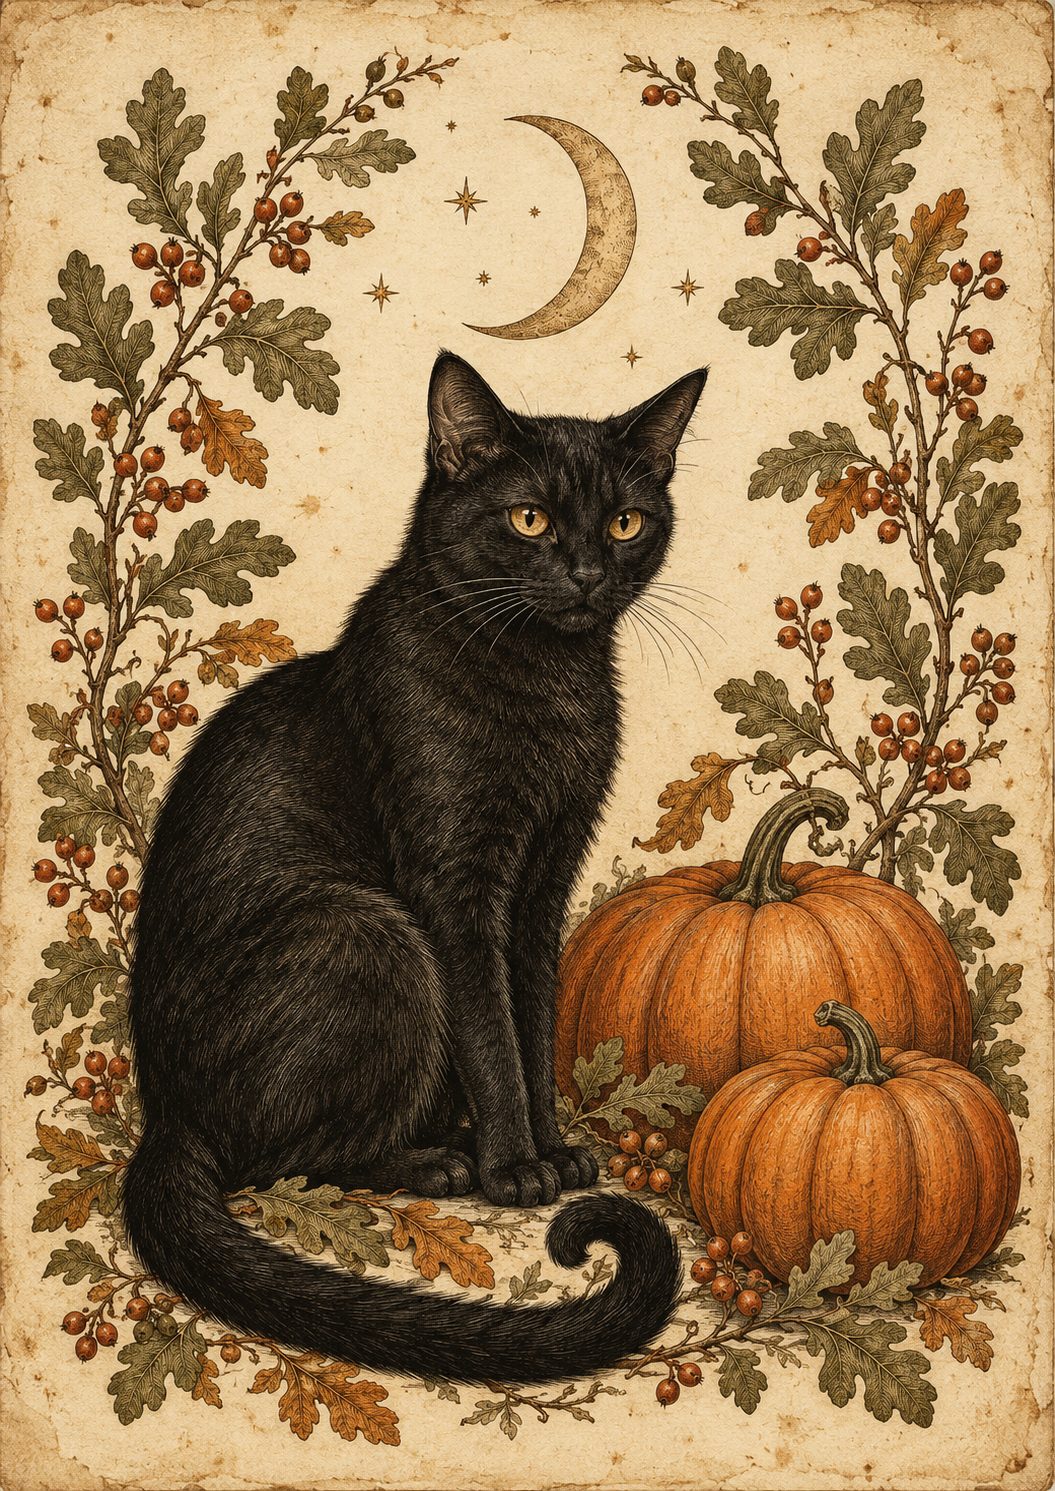
Vintage witchy cat, owl or crow printables
Lightweight matte printer paper, approximately 80 to 100 gsm
Metal-compatible primer
Compatible paints in your chosen colours: black, deep plum, moss green or smoky blue
Charcoal and dark brown paint for ageing
Antique-gold or pewter metallic paint for optional highlights
Matte decoupage medium
Compatible clear acrylic spray sealer, if required for your printed ink
Soft paintbrush and small sponge
Scissors and ruler
Black cotton, lace or dark checked fabric
Thin cord or twine
Lightweight moon or star charms
Faux flowers, foliage and berry stems
Clean, dry twigs
Small piece of dry floral foam
Optional felt pads for the base
For an optional decorative handle:
Pliable craft wire, approximately 1.2 to 1.5 mm thick
Wire cutters and pliers
Drill and suitable metal drill bit
Clamp and scrap timber
Eye protection
Instructions
If you like your Halloween decorations to look as though they belong in a slightly mysterious cottage, these little tins are a lovely place to start.
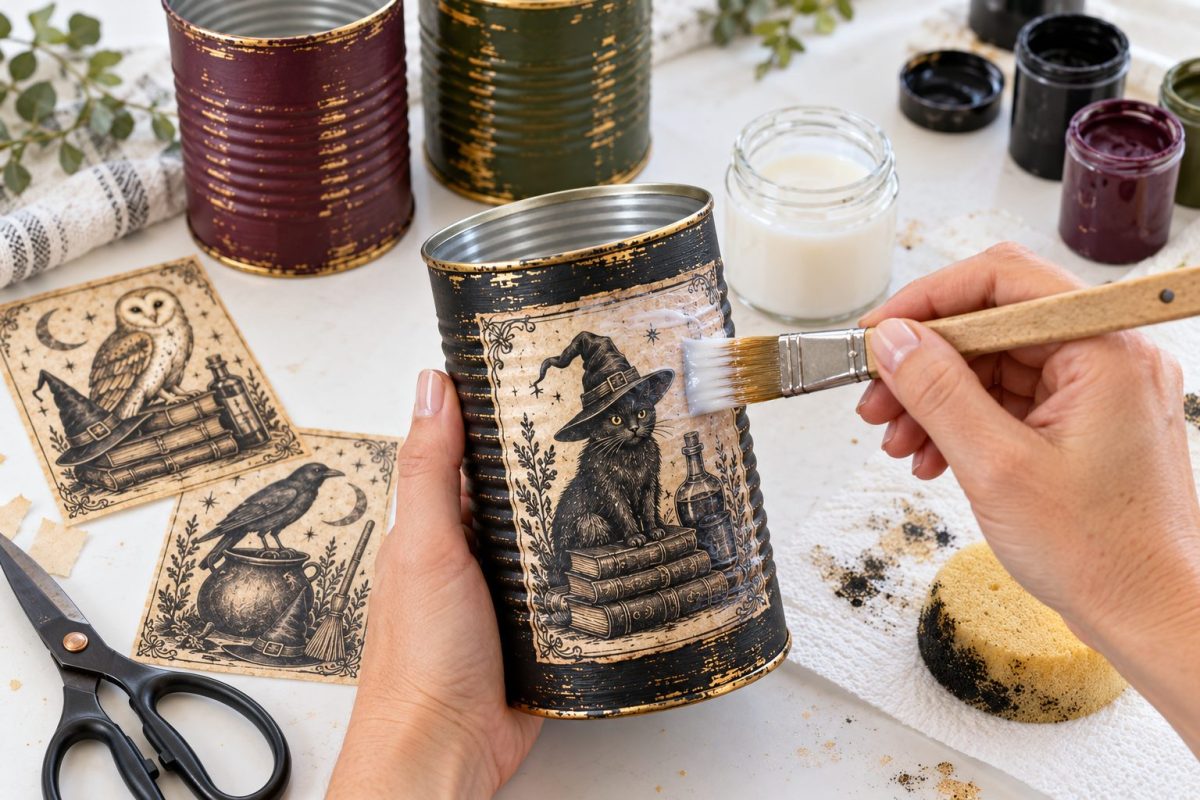
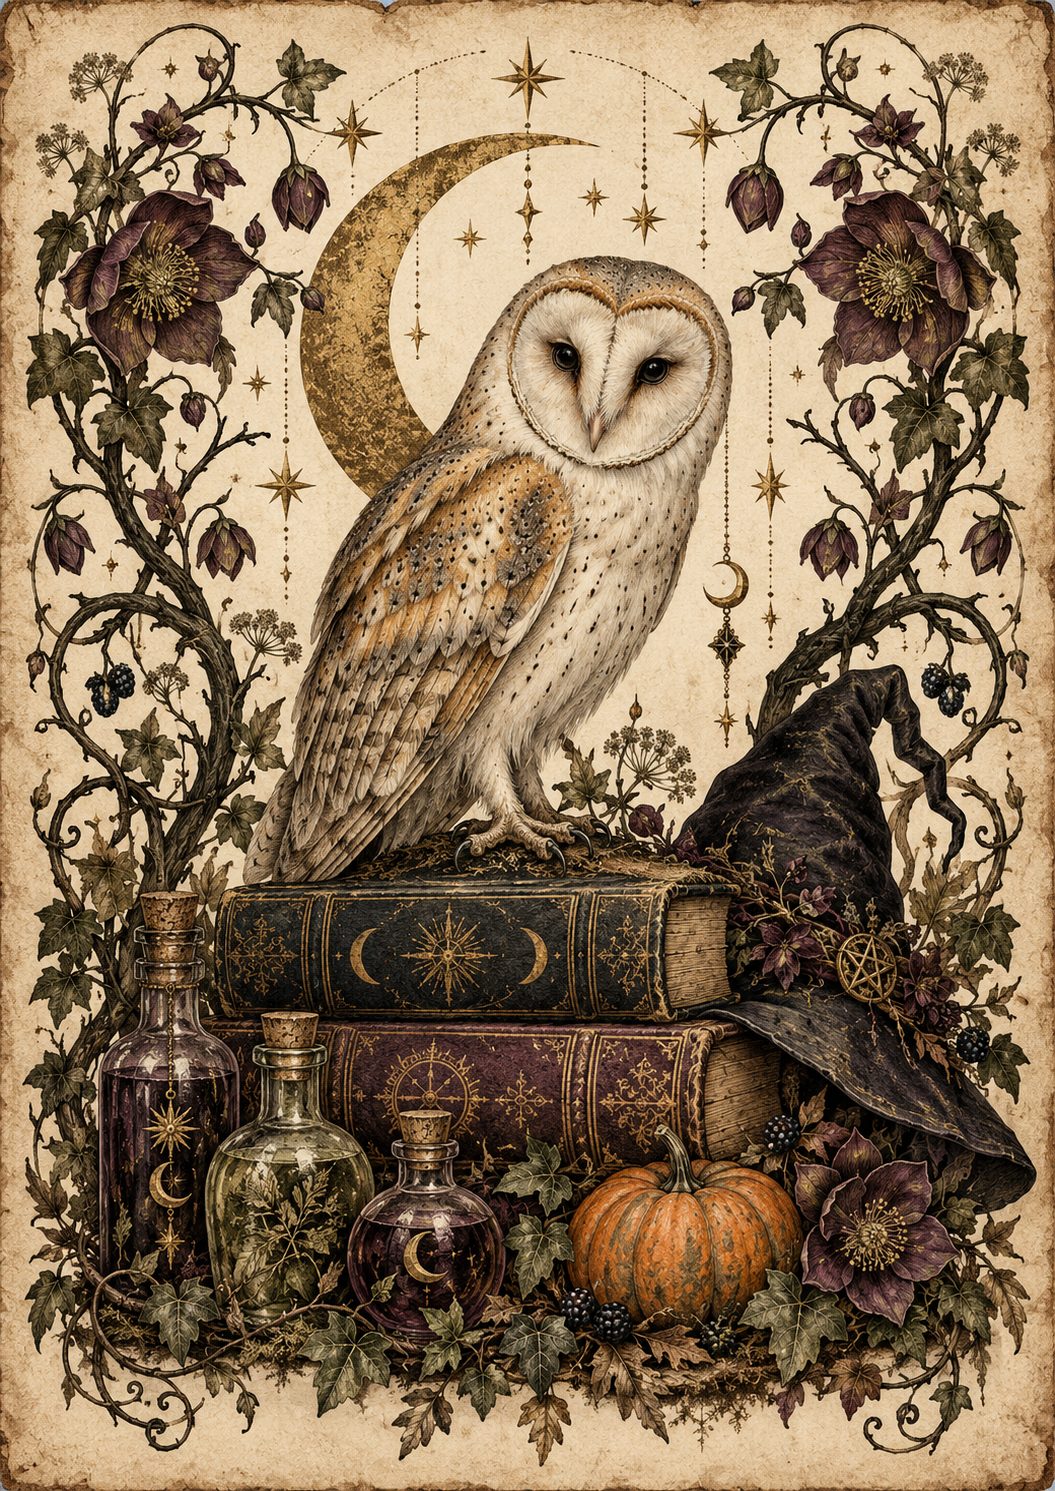
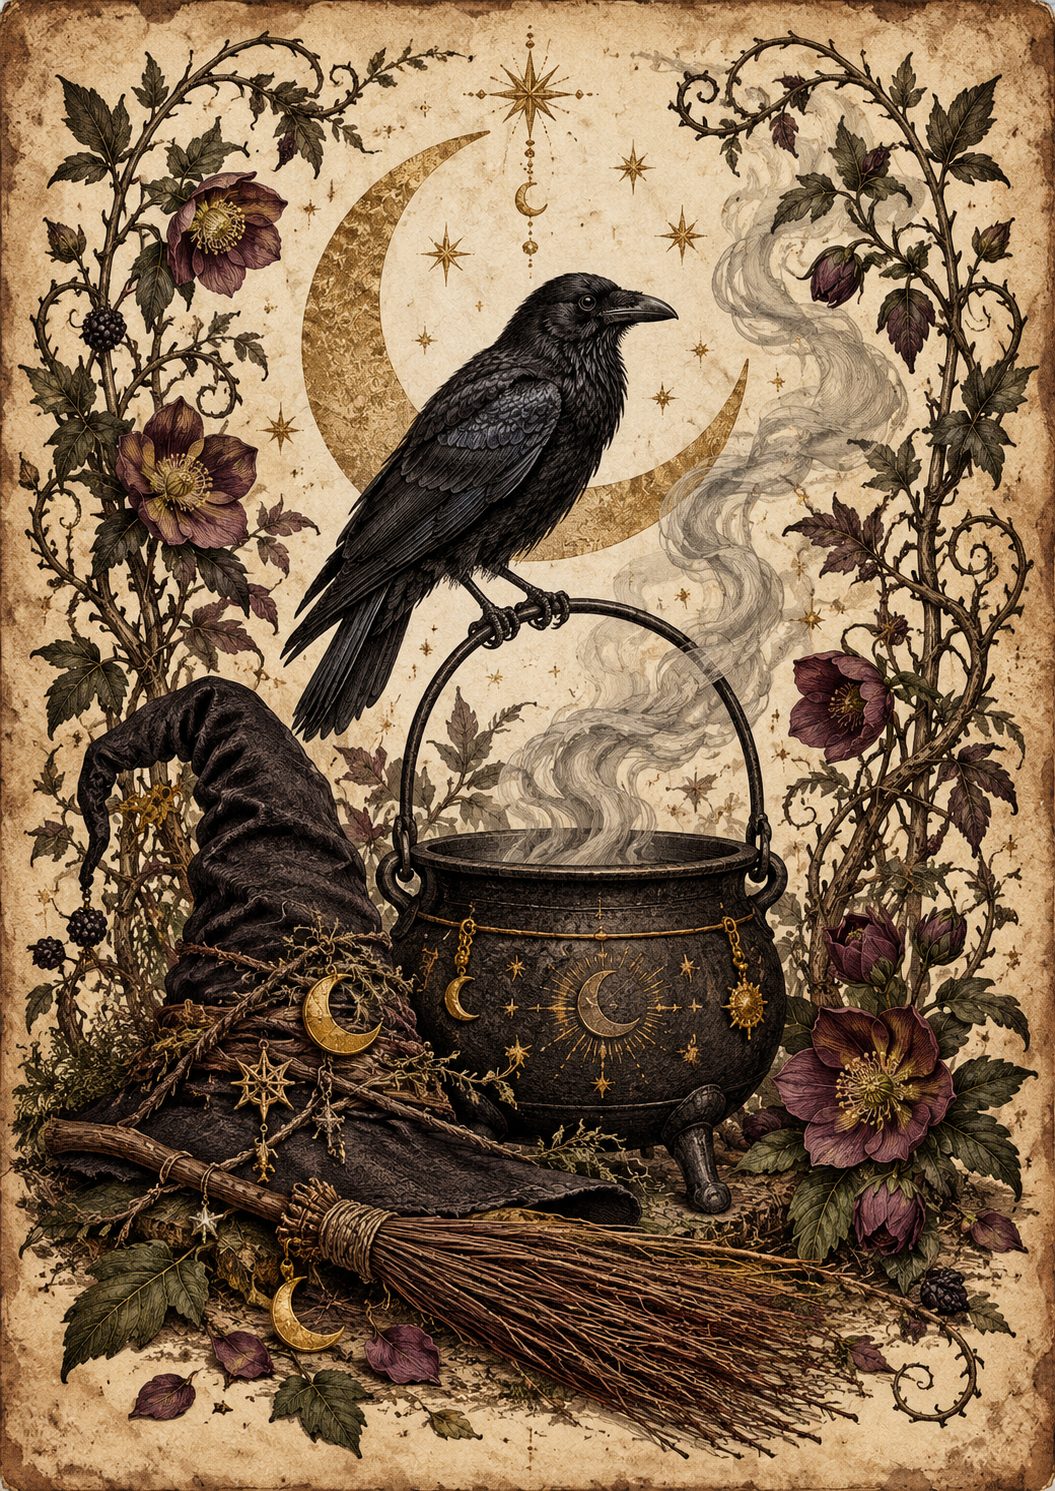
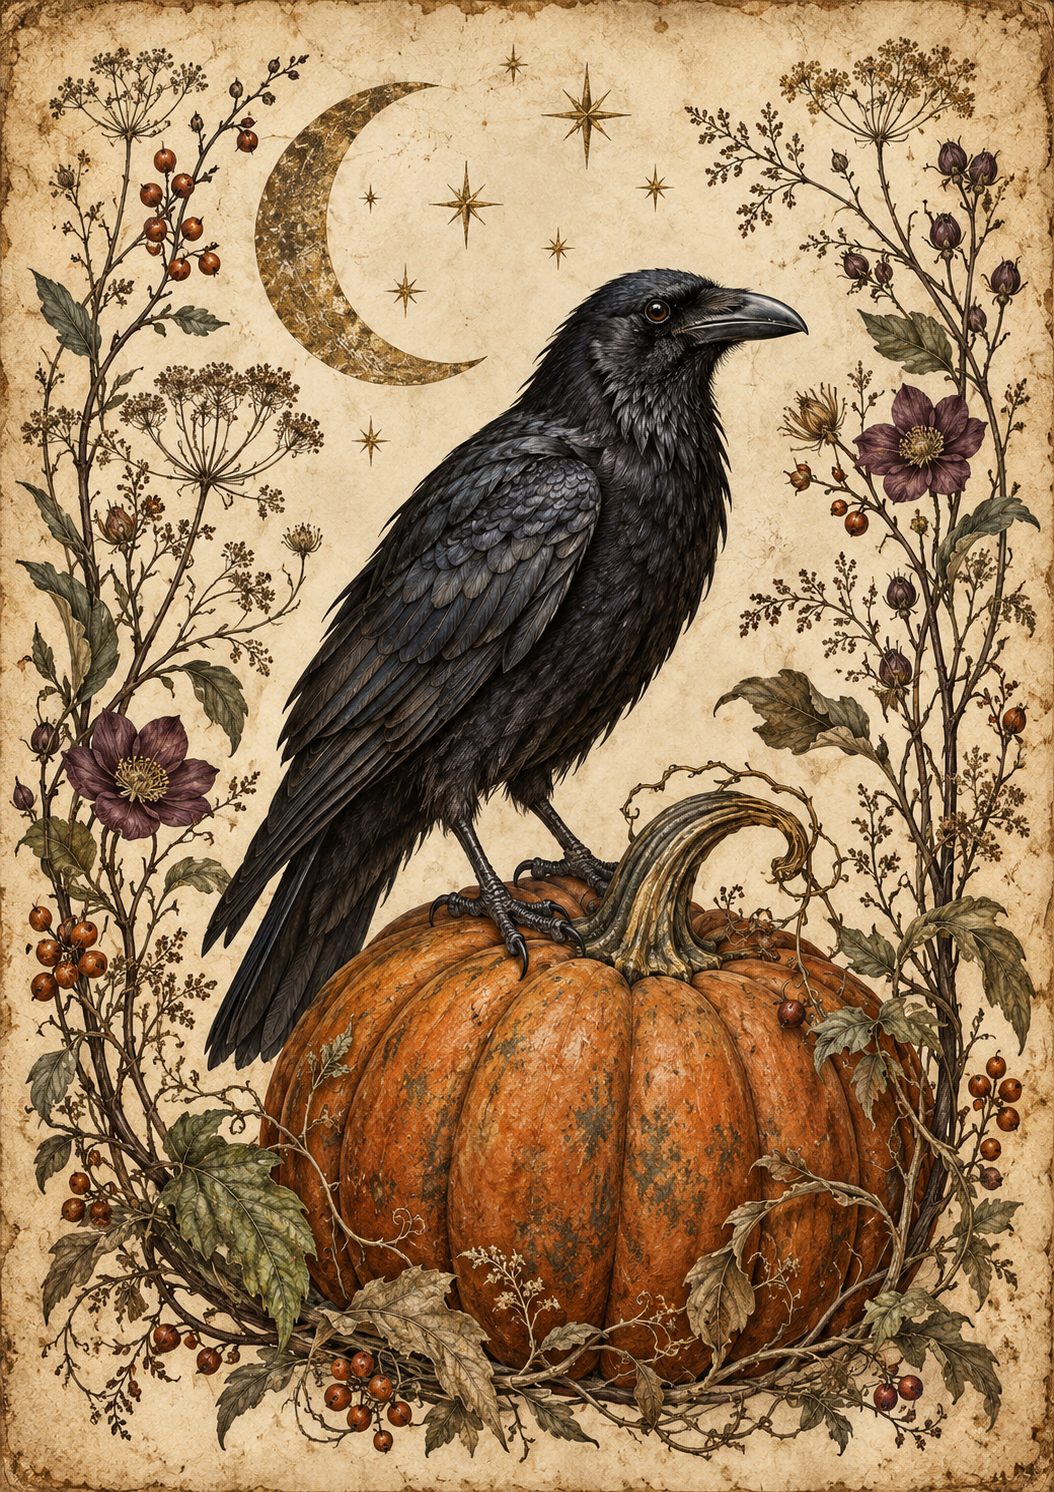
The vintage artwork brings the witchy details: a black cat wearing a crooked hat, an owl perched on spellbooks, or a crow watching over a cauldron. The painted can becomes the frame around the picture, so its colour makes a real difference.
You do not have to make every tin black. Deep plum, moss green and smoky blue give you a collection that feels coordinated without looking identical.
Add a torn fabric bow, a little moon charm and a few dark flowers, and that empty food can gets a much more interesting second life. It is also a useful excuse to bring out the small ribbon scraps we have been saving for a project that apparently involves a witch’s cupboard.
Instructions
1. Choose Your Colour Combination
Pick one colour scheme or make several tins in different sizes.
| Colour variation | Tin finish | Printable | Finishing details |
|---|---|---|---|
| Midnight Black | Matte black with charcoal and sparse antique-gold highlights | Witch-hat cat | Black lace, plum flowers and a moon charm |
| Blackberry Plum | Deep muted purple with dark brown edges | Owl and spellbooks | Charcoal fabric, muted foliage and pewter highlights |
| Mossy Cottage | Dark moss green with charcoal ageing | Crow and cauldron | Brown checked fabric, twigs and antique-gold details |
| Moonlit Blue | Smoky blue-grey with charcoal edges | Cat or owl | Cream flowers, grey-green foliage and a star charm |
Choose muted shades rather than bright primary colours. The parchment artwork will stand out beautifully against them.
2. Clean and Inspect the Can
Remove the label and wash away food residue, grease and adhesive.
Rinse and dry thoroughly.
Inspect the rim and body. Choose a can with a smooth edge and no sharp sections, loose metal or serious corrosion. A safety-style can opener is helpful when preparing cans for crafting.
Do not use ribbon to disguise an unsafe edge.
3. Prepare the Optional Handle Holes
Skip this step for a simple tabletop tin without a handle.
Mark two opposite points approximately 1.5 to 2 cm below the top rim. Keep the front area between them clear for the printable.
Secure the can against supported scrap timber with a clamp. Wear eye protection and drill slowly with a suitable metal bit.
Remove sharp burrs with an appropriate file and clean away all metal shavings.
Make the holes before painting.
4. Prime the Metal
Prepare the surface according to your metal primer’s instructions.
Apply a thin coat and allow it to dry as directed. Follow the product’s ventilation guidance.
Primer helps the decorative paint adhere to the smooth metal.
5. Paint Your Witchy Base Colour
Apply your chosen black, plum, green or blue-grey paint in thin coats.
Paint the outside and visible rim, letting each coat dry before adding another.
For a coordinated set, use the same matte finish across all the cans. Their different colours and sizes will provide enough variation.
6. Add the Aged Finish
Dip a sponge into charcoal or dark brown paint and dab most of it off onto scrap paper.
Lightly stipple around the upper rim, lower edge and selected ridges.
Keep the centre of the label area relatively smooth.
For metallic highlights, use a nearly dry brush with antique-gold or pewter paint. Touch only a few raised areas and edges.
The aim is a softly worn finish. Leave plenty of the base colour showing.
7. Size and Print the Artwork
Measure the usable height of the can between its rims.
Resize the printable to leave a painted border above and below it. Keep the image proportions locked.
Print a draft first if you are unsure about the size, then check it against the can.
Use lightweight matte paper. Heavy cardstock is harder to smooth around the curved surface.
Cut around the rectangular artwork, keeping its aged parchment background.
8. Test the Ink
Let the print dry fully.
Brush a little decoupage medium over a spare printed scrap. If the ink runs or smears, protect it with a compatible clear acrylic spray sealer according to its instructions.
Allow the sealer to dry and test again before treating the main picture.
Do not skip this step with an unfamiliar printer or paper combination.
9. Attach the Printable
Brush a thin, even layer of decoupage medium onto the front of the can.
Position the image carefully and smooth gently from the centre outward.
Work slowly over the can’s ridges. Avoid scrubbing or repeatedly lifting the wet paper, which can tear.
Allow it to dry according to the medium’s instructions.
10. Seal the Image
Brush a thin coat of matte decoupage medium over the dry image, extending slightly beyond its edges.
Let it dry before adding another coat if recommended.
Once dry, you can stipple a tiny amount of brown paint beside the paper edges to blend them into the tin. Keep the illustration clear.
Follow the product’s curing instructions before adding decorations.
11. Fit the Decorative Wire Handle
Cut enough wire to form an arch above the can, leaving approximately 5 to 7 cm extra at each end for securing it.
Shape the arch with pliers.
Feed one end through each side hole and form secure closed loops inside the can. Tuck cut ends away from the opening.
Check that the wire cannot pull back through the holes.
This handle is decorative. Support the base when carrying the finished arrangement.
12. Add Flowers and Twigs
Fit a snug piece of dry floral foam inside the can.
Begin with a few short twigs and foliage stems, then add one or two flowers and a small berry spray.
Match the arrangement to your colour scheme:
- Black tin: Plum flowers and grey-green foliage.
- Plum tin: Muted cream flowers, dark berries and charcoal accents.
- Green tin: Twigs, subdued foliage and a little purple.
- Blue-grey tin: Cream flowers, faded lavender tones and grey-green leaves.
Keep the arrangement light and balanced, with the printable fully visible.
Use faux or dry materials. Do not add water directly to the decorated can.
13. Tie on a Bow and Charm
Tie a narrow strip of cotton, lace or checked fabric near one handle attachment.
For a handle-free tin, tie it around the upper part of the can.
Add a lightweight moon or star charm beneath the knot. Keep the bow tails short enough to avoid covering the artwork.
One small finishing detail is usually enough.
14. Check and Display
Check that the tin sits securely and all wire ends are tucked away.
Add felt pads beneath the base if needed to protect furniture.
Display indoors, away from candles and heat sources. Keep small charms and wire decorations out of reach of children and pets.
Make a Witch’s-Cottage Collection
Try a tall black tin with the cat printable, a medium plum tin with the owl, and a shorter moss-green tin with the crow.
Repeat one detail across the set, such as the same moon charms or fabric, to bring the colours together.
They look lovely grouped on a mantel, beside old books or on a small entryway table. Leave space around the collection so the artwork can be seen.
The best part is that you can work with whatever cans you already have. Different heights, a few uneven paint marks and slightly mismatched bows all suit the vintage look. A witch’s cottage was hardly going to have three perfectly identical flower pots.





What do you think of this project? Let us know!