
What you need
Materials:
• Burlap fabric
• Scissors
• Template
• Felt
• Hot glue
• Needle and thread
Instructions
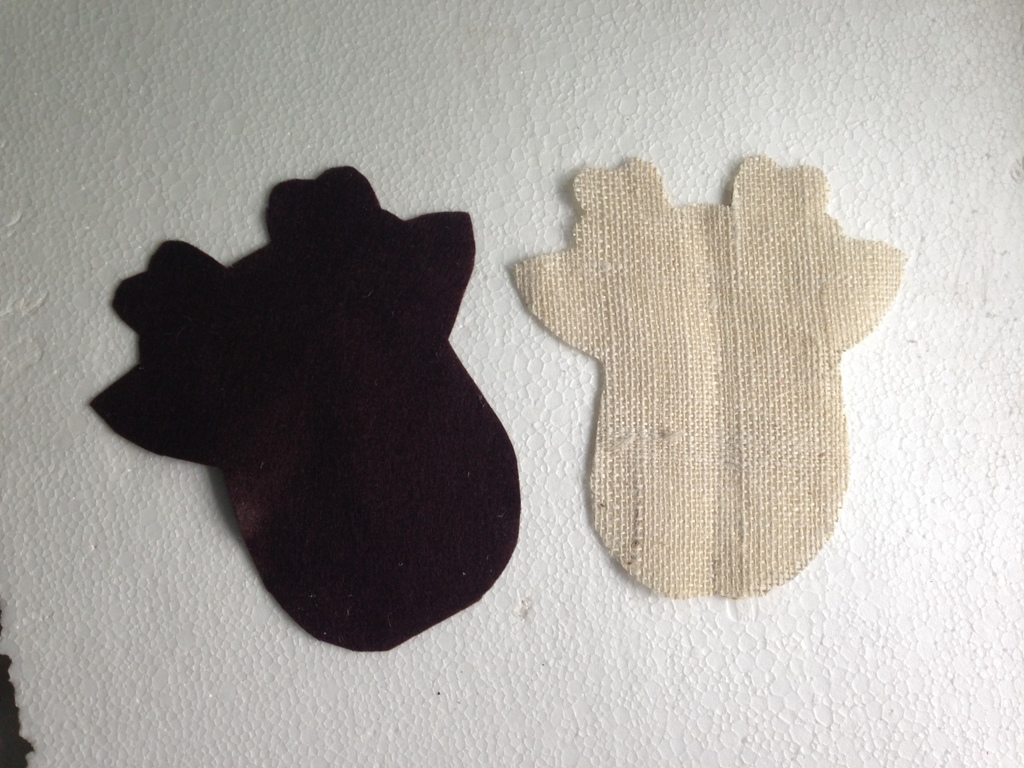
Step-1: You can use 2 fabrics to create the base (Reindeer’s head) of the wreath but I’m using 3 to create a 3 layered pattern. Each base fabric will be half an inch larger than the other, the large ones will be placed at the bottom. In this picture you can see the 2 bottom layers of the wreath I’ll create.
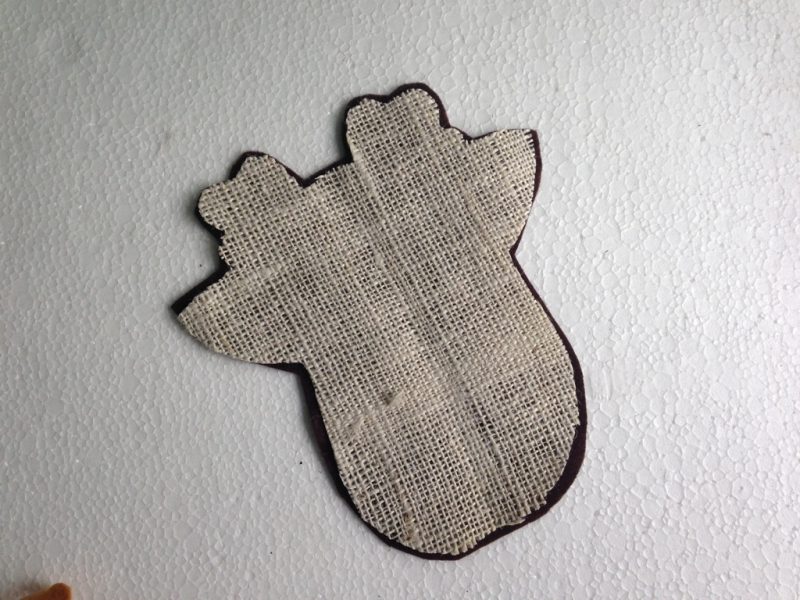
Step-2: Place the largest base fabric at the bottom and then place the second largest on the top of it. You can either stitch or glue the sides to join both pieces together.
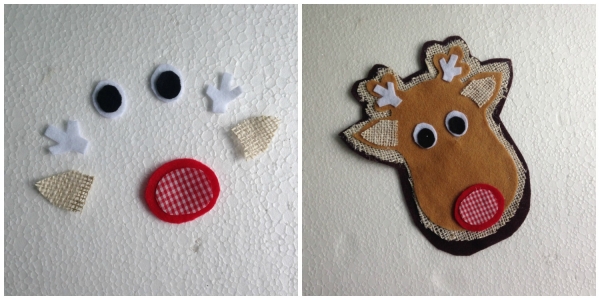
Step-3: Use different colored felt fabrics and patterned fabrics to cut out patterns for creating the face of the reindeer. You’ll need to cut out the following patterns- eyes, horns, nose and ears. Glue the last base piece on the top of the second base. Keep a small opening to stuff the wreath. Attach the face patterns on the top base fabric using hotglue gun.
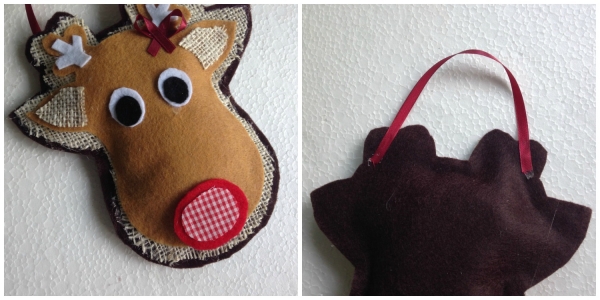
Step-4: Stuff the wreath through the small opening and once you’re doe stuffing close the opening using hotglue or needle and hook to secure the stuffing.
Finally attach a hanging mechanism and done!
Have fun making one!



I would love to make this with my daughter’s class! I can’t find a link to a template though….am I missing it?