
Get more details about this project
What you need
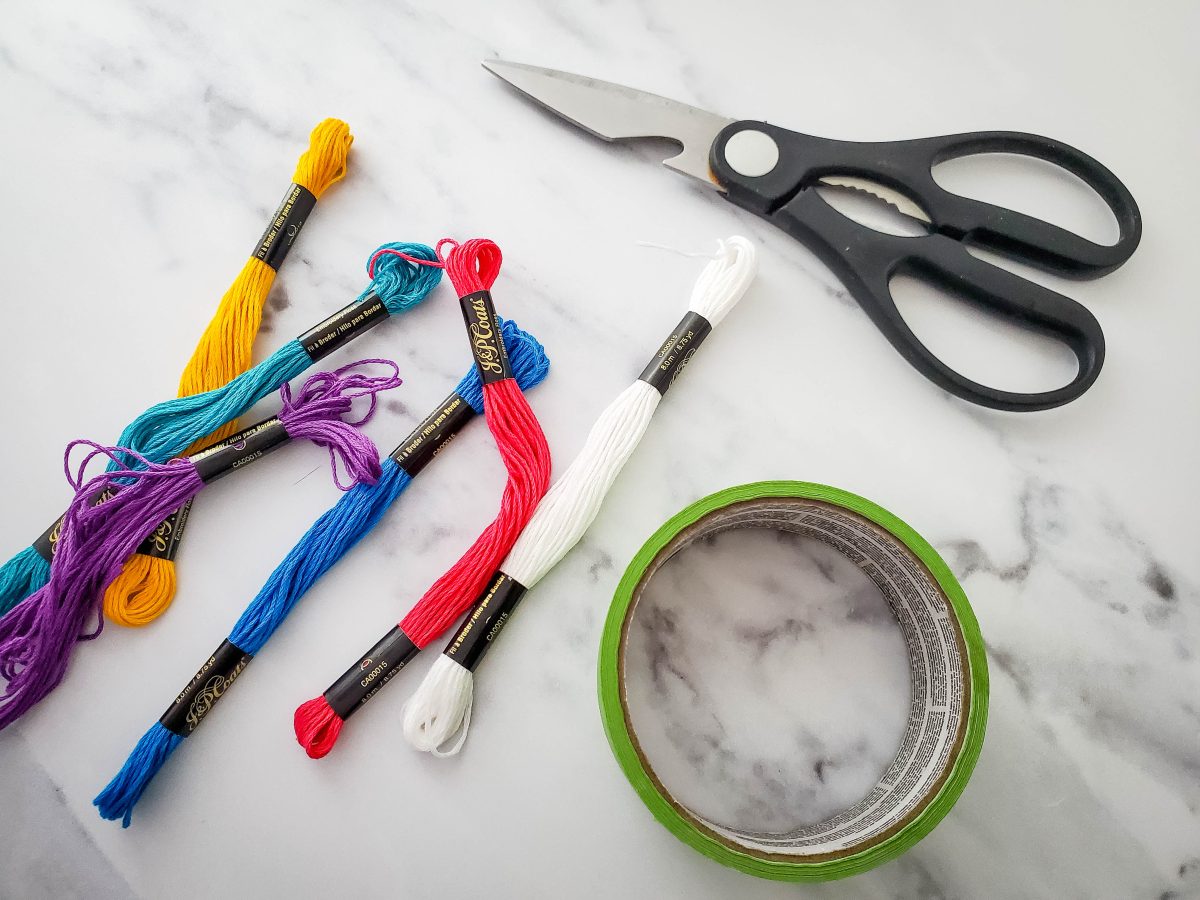
Embroidery Floss
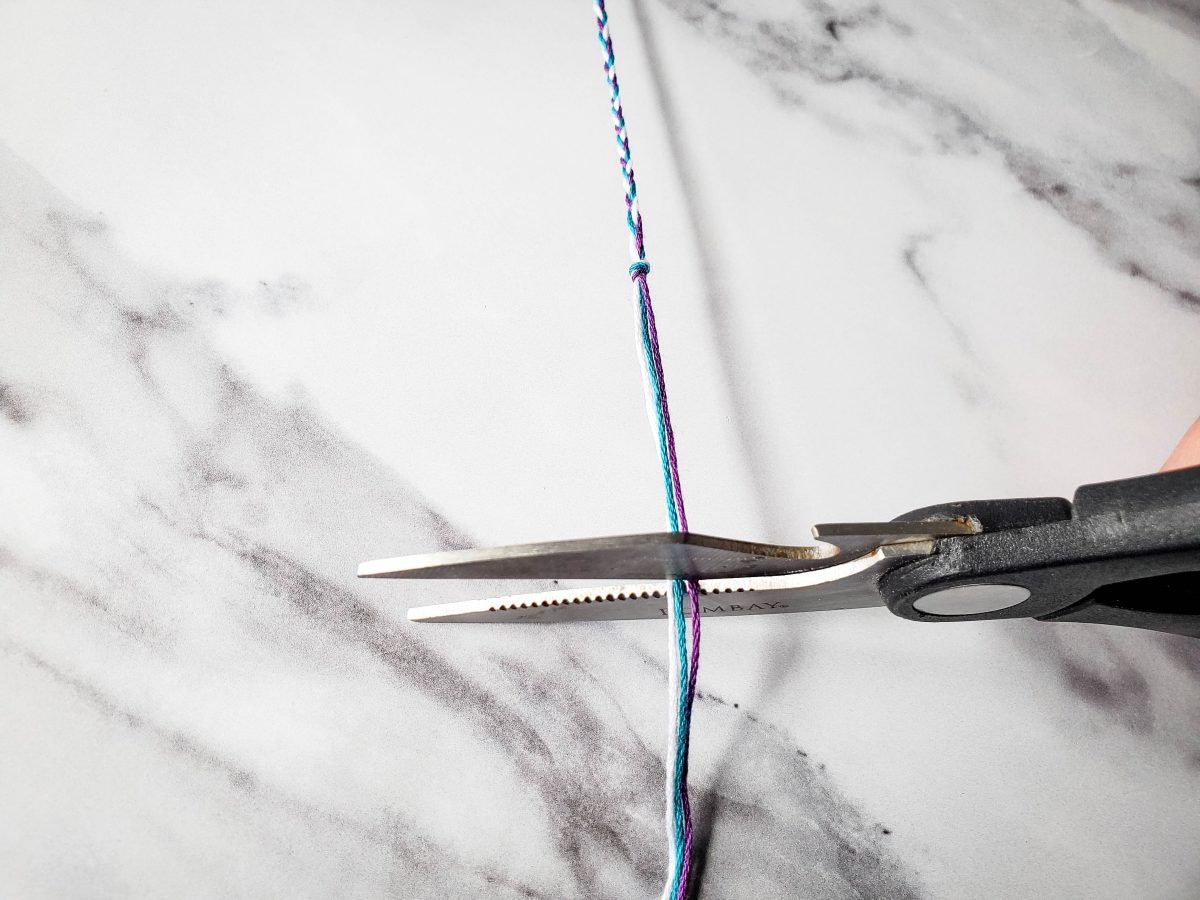
Scissors
Tape
Instructions
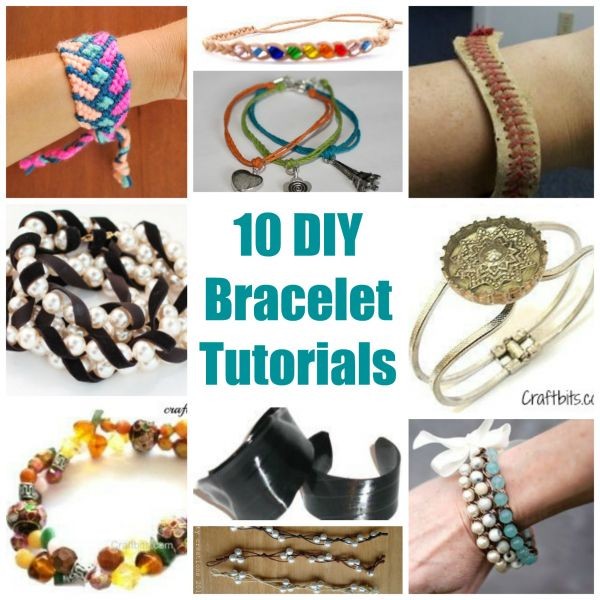
Friendship bracelets are a fun and easy way to show your friends how much you care. These bracelets were very popular in the 90s, and they are making a comeback as a fun and nostalgic craft project. Whether you’re looking for a fun activity to do with your friends or family, or you want to give a special handmade gift, friendship bracelets are the perfect choice.
This tutorial will show you how to make your own friendship bracelets, step by step. The materials required for this project are inexpensive and easy to find, making it a great option for people of all ages and skill levels. This tutorial is perfect for anyone who is new to crafting, as it provides clear and easy to follow instructions.
Friendship bracelets are a fun and easy way to add a personal touch to your accessories. They can be made in a variety of colors and patterns, and you can even add beads or charms to make them even more special. They are perfect for any occasion, whether you’re making them for a birthday, holiday, or just because.
So, gather your materials, and get ready to make your own friendship bracelets. This tutorial is a great way to add a touch of nostalgia and personalization to your accessories and make a great gift for your friends and loved ones.

Instructions:
-
Choose 3 coordinating colors of embroidery floss for your bracelet.
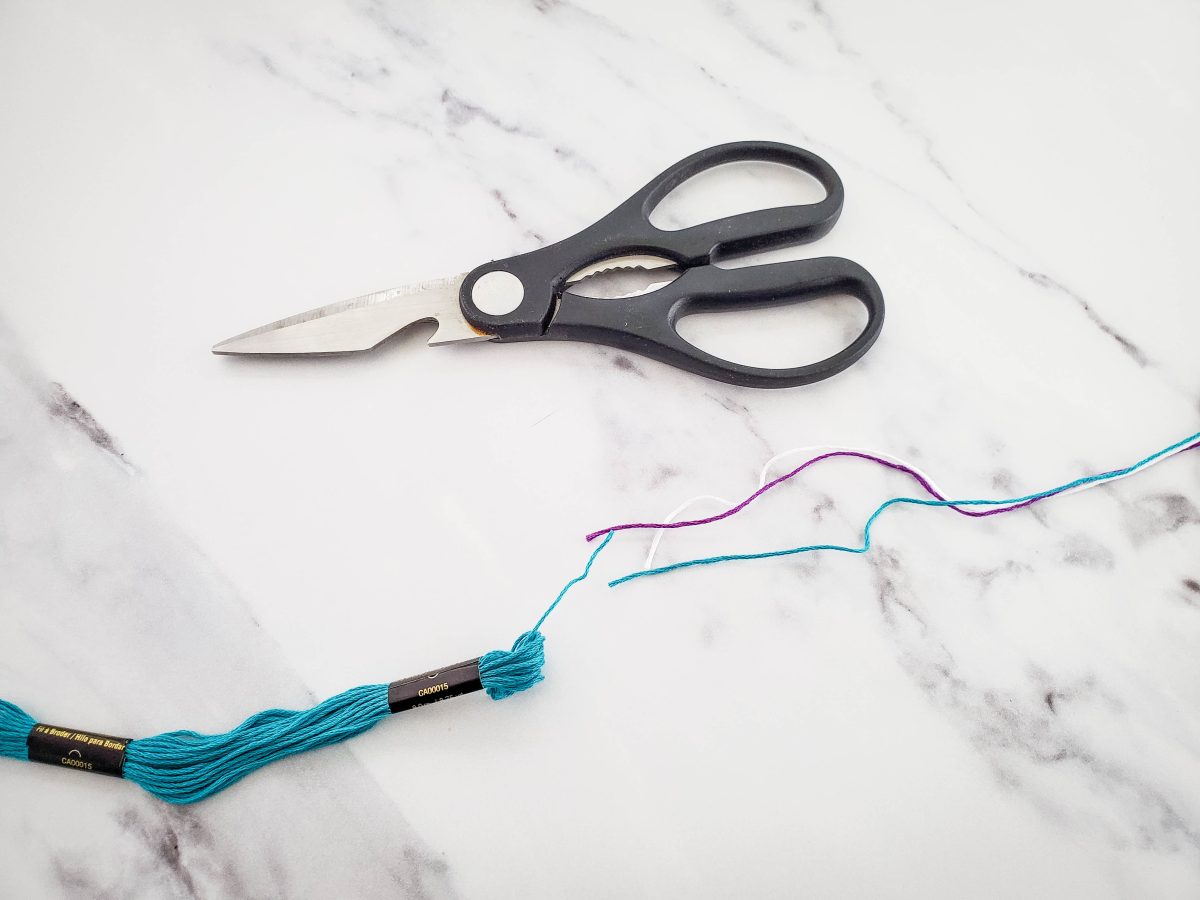
Cut 12 inch lengths of embroidery floss – 1 of each color for a thin bracelet, 2 of each color for a bit thicker of a bracelet, 3 of each color for thicker, and so on.
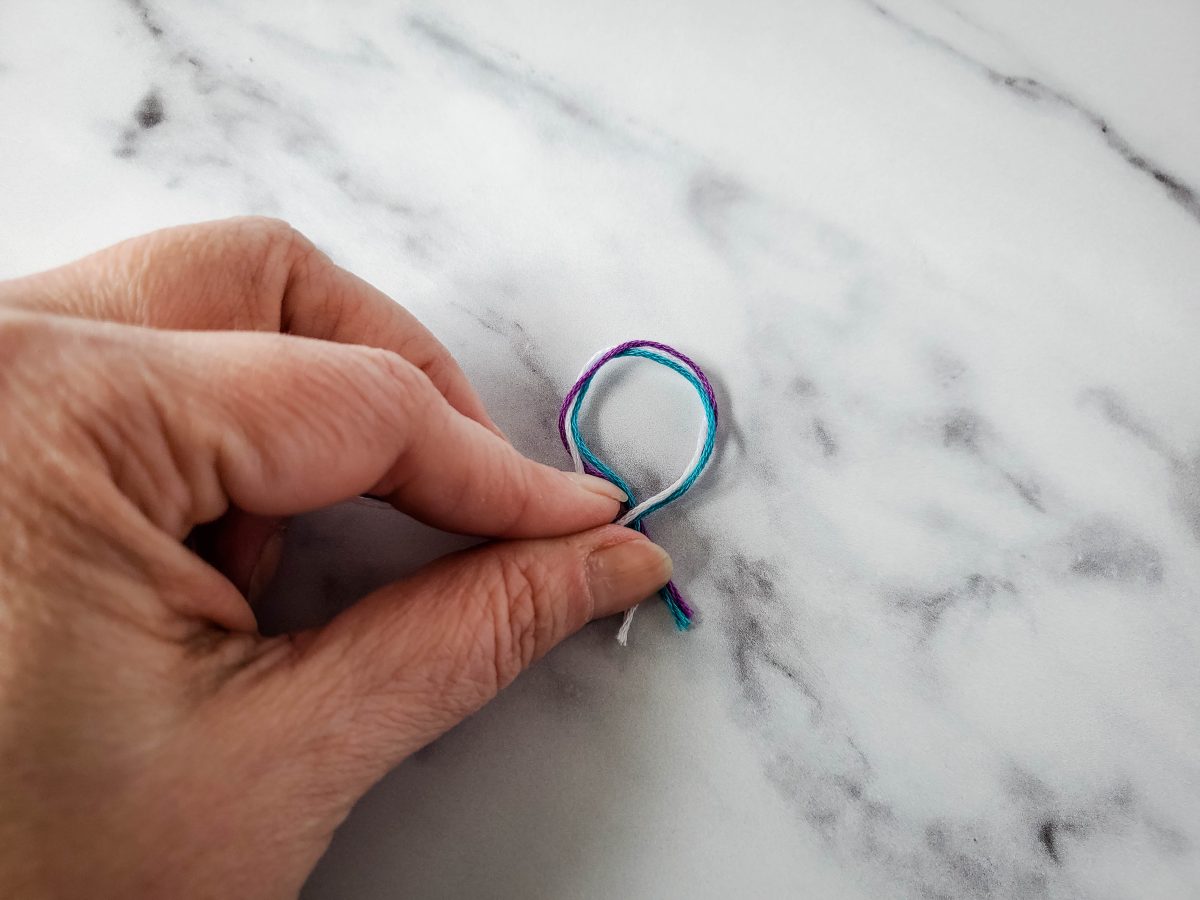
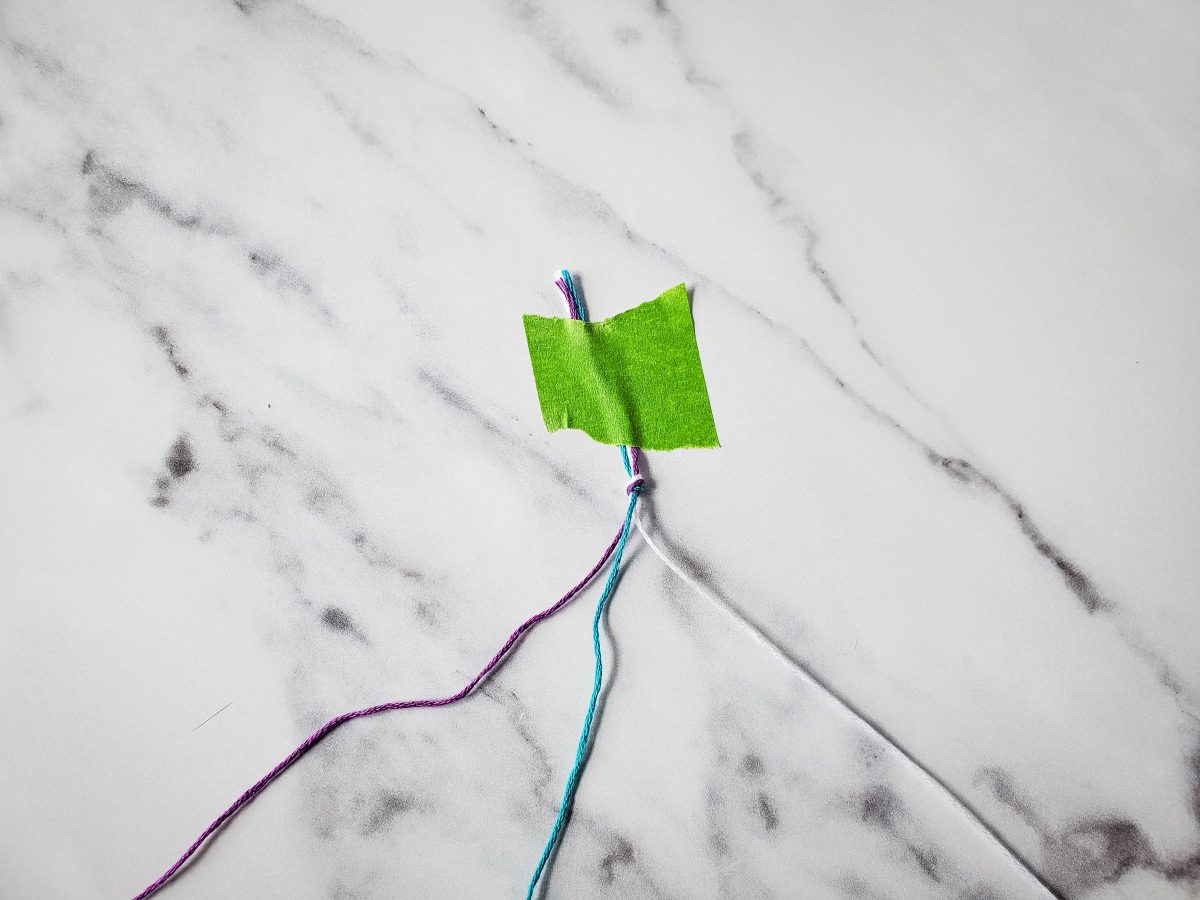
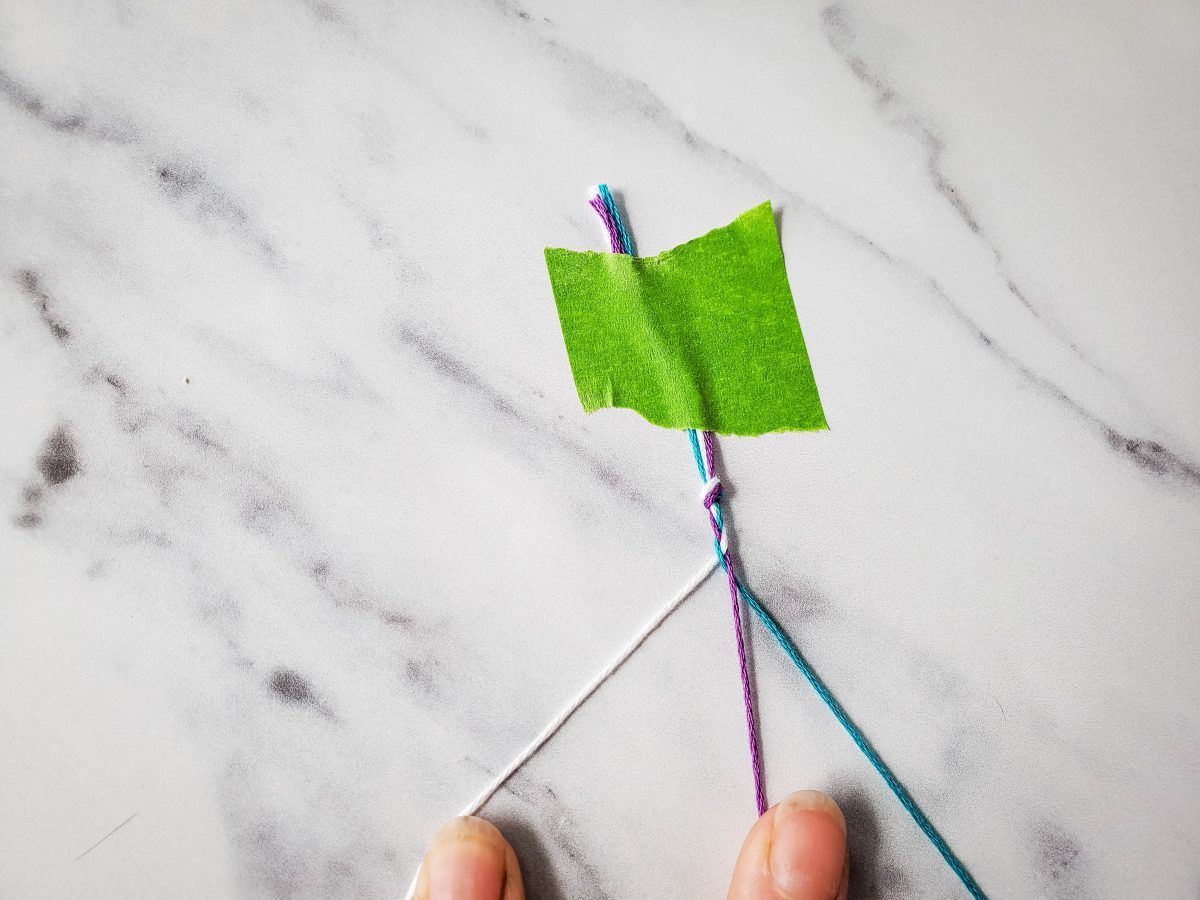
Line one end of each of the strands up, then make a loop, and a knot; leaving about 1.5 – 2 inches of embroidery floss above the knot for tying later on.
Using a piece of tape, secure the embroidery floss above the knot to a table.
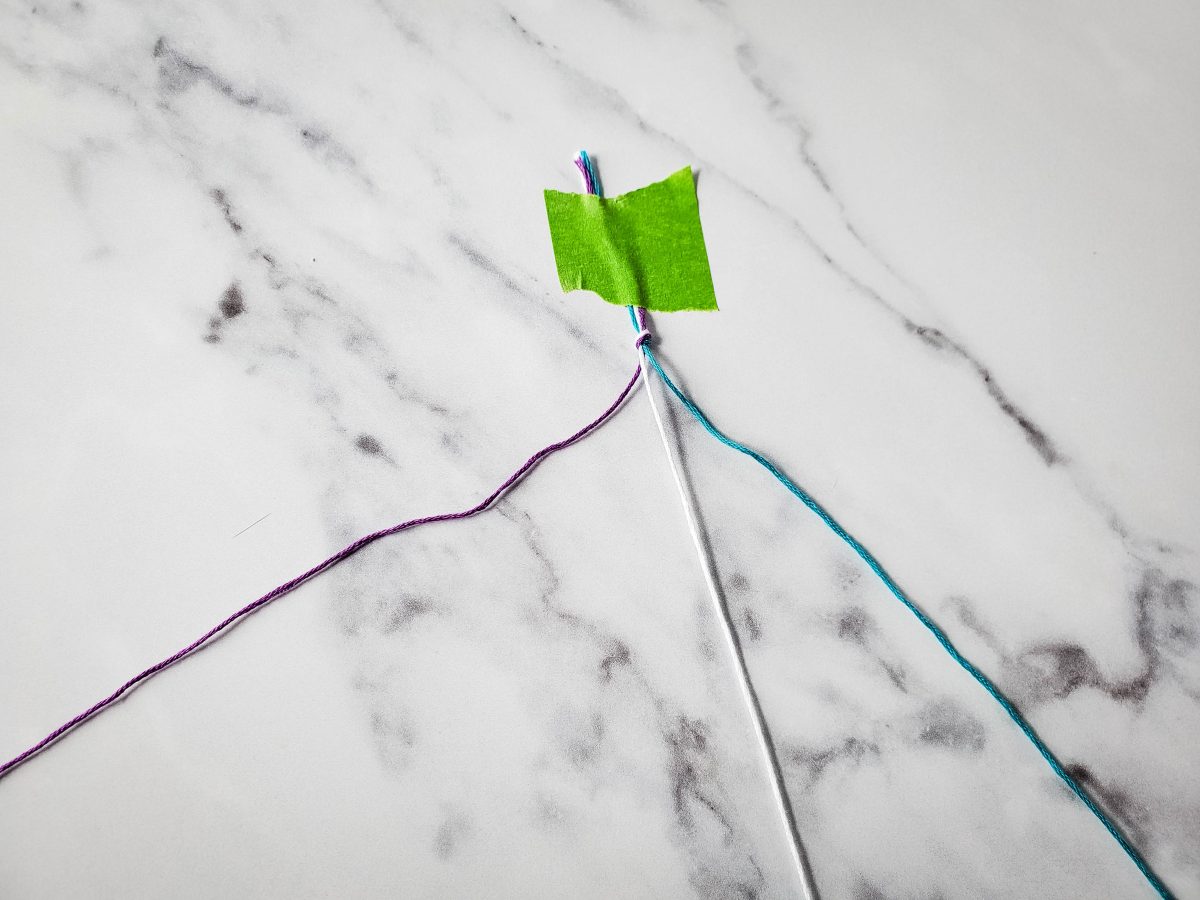
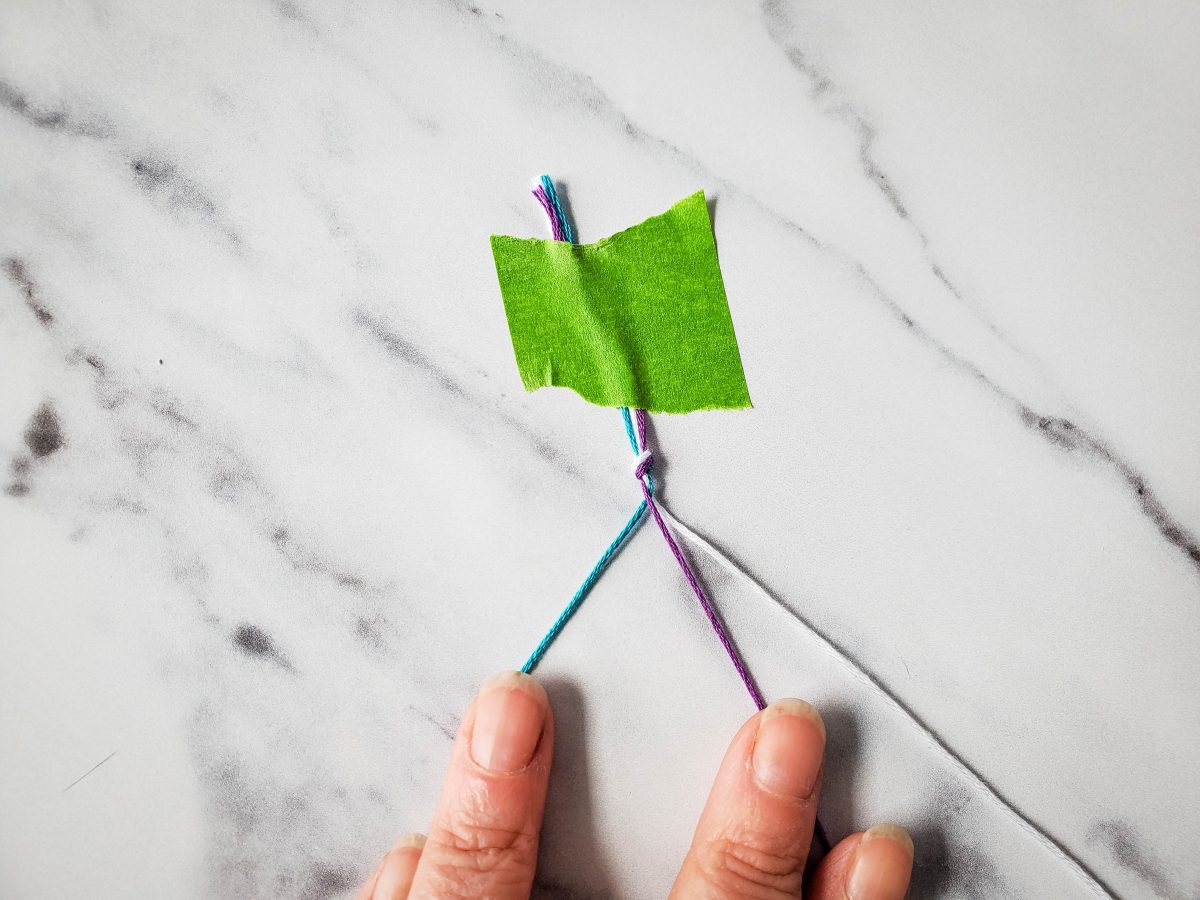
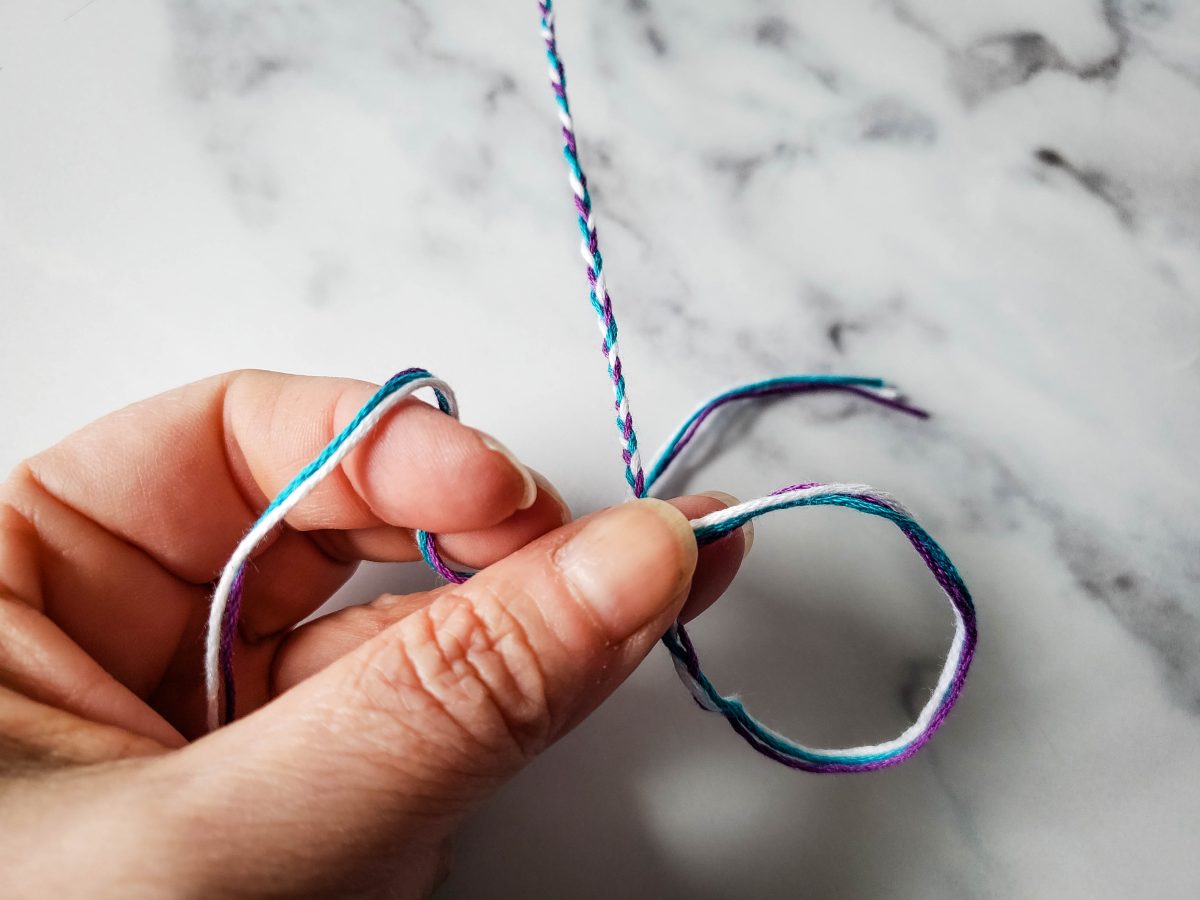
Divide your embroidery floss into 3 strands of colors. For instance: if you have 2 strands of each color, each of your strands should have 2 lengths of embroidery floss.
Arrange your strands: One color on the left, one color in the middle, one color on the right.
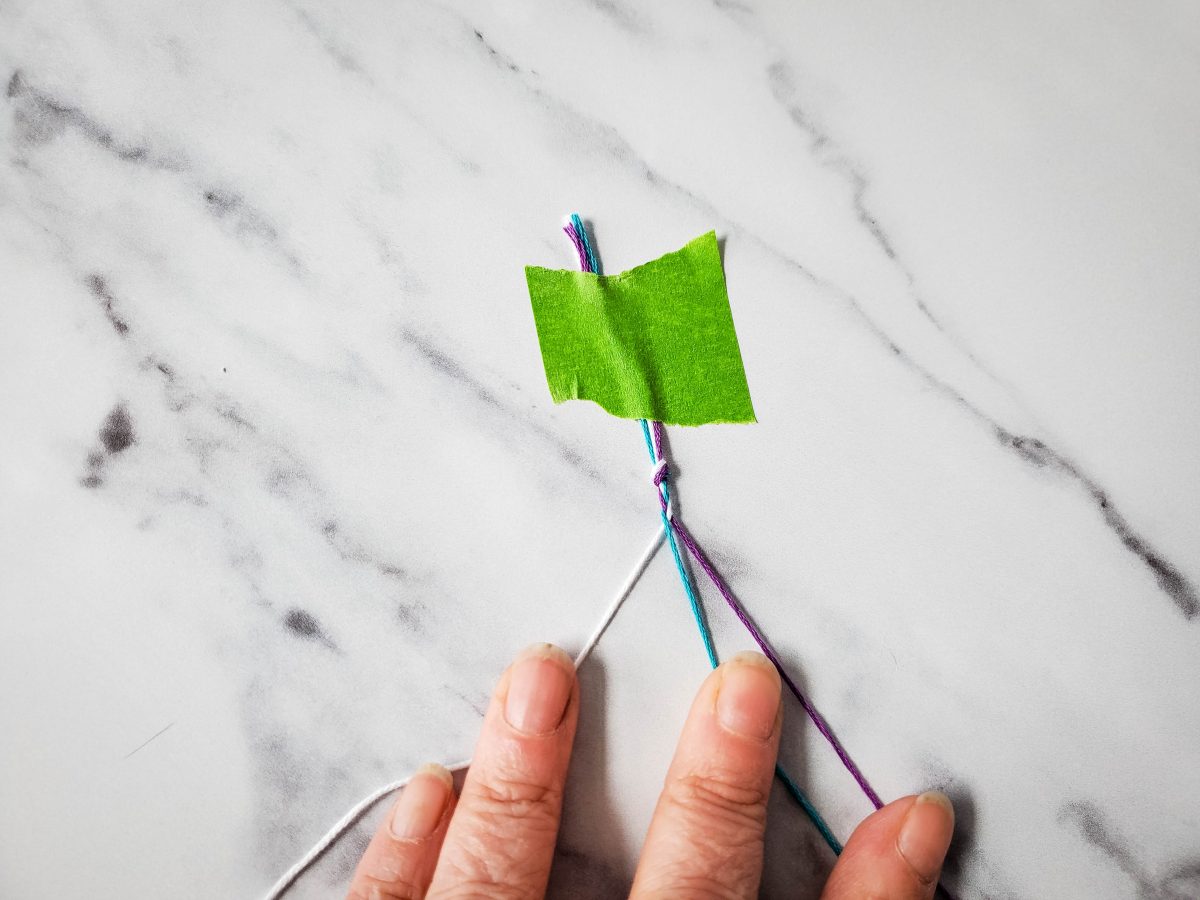
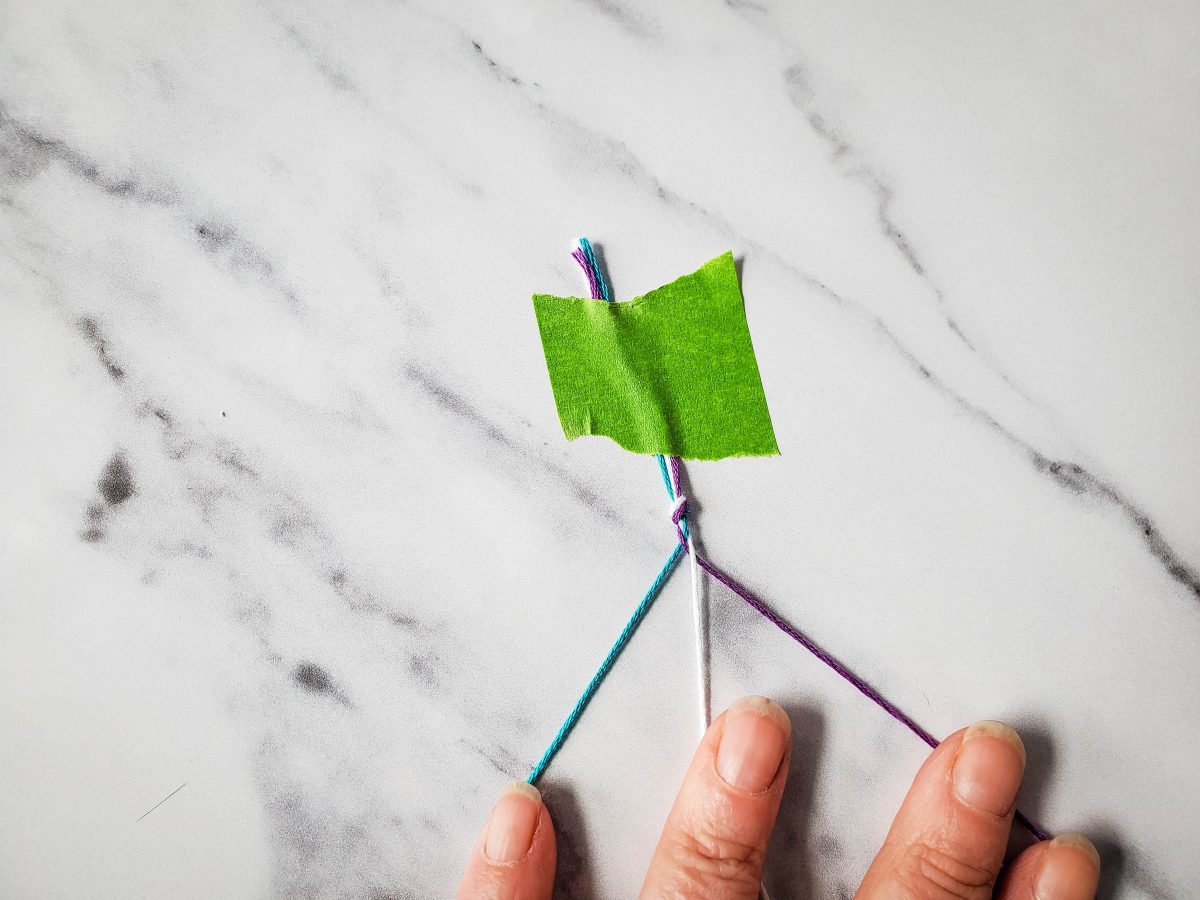
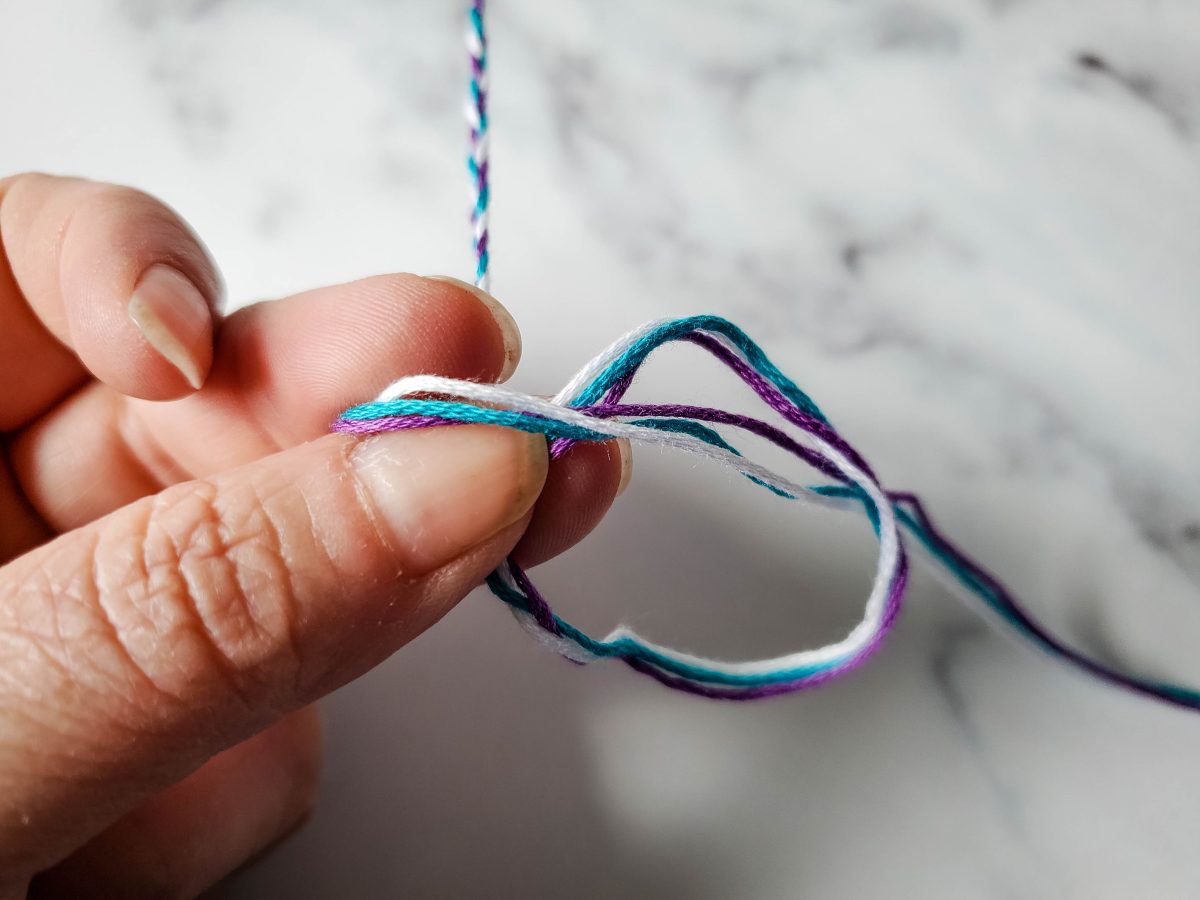
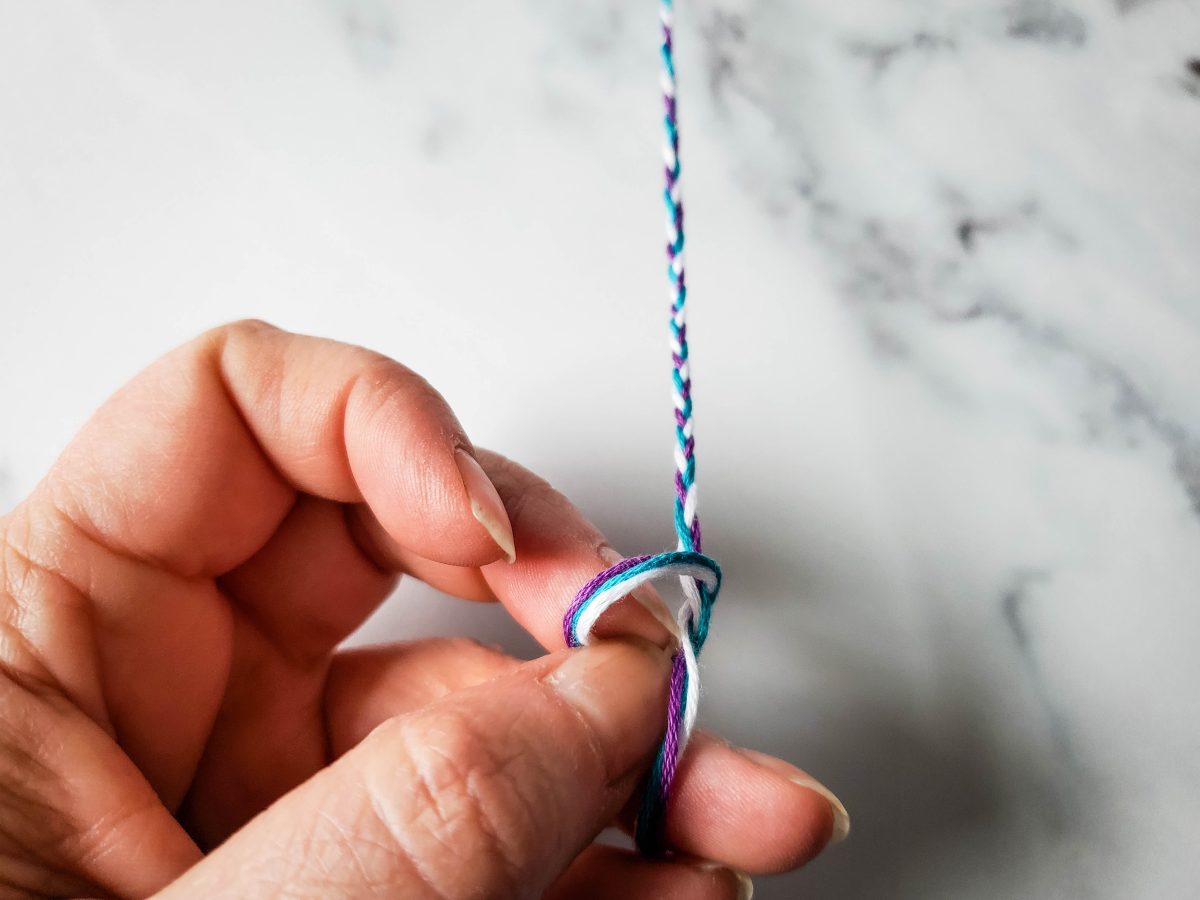
Braid your strands. Start by moving the left strand over the middle strand (which now the left becomes the middle), then the right strand over the middle (which now the right becomes the middle), then back to the left strand over the middle, right strand over the middle. Continue this process until you have your desired length. Most kids ages 5-12 will be 5.75 – 7 inches, and most adults will range from 6.5 – 8.5 inches.
Now make a loop, then knot at the end.
Trim any excess embroidery floss, leaving 1.5 – 2 inches under the knot for tying the bracelet on.
To wear the bracelet, place it on your wrist, and tie the two ends together in a knot.


Thank you. This is a nice easy one to do with kids.
brings back memories of days gone by. the kids made so many of these.