
What you need
10″ by 15″ (25cm by 38cm) rectangle each of bag fabric, wadding and lining fabric. I used white silk for the bag fabric and pink cotton for the lining fabric.
About 96″ (245 cm) of 1/4″ (0.6 cm) ribbon. Thread to match.
Clear stud fastener and buttons or beads to embellish. I used 4 pearls.
Fabric marking pen and ruler
Instructions
Lay the wadding rectangle down on the table, smooth gently and lay the lining fabric on top with right side up. Smooth gently and lay the bag fabric on top with right side down.
Fold the triple layer of fabric in half along the long edge, giving you a 5″ by 15″ rectangle, and mark a curve across one corner using a plate or something similar.
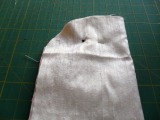
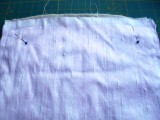
Cut the corners to a smooth curve following the mark you have just made. Open out the rectangle and using a 1/4″ seam, sew all round the edge of the rectangle apart from a 4″ gap across the straight edge of the rectangle opposite the curve. This gives you a gap to turn the bag right side out.
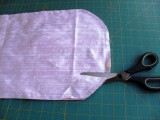
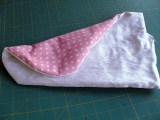
Clip the seam around the curve at 1/4″ intervals, taking care not to cut the seam. Turn the bag right side out through the gap and turn under and slipstitch the seam across the gap. Baste the edges to keep all the layers in place.
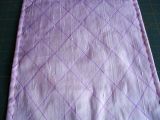
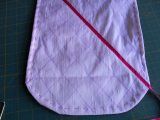
Using fabric marker, draw a line from one corner to the opposite corner. Draw further lines at 1.1/2″ intervals each side of the line and then do the same with a line across the other diagonal to make cross hatching as shown. Using a wide zigzag and long stitch length, sew the ribbon along the first diagonal that you marked.
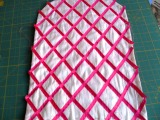
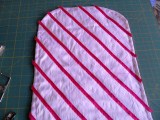
Continue adding lengths of ribbon along the marked lines in one direction and then do the same in the other direction until you have completed the cross hatch pattern.
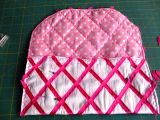
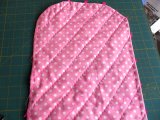
You can see the cross hatch pattern on the bag lining.
Lay the rectangle with the ribbon quilted face down and fold up 4.1/2″ to form the pouch of the bag. Still using zigzag stitch, sew up the left hand side, round the curve and down the right hand side.
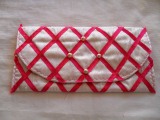
Trim the ribbon ends to the stitching to avoid fraying, sew on any extras you would like: I have used 4 pearls where the ribbons cross each other to create a diamond pattern. Add a clear stud fastener, taking care to line up the hatching on the flap with the hatching on the pouch of the bag. Your bag is complete.


wow im so doing this! thanx
Look hard. But, CUTE!!!!!
aDORable!!!!!!!!!!!!!!!! thx so much for sharing :DDDD
I love it, gona hint to my mum about it 🙂 hahaha sneaky
I LOVE this! I’m a little scared that there doesn’t seem to be much in the way of room for error. I feel like you’d for sure be able to see any flaws if your ribbon isn’t *perfect*. That won’t keep me from trying it, though!