
Get more details about this project
What you need
Heat-resistant glass skull shot glasses suitable for candles
Container candle wax
Candle wick appropriate for the wax and vessel diameter
Wick tabs or other heat-resistant wick anchors
Wooden skewers, pencils or wick-centering bars
Candle-safe wax dye, optional
Candle-safe fragrance oil, optional
Double boiler or dedicated wax-melting pitcher and water bath
Wax thermometer
Heat-resistant pouring surface
Scissors
Instructions
This Halloween candle-making project uses skull-shaped shot glasses as miniature candle vessels. Each glass is filled with melted wax and fitted with a prepared wick. Wax dye and candle-safe fragrance oil can be added if desired, although coloured wax may not be noticeable through very dark glass.
Only use skull glasses that are specifically confirmed to be heat-resistant and suitable for candle making.
Materials
Heat-resistant glass skull shot glasses suitable for candles
Container candle wax
Candle wick appropriate for the wax and vessel diameter
Wick tabs or other heat-resistant wick anchors
Wooden skewers, pencils or wick-centering bars
Candle-safe wax dye, optional
Candle-safe fragrance oil, optional
Double boiler or dedicated wax-melting pitcher and water bath
Wax thermometer
Heat-resistant pouring surface
Scissors
Introduction
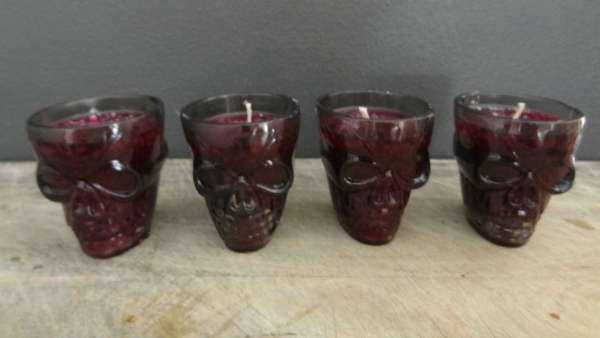
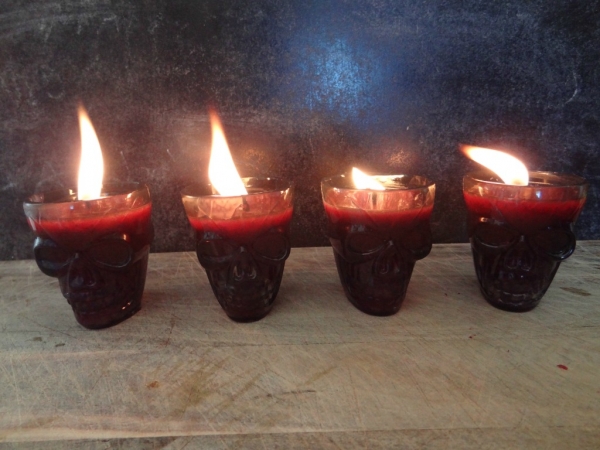
These little skull candles make atmospheric decorations for a Halloween dinner party, mantel or table centrepiece. The raised skull details remain visible through the smoky glass, while deep red wax gives the candles an especially eerie appearance.
The original project uses wax-dipped wicks to help them remain straight. For a more secure container candle, attach each wick to a metal wick tab and fix it to the centre of the glass with a heat-resistant wick sticker or candle-safe adhesive.
Before beginning, confirm that every skull glass is designed to withstand candle heat. Inspect it for chips, cracks and manufacturing flaws. If its heat resistance is unknown, use a flameless LED tealight instead of pouring a combustible candle.
Instructions
Step 1: Prepare the skull glasses
Wash the skull shot glasses and dry them thoroughly.
Inspect every glass carefully. Do not use a vessel with a crack, chip, air pocket or other visible defect.
Place the glasses on a level, heat-resistant work surface where they can remain undisturbed while the wax cools.
Step 2: Measure and prepare the wicks
Cut a length of wick for each glass, allowing several extra inches above the rim.
Dip each wick briefly into melted wax. Pull it straight and place it on wax paper to cool. Repeat this two or three times to stiffen the wick.
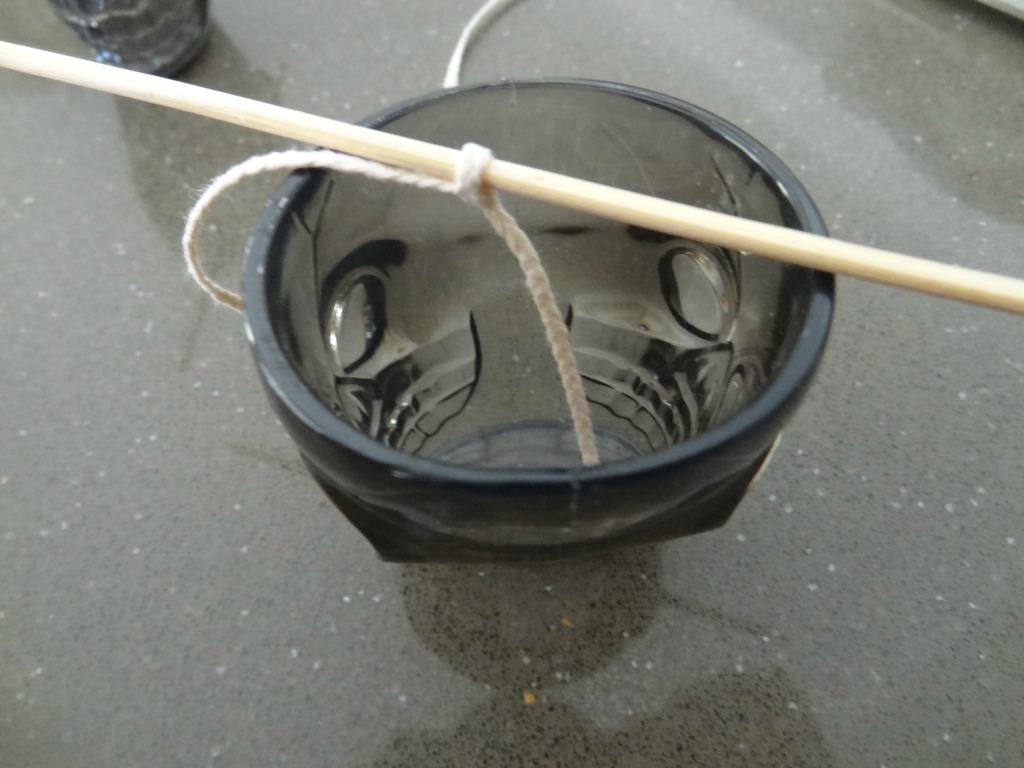
If using pre-tabbed wicks, secure each wick tab firmly in the centre of its glass. The wick must remain upright and centred to prevent the flame from overheating one side of the vessel.
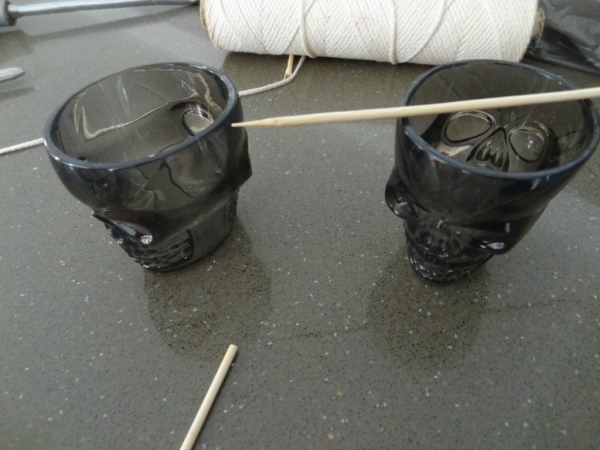
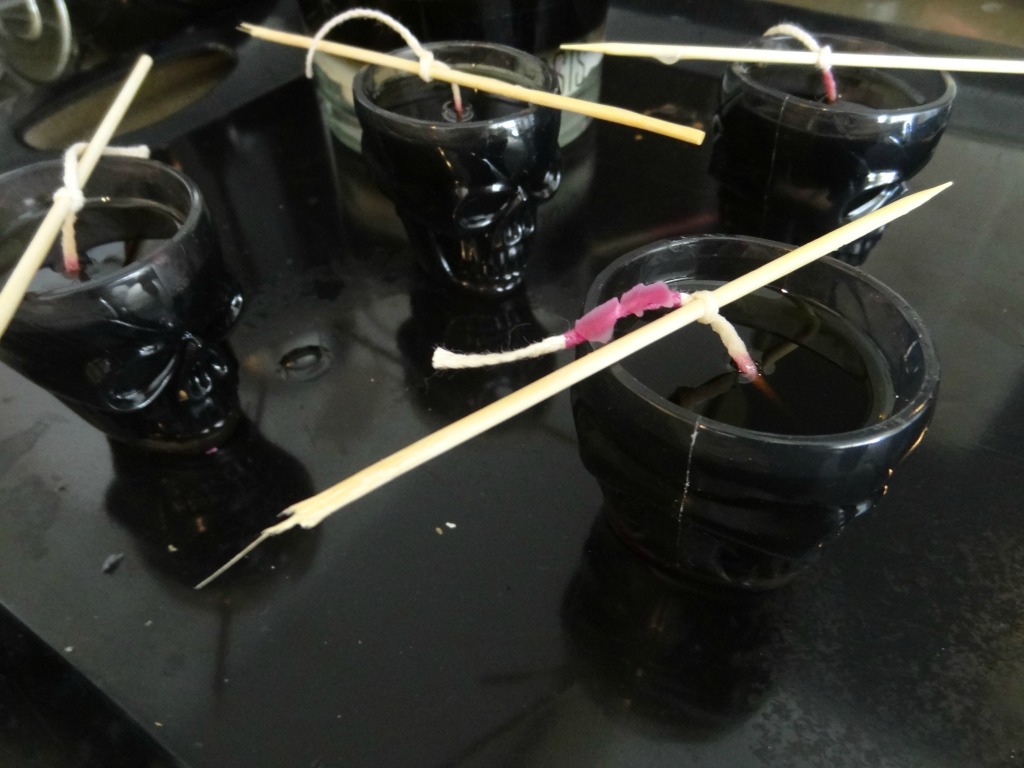
Wrap the upper end around a skewer or place it in a wick-centering bar across the rim.
Step 3: Melt the wax
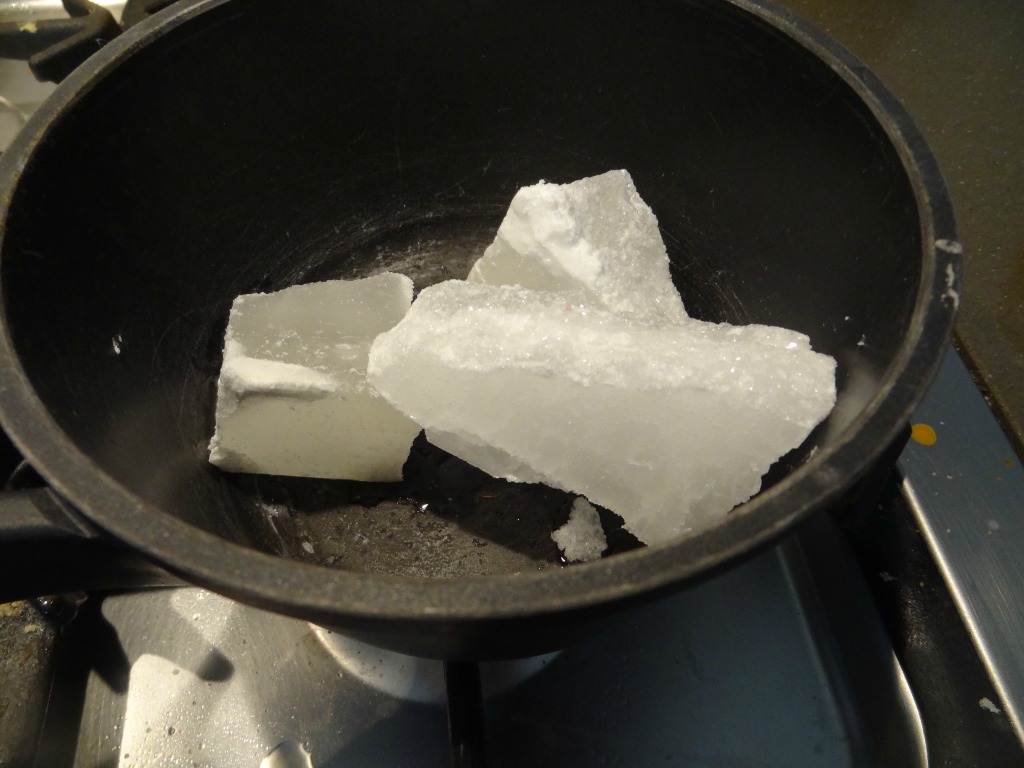
Place the candle wax in a dedicated pouring pitcher or the upper section of a double boiler.
Heat the wax gently over simmering water. Never melt candle wax directly over a burner or exposed flame.
Monitor its temperature and follow the heating directions supplied by the wax manufacturer. Do not leave melting wax unattended.
Step 4: Add colour
Add a small amount of candle-safe wax dye if desired and stir until it has dissolved completely.
The original skull glasses are made from dark glass, so the finished wax colour may not be especially noticeable. Deep red wax can still create a subtle colour near the rim when the candle is lit.
Do not use crayons, food colouring or other products that are not formulated for candle making.
Step 5: Add fragrance
Remove the wax from the heat and allow it to cool to the fragrance-addition temperature recommended for your wax.
Add only candle-safe fragrance oil in the percentage specified by the wax and fragrance manufacturers. Stir gently and thoroughly.
Do not use perfume, cooking extracts or undiluted essential oils unless the product is specifically approved for candle making.
Step 6: Pour the candles
Pour the melted wax slowly into each prepared skull glass.
Leave a small amount of space below the rim and avoid pouring wax onto the exposed portion of the wick.
Check that every wick remains straight and centred. Adjust the supporting skewer or centering bar before the wax begins to set.
Step 7: Allow the wax to set
Leave the candles on the level surface until the wax has cooled and hardened completely.
Avoid moving the glasses or placing them in a refrigerator, as rapid cooling can cause uneven wax surfaces or place unnecessary stress on the glass.
If a deep sinkhole develops around a wick, follow the wax manufacturer’s directions for making a small relief hole and adding a controlled second pour.
Step 8: Trim and cure the candles
Remove the wick supports and trim each wick to approximately 1/4 inch or 6 mm.
Allow the candles to cure for the period recommended for the chosen wax. Some waxes can be tested after a day, while others require several days or longer to develop their best fragrance and burning characteristics.
Candle Safety
Conduct a supervised test burn before using the candles as decorations. Make sure the wick size produces a controlled flame and does not cause the glass to become excessively hot.
Place each candle upright on a stable, nonflammable surface. Keep the candles separated and away from dried leaves, fabric, paper decorations, children and pets.
Never leave a burning candle unattended. Do not move the glass while the wax is liquid or the vessel is hot.
Extinguish the candle if the flame becomes unusually large, flickers continuously, smokes heavily or approaches the glass. Stop using it before the flame reaches the bottom of the vessel or when approximately 1/2 inch or 12 mm of wax remains.
These candles are decorative objects and must never be used as drinking glasses after wax or fragrance has been added.
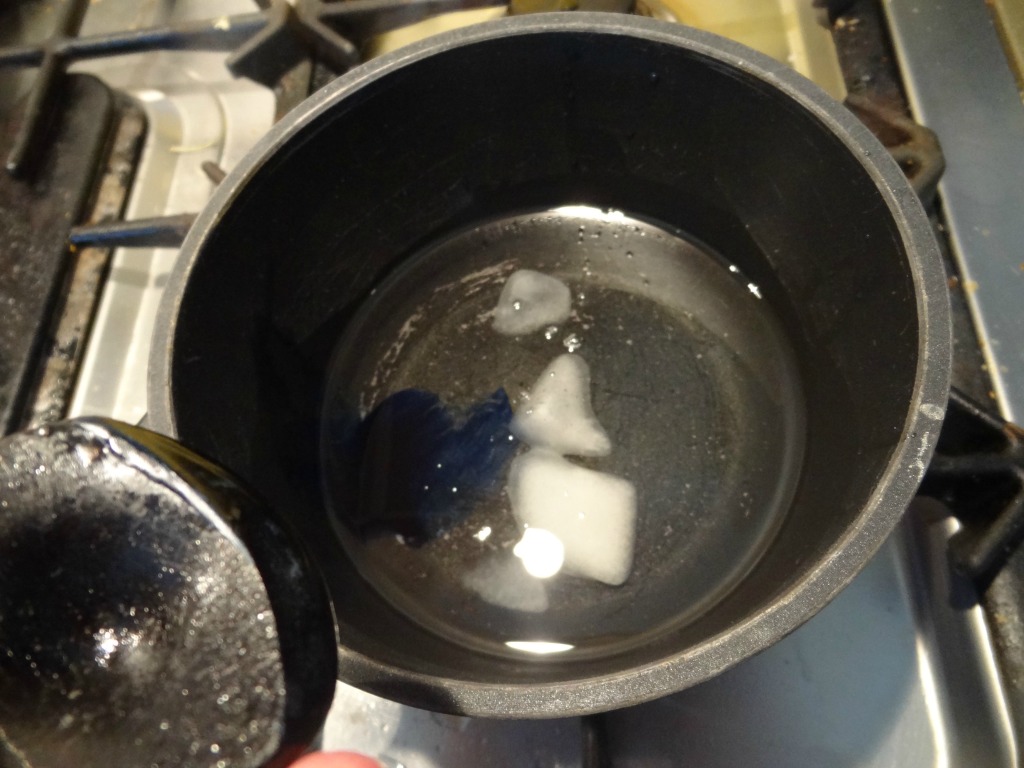
Start by melting your wax in a double boiler method.
You can use a dye to color your wax, but as these skulls are actually dark glass it really made no difference.
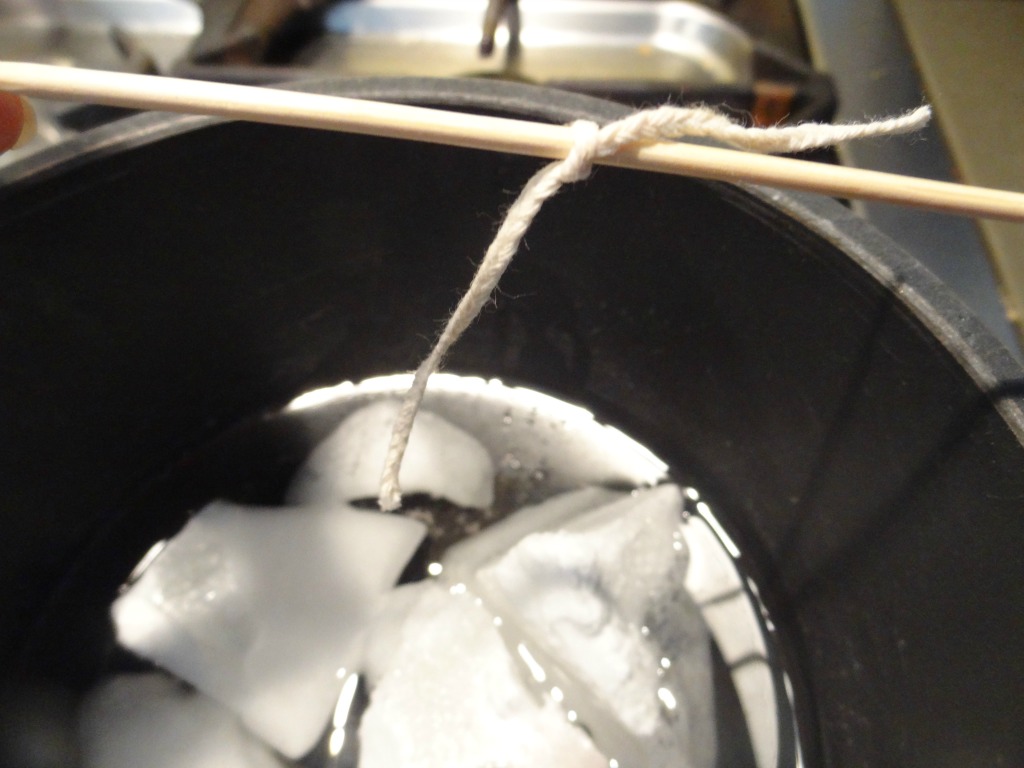
Dip the wicks into the melted wax, straighten the wick as much as possible and set aside. Do this process 2-3 times, it will help the wick stand in the mold as well as make it burn better later.
This is the blue color melting into the wax.
Allow the wax to cool down for 5 minutes and add your fragrance oil when it is cooled. This prevents the scent from burning off with the heat.
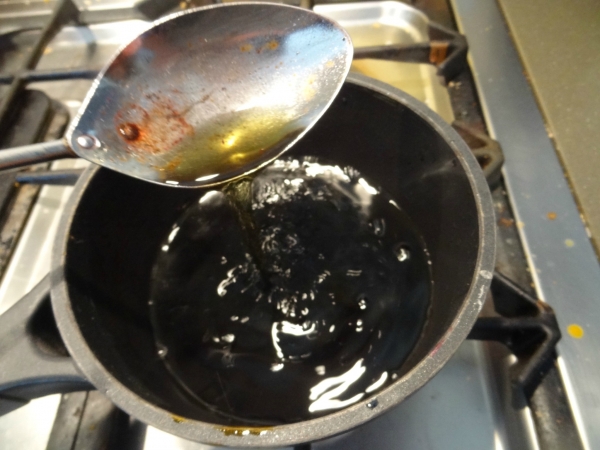
Pour the wax into the shot glasses and slip the wicks into position.
Allow to cool and set before cutting off the excess wicks.




What do you think of this project? Let us know!