
What you need
Fabric
Sewing machine
Pins
Instructions
Oh the joy of a wood stove! A renewable energy source, knitting by the cozy fire and the comforting smell of cedar burning. But hauling in the wood can be a pain. You can only carry in a little bit at a time and the wood can scratch your arms. In comes the crafted wood carrier!
Tougher, sturdy fabric works best since this is a craft project that gets hard use. Usually I make one side out of upholstery or corduroy and the other side out of linen. I like to use recycled fabric from upholstery or thrift stores.
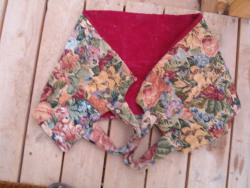
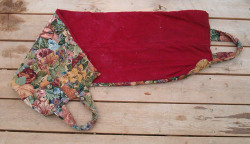
Two rectangles 20″x 40″ handles 18″x 6″ Patchwork makes it look groovy.
To spice things up I mixed rectangles of two sizes. large 10″x7″ small 5″x7″ allow for 1/4″ of seam allowance on all sides.
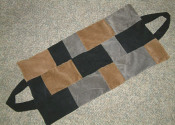
1. Hand sew or machine sew rectangles together into three strips.
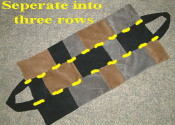
2. Sew strips together
3. For other side, either repeat steps 1 and 2 or have a whole piece of fabric note: I straight stitched the pieces and then did a zig zag stitch to reinforce the carrier since it gets a lot of use.
4. Sew handles fold fabric longwise, inside out, sew along longside.
5. Turn handles right side out, leave ends open.
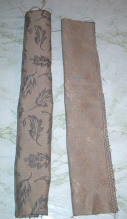
6. Pin two large rectangles together inside out.
7. Fold handle tubes into this shape:

Pin the handles in the center of each short end of the main body make sure to put handles inside the rectangles!
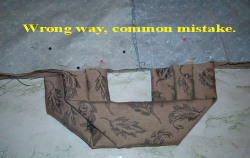
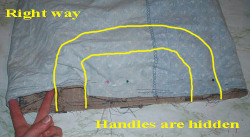
8. Leaving a 1/4″ seam allowance sew around the pinned rectangles, leaving a 6″ gap Zigzag stitch to reinforce. note: Where the handles are will be very thick-I can sew it on my machine but have to go slow.
9. Turn body right side out by pulling thru the gap. Hand sew gap closed.
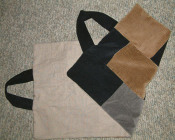
10. Go haul in some wood!
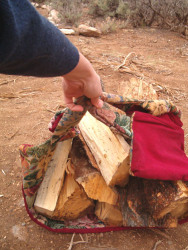
11. I just completed a new wood carrier where I went free for all on the patchwork. Cutting various squares I sewed them together until they met the 20″x 40″ dimensions. A bit more chaotic to sew, but I’m pleased with the results.
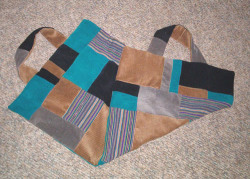
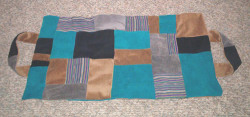
This project was contributed by Twilight




Neat! I really like the idea!