
What you need
* 8″ cut out fabric circle
* needle
* thread, I used embroidery thread
* rice
* fluff, anything to stuff your pin cushin
* sand (optional)
* felt
* glue gun and glue sticks
Instructions
Knot your thread and make a running stitch around the outside edge of the circle, (the top of the tomato) bunching it together as you go.
Then fill the bottom of the tomato with rice, to weigh it down. The top with fluff, packing pretty tight.
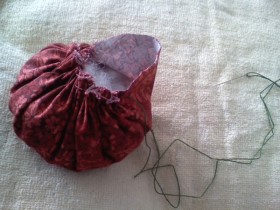
Finish the stitch and secure with a few extra stitches and knot off, then cut excess. Then get a new piece of embroidery thread and stitch through a corner of the bunched fabric bringing it through the “core” of the tomato, bring the needle and thread all the way to the bottom of the tomato. (Try to keep it centered.)
Use a tiny circle of felt to mark the center of the bottom of your tomato, also to reinforce the stitching going on there. Keep working around the tomato, in even sections, thread trough the top to the bottom of the tomato.
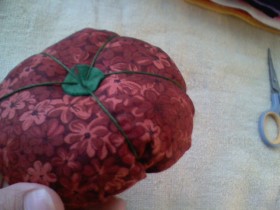
Finish the sections and turn the tomato over and stitch at the top of your fruit to secure. ( You don’t have to cut this piece of thread.)
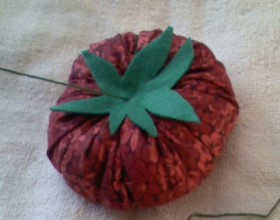
Cut out your felt leaves for the top of the tomato and thread through. Dab a bead of glue under the thread to secure in place. You can tie off and loop the thread.
or…(Now this part is optional.) Leave a tail for the sand strawberry, I left about 6″.
Cut a small triangle for the strawberry, and straight stitch a seem to make a cone. Then fill the cone with sand and make a running stitch around the top of the berry.
Push the left over fabric into the strawberry.
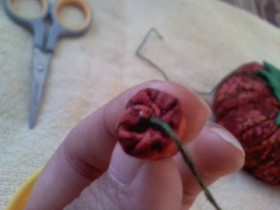
Cut a tiny leaf for the top of the strawberry, thread it down to the top of the berry and dab a bead of glue to secure it.
Now get the tail end you left off of the tomato and sew the strawberry to it, securing it with some stitching and even add some veins onto the leaf. (If you like.)
All done!
xoxo, Val



Beauutyyy! I have a question, to what is the little strawberry? It have a function?
Commercial Tomato Pin Cushions have emery powder in the strawberry to sharpen your pins. Otherwise, it just looks pretty!