
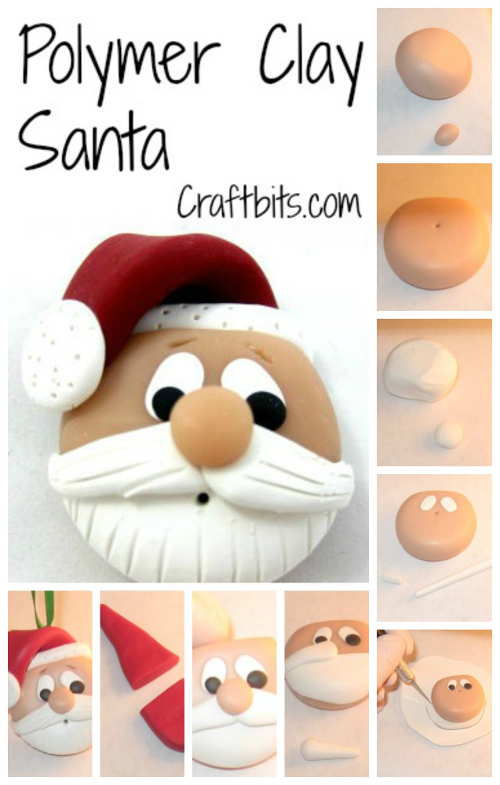
What you need
Polymer clay “any brand” red, white & “skin color” of your choice & tiny bit of black
Liquid polymer clay
Acrylic roller or wooden dowel
Clay knife or plastic knife
Toothpick or bamboo skewer
Eye pins or wire (optional)
Work surface – ceramic tile, file folder or wax paper
Oven for baking – it is recommended to use a clay – only oven (toaster oven).
Instructions
You can also enclose your project inside two baking pans; clamp closed, & bake in regular oven. Remove once cooled.
Condition about ½ oz of red & “flesh” color of your choice – I used Premo beige & a small amount of white & tiny bit of black by rolling and squeezing in your hands. Test to see if it cracks when you bend it – that means it needs more conditioning!
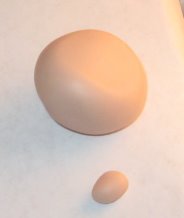
Roll beige into a ball & pinch off a tiny amount to reserve for the nose.
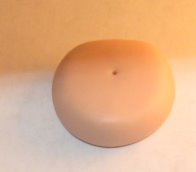
Flatten the ball slightly & mark the center with your toothpick. Slice off the top of the “head” and put it aside.
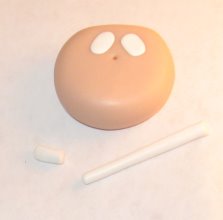
Take a small amount of white & roll it into two balls of the same size & press into place for the eyes. Add black for the pupils & press into place.
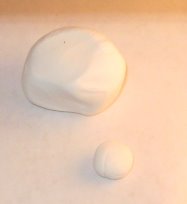
Now roll the rest of your white clay into a ball and flatten until quite thin with your dowel or acrylic roller. (You can also use a clay only pasta machine).

Using your head as a template trace around it for approximate size you will need for the beard with your knife & press into place.
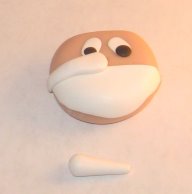
Take a small amount of white & divide it in half. Roll each piece into a cone shape and press into place for the mustache (use your mark from earlier as a guide).
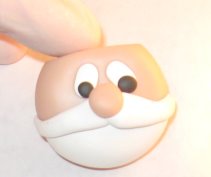
Place a tiny drop of liquid clay where the nose will go & add the reserved beige clay & gently press into place.
Note – we used Liquid polymer clay as this is a 3-dimensional detail and needs the added strength.
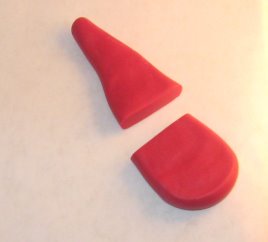
Roll your red clay into a cone shape and flatten slightly. Trim the bottom so it is flat.
Place a thin line of liquid clay along the top of the head and line up the red clay. Fold the top down to make an appealing “stocking” cap hat.
Use your remaining white clay for the trim and tassel on the hat.

Add any detail with your pin or toothpick and insert the wire/hanger of your choice.
Bake according to manufacturer’s directions and let cool.
Add a drop of crazy glue to the wire as the clay will not adhere to it.
Hang on a pretty ribbon & enjoy or give as a gift!
***TIP***
***SAVE those pieces you trimmed off and roll them together to make swirly accent beads!
***Red clay can leave some pigment on your hands. To help keep the white clay from turning pink, handle most of the white clay first. You can also use baby wipes to clean your hands and tools (alcohol is a solvent for the clay) or wear latex gloves & switch in between colors.


Great instructions. Very clear. Thank you
So glad showed how make it from start Thank’s..Good Job !!
He is so cute and your step-by-step instructions and photos are very clear. Great project and tutorial!
Thank you for show us how to make it 🙂