
Get more details about this project
What you need
Felt or Polar Fleece Material
Toy Wadding/Filling
Embroidery thread
Needle and thread
Scissors
Instructions
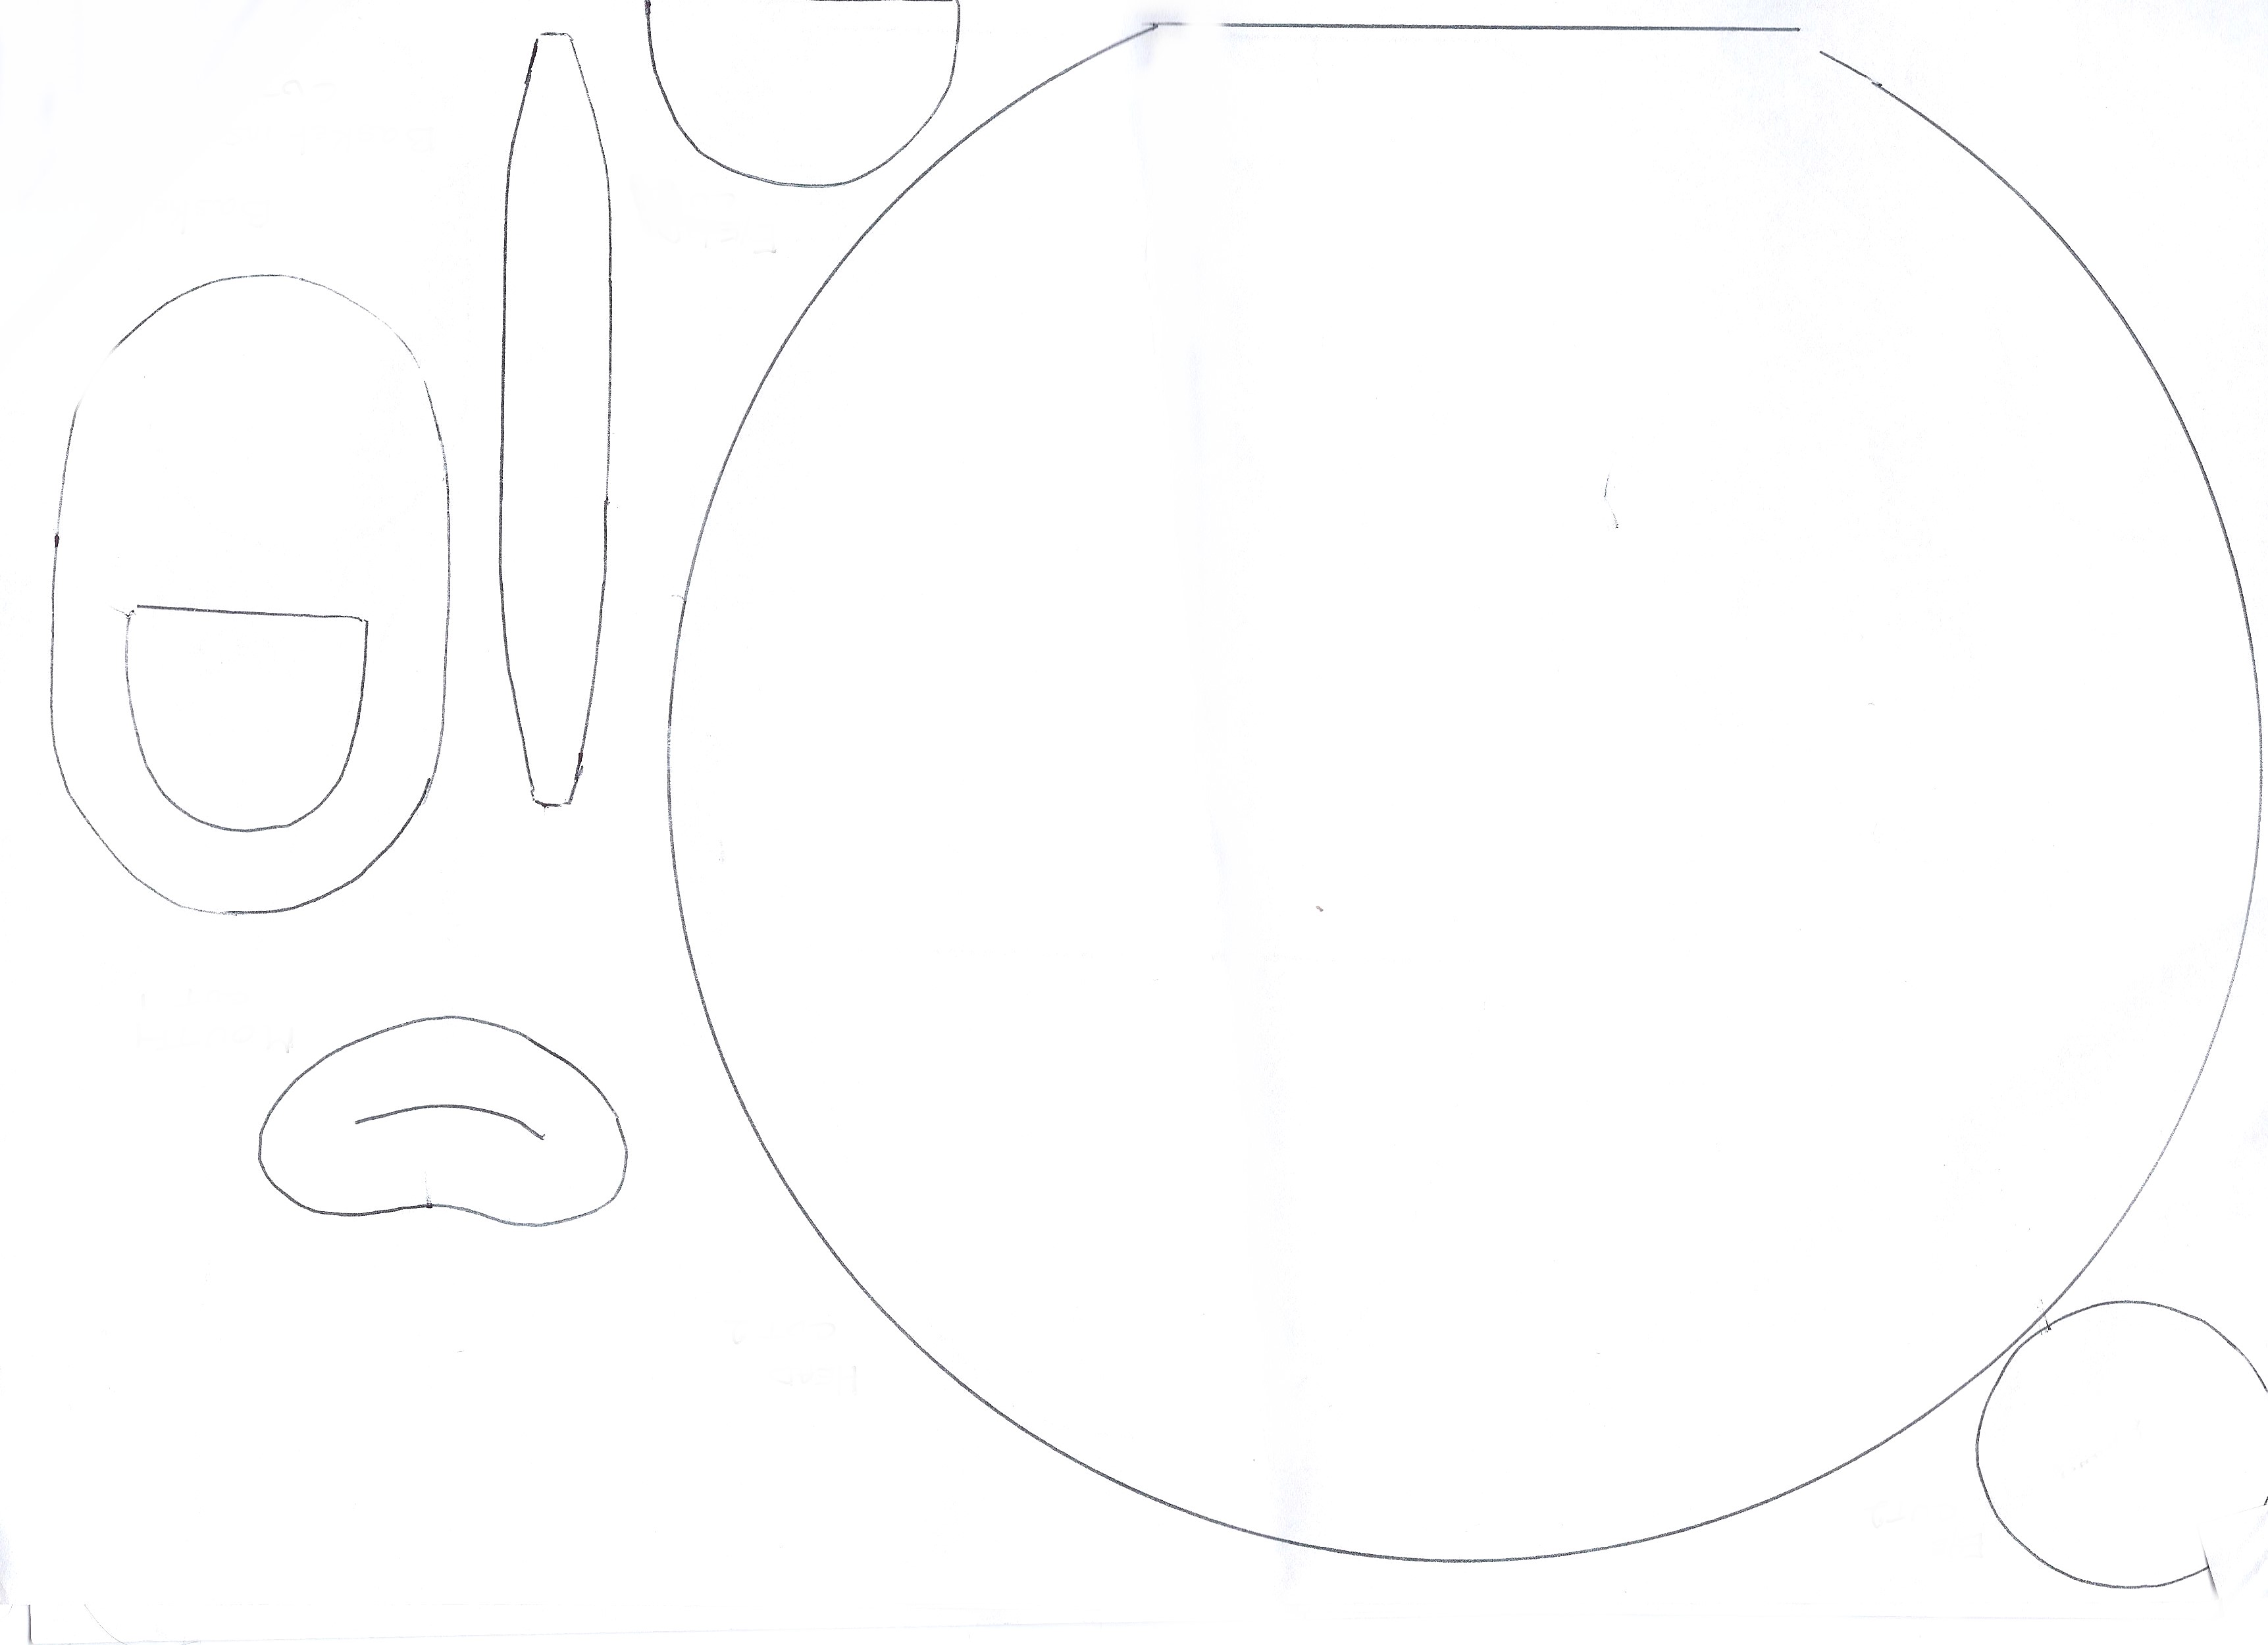
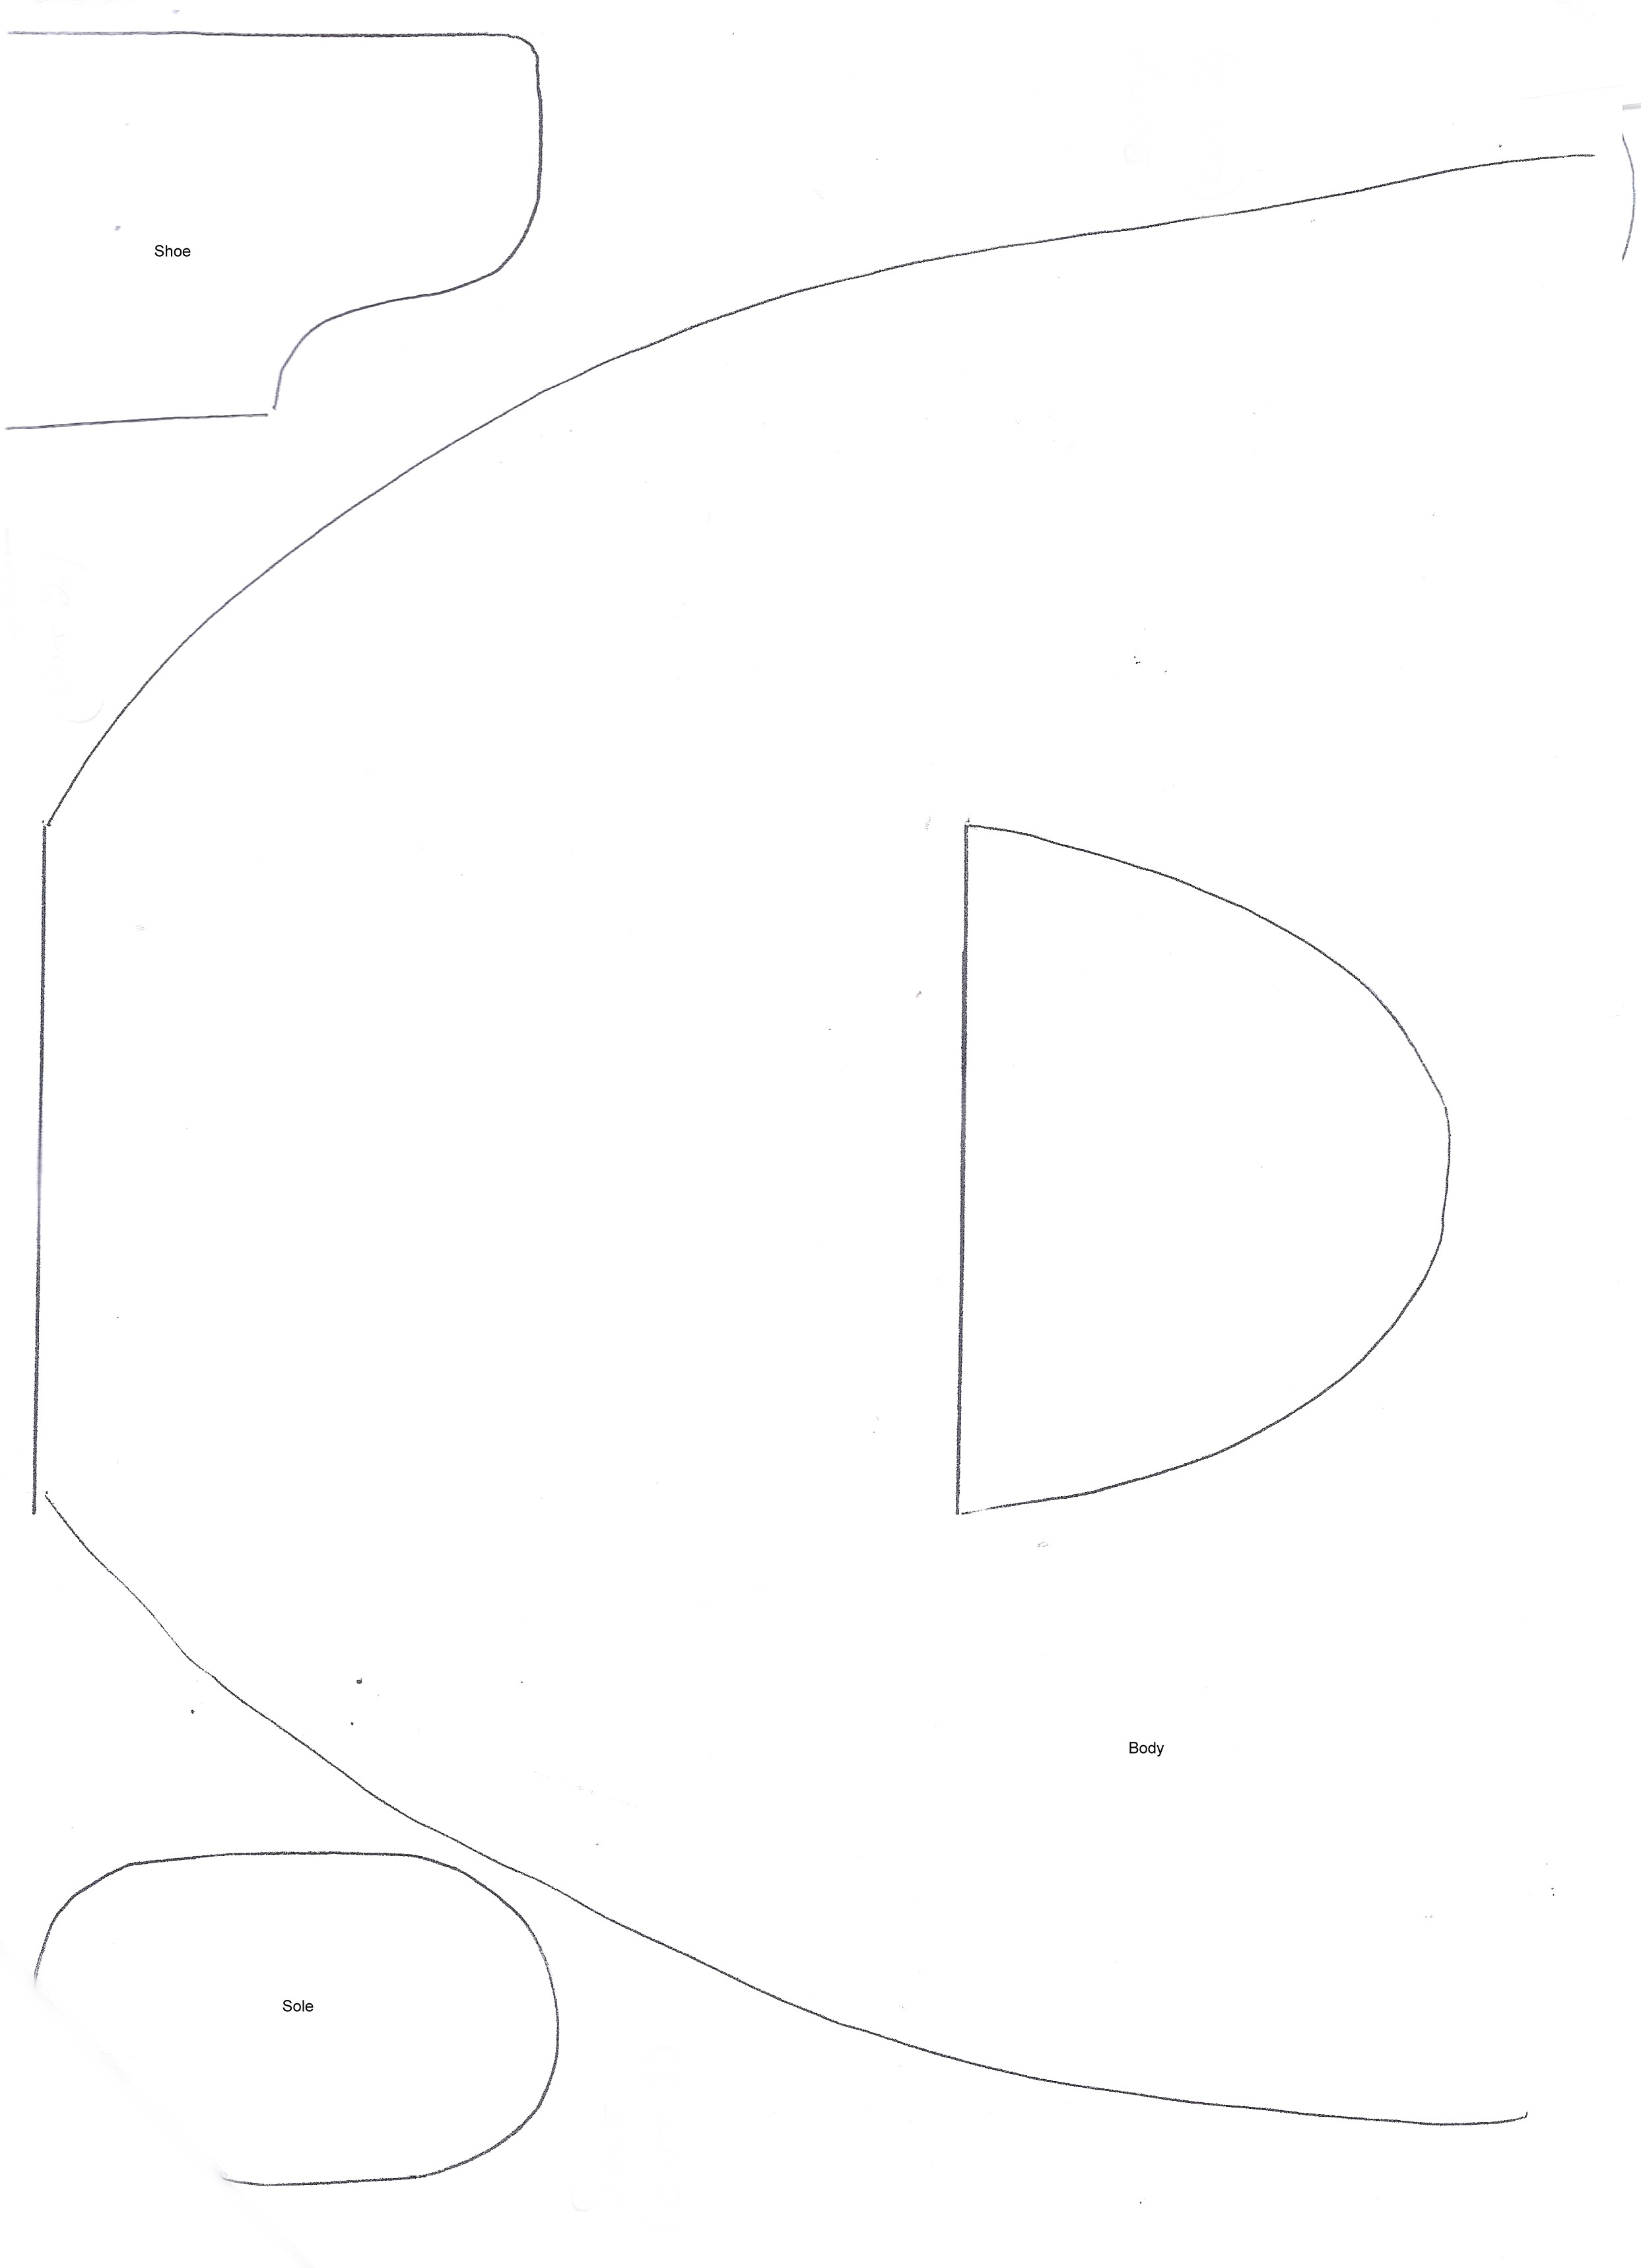
First, download the patterns:
Cut 2 legs 12″ x 4″ (30 cm x 10 cm).
Cut 4 shoes.
Sew down the centre of each shoe, right side of your fabric inwards.
Attach the leg to the shoe so the leg seam is towards the back. Now sew the sole into place. Fill with wadding as you go.
Cut 2 arms 8″ x 2″ (20 cm x 5 cm).
Sew the arms then turn inside out and fill with wadding.
Cut your body pieces and sew the head to both sides.
Now stitch the pink section on the front to give the illusion of a pinafore dress.
Stitch around the body and head.
Stitch the arms and legs into place, remember to face them inwards as you will be turning your project inside out. Leave an opening at the top for filling.
Turn right side out and fill with wadding and sew the opening closed.
Cut some thin strips of white felt for hair and sew into place. You could also use wool or dolls hair.
Use the diagrams to create a face.
Add beads and other optional embellishments to your doll.
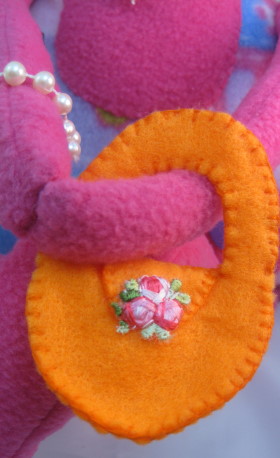
Bag- Stitch around the bag patter pieces with embroidery thread and in a blanket stitch.
Stitch the insert in and decorate the top flap. Once you have finished place over one arm and stitch the hands around the handle.
There is something wonderfully odd and charming about a handmade plushie with a big personality, and this Pink Lady soft toy certainly has that. She is bright, quirky, a little bit retro, and exactly the sort of project that makes you dig through the craft cupboard for scraps, beads, ribbons, trims, and that one bit of felt you kept because “it might be useful one day.”
This free plushie sewing pattern uses felt or polar fleece to create a soft doll with long legs, little shoes, arms, hair, a face, and a tiny bag. It is a fun beginner-to-intermediate soft toy project if you already know the basics of sewing curves, turning small pieces, and stuffing toy shapes evenly.
Felt and polar fleece both work well for handmade plushies because they are soft, forgiving, and easy to handle. Felt gives the doll a more structured look, while polar fleece makes her extra cuddly and squishy. If you are making this as a keepsake or decorative doll, you can have fun with beads and embellishments. If it is intended for a child, skip any loose beads, buttons, or small decorations and use embroidery instead.
To make your Pink Lady plushie, begin by downloading and printing the pattern pieces from the project page. Cut out your paper pattern pieces and check that you have all the sections before cutting into your fabric. Plushie projects have a sneaky way of hiding one tiny arm piece under a teacup right when you need it.
Cut two leg pieces measuring 12 inches x 4 inches / 30 cm x 10 cm. Sew each leg with right sides together, leaving an opening for turning and stuffing if needed. Turn the legs right side out and fill lightly with toy wadding. Do not overstuff the legs, as they need to sit nicely against the body.
Cut four shoe pieces. Sew down the centre of each shoe with right sides facing inwards. Attach each leg to a shoe, making sure the leg seam sits towards the back. Sew the sole into place and add small amounts of filling as you go so the shoe holds its shape.
Cut two arm pieces measuring 8 inches x 2 inches / 20 cm x 5 cm. Sew the arms, turn them right side out, and fill them lightly with toy stuffing.
Cut the body pieces and head pieces from your main fabric. Sew the head section to both body sides as shown in the pattern. Stitch the pink front section onto the body to create the look of a pinafore-style dress.
Place the body pieces together with right sides facing. Position the arms and legs inside the body so they are facing inwards. This feels wrong when you are doing it, but it is exactly what you want because the doll will be turned right side out later. Make sure the arms and legs are securely pinned or clipped so they do not shift while sewing.
Stitch around the body and head, leaving an opening at the top or another easy-to-hide place for turning and filling. Reinforce the seams where the arms and legs are attached, as these areas will get the most pulling and movement.
Turn the plushie right side out carefully. Use a blunt turning tool or chopstick to gently smooth out the curves, but do not poke too hard or you may push through the seam. Fill the body and head with toy wadding, adding small amounts at a time for a smooth finish. Once stuffed, sew the opening closed neatly by hand.
Cut thin strips of white felt for the hair and stitch them into place. You can also use yarn, doll hair, or fleece strips depending on the look you want. Yarn hair can be stitched along the scalp line or gathered into a fun messy style, which is very forgiving if hairdressing is not your strongest craft skill.
Use the diagrams from the pattern to create the face. Embroidered eyes and mouth are the safest option for a toy that may be handled by children. Fabric paint can also work for decorative dolls, but allow it to dry fully before finishing the project.
Add beads, ribbon, trims, or other embellishments only if the doll is intended as a decorative item or keepsake. For child-safe plushies, embroidered details are best.
To make the little bag, cut the bag pattern pieces and stitch around them using embroidery thread and blanket stitch. Add the insert, decorate the flap, and place the bag over one arm. Stitch the hands around the handle so the bag stays in place.
For a neater plushie, use small even stitches and trim seam allowances around curves before turning. Be careful not to clip through the stitching. A little patience at this stage makes a big difference to the final shape.
If you are using polar fleece, watch the stretch direction before cutting. Fleece can stretch more one way than the other, and if you cut pieces inconsistently your doll may come out looking a little more “abstract art” than planned. Charming, yes. Predictable, no.
This plushie can be customised in so many ways. Change the dress colour, add a heart on the front, use patterned fabric for the shoes, embroider flowers, or give her a little necklace made from stitched thread instead of beads.
The finished Pink Lady plushie makes a fun handmade gift, craft stall item, quirky room decoration, or soft toy for an older child if made safely. It would also be a lovely project for using up felt scraps, fleece remnants, embroidery thread, and small pieces from the sewing basket.
For gifting, wrap the plushie in tissue paper and add a handmade tag with her name. You could even make a little “adoption card” with the doll’s name, birthday, and favourite things. It is completely unnecessary, of course, which is exactly why it is adorable.



I like this. It is cool. Making a variation. Thanks for pattern. MAybe you could mark the names of your patterns next time.