
What you need
1/2 yard of cotton muslin
Double-sided fusible tape (for example, Stitch n’ Witch or EZ Steam II)
Small curtain rod, 24-36 inches long
Black permanent marker, fine tip.
Instructions
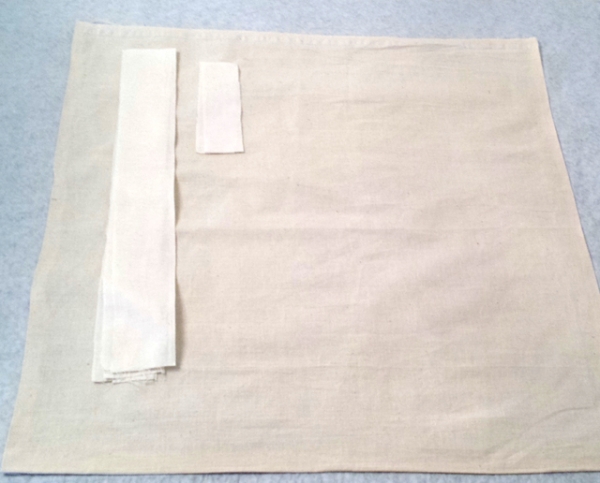
1. Cut a 22″ x 22″ piece of muslin for the base of the calendar, 5 strips of muslin 2″ x 16″ and 4 strips of muslin 1″ x 5.”
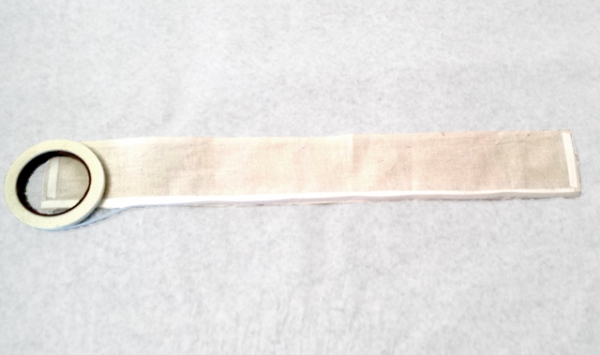
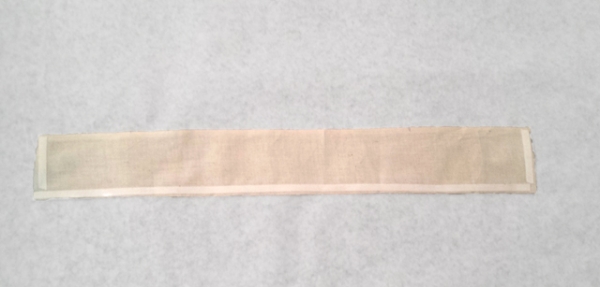
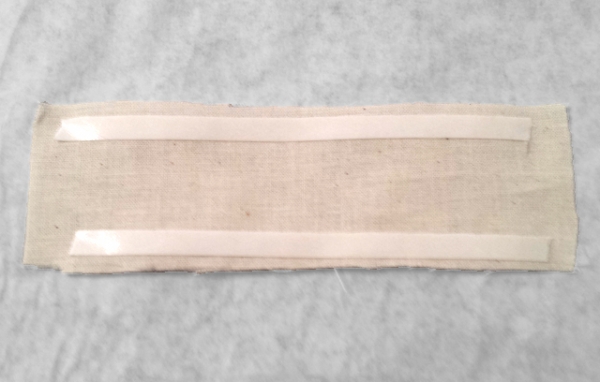
2. Using the fusible tape, line the two short sides and one long side of the back side of each 2″ x 16″ strip of muslin.
3. On the back side of each 2″ x 16″ strip, mark off 5 “pockets.” Find the 8 inch point in the center, and divide out from there.
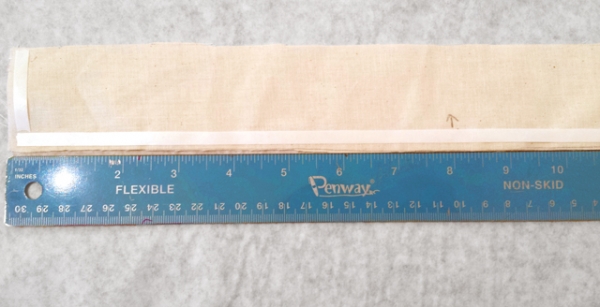
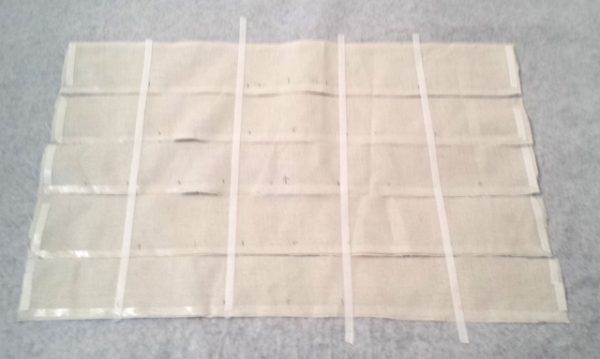
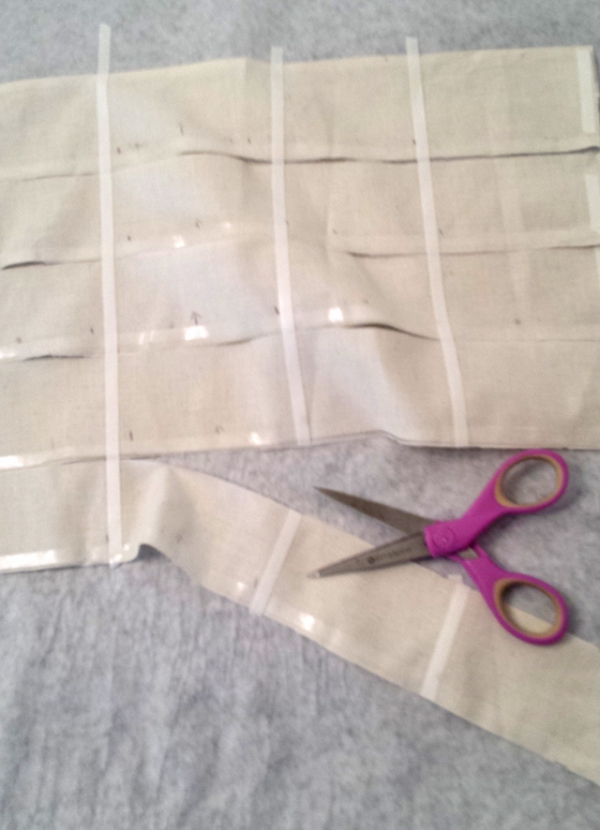
4. Add fusible tape vertically to mark off the “pockets” of the advent calendar. To do all 5 strips easily at once, remove the backing from the long strips of fusible tape on the strips, and carefully line up all of the muslin pieces together. Lay down the vertical tape, and then cut the strips apart.
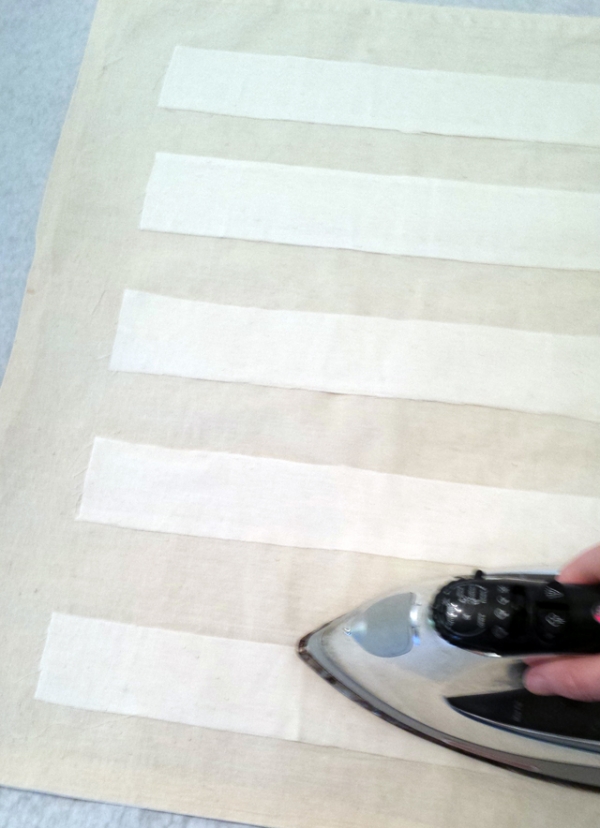
5. Remove all of the tape backing from all 5 2″ x 16″ strips and position on calendar base, making sure that the long end of each strip with no tape (the “top” of the pockets) faces the top of the calendar.
5. Using an iron on high heat, fuse the tape for around 20 seconds.
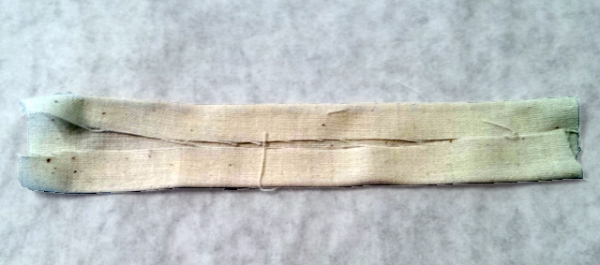
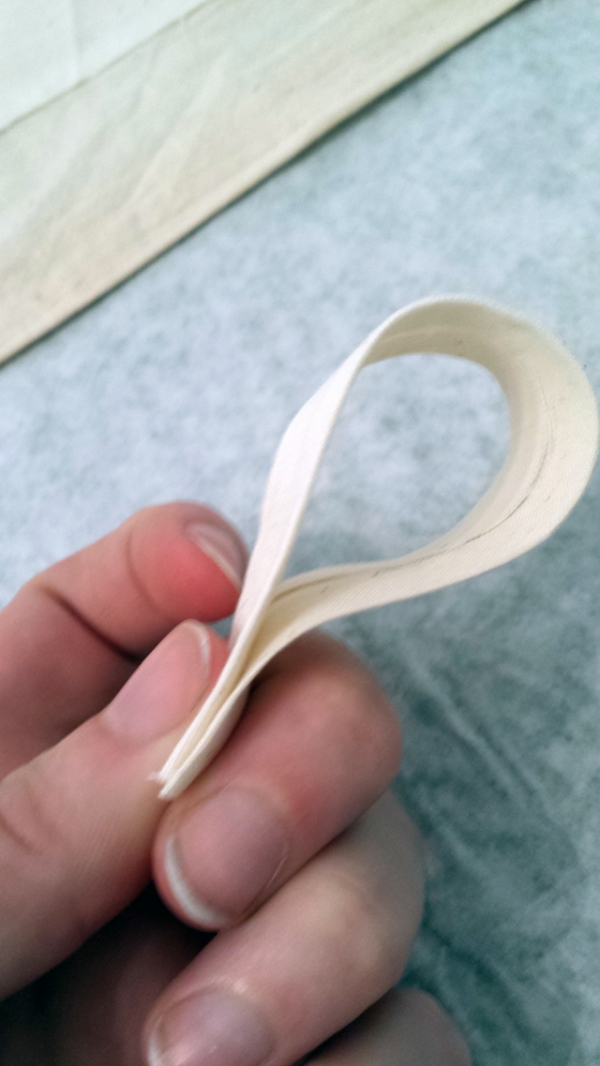
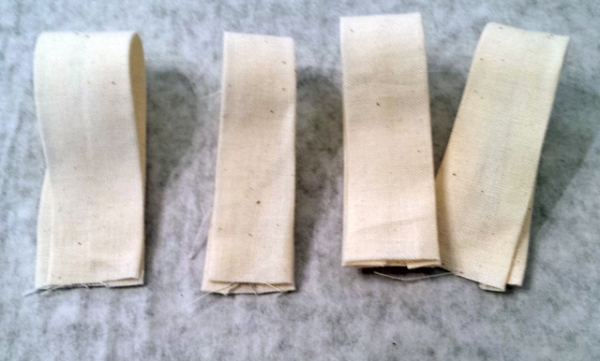
6. For the hanging loops, tape the long sides on the back of each 1″ x 5″ strip of muslin. Remove the rape backing and fold over. Iron to fuse the tape.
7. For a finished look, “hem” the edges of the calendar base using fusing tape and folding the rough edges over to the back side. On the back side of the calendar, fuse the four hanging loops to the top edge.
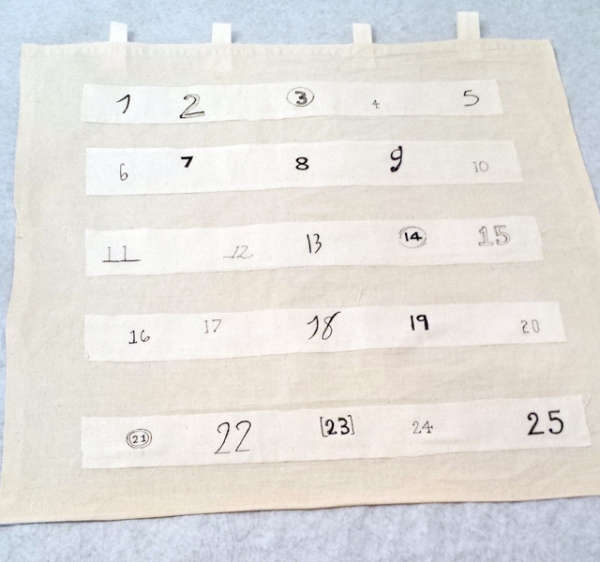
8. Number each pocket, 1-25. To achieve old-looking fonts, sketch out the numbers first with a pencil and fill them in. A fine-point pen may be used for finer lines.
9. Slide onto curtain rod and hang.


What do you think of this project? Let us know!