
Get more details about this project
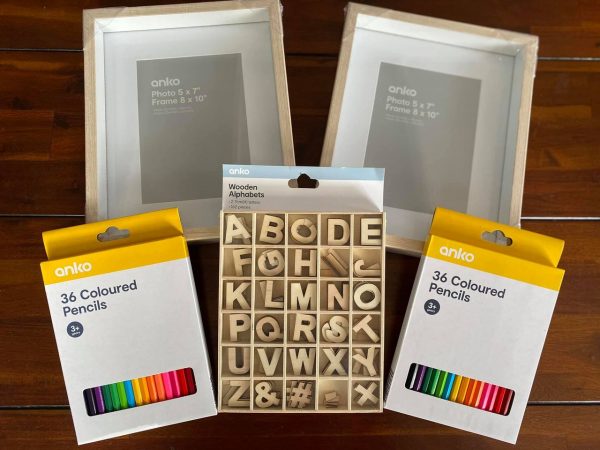
What you need
Inexpensive Coloring Pencils

Shadow Box Frame
 or
Wooden laser cut letters
Instructions
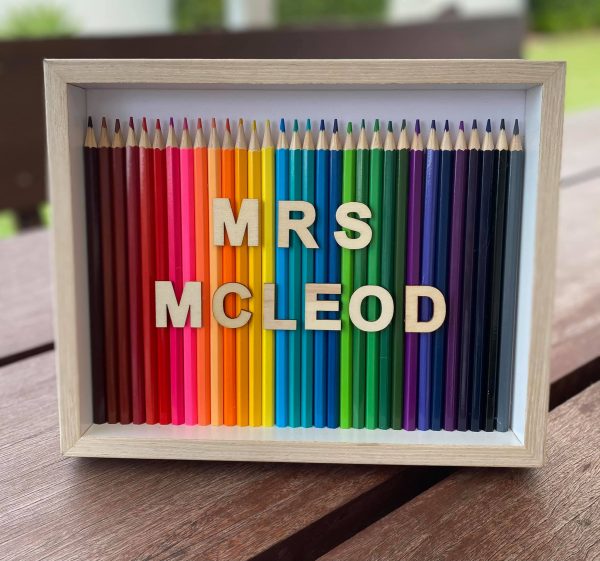
There’s something lovely about giving a teacher a handmade gift that feels personal. This rainbow pencil frame is bright, cheerful and made especially for them, with their name displayed across a colourful row of pencils.
I love how ordinary school supplies become part of the decoration. The rainbow colours do most of the work, while simple wooden letters give the finished frame a lovely handmade feel. It’s a thoughtful project for Teacher Appreciation, an end-of-year thank-you or a Christmas gift for someone who has helped your child along the way.
Children can help choose the colours, arrange the pencils and check the lettering before an adult takes care of cutting or strong adhesives. Add a handwritten card sharing a favourite classroom memory, and you have a gift with a little story behind it.
1. Plan the Name
Confirm the teacher’s preferred title and the exact spelling of their name before starting. Check whether they use Mrs, Ms, Miss, Mr or another title.
Lay the wooden letters on a sheet of paper approximately the size of the frame opening. Try the title on one line and the surname beneath it, as shown in the example.
For a longer name, choose smaller letters or a larger frame so the lettering fits comfortably.
2. Prepare the Frame
Remove the backing and any internal packaging. Clean away dust and check that the backing is sturdy enough to support the pencils.
If you would like a white background, paint the backing and allow it to dry completely.
You can retain the glass if everything fits behind it without pressure. Otherwise, choose a frame designed for an open display and store any unused glass safely.
3. Check the Pencil Length
Measure the inside height of the frame and compare it with your pencils.
For the easiest version, select a frame that accommodates the pencils without cutting. Remember that the sharpened tips need a little clearance beneath the top edge.
If shortening is necessary, mark and trim the blunt ends so the pointed ends remain intact. An adult should use an appropriate saw and clamp, then sand the cut ends smooth. Do not try to cut pencils with ordinary scissors.
4. Arrange the Rainbow
Place the backing flat on your work surface and arrange the pencils vertically with their tips facing upwards.
Work through your colours from one side to the other. You might move from reds and pinks through orange, yellow, green, blue and purple, finishing with darker shades.
Use a ruler along the bottom to keep the blunt ends aligned. If the pencils have slightly different sharpened lengths, a little variation at the top is perfectly fine.
Before gluing, check the arrangement inside the frame. Keep pencils clear of the backing’s retaining clips and edges.
5. Glue the Pencils in Place
Following the adhesive manufacturer’s directions, apply a controlled amount of glue to the back of each pencil and press it onto the backing.
Work across the arrangement a few pencils at a time. Keep the colour order intact and avoid using so much glue that it squeezes between the pencils.
Leave the backing flat and undisturbed until the adhesive has fully cured.
Tip: Test the glue on a spare pencil first. Painted or varnished pencil surfaces can affect adhesion.
6. Position the Wooden Letters
Lay the letters loosely over the pencils before attaching them.
Centre each line within the visible opening, checking the spacing by eye. The title and surname do not need to be the same width, but both should feel balanced.
Take a quick photo once you are happy with the layout. It makes a useful reference when you lift the letters to add glue.
7. Attach the Name
Apply small amounts of suitable adhesive to the back of each letter where it will contact the pencil shafts.
Press the letters gently into position without shifting the pencils. Because the surface is uneven, check that each letter has secure contact points.
Allow the glue to cure completely before lifting the backing.
8. Reassemble the Frame
Carefully fit the decorated backing into the frame and secure it using the frame’s fittings.
Check that the letters sit freely and that any glass does not press against them. Nothing should need to be forced into place.
Inspect the frame for loose pieces before displaying it. Use the stand or hanging hardware only if it is suitable for the finished weight.
9. Add a Personal Message
Write a note on the back with the child’s name, class and year. You could include a short message such as:
“Thank you for making our year so colourful.”
A separate handwritten card gives children room to share something more personal, whether that’s a favourite lesson, a funny classroom moment or a simple thank-you.
Helpful Tips
Check the finished weight. A full row of pencils can make a frame considerably heavier. Choose sturdy construction and suitable display hardware.
Keep the background simple. Natural wooden letters stand out beautifully against the rainbow. Arrange them before deciding whether they need painting.
Make it a shared project. Children can sort colours and plan the name while adults handle cutting and adhesives.
Remember the pencils become decoration. Once glued into the frame, they are no longer intended for drawing. Use spare or inexpensive pencils rather than a child’s favourite set.
Variations to Try
For a smaller frame, use just the teacher’s initial. You could also arrange pencils in a favourite colour palette or use a short word such as “CREATE”.
The finished gift doesn’t need extra bows or lots of embellishments. The rainbow pencils and carefully chosen name are enough to make it feel special—a bright little thank-you for someone who has made a difference.
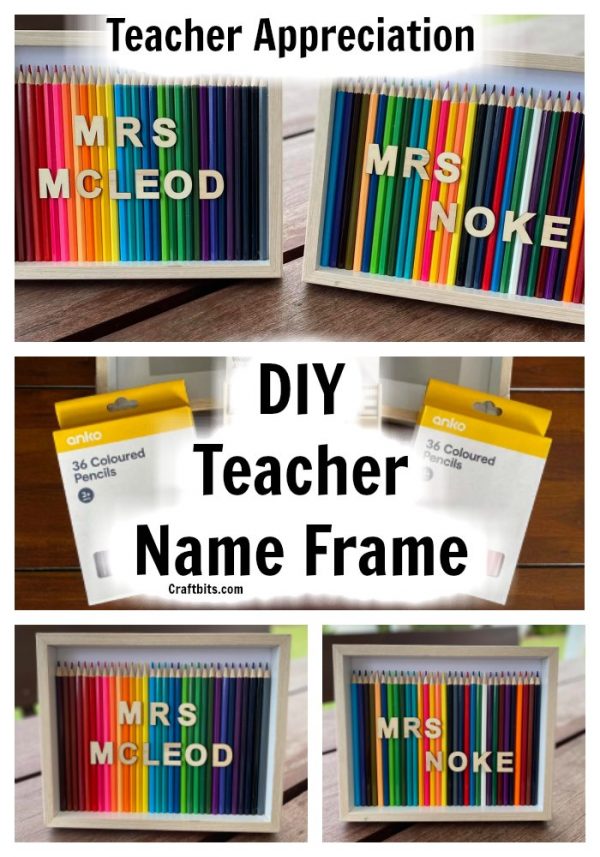
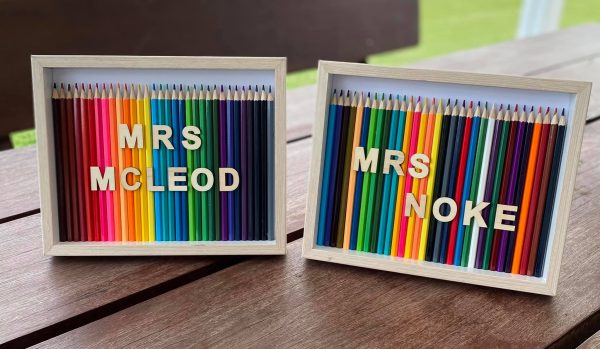
A big thankyou to Keryn Fuller for sharing these photos of her wonderful creations. Thanks for the ideas Keryn!




What do you think of this project? Let us know!