
Get more details about this project
What you need
Scissor
Double adhesive tape
Ribbon
Coloured Cardboard
Design Paper

Instructions
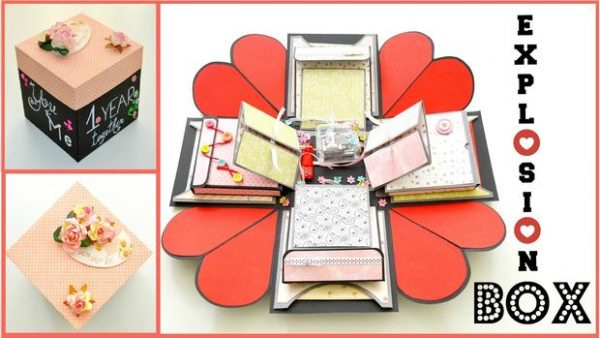
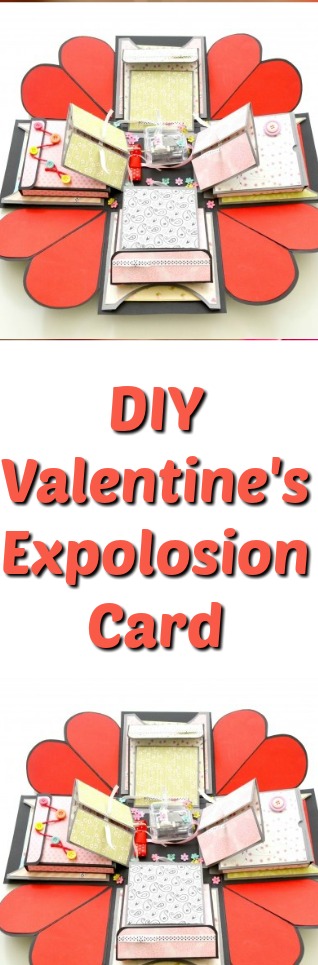
Valentine’s Day, Anniversary, or Birthday, whichever occasion it is, gifting is an expression of love and affection towards our loved ones. A gift that is not just bought from a store but made with love, has a special significance and a touch of personalization. That is why, in this article, we present to you a unique and creative gift idea- an Exploding Box for your boyfriend or girlfriend.
This handmade paper box is not just a gift, but an art that you can create with love and care. The Exploding Box is a perfect surprise that can be given to your significant other on any special occasion. With this tutorial, you will learn how to make this lovely paper box step by step, and with a little bit of effort and creativity, you will have a stunning gift that will make your partner smile.
Without love, we are lost, and gifts like these prove that you care about your loved ones and are willing to go the extra mile to make them feel special. So, grab your supplies and let’s get started on making this Exploding Box for your boyfriend or girlfriend.
This tutorial it’s step by step instructions, so it’s very easy to understand it.
Step 1: Watch the video!
For some people it’s easier to watch a video than following step by step photos 🙂
So if you are one of them I hope that this video will help you !
Step 2: Gather your supplies.
You need:
- Scissor
- Double sided adhesive tape
- Ribbon
- Coloured Cardboard
- Design Paper

In the next steps you will see that I attached the dimensions as well 🙂
You’re welcome 😀
Step 3: The base and the lid.
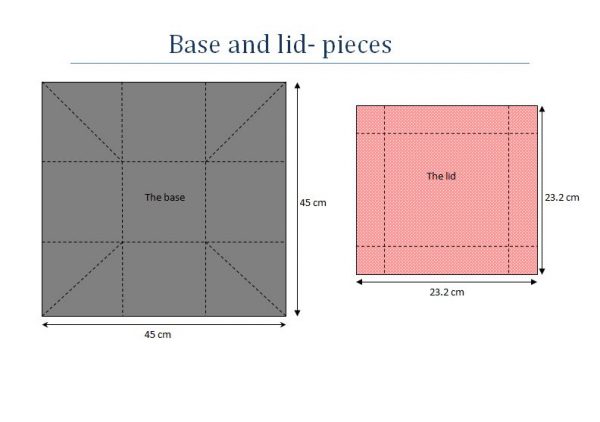
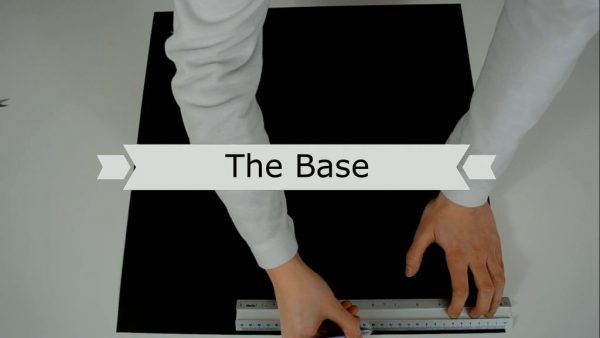
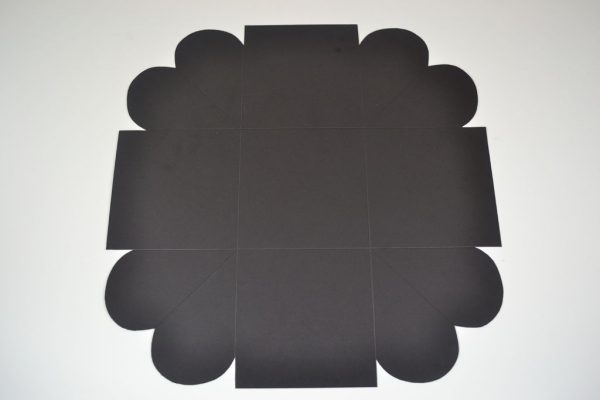


The base
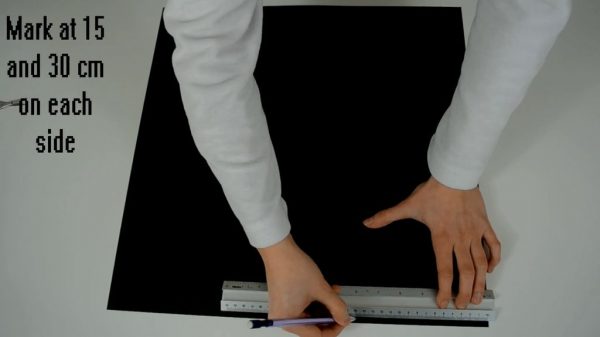
- Mark at 15 and 30 cm on each side,
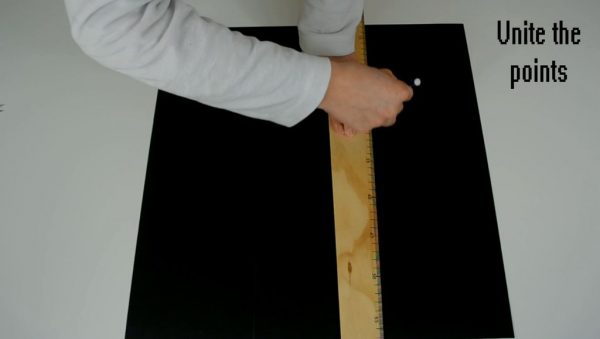
- Unite the points.
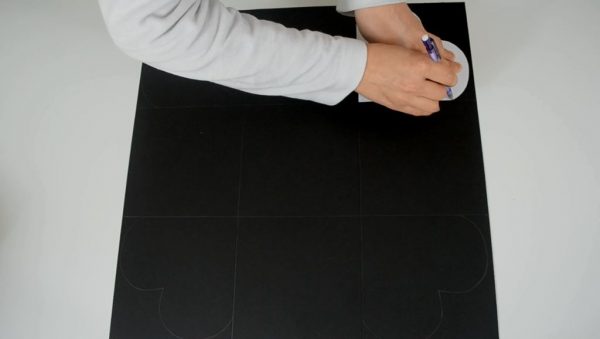
- Make a heart shape on each corner.
- Score every heart in the middle.
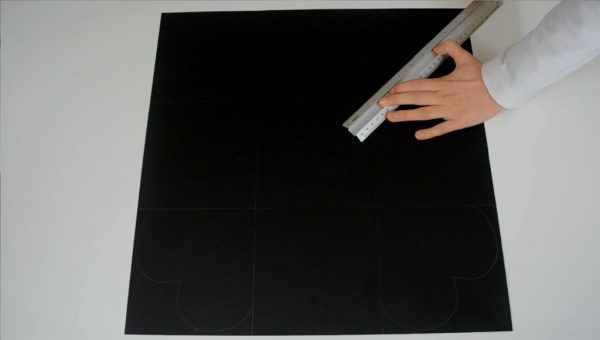
- Cut the unwated part around the hearts.
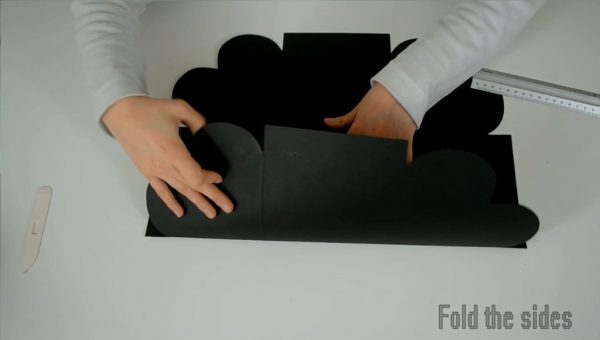
- Fold the sides.
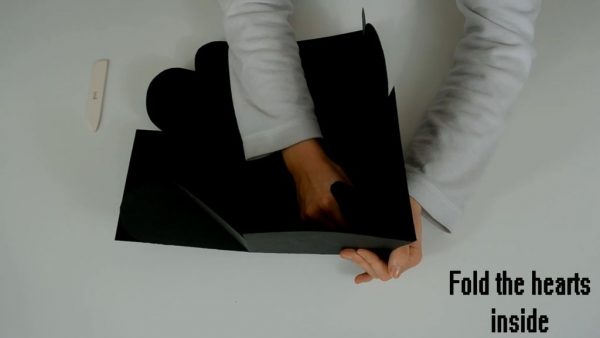
- Fold the hearts in the middle.
The lid
- Score on each side at 4 cm.
- Fold the sides.
- Cut one line in each corner.
- Put adhesive on the corners.
- Stick the sides together.
- Add some descoration on it.
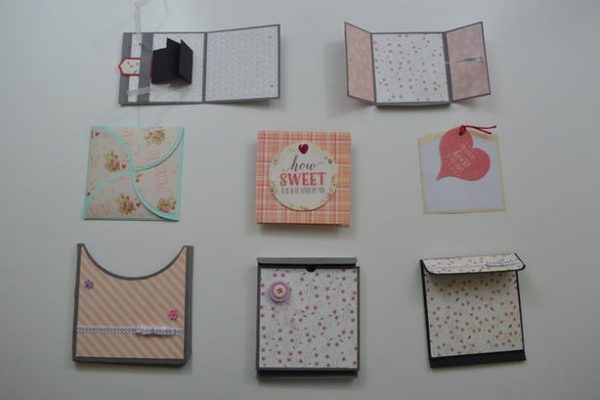
Step 4: First Row Pieces.


Step 5: How to make a Pop – up card
If you want to see the instructable for this project go here:
https://www.instructables.com/id/How-to-Make-a-Greeting-Card-DIY-Paper-Crafts-Birth/
Step 6: Second Row Pieces


Step 7: How to make a Squash Book
Step 8: How to make squash book pocket
Step 9: Third Row Pieces.


Step 10: How to make a Waterfall Card
Step 11: Assembling all together!

Actually, this is the easy part.
If you follow my tutorial I’m 100 % sure that you will understand how to do it.


I like it. My grandma will be so happy!
Where do you get the colored cardboard from? I can’t find anything thicker than cardstock except poster board
Turned out beautiful. Thank you!
Fabulous! Easy to follow instructions!
On the second row, there are only 2 squash cards with their corresponding pockets. What do you call the other two? Those look much simplier and adds variety to the explosion box and is there any tutorial video for it? I’d really like to know. Thanks for all the help! 🙂
Awesomeness
Happy to hear that you like it 🙂