
Choose skeletons, skulls, pumpkins, haunted houses or classic orange-and-black napkins to create your own coordinated Halloween display.
Get more details about this project
What you need
Clean recycled glass jars
Printed Halloween paper napkins
White PVA craft glue or decoupage medium
Small container for mixing
Water
Foam brush or soft paintbrush
Scissors, optional
Black ribbon, twine or decorative cord, optional
Craft wire and pliers for a handle, optional
Battery-operated LED tea lights
Wax paper or another protected work surface
Instructions
This Halloween project uses printed Halloween party napkins to create a layered or decoupage effect on recycled glass jars. For this tutorial we wanted to use real tea-light candles so we went for a glass jar. If you were using a battery candle you could use transparent plastic jars or containers.
For this craft you need a watery white glue mix. This is made by adding a small amount of water to PVA or white wood or craft glue.
The best napkins to use for this project are napkins which are 2 ply and the back layer can be separated to form a thick printed sheet.
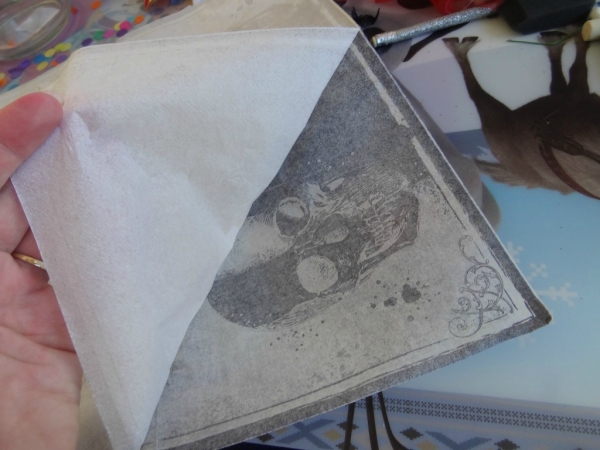
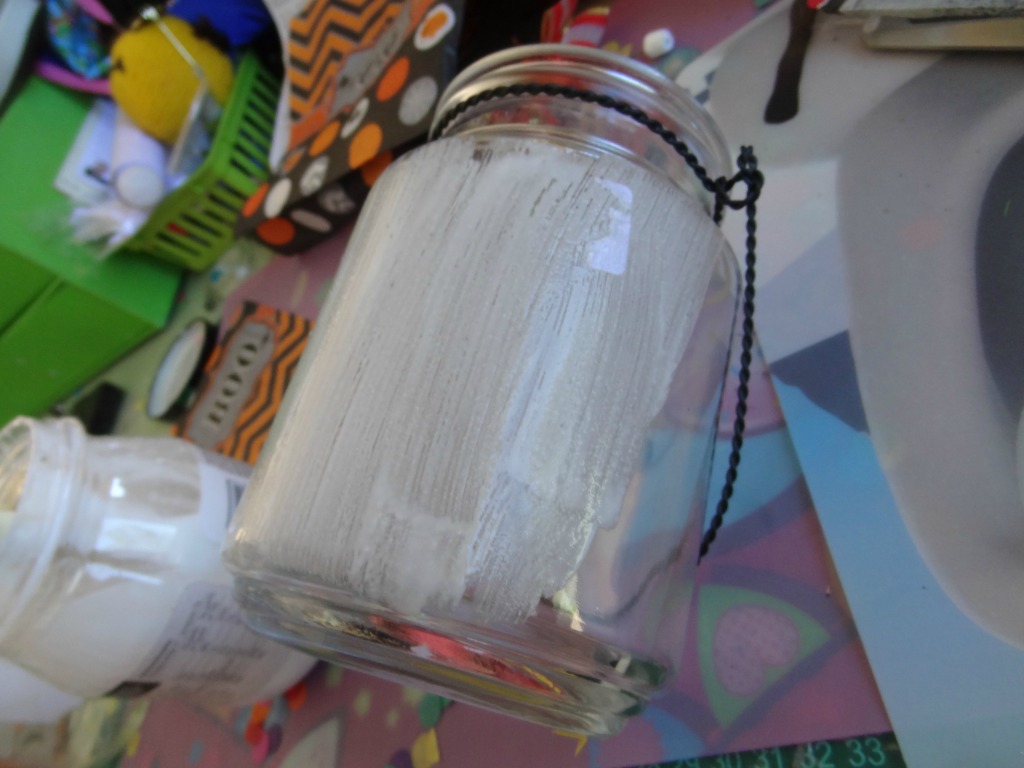
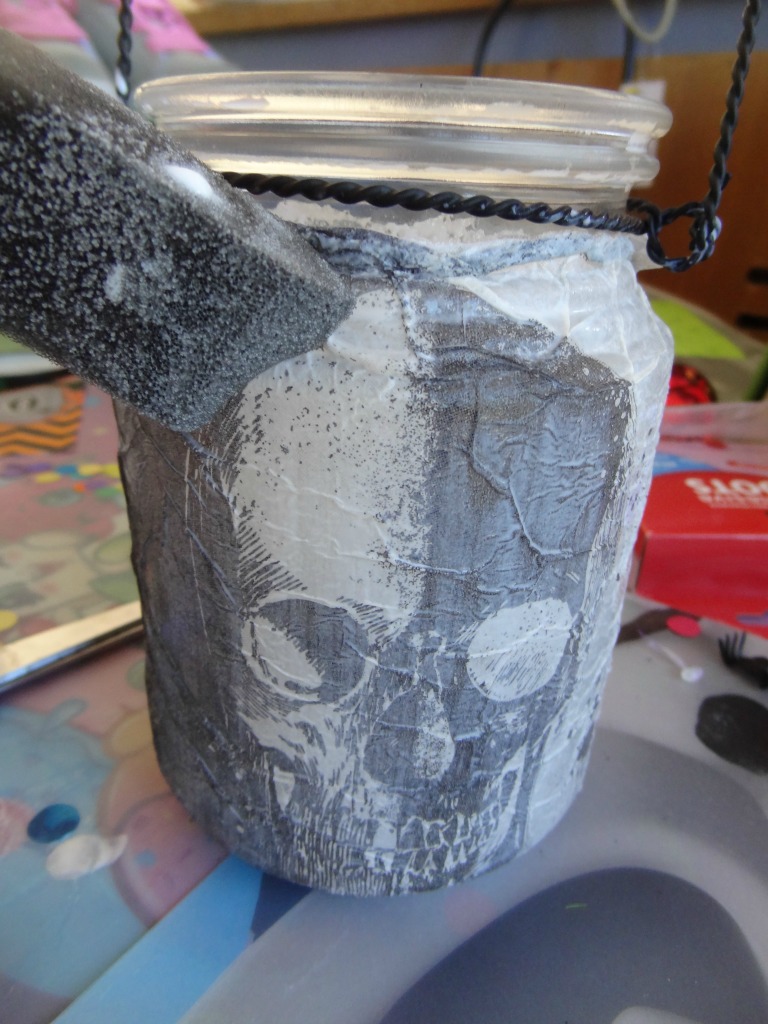
Start by coating the glass jar with the white glue mix. Then tear your printed paper to an approximate size. It’s best to tear the paper not cut it. The straighter the lines the more obvious the overlaps are. This is more noticeable in ones that have been patched with different napkins, like the book jar and the skeleton jar in the picture.
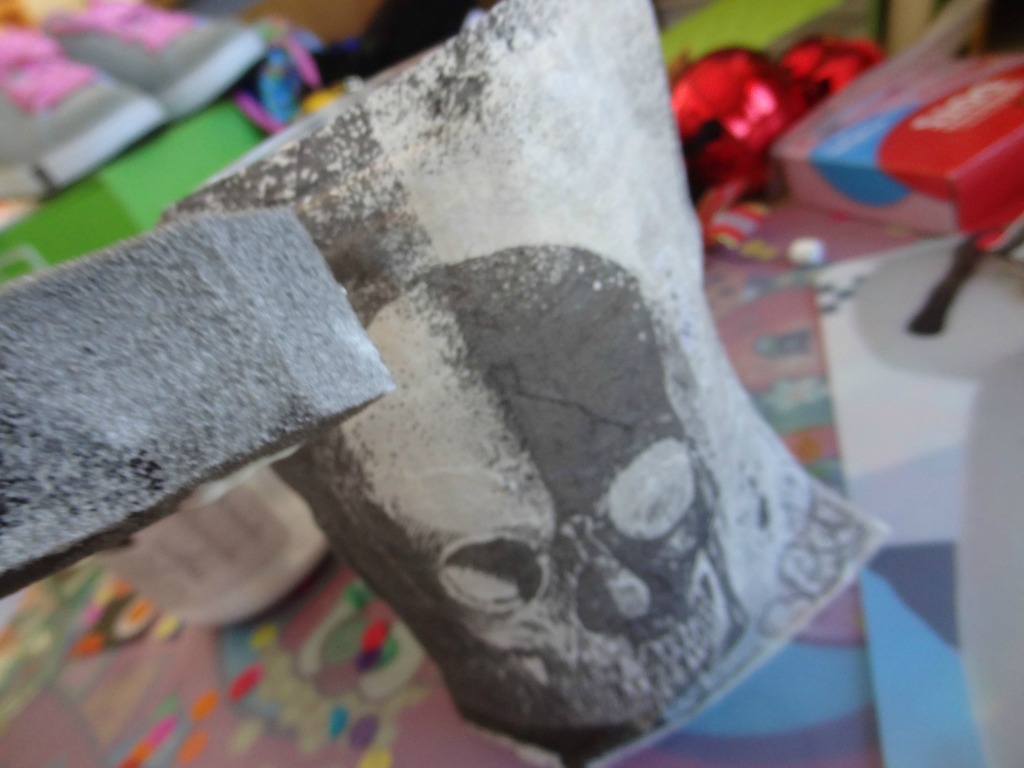
Gently press the napkin on to the wet jar. Don’t worry about the glue going on top of the design, it will dry clear and act as a sealant.
Do this working all the way around and fix any patches you need to fill gaps. The paper becomes very soft when wet so press gently.
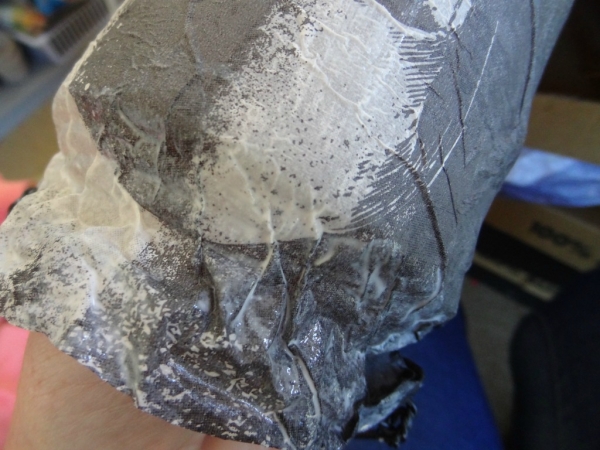
Once dried apply a full coat of the glue to the jar to seal the design.
To use simply place a tealight into the jar.
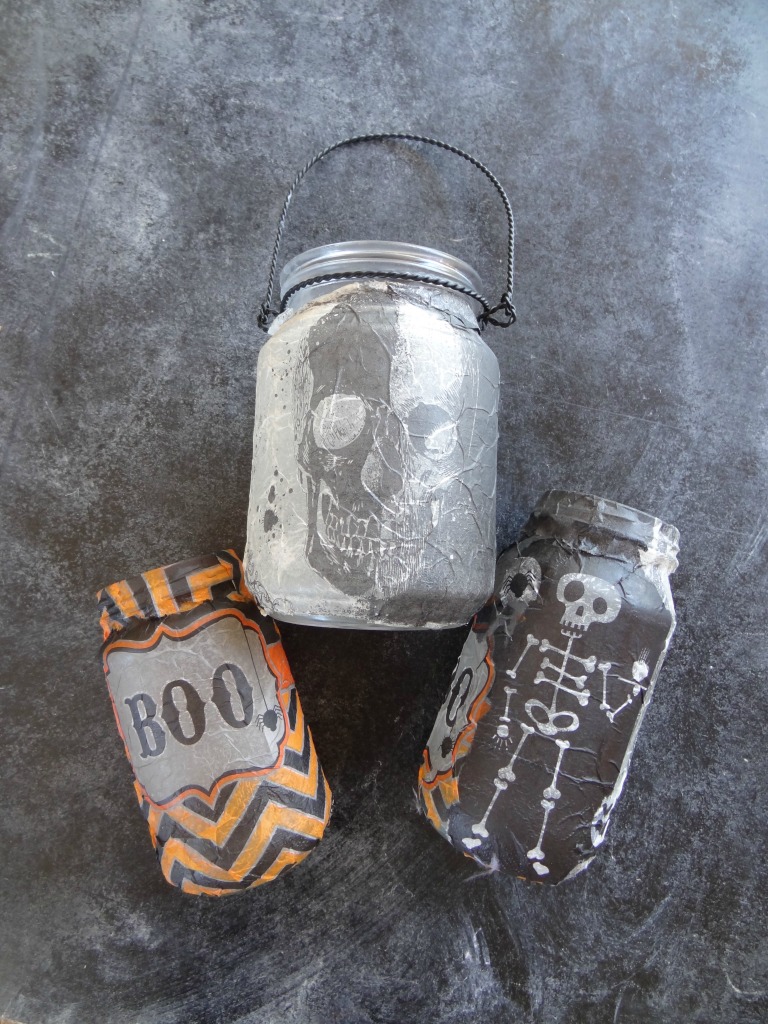
All done!



What do you think of this project? Let us know!