
What you need
3- picture frames same size (11 3/4 in x 7 1/2 in)
2- picture frames (5 1/2 in x 7 1/2in)
Gift bag (background)
Garland
Red berries
Little people
Santa, Mrs. Claus, snowman
Bench & light poles
Building
Christmas trees
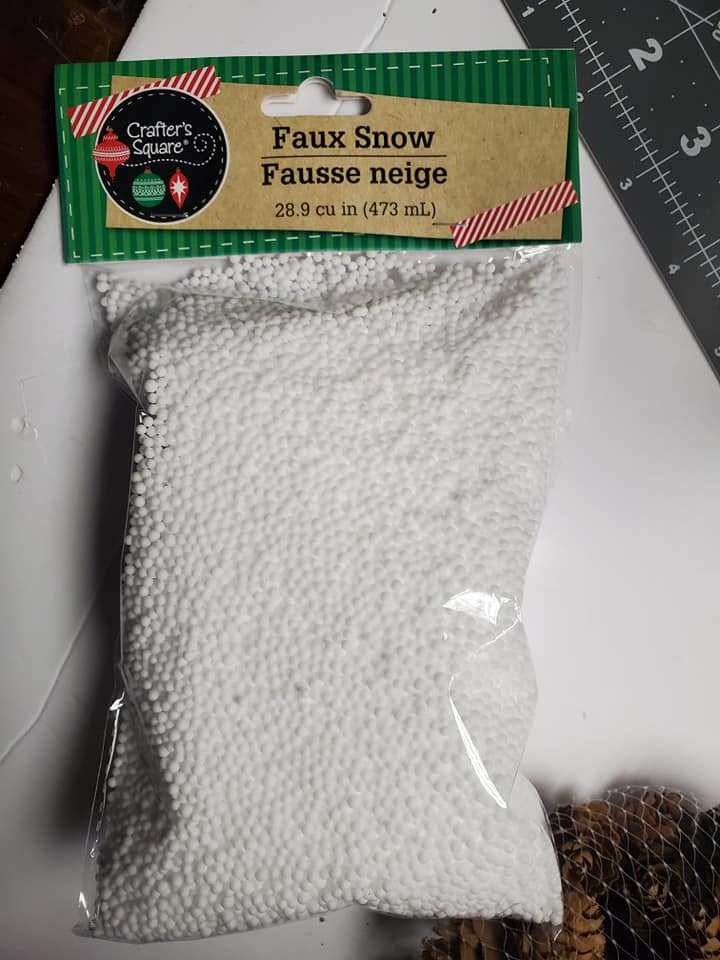
Faux snow (1 bag) or Fake Snow
Mini pine cones
Foam board (bottom)
LED battery operated lights
LED tealight candle battery operated lights
White glitter
Mod podge
White acrylic paint
Instructions
This Christmas craft tutorial is so much fun to make as you can be as creative as you like and create a Christmas scene box to suit your own perception of Christmas or wintertime. This amazing project was contributed by Kimberly Mae Albrecht. Thanks for sharing Kimberly we love your project.
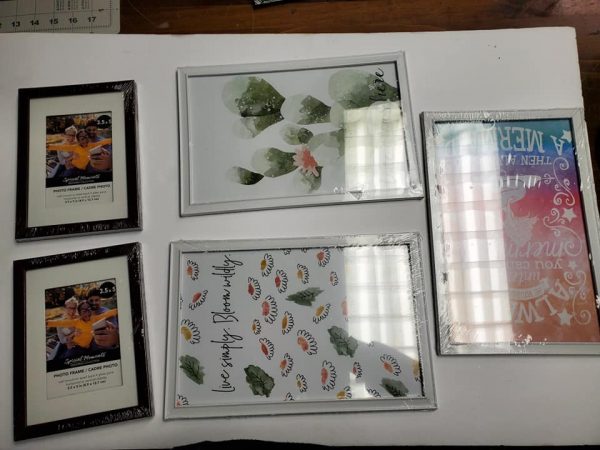
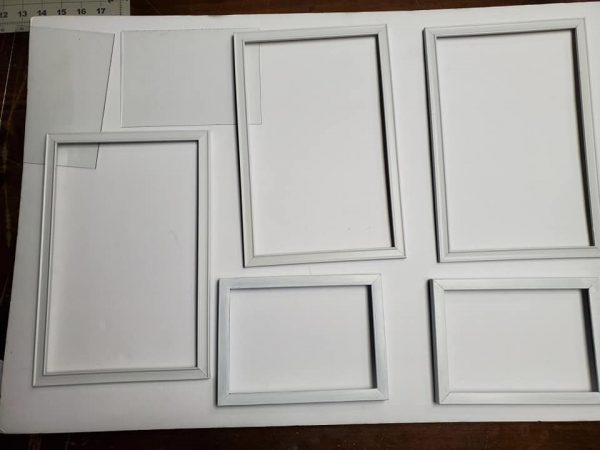
Start by taking the frames apart, it doesn’t matter what size you use as long as they form a box or rectangle.
Paint all the frames white using acrylic paint or use White spray paint for a quick-drying result.
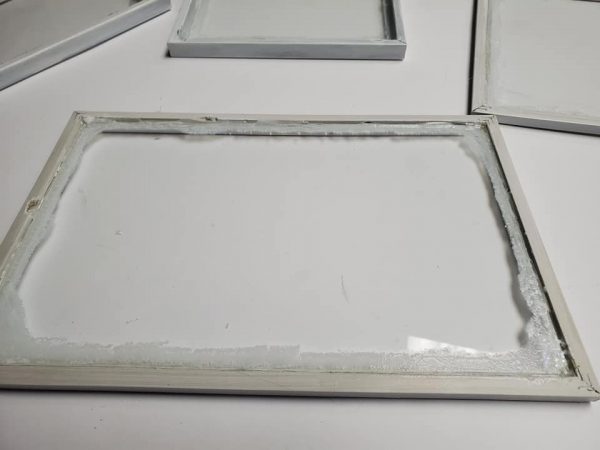
You can add snow details to create a frosty window, by mixing glitter and modge podge or white PVA glue
(both dry clear) together to form a gritty glistening snow. Alternatively, you can buy Paint on snow.
Using a gift bag for the background, cut out the design and glue it to the back of one frame. This forms the background to your box.

Glue the back, sides and front frame together using hot glue or E6000 .
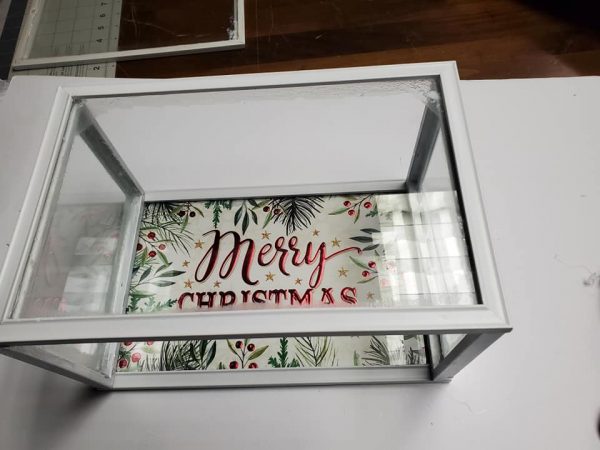
Next add the bottom foam board and the building.
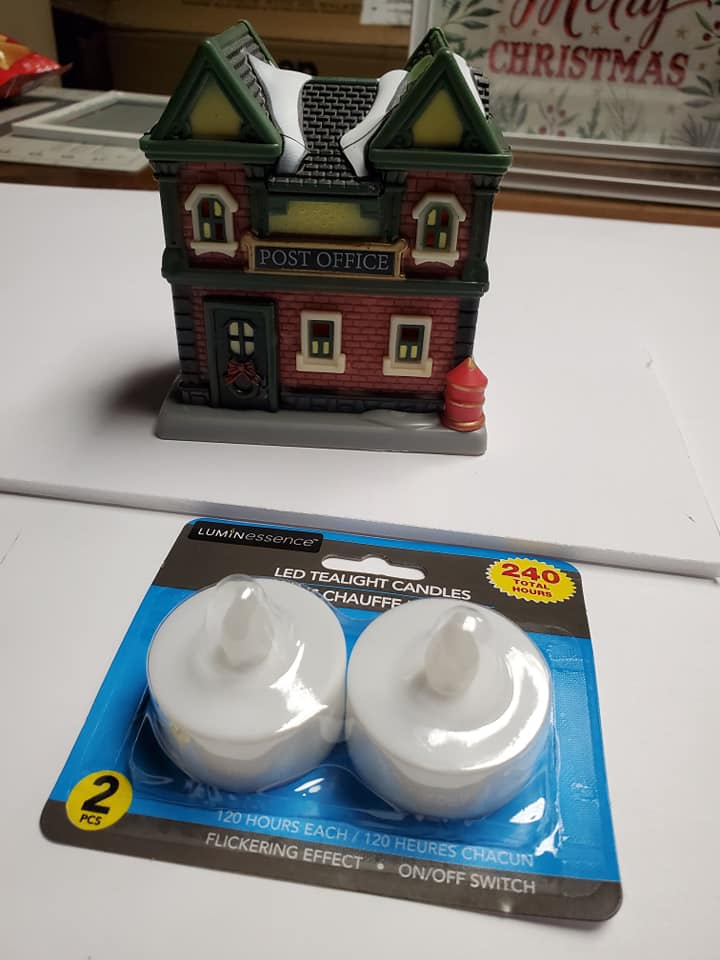
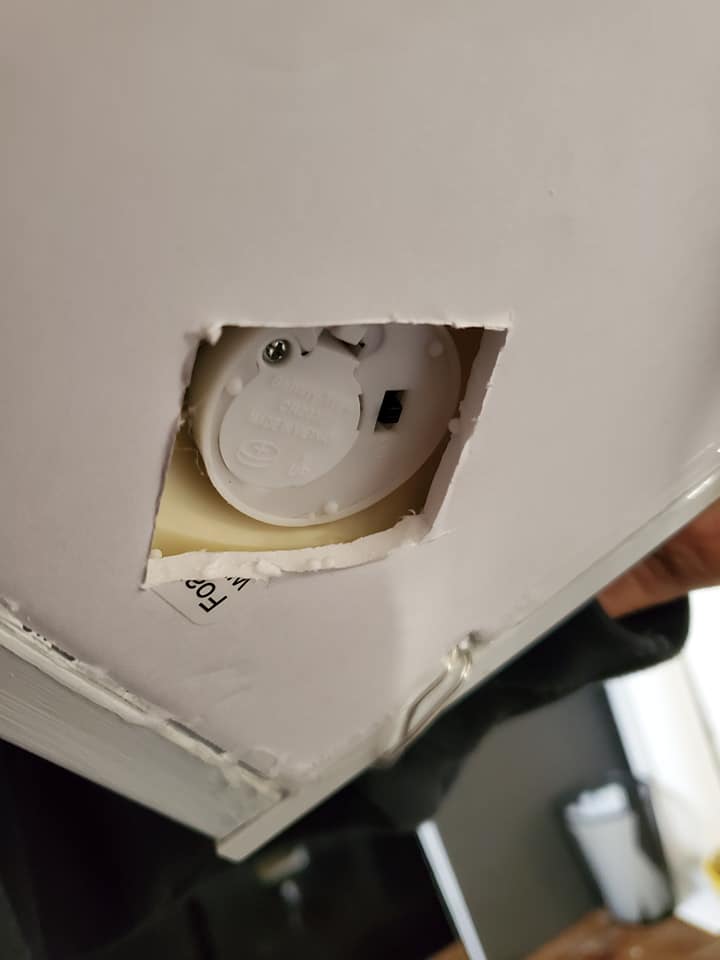
If you are going to light up your building, cut a hole under the building to access the light to the building.
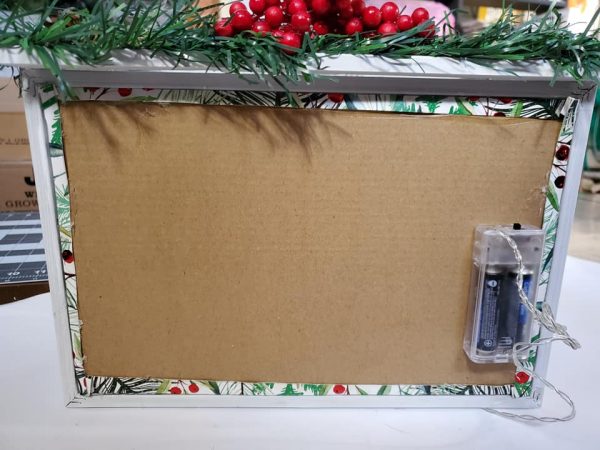
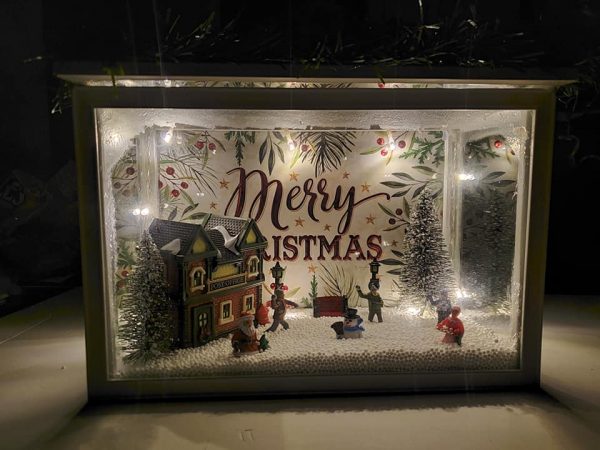
Add lights inside by glueing them to sides of the frame and secure the batteries to the back.
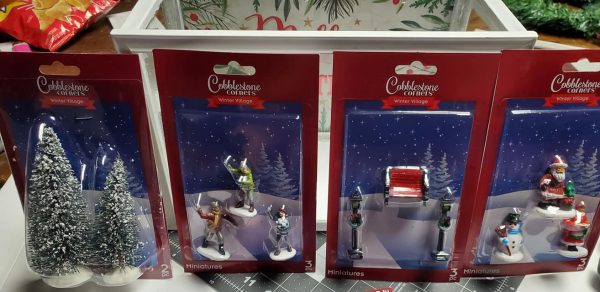
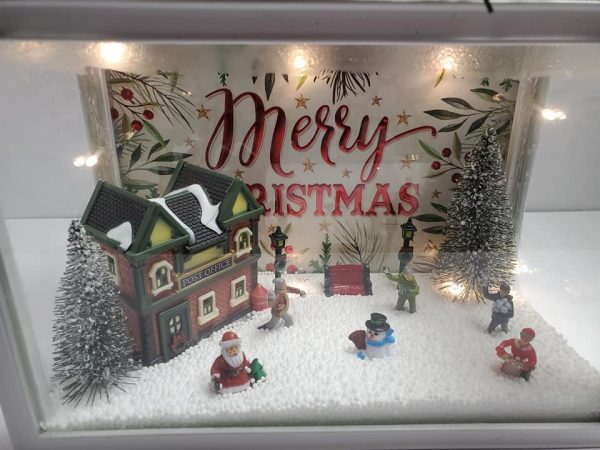
Arrange your miniature pieces to create the scene and then add the faux snow.
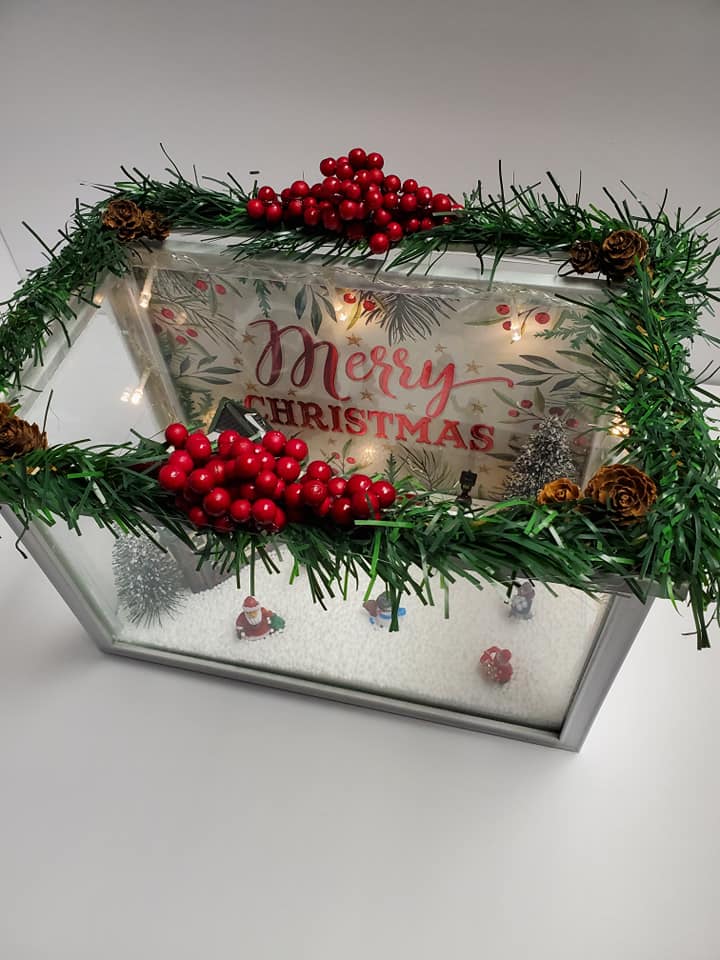
Decorate the top with some greenery and or bows.



I’ve had a similar idea but then you showed me how to actually do it! Thank you!