
What you need
Materials-
1. Jean fabric or old pair of jeans
2. Felt
3. Scissors
4. Sewing machine
Instructions
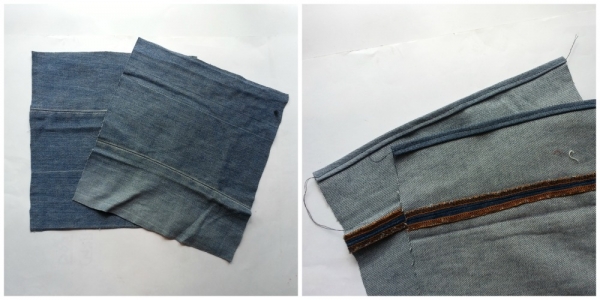
Step-1: Select a fabric for your bag; I’m using a pair of old jeans. Measure and cut 2 square and equal sized pieces from the jeans fabric. Take any one piece, fold any one side of its open ends and sew over the folded. Similarly fold and sew the other piece.
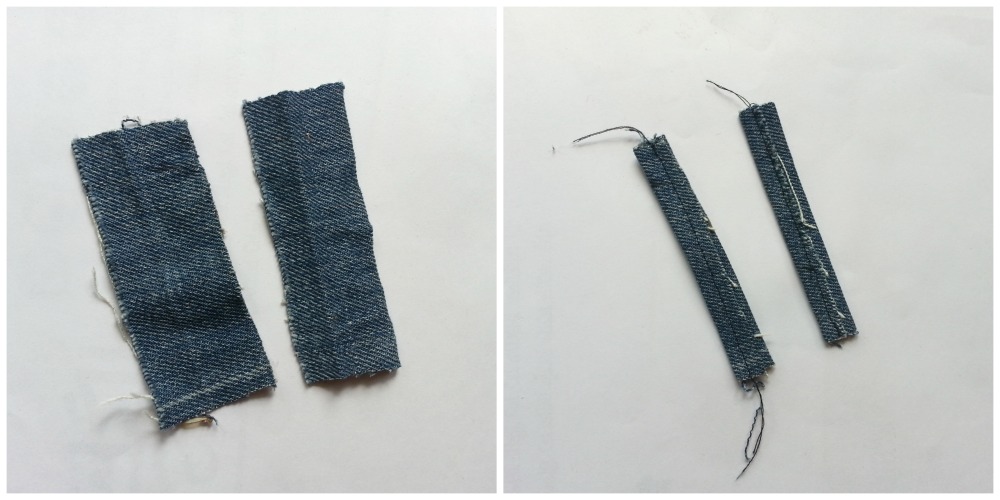
Step-2: Cut 2 small pieces of jeans, around 3 X 6 cm should work. Fold 3 times along the 3 cm side and sew along it. Do same for both pieces.
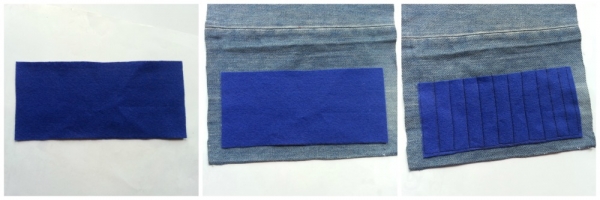
Step-3: Cut a piece of felt for making the brush and pencil holder. The width of the felt should be same as the bags’ width and the height should be 8-10 cm. Take any one of the main parts from step-1, place the felt piece on the bottom side of it as you can see in the picture. Sew along the 3 sides of the felt with the jeans by keeping the top side open. Now sew vertical parallel lines by keeping 2 cm gap between each gaps to create the pencil or brush holder pockets.
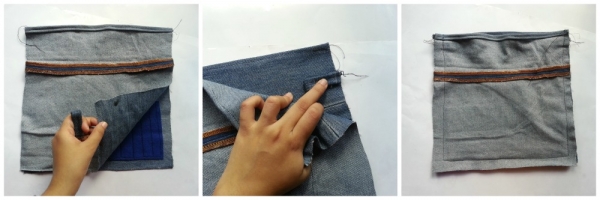
Step-4: Place the jeans part with the pockets, on a flat surface with its right side facing up. Take the other main part and place it on the pocketed part with its wrong side facing up. Also, take any one of the small jeans pieces from step-2, fold and place it between the main parts top side as you can see in the picture of this step. Similarly place the other piece on the other side of the bag. Now carefully and neatly sew along the 3 sides to join all the pieces together.
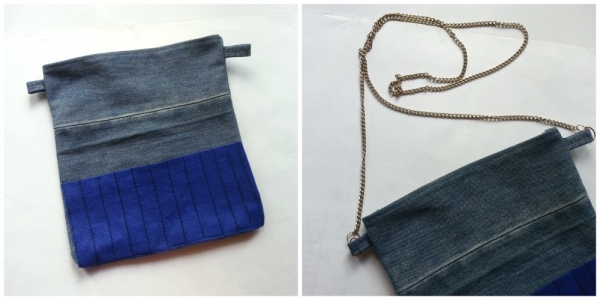
Step-5: Once you’re done sewing the sides turn the right side out and push the corners from the inside of the bag. Iron the bag if necessary to bring out the shape nicely. I used a long piece of heavy jewellery chain as the handle of the bag. You can attach the handle through the 2 loops on both sides of the bag.
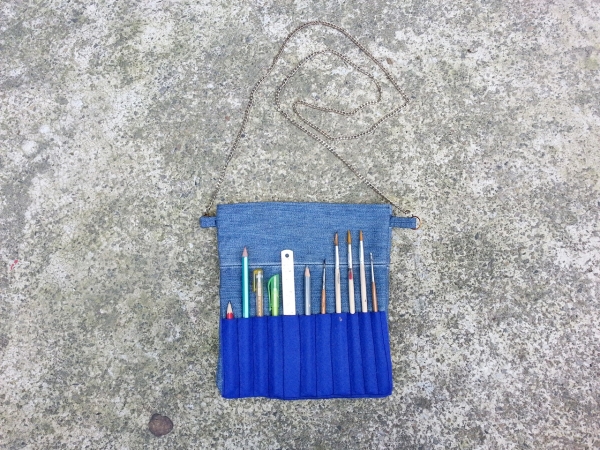
Now you can keep all your colouring supplies at one place without any mess and having any trouble finding them!


What do you think of this project? Let us know!