
Get more details about this project
What you need
White pillar candles
Red candle wax or red crayons
Old heatproof bowl, tin or melting container
Saucepan for creating a water bath
Metal spoon or wooden craft stick
Baking paper or a protected work surface
Oven mitts or heat-resistant gloves
Instructions
For this candle making project you can make a plain candle using one of our Candlemaking tutorials or use a store bought one.
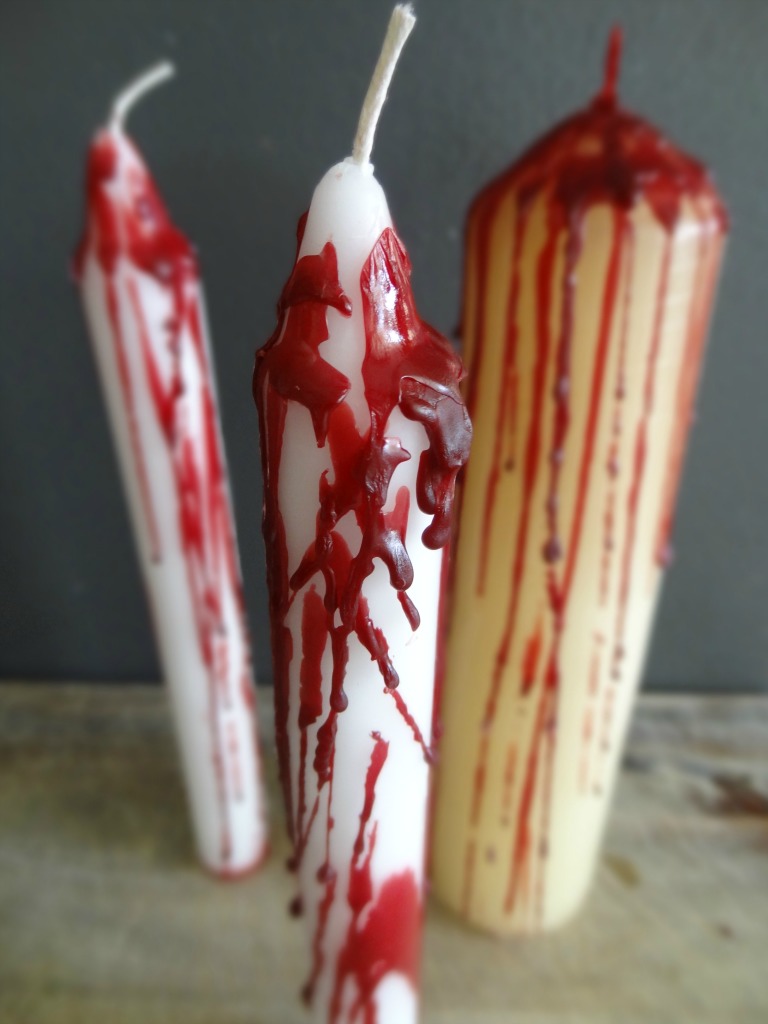
These Halloween blood drip candles are wonderfully creepy and incredibly simple to make. All you need are plain white candles and some red candle wax or red crayons.
As the melted red wax runs down the white candles, it creates the appearance of dripping blood. Every candle will look slightly different depending on how quickly you pour the wax and how far you allow it to travel down the sides.
Arrange several candles of different heights together to create a dramatic Halloween mantel, party table or entryway display.
Instructions
Place the white candles upright on baking paper or another protected work surface. Make sure they are stable before you begin working with the melted wax.
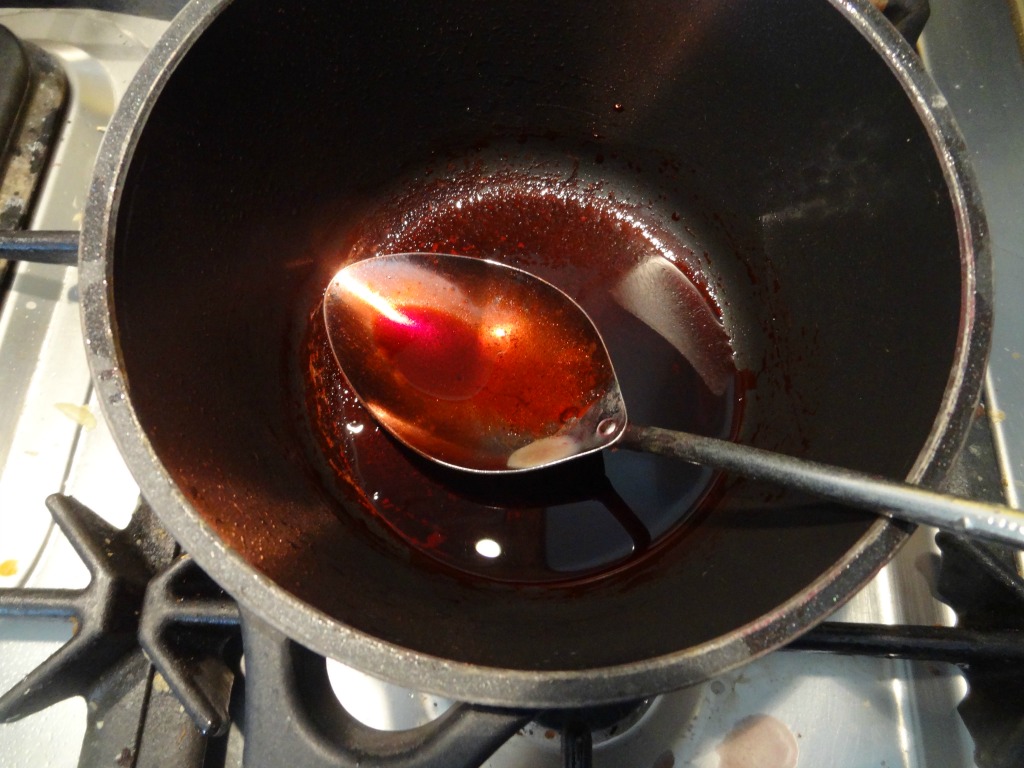
Break the red candle wax or red crayons into small pieces and place them in an old heatproof bowl, tin or dedicated wax-melting container.
Place the container in a saucepan containing a small amount of gently simmering water. Warm the wax slowly, stirring occasionally, until it has completely melted. Do not leave the melting wax unattended.
Carefully remove the wax container from the heat using oven mitts or heat-resistant gloves.
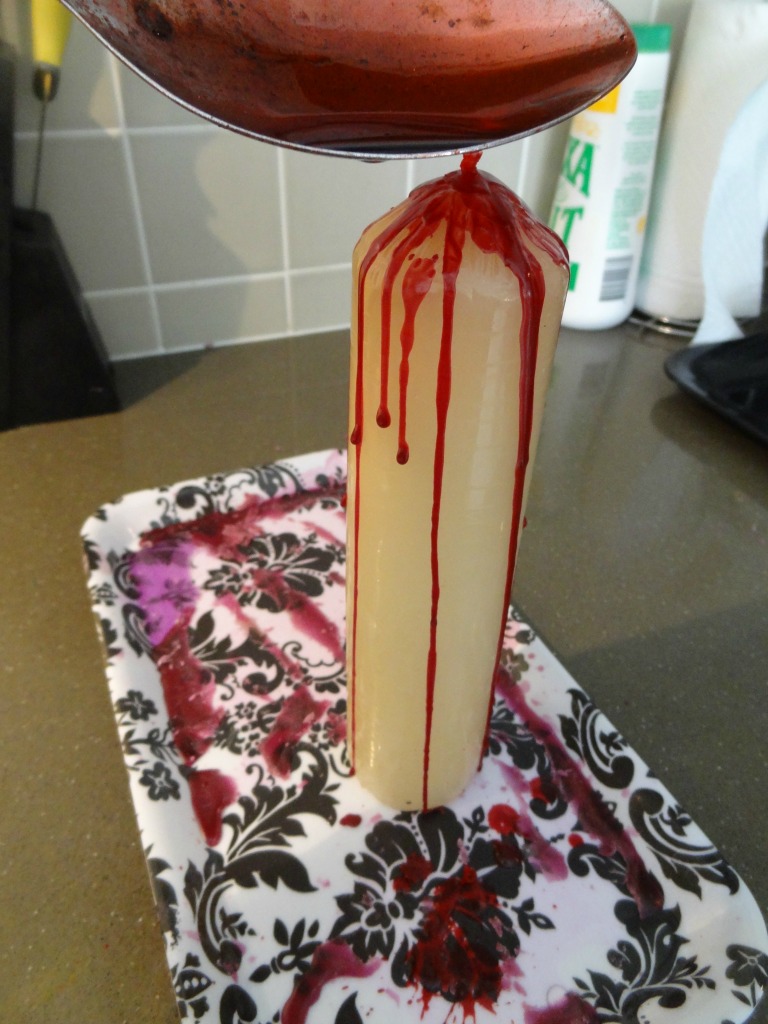
Use a metal spoon or wooden craft stick to drip small amounts of melted red wax around the upper edge of each white candle.
Allow the wax to run naturally down the sides. Add some short drips and some longer drips to create an uneven, realistic blood-drip appearance.
Let the first layer cool slightly before adding more red wax. Building the effect in several thin layers gives you better control and creates thicker drips around the top.
Continue adding wax until you are happy with the finished appearance. Leave the candles standing upright until the red wax has cooled and hardened completely.
Display the finished candles on a heat-resistant tray, candle plate or holder. Keep them away from curtains, dried flowers, paper decorations and other flammable materials.
If red crayon was used for the drips, treat the finished candles primarily as decorative Halloween props. Crayon pigments and additives are not designed as candle fuel and may affect how the candle burns. Never leave a burning candle unattended.





What do you think of this project? Let us know!