
What you need
Materials Needed:
Eggs
Watercolour
Paint brush -0 point
Colour tray
Instructions
Are you looking for a fun and creative way to decorate Easter eggs this year? Watercolour Easter eggs are a perfect option for beginners, as they are easy to make and require only a few supplies.
To get started, you’ll need some hard-boiled eggs, watercolour paints, a paintbrush, and a cup of water. Begin by filling your cup with water and wetting your paintbrush. Then, choose a color of watercolour paint and paint a small section of the egg with the brush.
Once you have applied the paint, dip your brush back into the water and use it to blend the color. Continue adding paint and blending until you have covered the entire egg in a beautiful watercolour pattern.
If you want to add some extra details, you can use a fine-tip paintbrush to add designs, such as flowers or polka dots. You can also experiment with different color combinations and patterns to create a unique and personalized look.
Once you’re finished, allow the eggs to dry completely before handling or displaying them. These watercolour Easter eggs make a beautiful addition to any Easter basket or centerpiece, and they are sure to impress your family and friends.
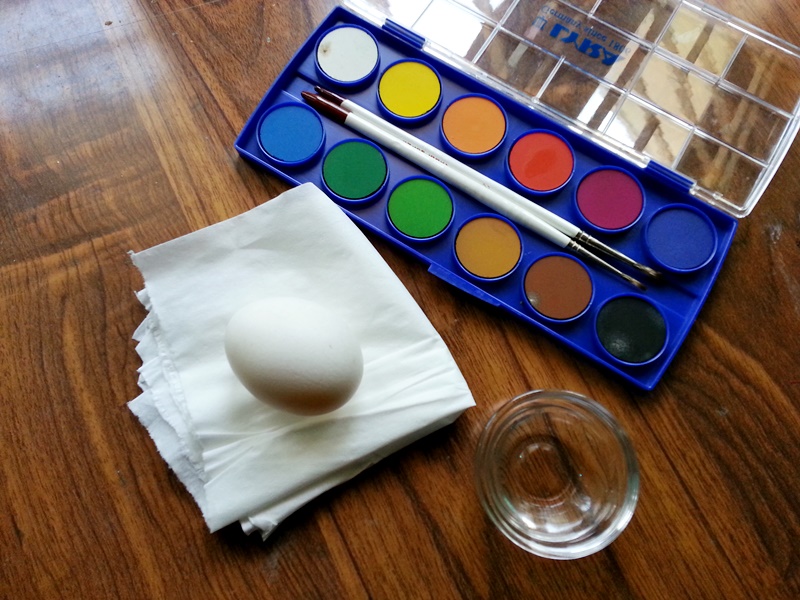
For this craft use white shell eggs, they work great as watercolour canvas. Clean and dry the eggs. Choose your colours and prepare them on the tray. I chose a simple pattern, some flowers and leaves around them.
 Start from the centre of the pattern with light colour. Tap the brush with dark shade carefully around the edge of the light coloured pattern to create a flower-like pattern. Draw more flowers around the first one using this technique.
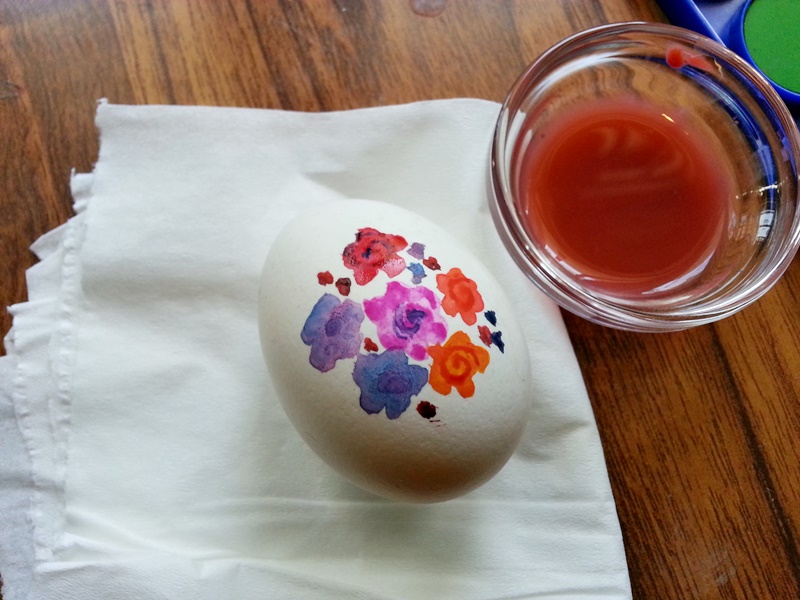 Now use the tip of the brush to draw tiny flower patterns around the big ones. Stroke 2-3 times on them to create tiny petals.
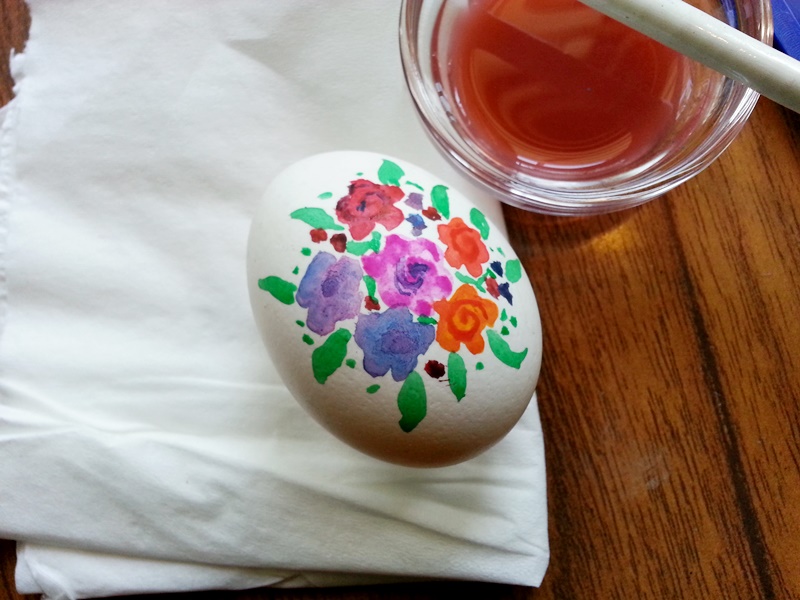 Use green paint for the leaves. Allow the paint to dry.You can add tiny beads, glitter powders as well if you want more details and decoration but keeping it simple also looks cute!




My Mother always painted my Easter eggs with watercolors … that was back in the 1940’s and 1950’s!
I think this is a very cute project and easy for kids to do, thank you