
What you need
Felt, Fabric
Toy Wadding
Sewing supplies
Embroidery Thread
Toy Filling/Wadding
Instructions
Start by printing the patterns here.
Cut 4 triangles for the body
Cut 2 legs 2″ x 8″ (5 x 20 cm).
Cut 2 boots, placing the back of the boot to the fold.
Hat – Cut 2 large circles and 1 small
Cut 1 base 4.5″ x 4.5″ (11.5 x 11.5cm)
Stitch the legs down the length and turn inside out and fill with Toy Filling or Wadding
Stitch the boots together placing the legs into the boots around 1/2″ inside and securing with stitches.
Make a hangup with felt by cutting a piece 6″ x 1″ (15 cm x 2.5 cm). Fold it width ways and stitch with a blanket stitch.
Sew your triangle body pieces into place, leaving a gap at the top for filling.
Sew your legs into place at the front when your sew your base into position.
Fill with wadding and stitch close, stitch your hangup into place.
Hat:
Stitch the 2 large circles together using blanket stitch , cut a hole into the centre. Stitch the small circle to the oblong piece to form a tube. Fill with wadding and stitch to the large circle. Push it through the hole slightly for a better finish. Place it on top of the head and stitch into place.
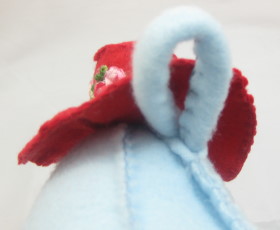
Decorate with some flowers or lace.
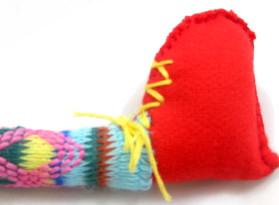
Add shoe laces to the shoes with embroidery thread or ribbon.
Eyes- stitch the two white circle into place and the red felt mouth. Stitch the eye lids over the eyes and the nose into place. Add the blue circles for the eyes.
Bee – Optional
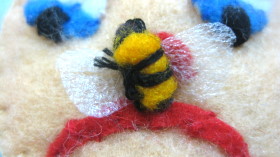
Cut a small rectangle of orange felt. fold the two ends in and stitch together length ways to create a small rounded oblong shape. Using black embroidery thread stitch over the body to create the bee’s stripes. Add some wings using plastic or white felt.


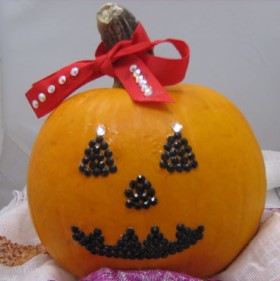

you should make a happy one
aww!