
Get more details about this project
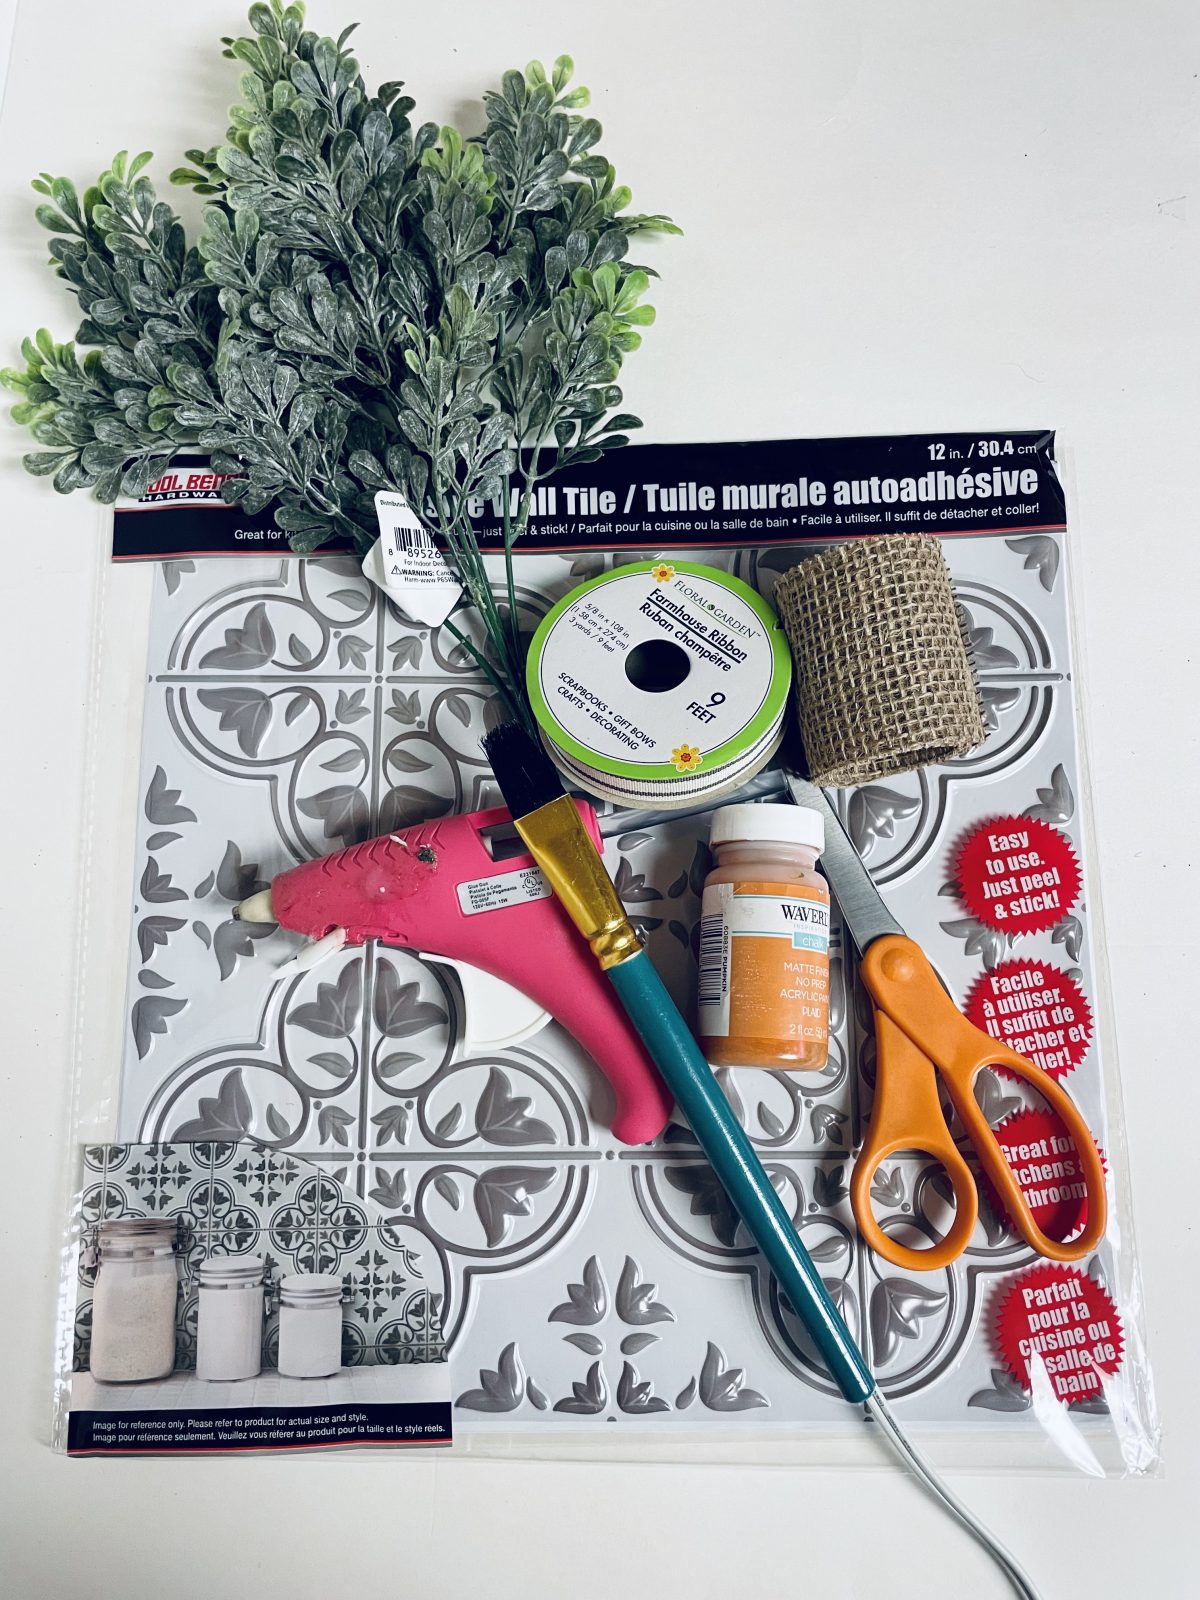
What you need

Paint Brush
Scissors
Greenery
Hot Glue Gun
Instructions
 Easter is just around the corner, and if you’re looking for a fun and budget-friendly way to decorate your home for the occasion, look no further than this DIY Easter wreath made from Dollar Tree supplies. With a charming vintage carrot design, this wreath is the perfect way to add a touch of whimsy and nostalgia to your decor. Best of all, you can make it using materials that are easy to find and won’t break the bank.
To make this wreath, you’ll need a few basic supplies from Dollar Tree. You’ll also need some paint and a paintbrush to give the wreath a vintage look.
This Easter wreath is not only fun and easy to make, but it’s also a great way to add a personal touch to your holiday decor. Whether you’re looking to spruce up your front door or add a festive touch to your home’s interior, this DIY Easter wreath is sure to impress. So grab your supplies, get creative, and enjoy making your own vintage carrot Easter wreath.
Instructions:
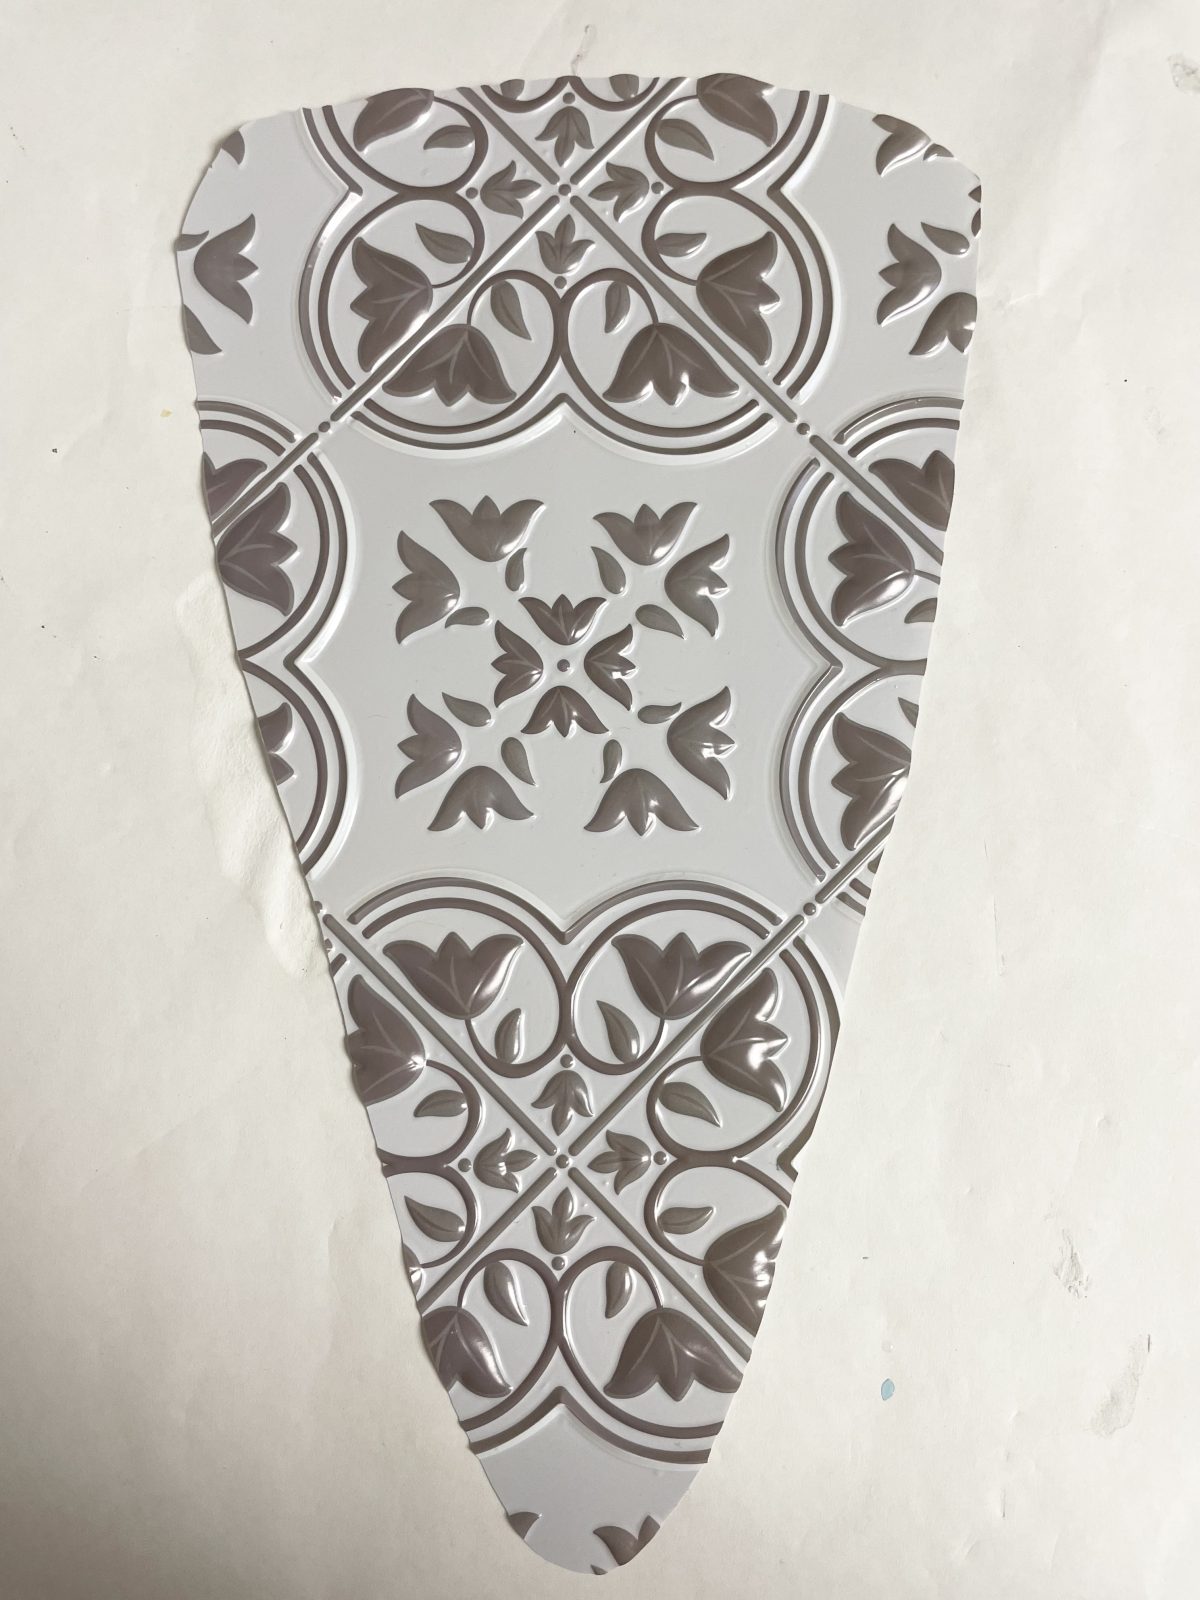
- Cut your ceramic tile into a triangle shape. You can use a tile cutter or a diamond blade on a rotary tool to make the cuts. Then, use scissors to refine the shape and trim it down to look more like a carrot.
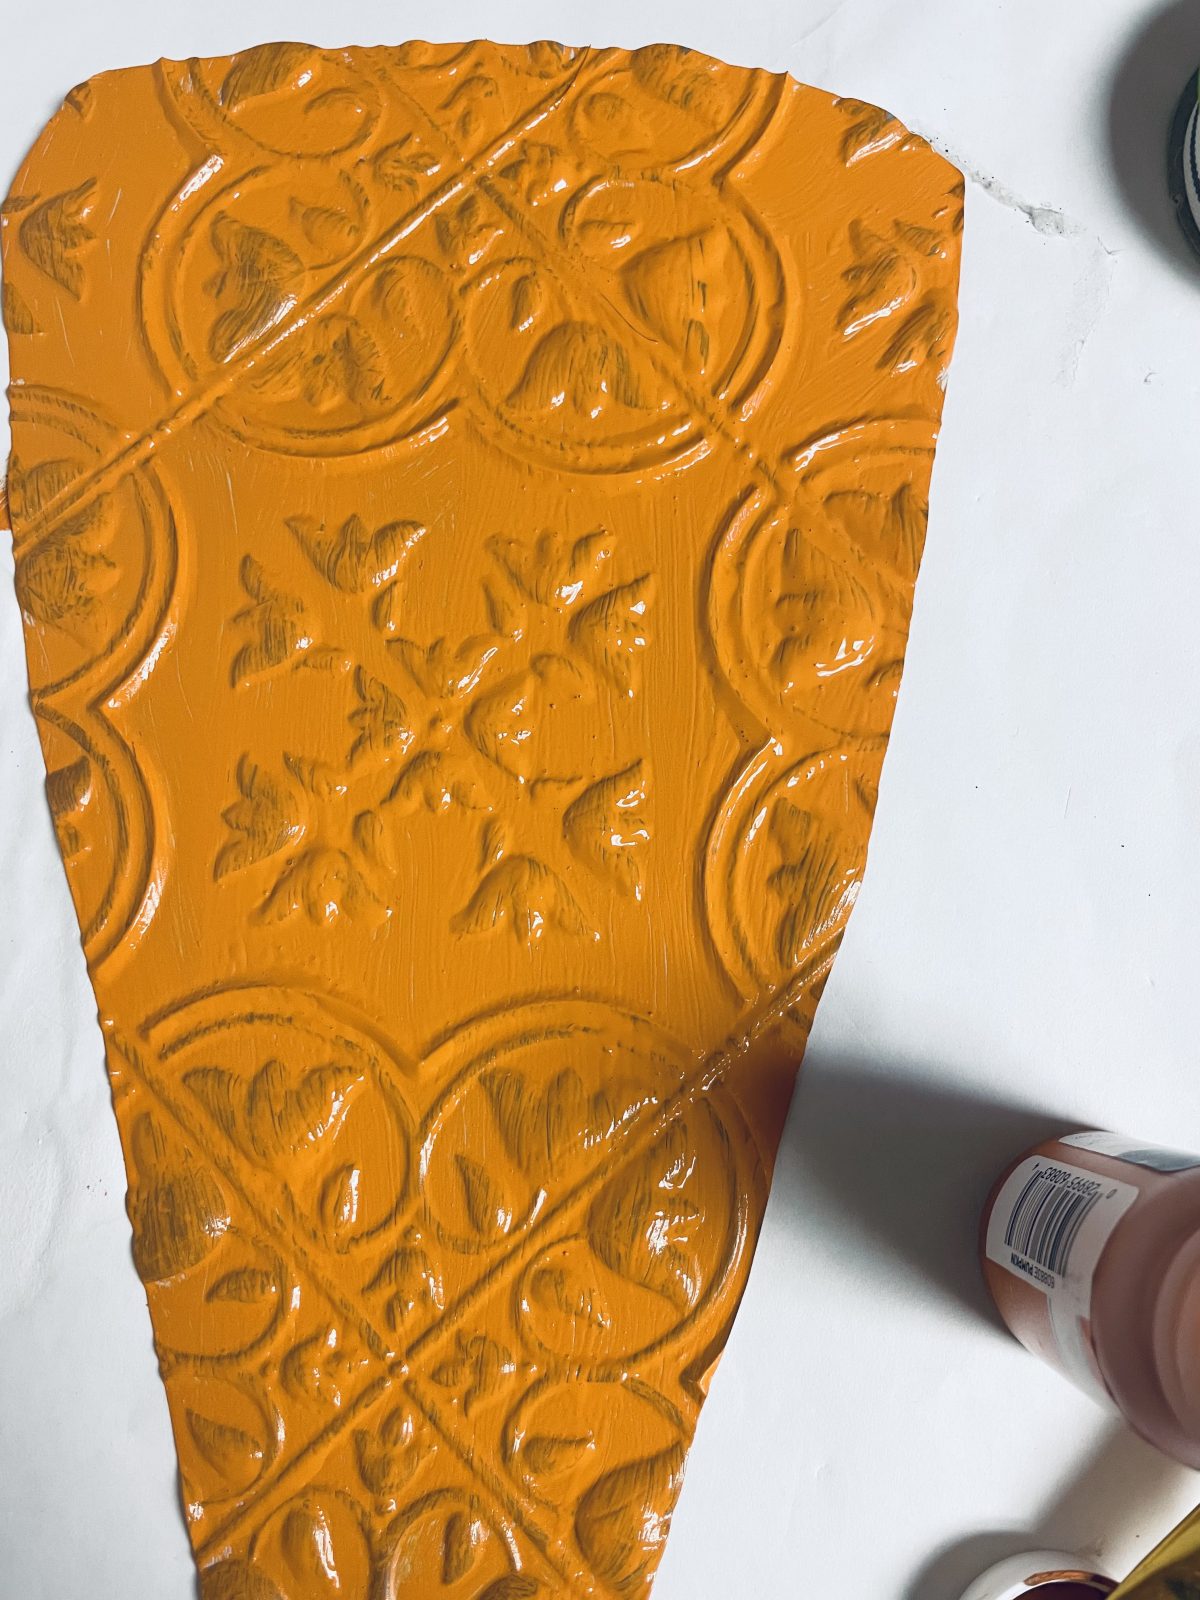
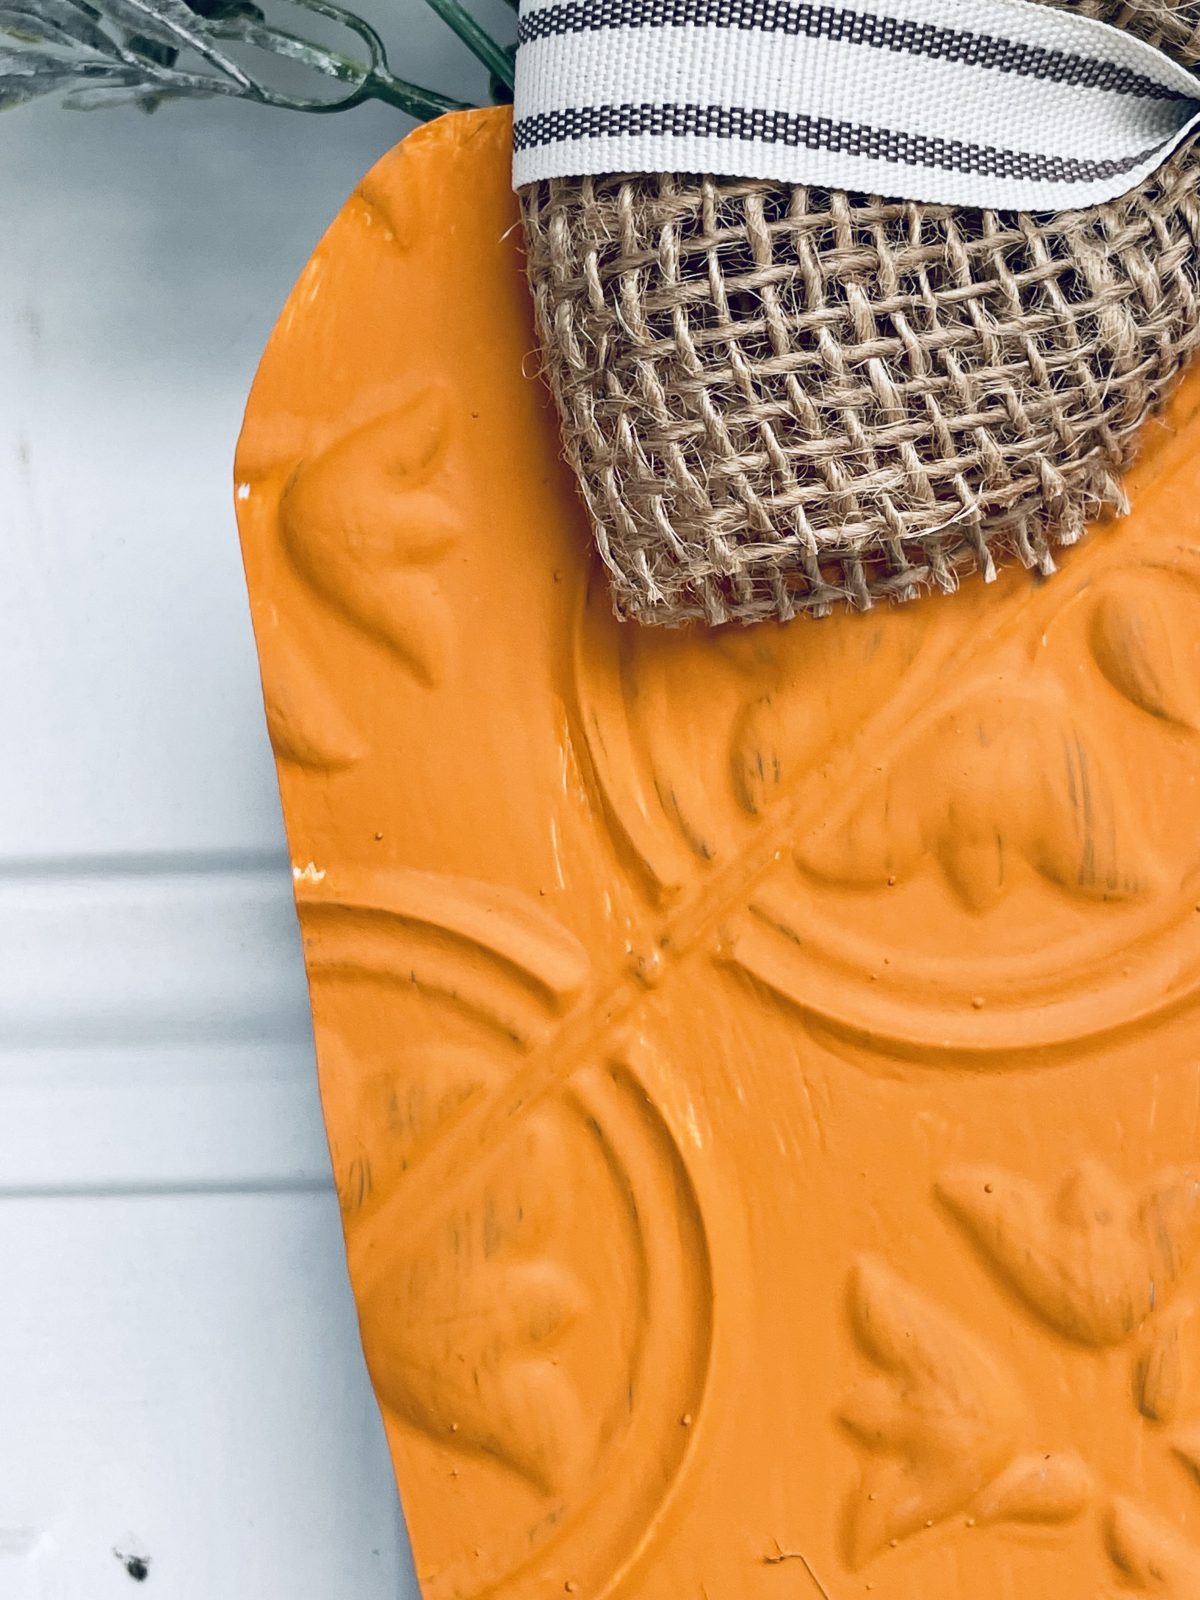
- Apply two coats of chalk paint to the front of the tile, allowing time to dry between coats. Make sure to paint in the same direction so that the paint covers all of the raised sections and won’t rub off. You can choose any color you like, but orange or a light pastel color would be fitting for a carrot.
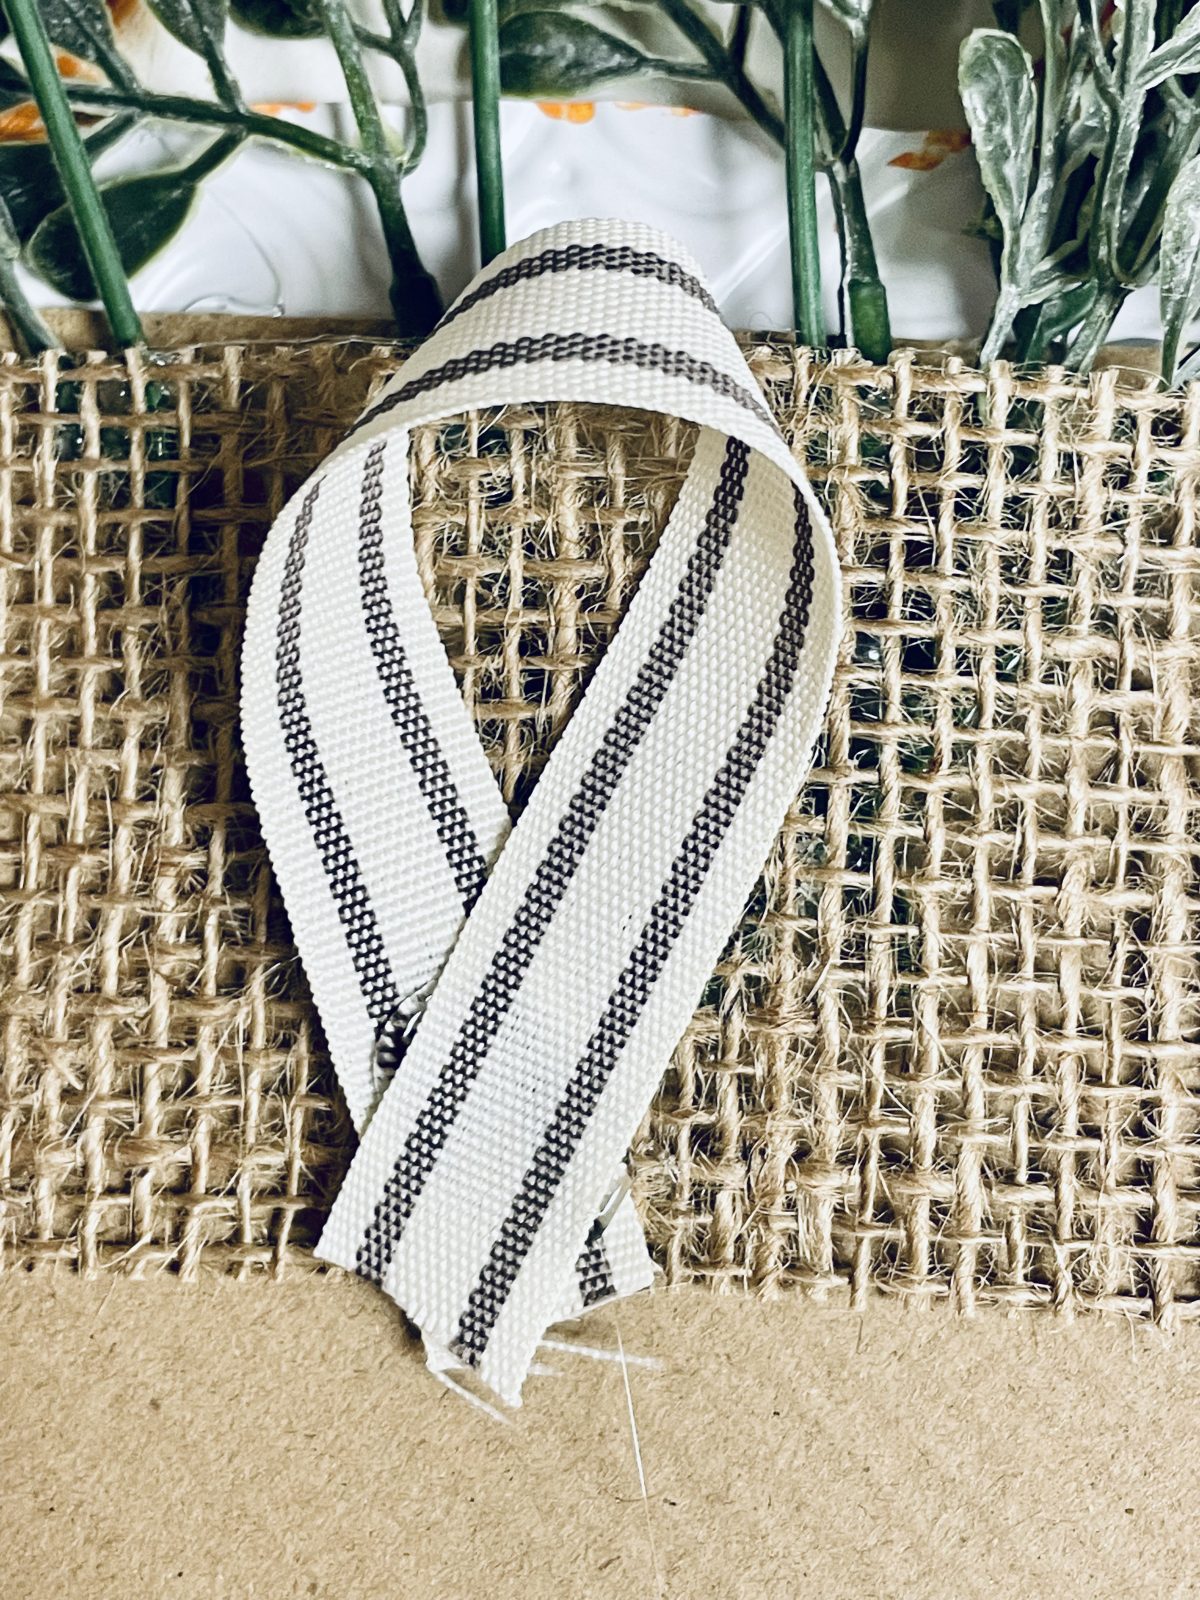
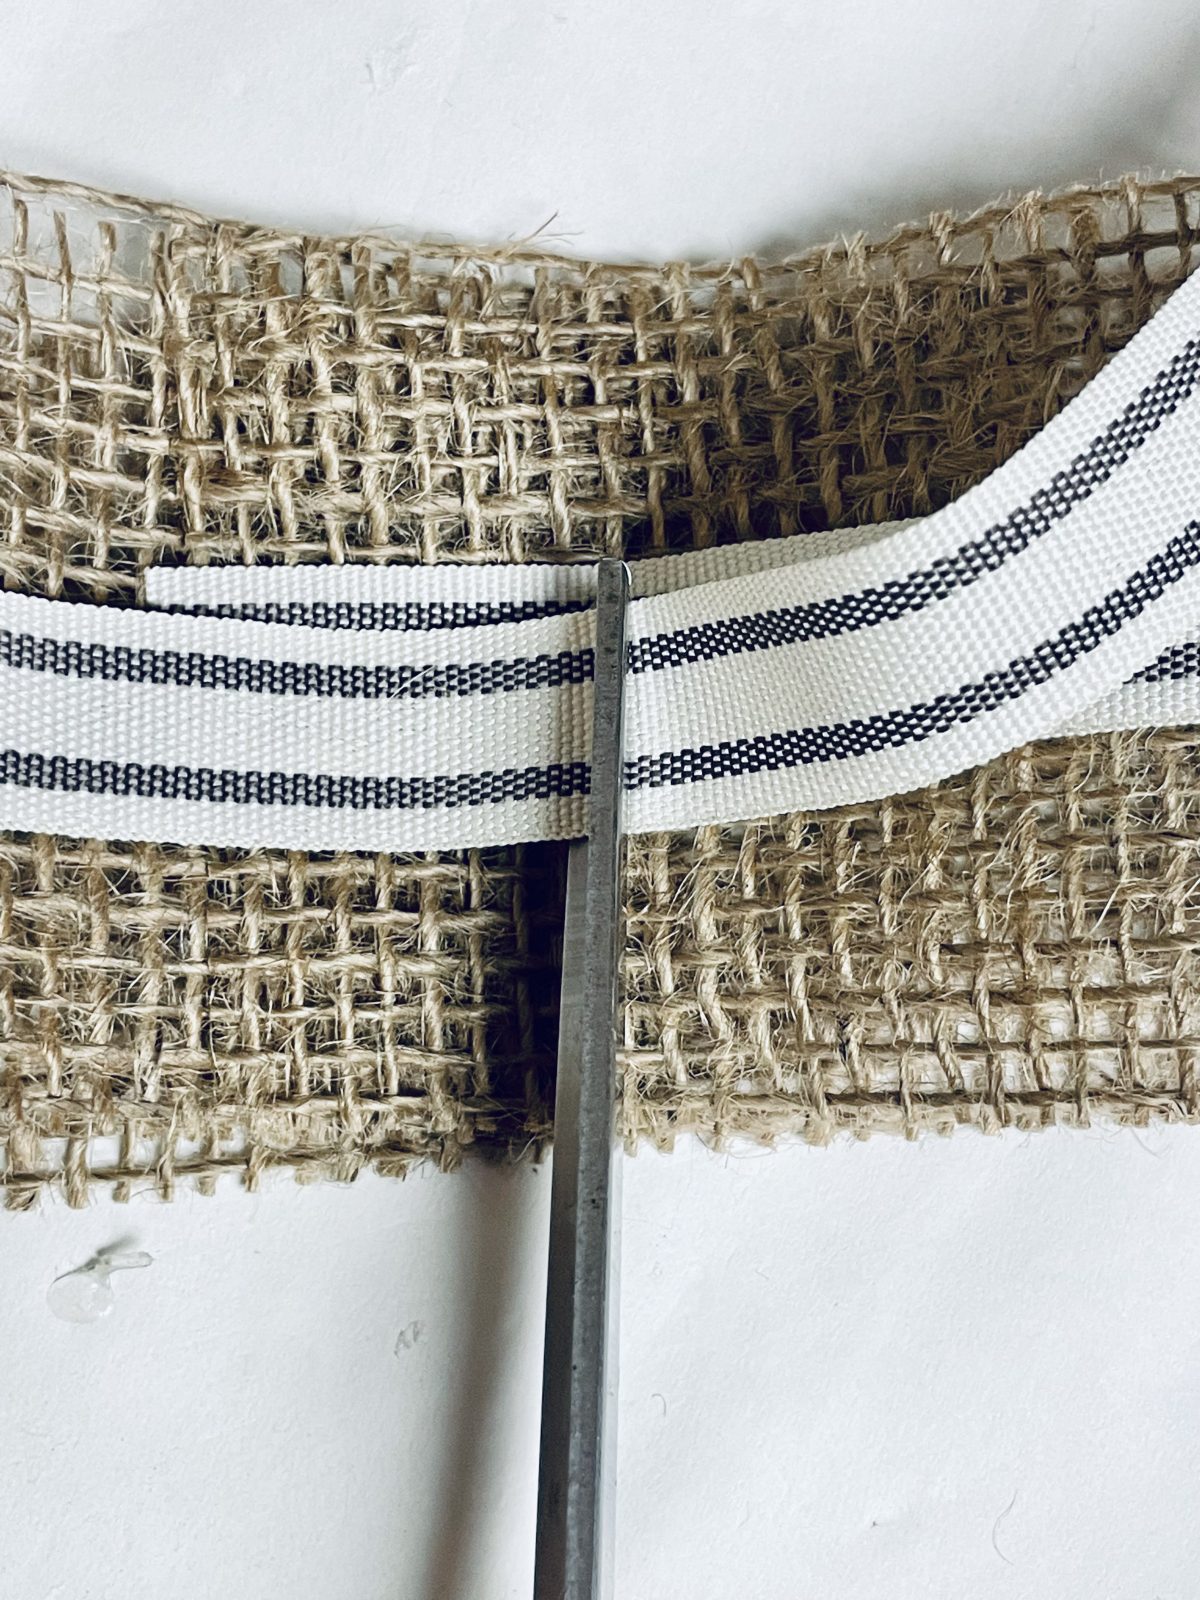
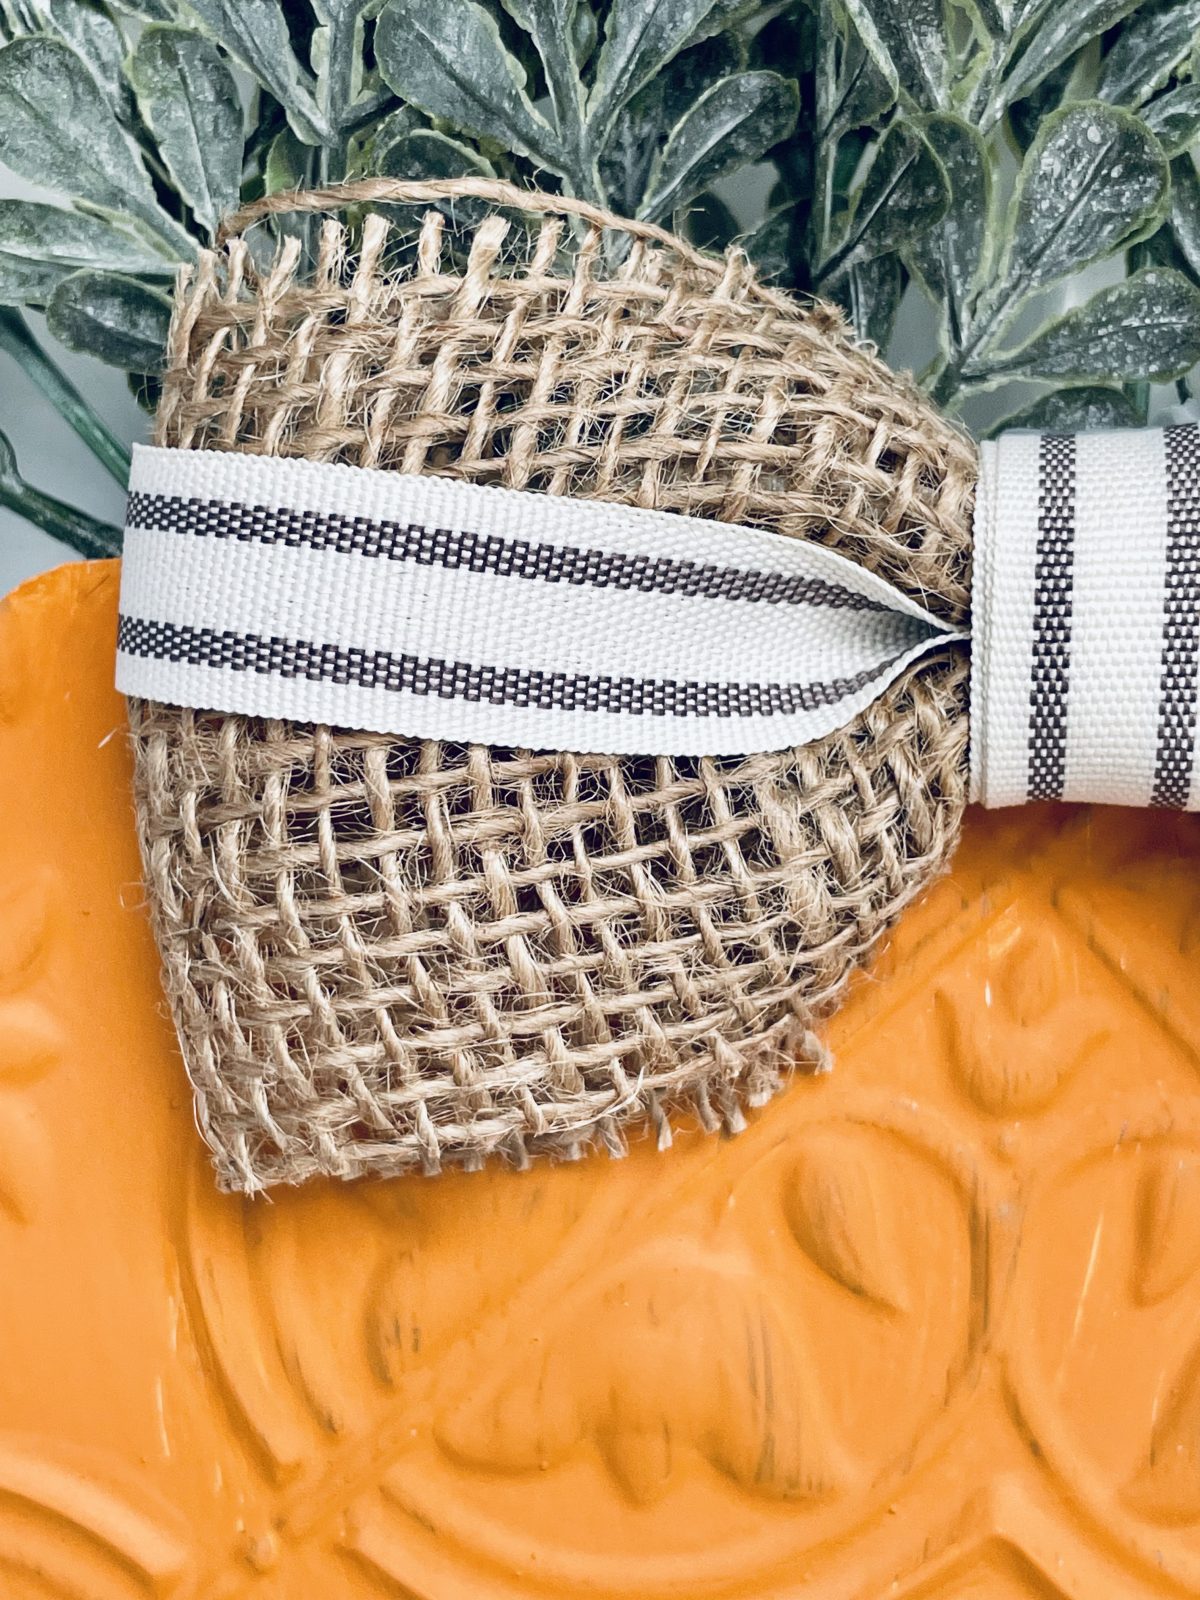
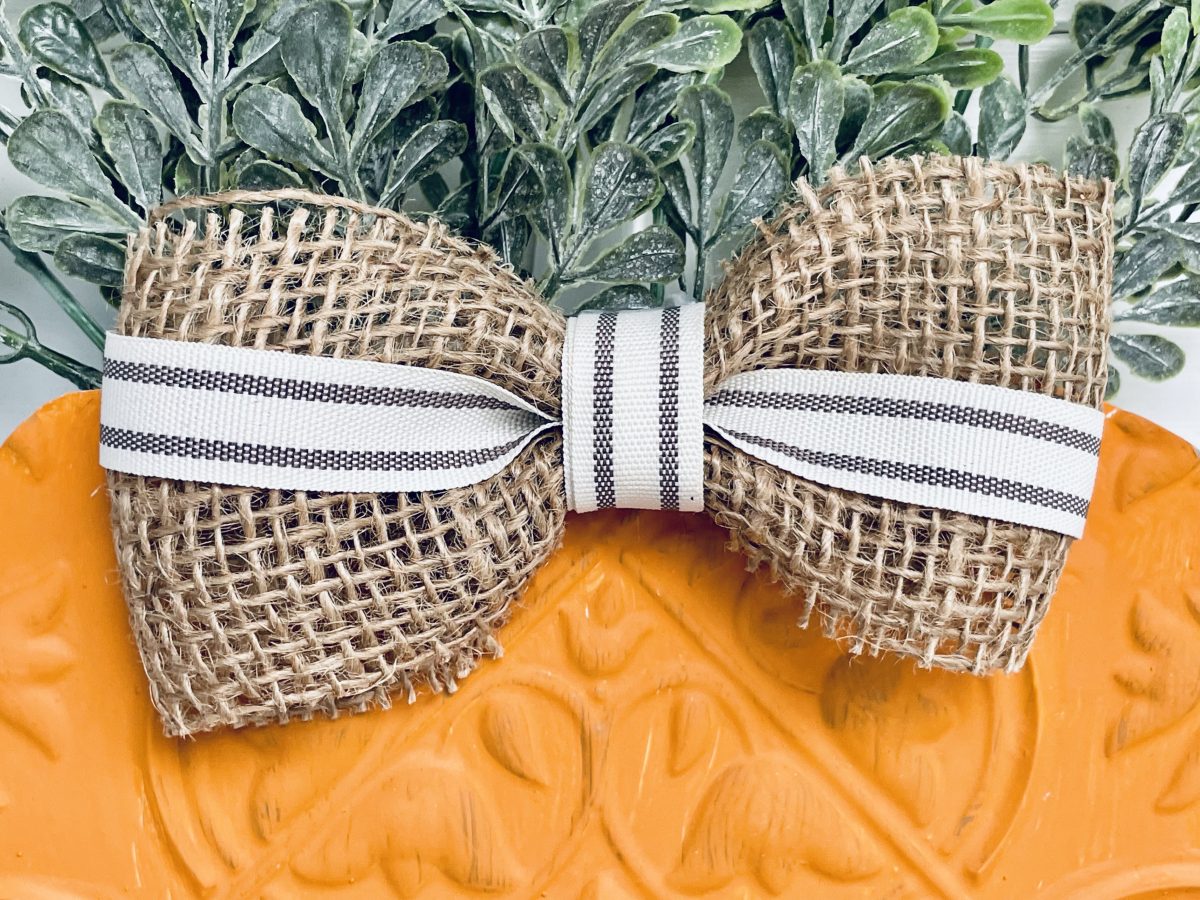
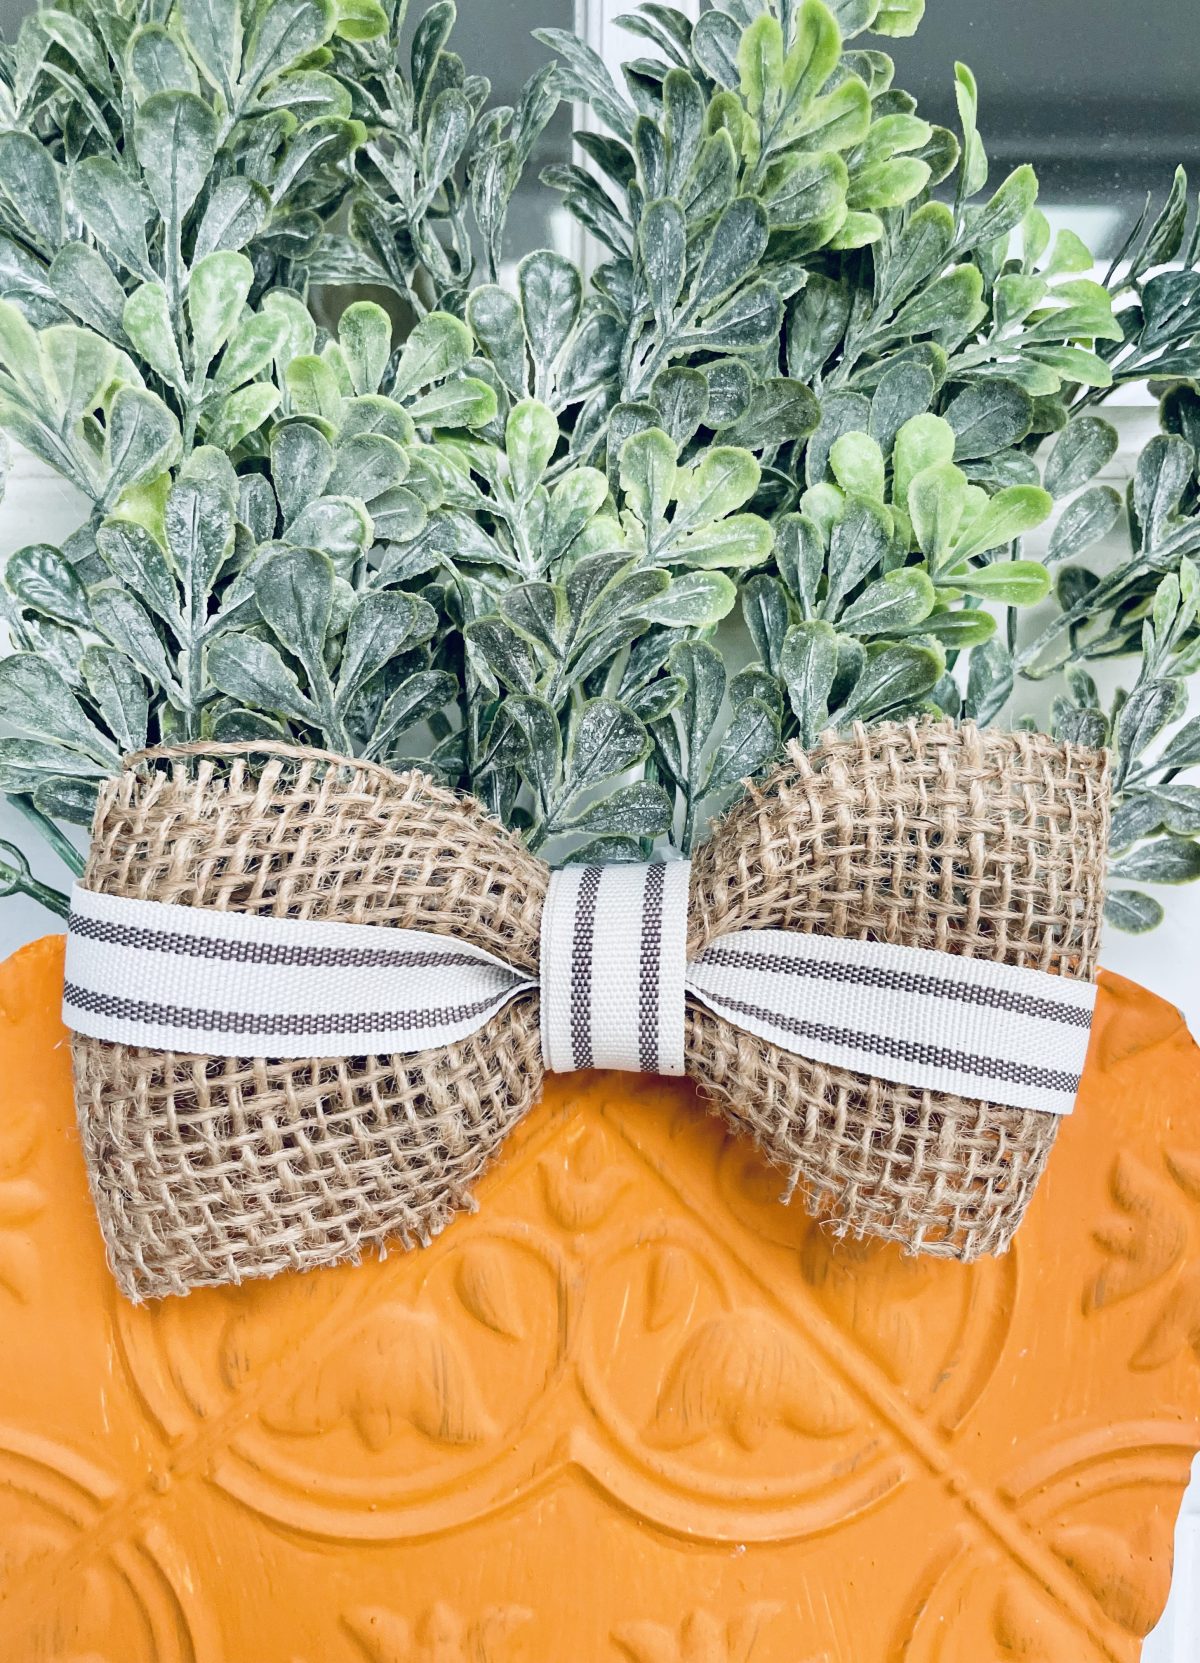
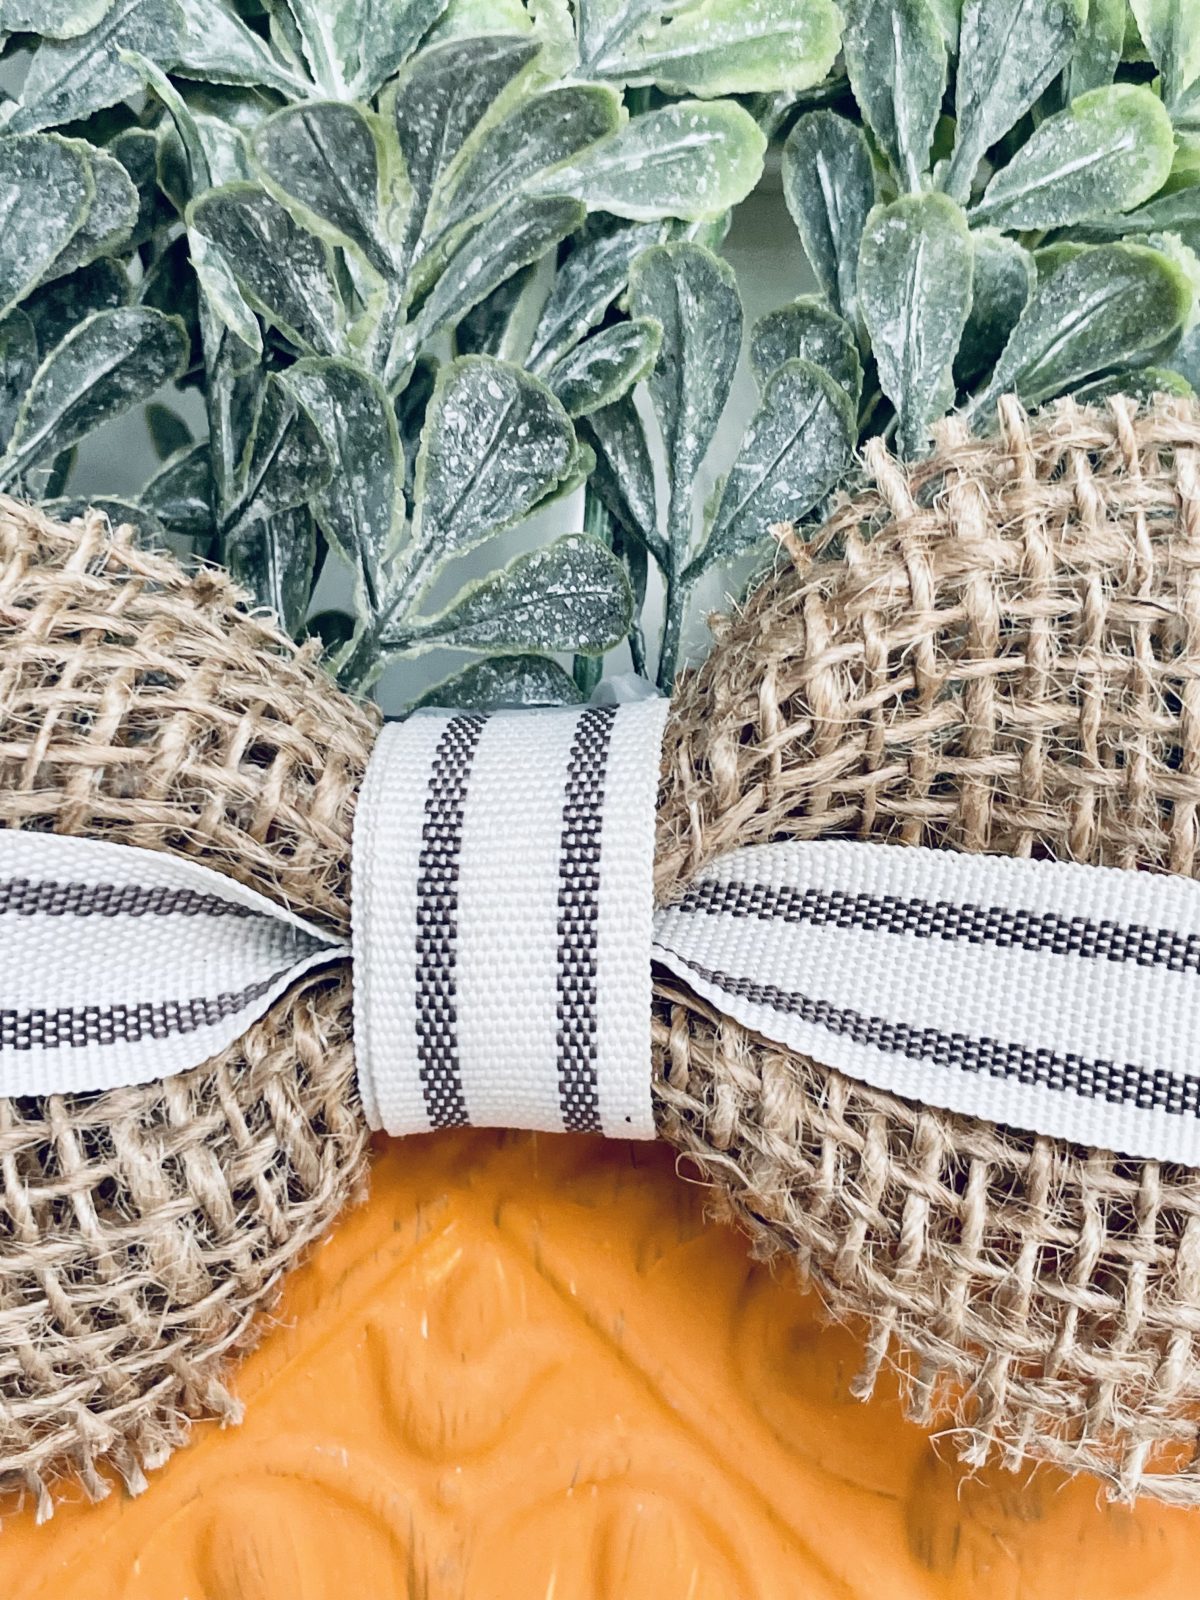
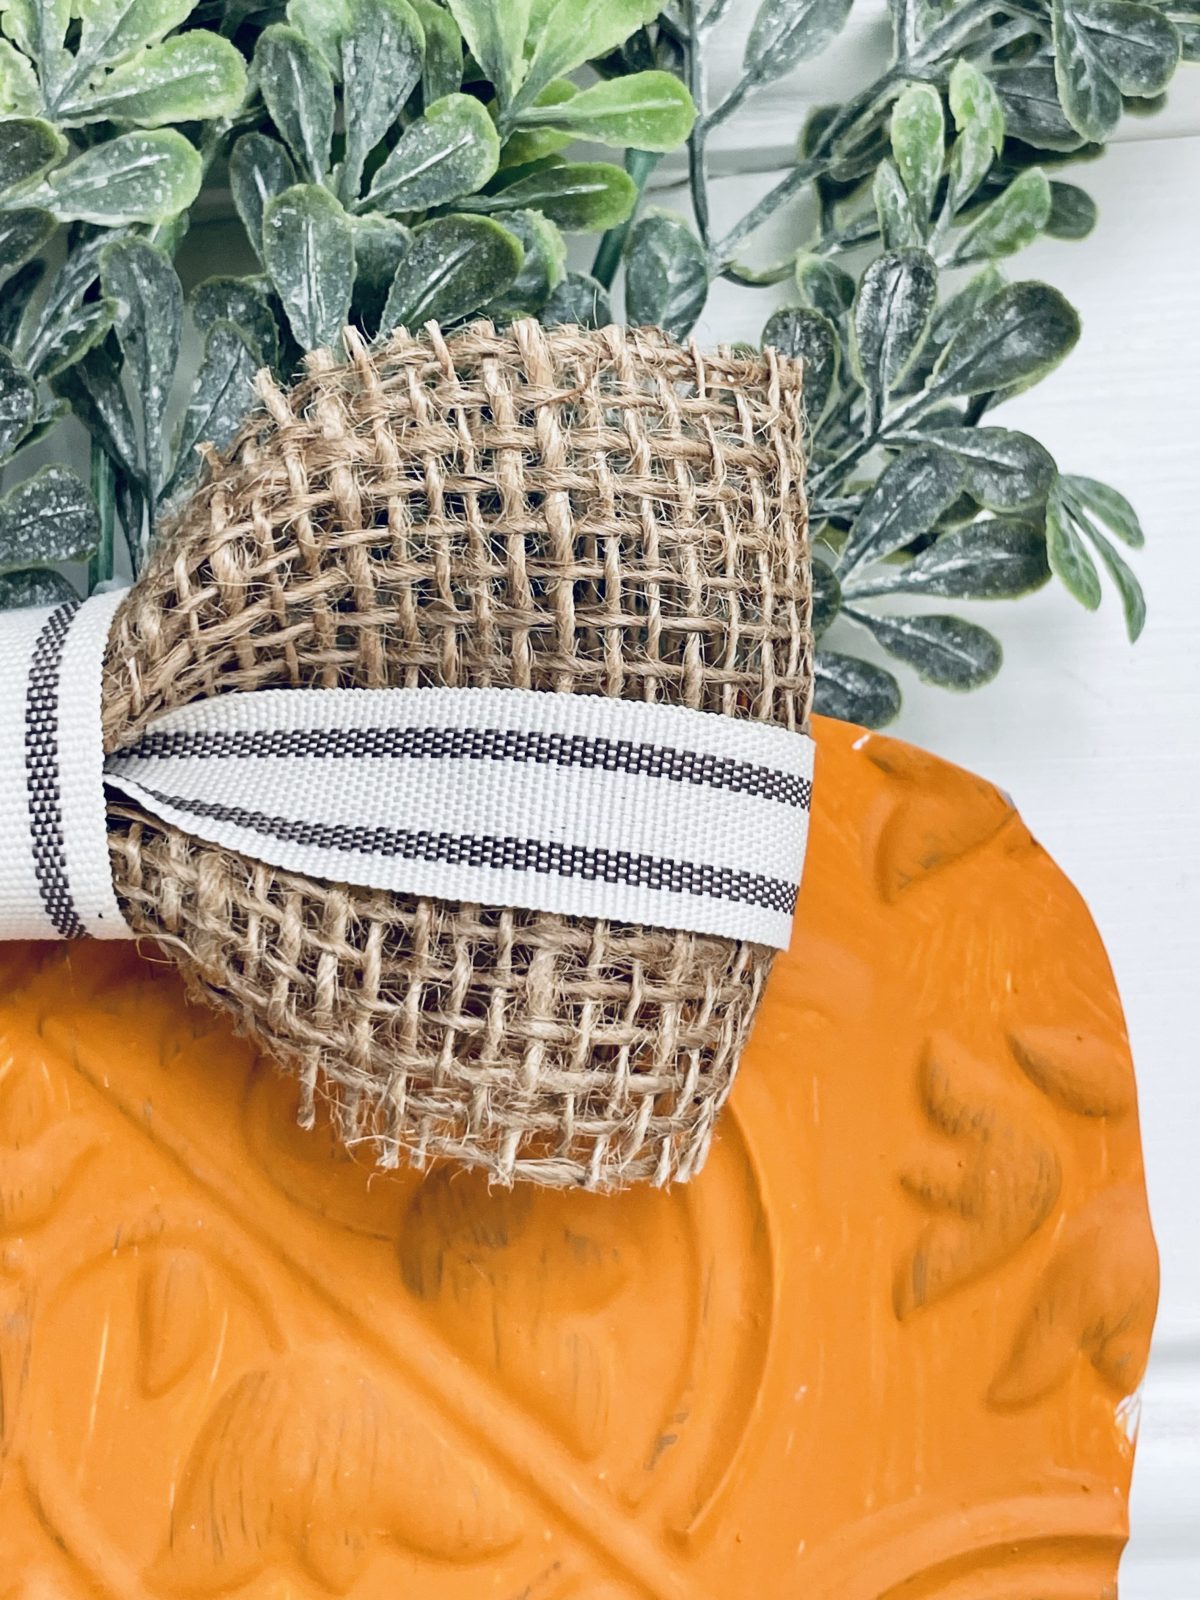
- While the paint is drying, you can start on the bow. Cut a 7-inch piece of burlap ribbon and an 8-inch piece of pin stripe ribbon. Place the pin stripe ribbon over the burlap ribbon and overlap the ends. Cut a 4-inch section of pin stripe ribbon and pinch the middle together. Wrap the pin stripe ribbon over the center and secure with hot glue.
- Cut a piece of cardboard so that it covers the majority of the backside of the carrot tile. This will make the tile more stable when it’s displayed.
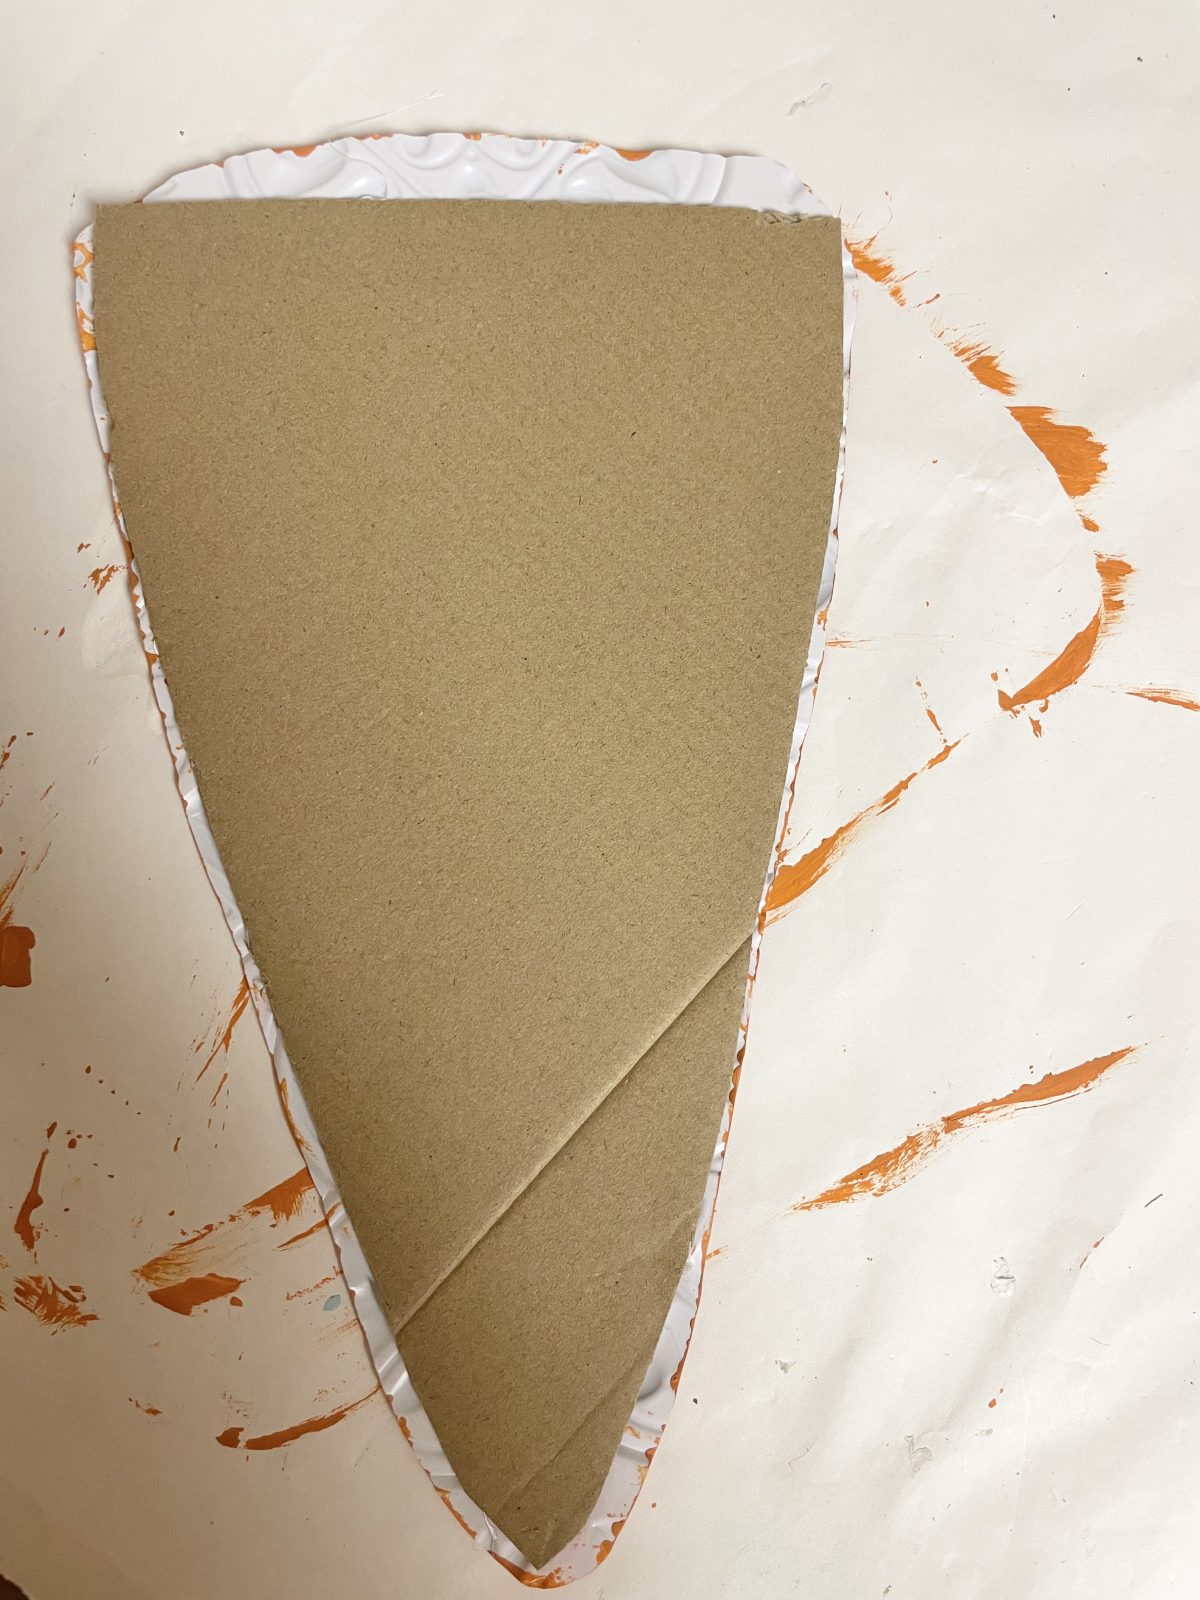
- Hot glue the cardboard to the backside of the tile, making sure to center it as much as possible.
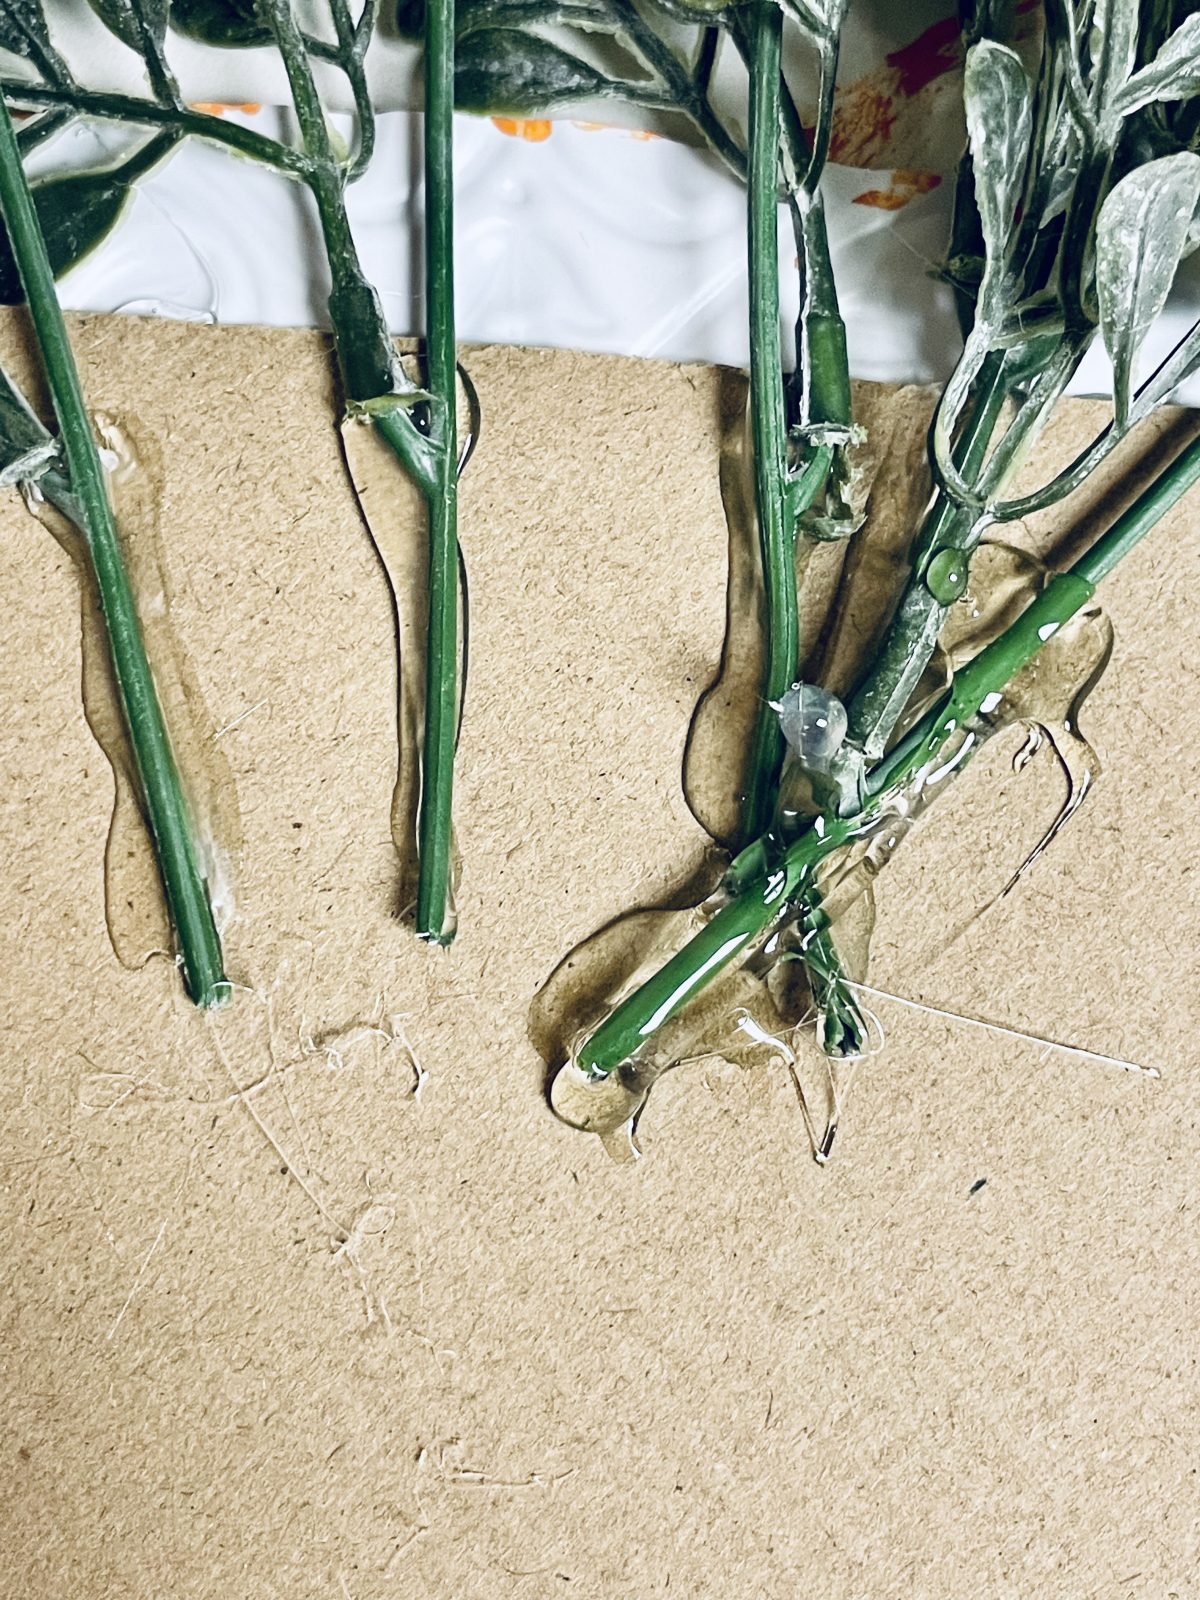
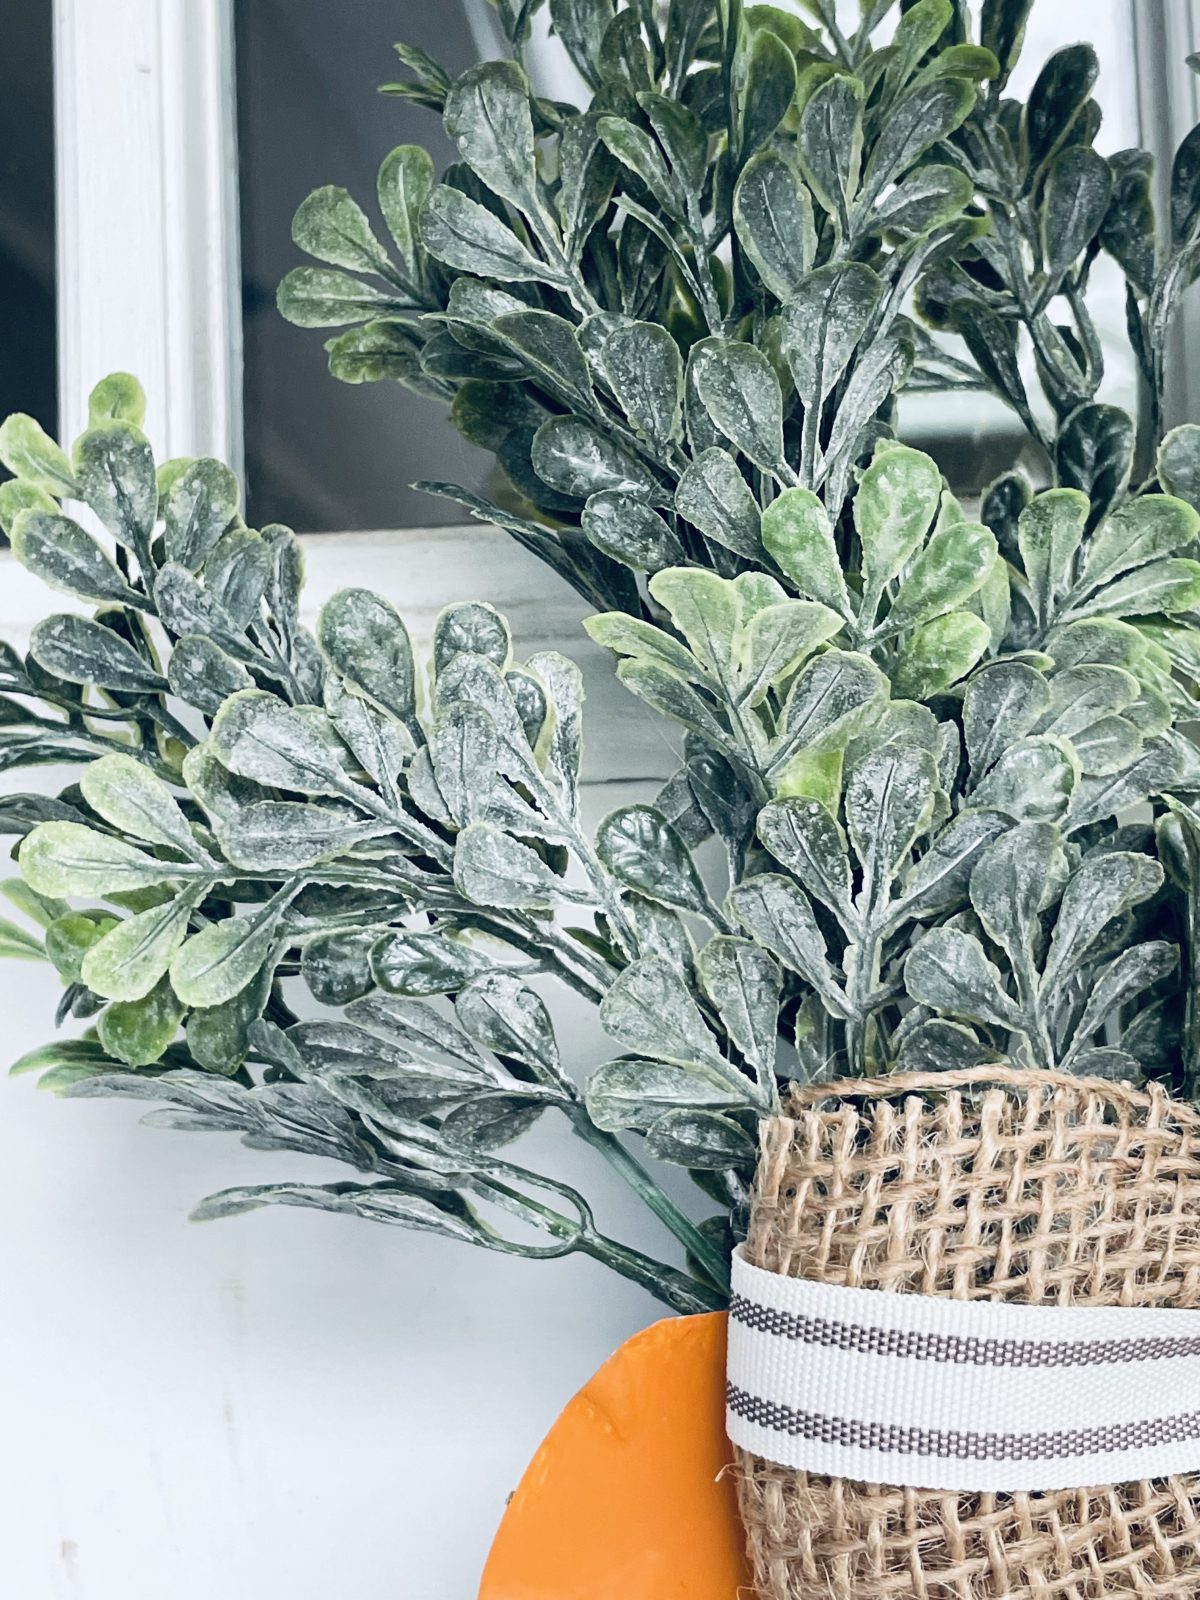
- Pull off pieces of the boxwood stem or other greenery from the stem, or use a wire cutter to cut them if needed. Then, attach them to the backside of the tile on top of the cardboard with hot glue. Arrange them in a way that looks like the top of a carrot.
- Finally, add some hot glue to the backside of the bow and attach it to the top front of the tile. The bow should cover the area where the greenery is attached to the tile, and it will complete the look of a decorative carrot.
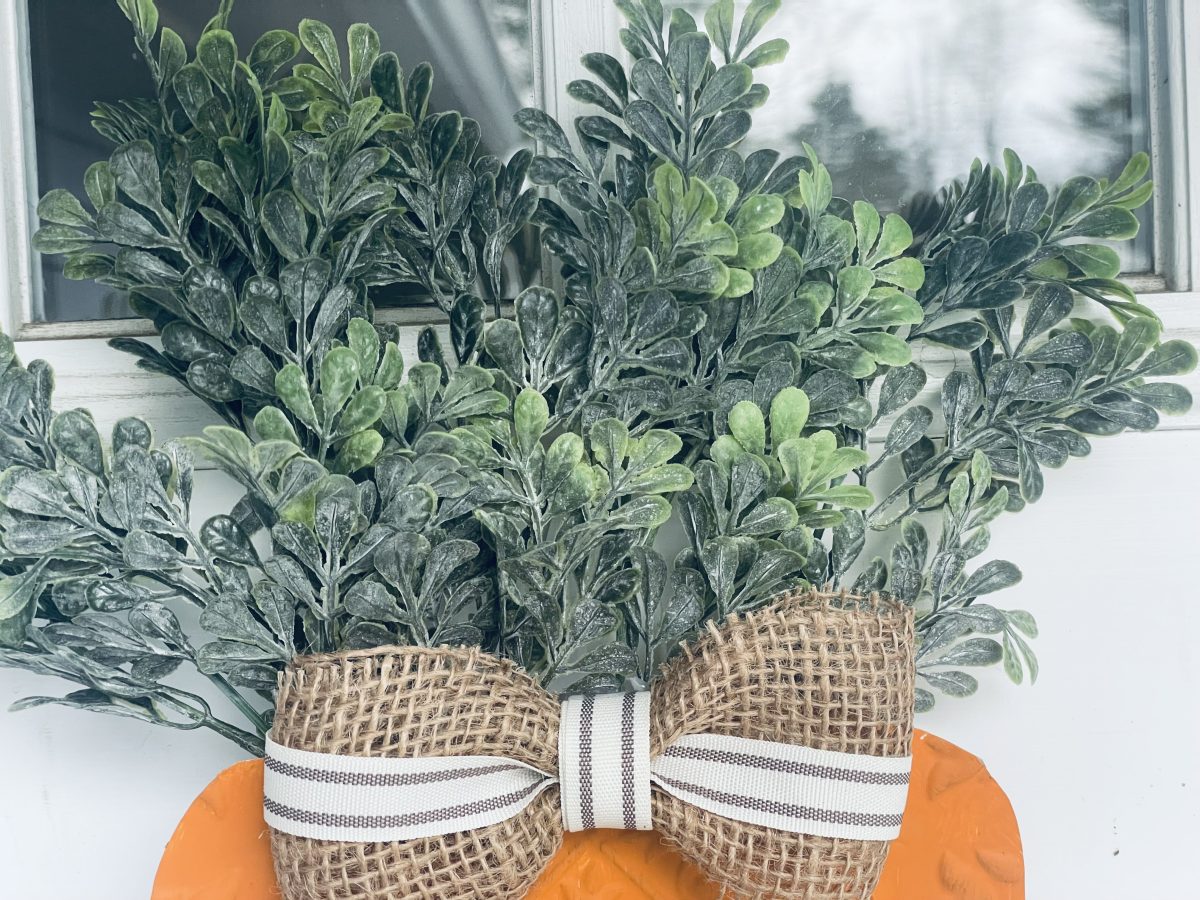
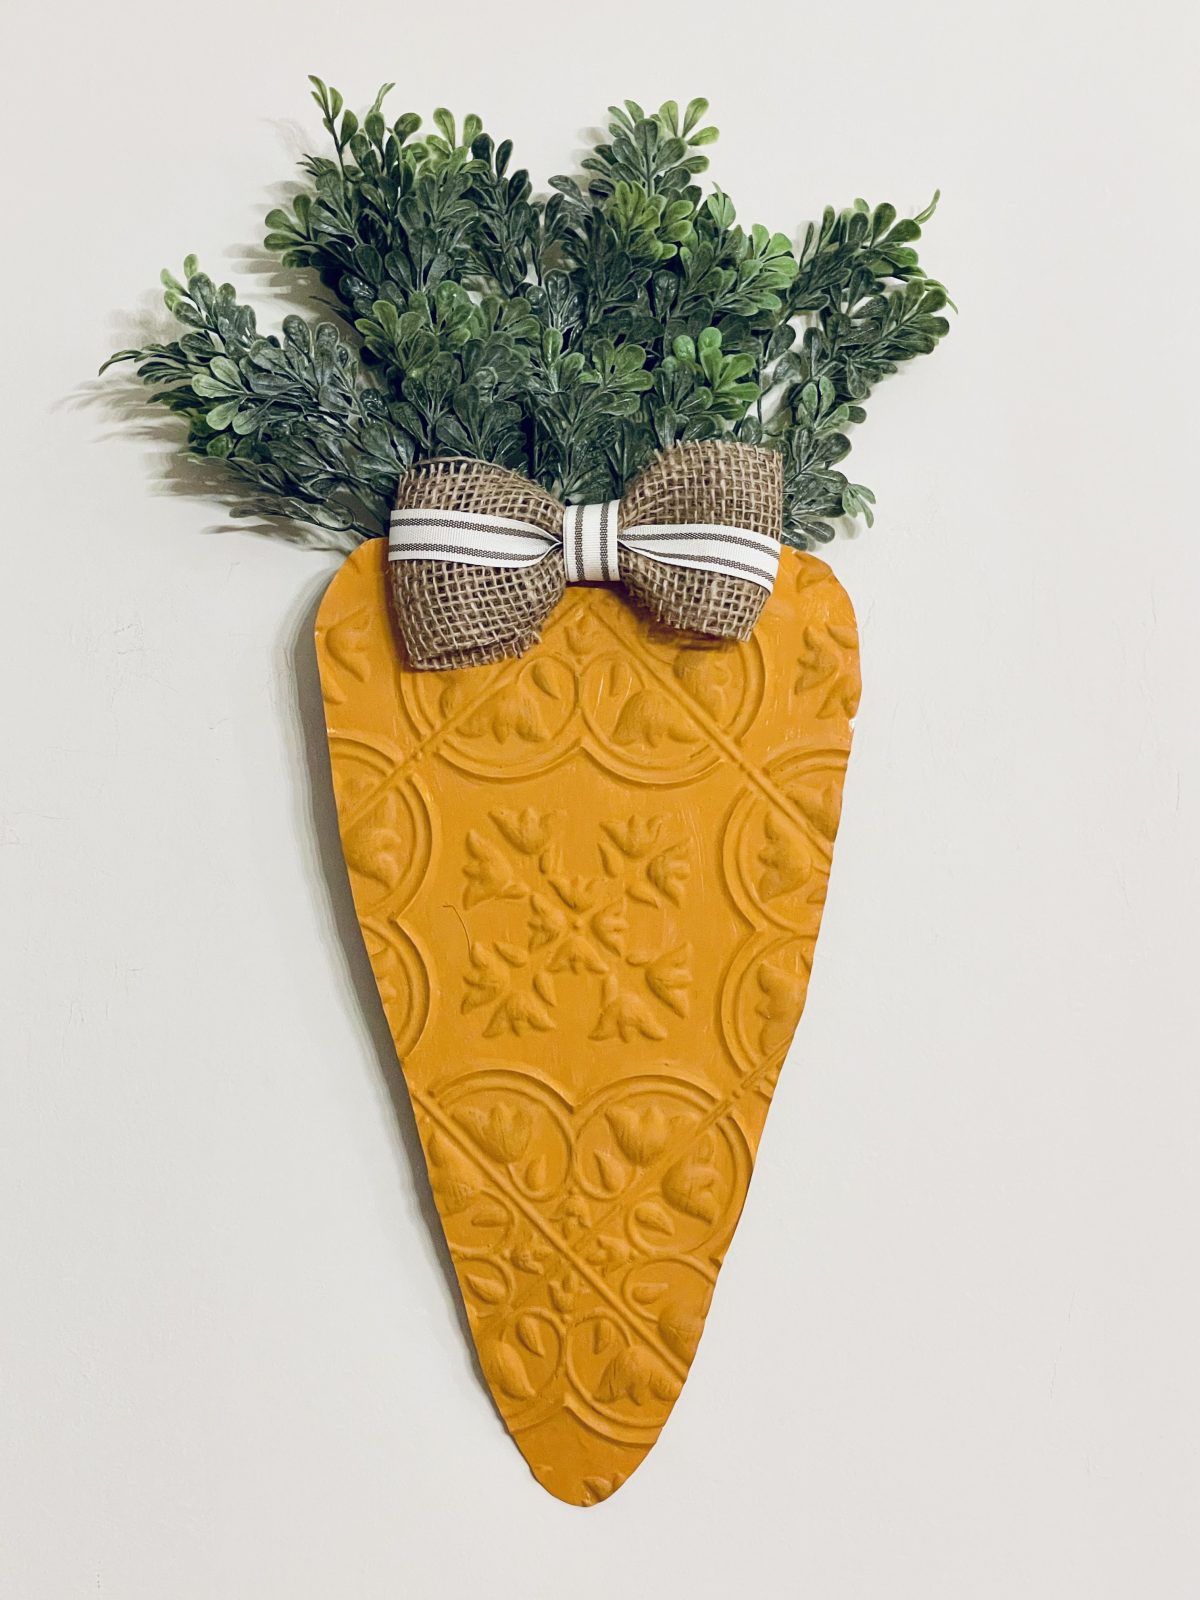
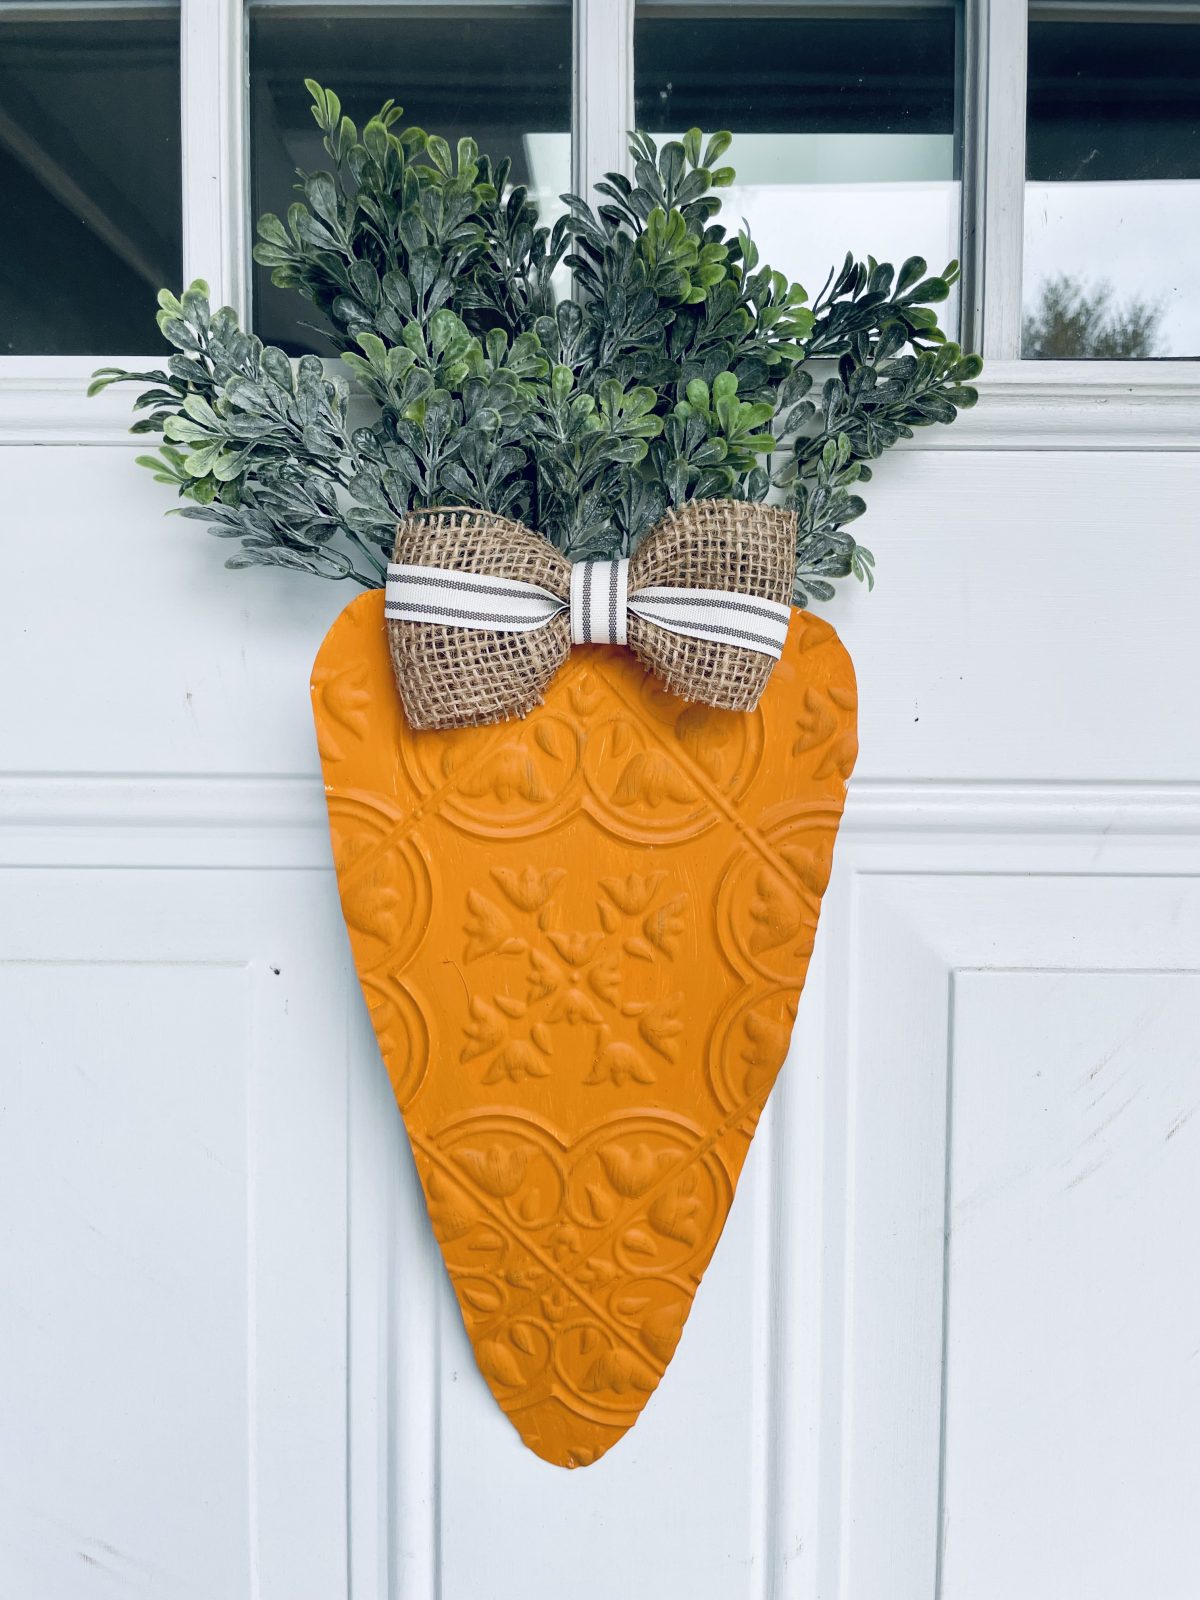
That’s it! Your DIY decorative carrot tile is now complete and ready to be displayed in your home. You can use it as a decoration for Easter, spring, or any time you want to add a touch of whimsy to your decor.


What do you think of this project? Let us know!