
This DIY is simple, fun, and can be done in under an hour—ideal for beginners, crafty teens, or anyone who wants festive decorations without the hefty price tag.
Get more details about this project
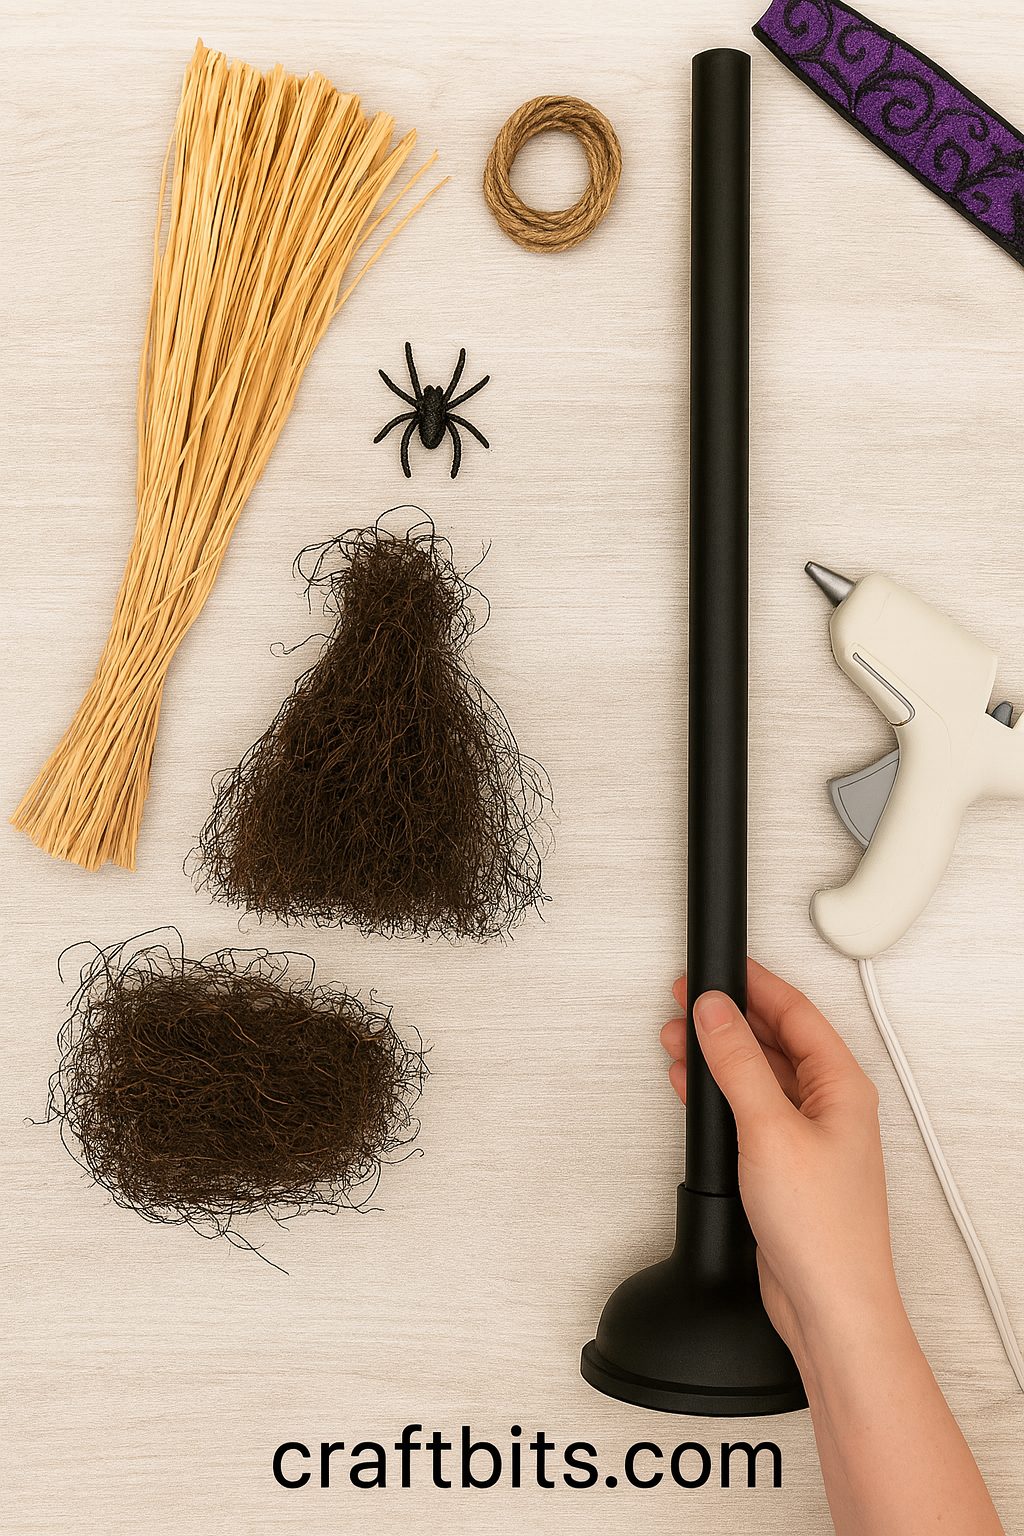
What you need
- 1 clean wooden-handled Dollar Tree plunger
- Raffia bundles, Spanish moss , or twine for the broom bristles
- Black or brown acrylic paint (optional: metallic gold for accents)
- Hot glue gun + glue sticks
- Twine, rope, or ribbon (think: rustic jute or spooky black velvet)
- Embellishments: mini bats, spiders, glittery picks, small pumpkins, or ribbon bows (all easy Dollar Tree finds)
- Scissors or wire cutters
Instructions
Step 1: Prep Your Handle
Sand lightly if needed, then paint the wooden handle black or deep brown for that authentic “witch’s broom” look. Let dry.
Step 2: Make the Bristles
Gather raffia, moss, or even natural sticks (if you like a rustic look). Hot glue layers around the bottom of the handle, fanning them outward. For a fuller broom, keep layering until it looks lush and witchy.
Step 3: Secure the Base
Once you’re happy with the thickness, wrap the top of the bristles tightly with twine or black ribbon to hide glue spots and give it that finished, handcrafted touch.
Step 4: Add Your Spooky Style
Now for the fun part! Tie on a Halloween ribbon bow, hot glue on plastic spiders, or tuck in glittery Halloween picks. You can go classic farmhouse with neutral raffia and burlap, or glam-witch with purple sparkles and black lace.
Step 5: Display Your Broom
Lean it against your front door, pop it next to a cauldron on the porch, or hang it on a wall indoors. It’s lightweight, versatile, and surprisingly durable for such a cheap base!
Did you try a different variation? color combination? Share your version below in the comments.


What do you think of this project? Let us know!