
What you need
Materials Needed:
1. Wooden piece
2. Acrylic paint
3. Paint brush – size 2-3
4. Craft glitter powder
5. Design template
6. Tracing paper
7. Pencil
Instructions
Welcome to our tutorial on how to create Cupid’s Love Arrow Wall Art! Valentine’s Day is the perfect time to show your loved ones how much you care and what better way to do that than with a unique, handmade piece of decor. This tutorial will show you how to make a beautiful wall art using a pattern of Cupid’s love arrows. This wall art is sure to set the theme for your Valentine’s Day celebrations and add a touch of love to any room in your home.
This craft project is perfect for those who love to create their own decorations, and it is easy to follow, even for beginners. The pattern provided can be used to create one large piece of wall art or several smaller ones, depending on your preference and the size of your wall. You can customize the colors and size to match your home decor.
Not only is this project easy to make, but it’s also budget-friendly, you can use materials you already have at home such as cardboard or foam board and some paint. It’s a great way to repurpose materials and create something new and beautiful. This project is perfect for anyone who wants to add a personal touch to their home decor, or for those who want to create something special for their loved ones.
In this tutorial, you’ll learn how to create a beautiful Cupid’s love arrow wall art using a pattern provided. So, grab your materials, follow the pattern and let’s get started on creating this charming and budget-friendly Valentine’s Day decor!
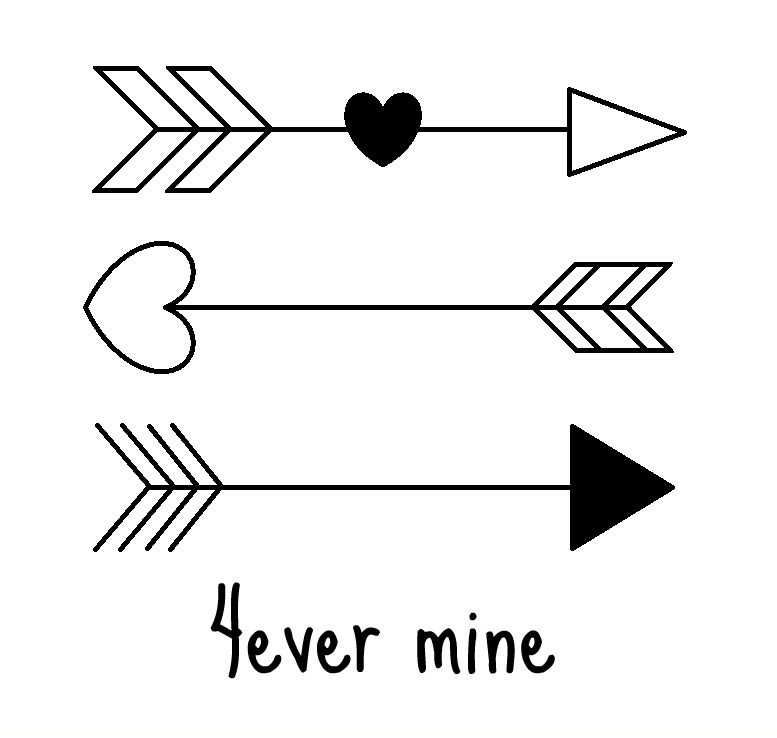
Template: Print out this template or you can also create your own.
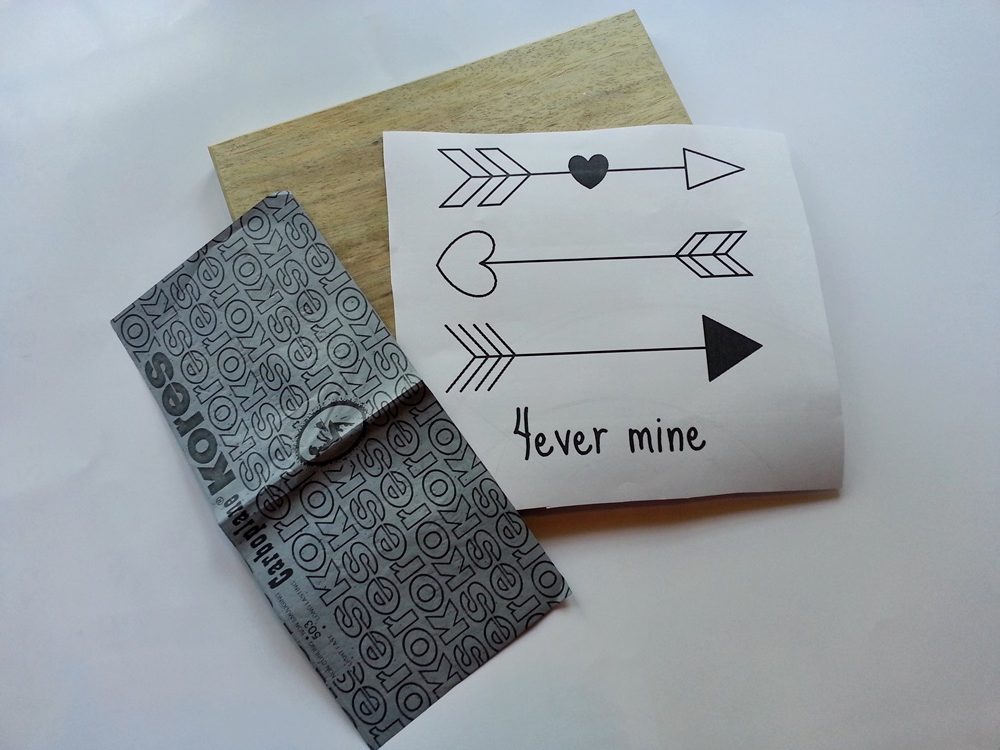
Step-1: Gather a square wooden piece, carbon paper and the printed template.
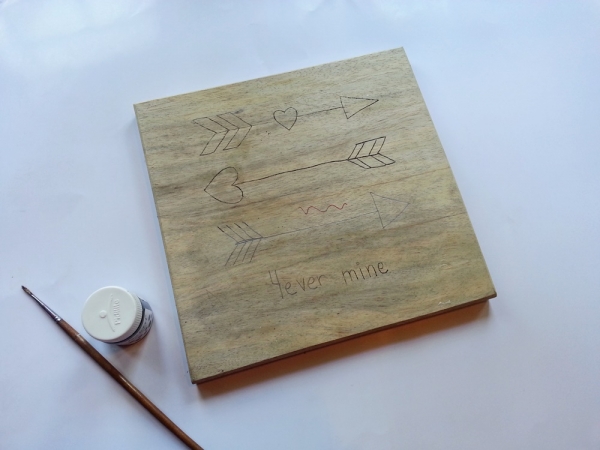
Step-2: Trace the template design on the wooden piece nicely.
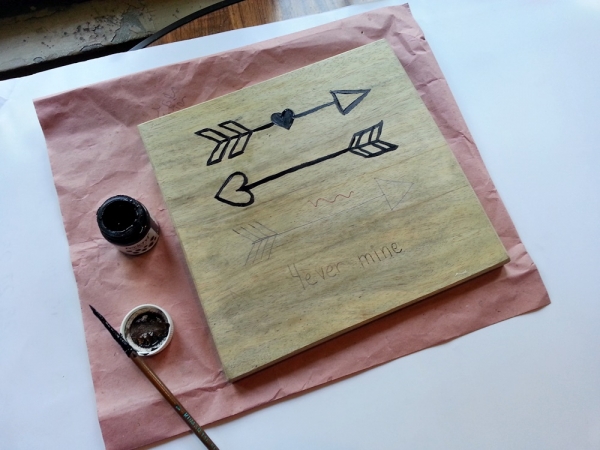
Step-3: I used black paint to trace out the pattern on the wooden piece. Make sure to place a piece of paper under the wooden piece before you start painting.
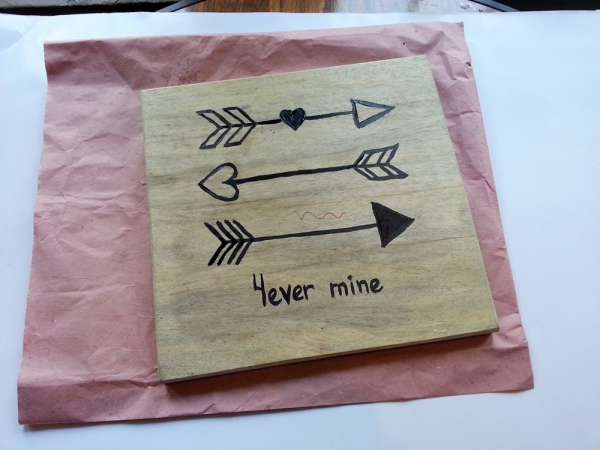
Step-4: Once you’re done painting allow the paint to dry but not entirely.
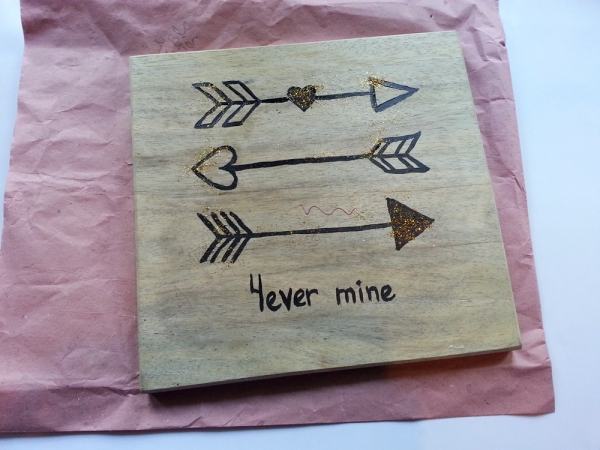
Step-5: Sprinkle some golden glitter powder over the wet paint. Now allow the paint to dry entirely.
Attach a hanging mechanism or a stand and done!



What do you think of this project? Let us know!