
These cheerful little beaded dolls make perfect Christmas stocking stuffers, ornament swaps, or holiday market sellers. The updated design features festive bead patterns—polka dots, stripes, and snowflakes—for that extra seasonal touch.
Get more details about this project
What you need
- Wooden beads in 3 sizes for each doll:
- 1 small bead (hat/top)
- 1 medium bead (head) You can also buy ready painted faces.
- 1 large bead (body)
- Acrylic paints: red, green, white, cream, and skin tones
- Fine paintbrushes & liner brushes for details
- Paint pens (optional for stripes and snowflakes)
- Clear matte or gloss sealer
- Cotton cord (2–3 mm) in red, green, or cream
- Round keyrings (silver or gold)
- Scissors
Glue gun or craft glue
Instructions
Step 1: Paint the Head Beads
- Paint each head bead in your chosen skin tone.
- Add hair colour to the top section of the bead—brown, black, blonde, or red for a beanie
- Paint facial features: closed eyes with lashes, a smile, and rosy cheeks. Let dry.
Step 2: Paint the Body Beads
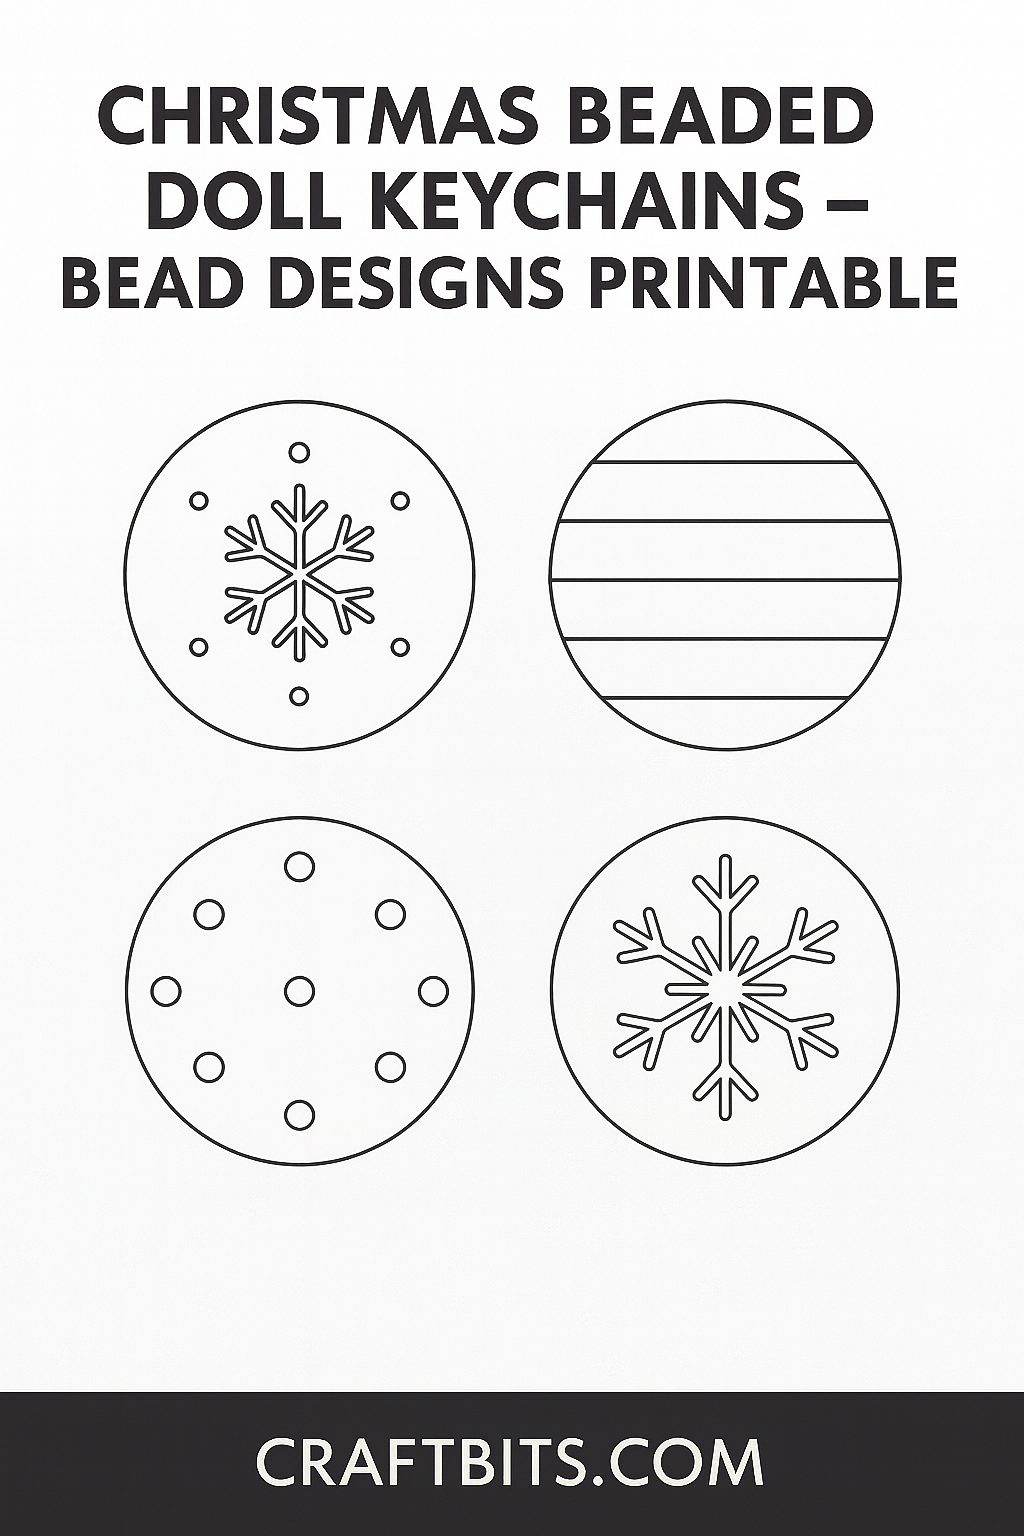
Choose from these festive designs inspired by the new image:
- Snowflake Design – Paint the bead green or red. Once dry, use a liner brush or paint pen to add a white snowflake and small dots around it.
- Striped Design – Alternate red and cream stripes around the bead. Keep the lines crisp by using painter’s tape or a steady hand.
- Polka Dot Design – Paint bead red or green, then add white or gold dots with the tip of your paintbrush handle.
- Seal once dry to prevent chipping.
Step 3: Paint the Hat Beads
- Keep these plain red or match the body bead colour.
- Optional: add a thin white stripe to mimic a Santa hat trim.
Step 4: Assemble the Keychain
- Cut a 30–35 cm cord.
- Fold in half and loop it through the keyring.
- Thread beads in order: hat bead, head bead, body bead.
- Tie a secure knot underneath the body bead to keep everything in place.
Step 5: Finishing Touches
- Trim cord ends to desired length. Knot each tail to prevent fraying.
- For extra durability, add a drop of glue to knots.
Extra Design Tips
- Mix Patterns – Combine stripes and snowflakes within the same set for variety.
- Add Metallics – Gold paint pens work beautifully for snowflakes or stripes.
Themed Sets – Make a trio with one polka dot, one stripe, and one snowflake.


These are very cute! I’m curious to know what size wooden beads you used?