
What you need
6ft 1×6” #2 Pine Board
Mitre saw
Nail gun
Wood glue
Drill
1 1/2” paddle bit
Wood Stain of choice
Foam paint brushes
White Paint
Clear spray paint
Sanding block
Measuring tape
Pencil
Instructions
Directions- *wear safety glasses*
1. Carefully cut the following sized pieces from your wood board with a mitre saw.
2-7 1/4” (front and back)
2-4 1/4” (sides)
2-8” (roof)
1-8 1/2” (base)

2. Sand the boards with a sanding block.

3. Measure the center of the 7 1/4” block and draw a small line with a pencil.

4. Set the saw at a 45° angle and cut the top of the 7 1/4” block twice at a angle to make a point.
5. Sand the new edges.
6. Start building the bird house by laying the 8 1/2” board down.
7. Place a small amount of wood glue onto the bottom of a 7 1/4” board, place it onto the top back of the 8 1/2” board and carefully nail it together.

8. Place a small amount of glue onto the 4 1/4” sides, place one side on at a time and carefully nail the sides onto the top of the 8 1/2” board.
9. Add some glue onto the front of the side boards and carefully nail the last 7 1/4” on. This will be the front of the bird house.
10. Very carefully rip 1” off the long side of one of the 8” boards.
11. Place the 2 board together on the roof, glue and carefully nail the roof onto the house.
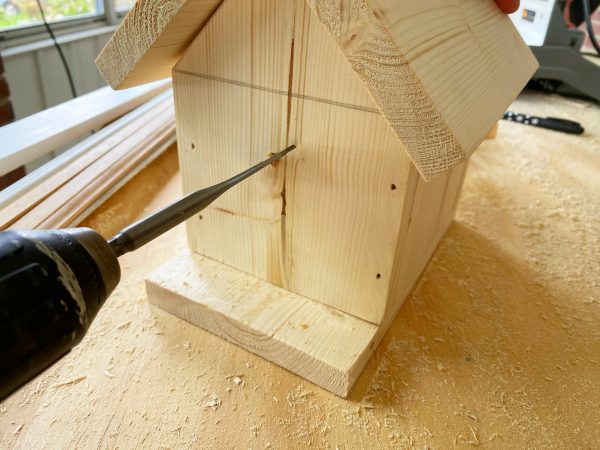
12. Place the drill bit onto the drill and carefully drill a hole in the front center of the bird house.
13. Stain the roof and base, wipe clean and let dry. 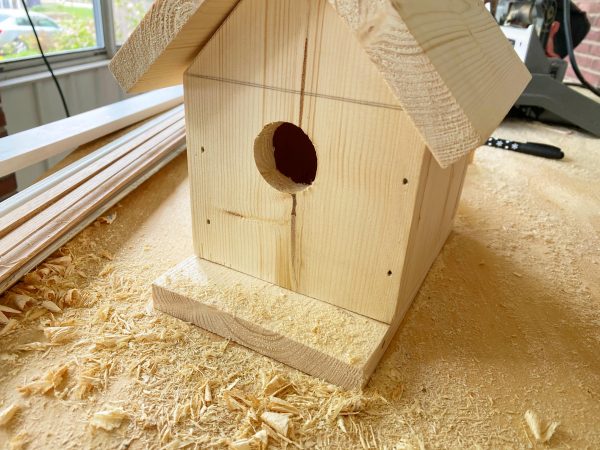
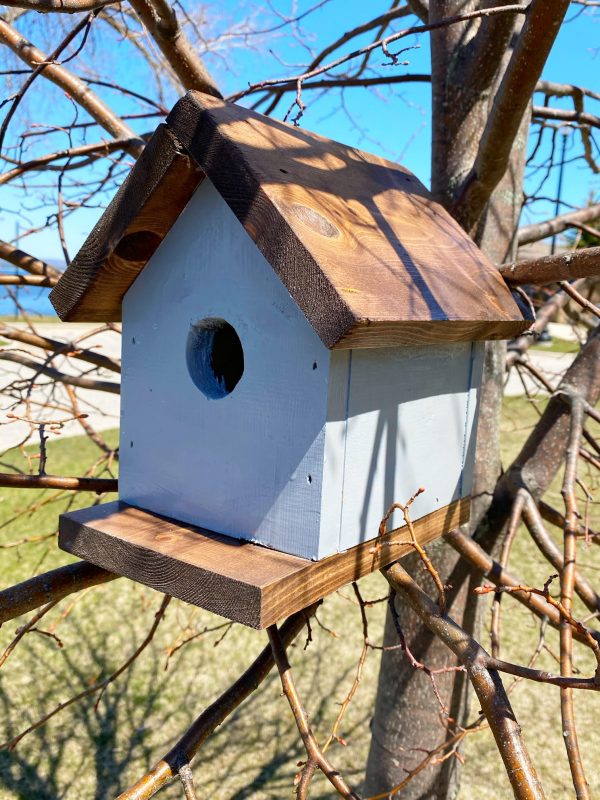
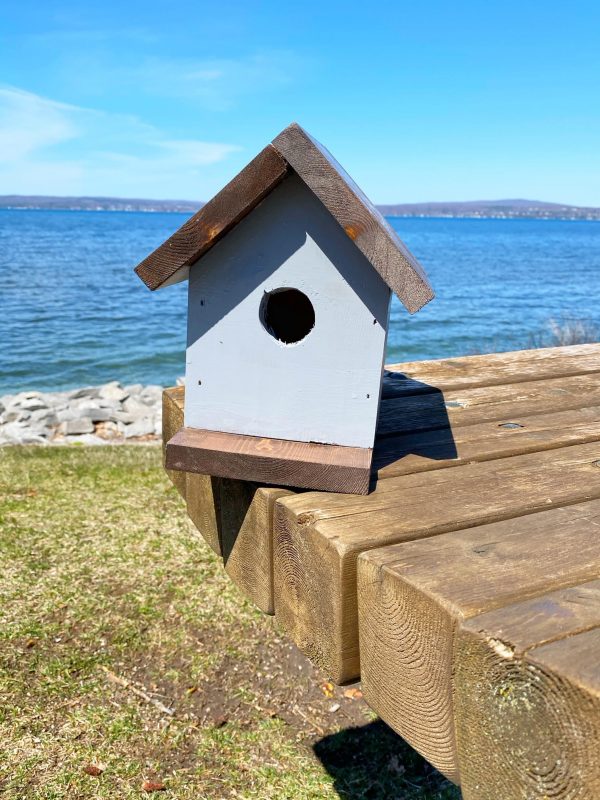
14. Paint the house a solid color, let dry, spray a clear coat of spray paint on the whole house in a well ventilated area and let dry.



love how you show each and every step thanks for sharing:)
Love the birdhouse. Will try making one this spring.