
What you need
Torn strips of fabric, approx. 1’½ inches wide.
(Tear across the fabric, and use the width of the fabric as the length of the strip. Ex. If the fabric is 45 inches wide, the torn strip will be 45 inches long, and 1’½ inches wide).
Needle and thread
Optional: hot glue gun, and glue sticks
Pinback, or a large safety pin.
A scrap of fabric for the backing (can be the same fabric as the strip, however contrasting colors of fabric for the backing, and thread for sewing it on are used in this example for illustration purposes).
Instructions
Step 1: Tear a strip of fabric 1’½ inches wide by whatever the width of the fabric is.
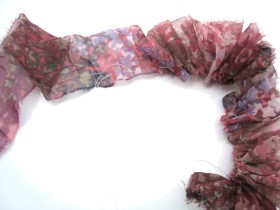
Step 2: Weave a threaded needle through one side of the torn strip of fabric, and gather it to about 10 inches.
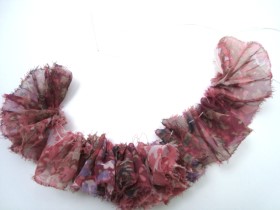
Step 3: Take a few stitches to secure the strip at that length. (Keep the needle and thread attached).
Step 4: Coil the strip into a spiral and pass the needle through the layers from the back side of the brooch
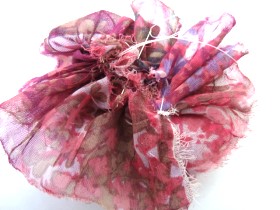
Step 5: Sew a scrap of fabric on the back of the brooch. White thread has been used in this example, to show the process.
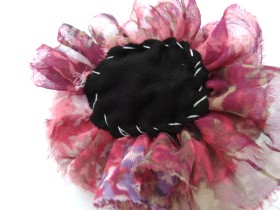
Optional: A hot glue gun may be used to attach this scrap of fabric. This will even help to make the brooch somewhat rigid and hold it’s shape.
Step 6: Center a pinback, or a large safety pin on the backing, and sew in place. (Hot glue may be used for this step also) .
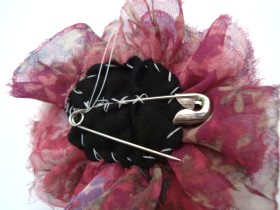
Step 7: Cut a smaller piece of fabric, and cover the center of the safety pin.
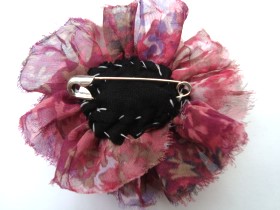
This is merely for aesthetic sake. Glue gun can be used for this step also.
Your torn fabric brooch is finished!
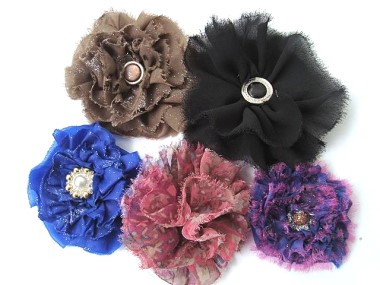




This is so effective yet so simple!
brill!
Was looking for how to make one of these.
Looks easy enough and definitely very eye-catching!
5 stars!
P.S: NOT SOAP MAKING!
this flower is so cool
Fantastic! Thanks for this.
Great inspiration. I am going to try this with a knitted strip , adding the button in center ,then add them to my knitted cushions….
ive had a idea very simeler to this for a wile but want shore how to put it together. and tonight you have fixed my little problem.. thank you!!