
What you need
To make this plush you’ll need:
1. Cotton fabric
2. Needle and thread
3. Scissors
4. Template
5. Beads
6. Fabric glue
7. Felt
8. Wool
Instructions
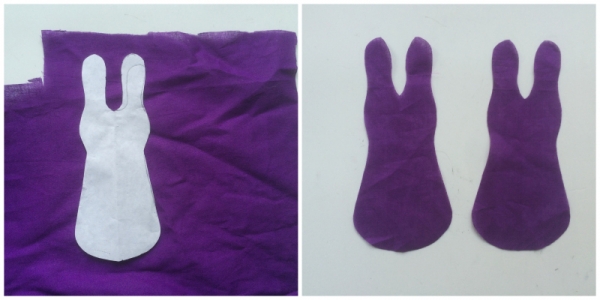
Step-1: For this plush I’m using a super simple template. The template includes the body and the ears of the bunny. Prepare a cotton fabric by neatly ironing it. Place the template on cotton fabric and trace around the side. You will need to prepare 2 cotton pieces according to the template.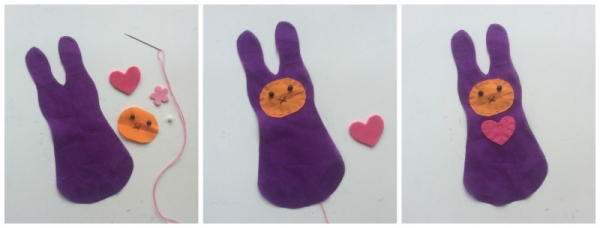
Step-2: Cut out other features of the bunny from different colored fabrics. I’m using orange cotton fabric for the face, pink felt fabric for the heart and a small flower from pink felt fabric. Stitch the beads on the orange fabric for the eyes. Simply stitch the face and the heart on any one of the body pieces.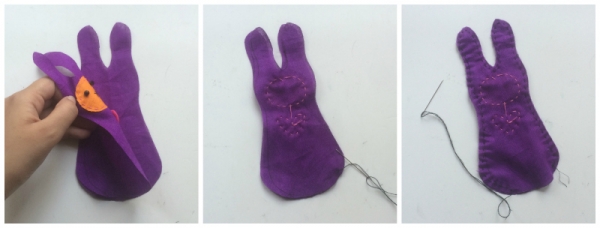
Step-3: Place the plain body piece on a flat surface. Now place the patterned body piece with its right side facing down on the top of the plain piece. Prepare needle and thread. Simply stitch around the sides to join both pieces together. But keep in mind to keep a small area open for the stuffing.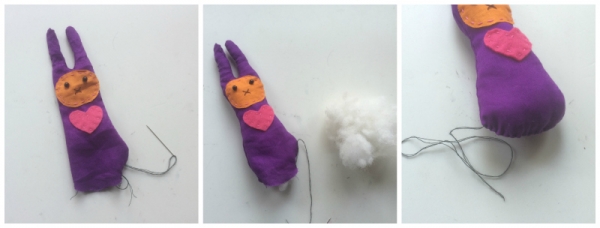
Step-4: Turn the right side out through the small open area. Make sure to bring out the ear parts neatly. Start stuffing the pattern by inserting wool through the open area. Once you’re done stuffing close the open area with stitches. Tie knots and cut of extra thread.
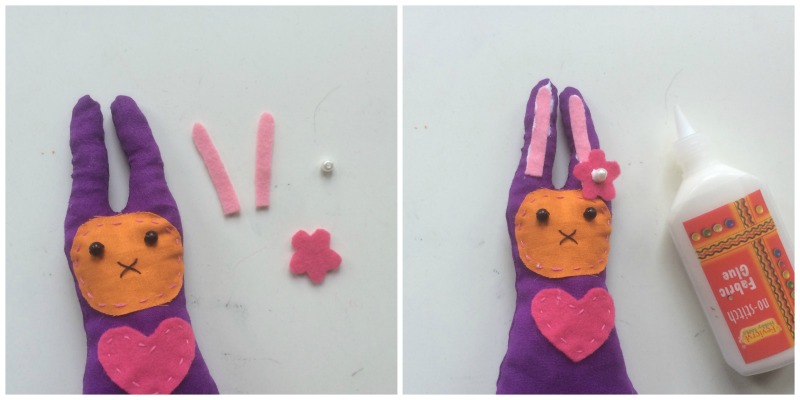
Step-5: Now prepare 2 ear pieces and a small flower from pink felt and also select a small bead. Use fabric glue to attach the ear pieces and the flower as shown in this picture or you can attach any other features as you wish. Allow the glue to dry.
You can use different colored and patterned fabric, add more and different features for more variation. Enjoy!



This is really a cute little toy for an infant but where is the template? I can try to recreate it but it would be nice to have the template. Thanks!
Where do I get the template Please